Skip to content

Archive for

Quick Spinach Quiche

My family is always enthusiastic about quiche!

Eggs, cheese, flavorful ingredients, pie crust…what’s not to like?

Here’s the basic recipe for a Quick Spinach Quiche:

I box of roll out pie crust (no rolling pin – this is the quick version)
12 crisply browned bacon slices
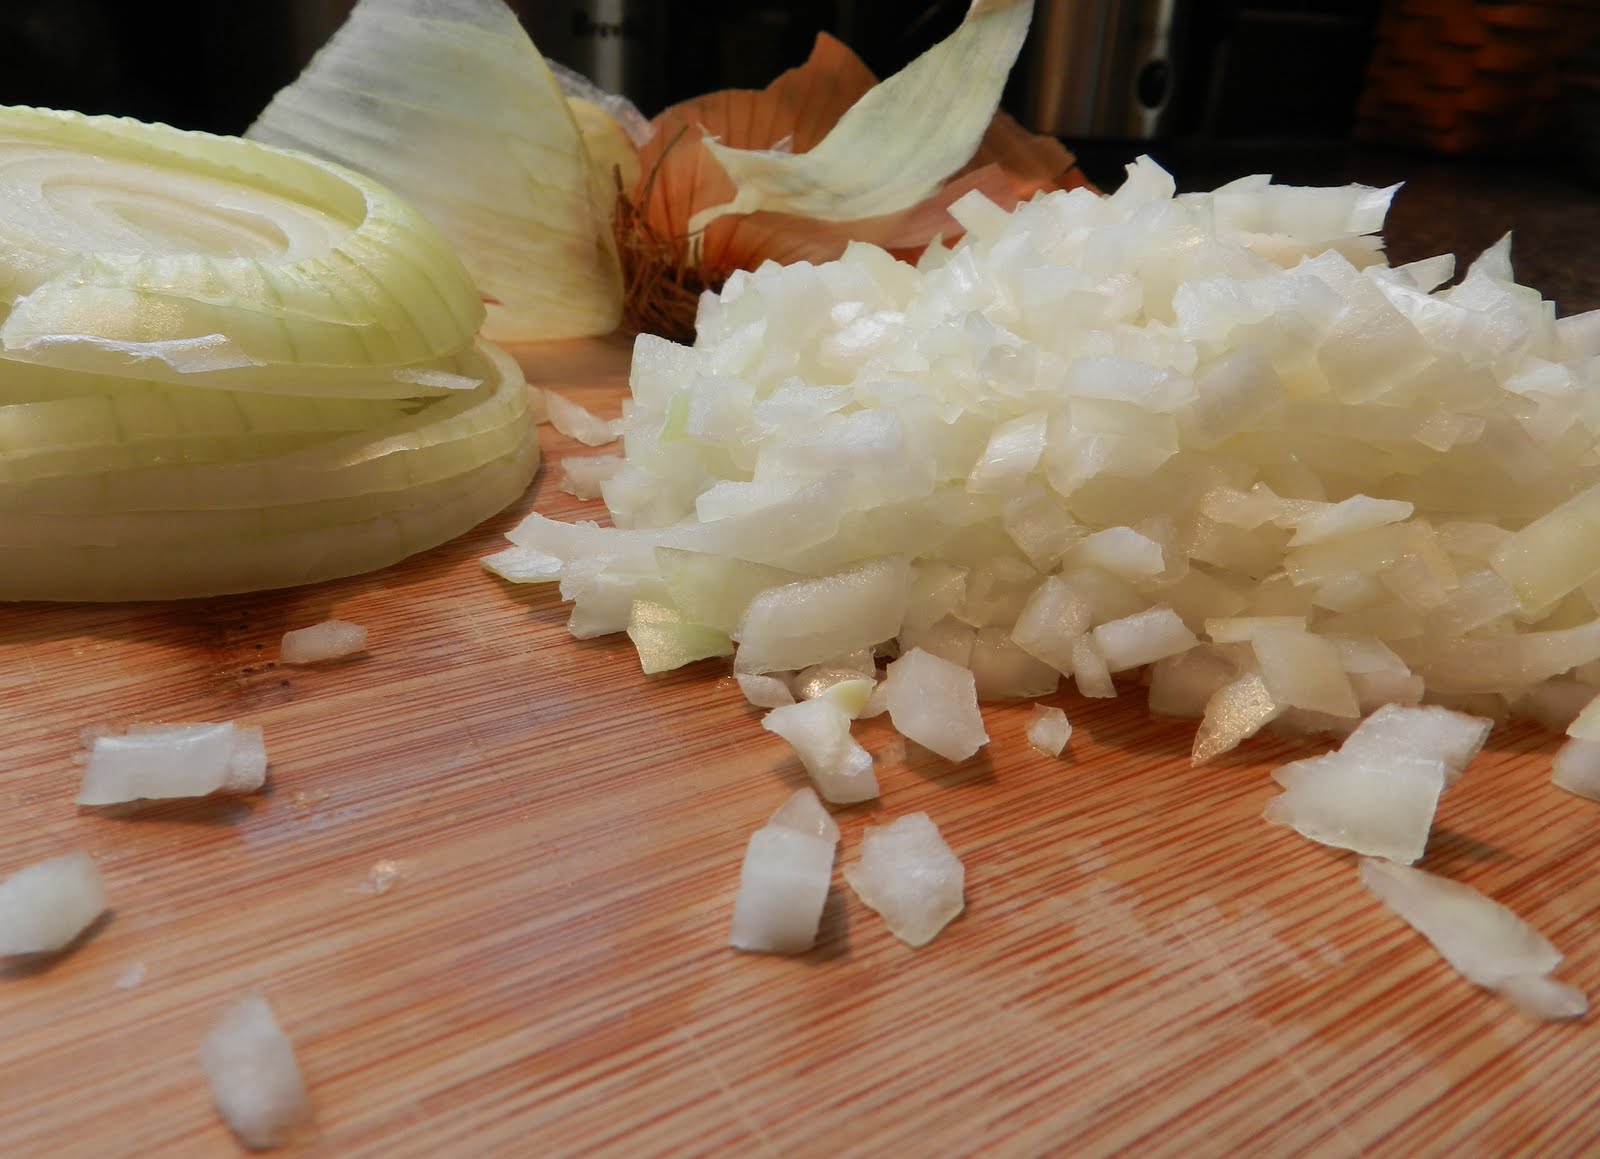
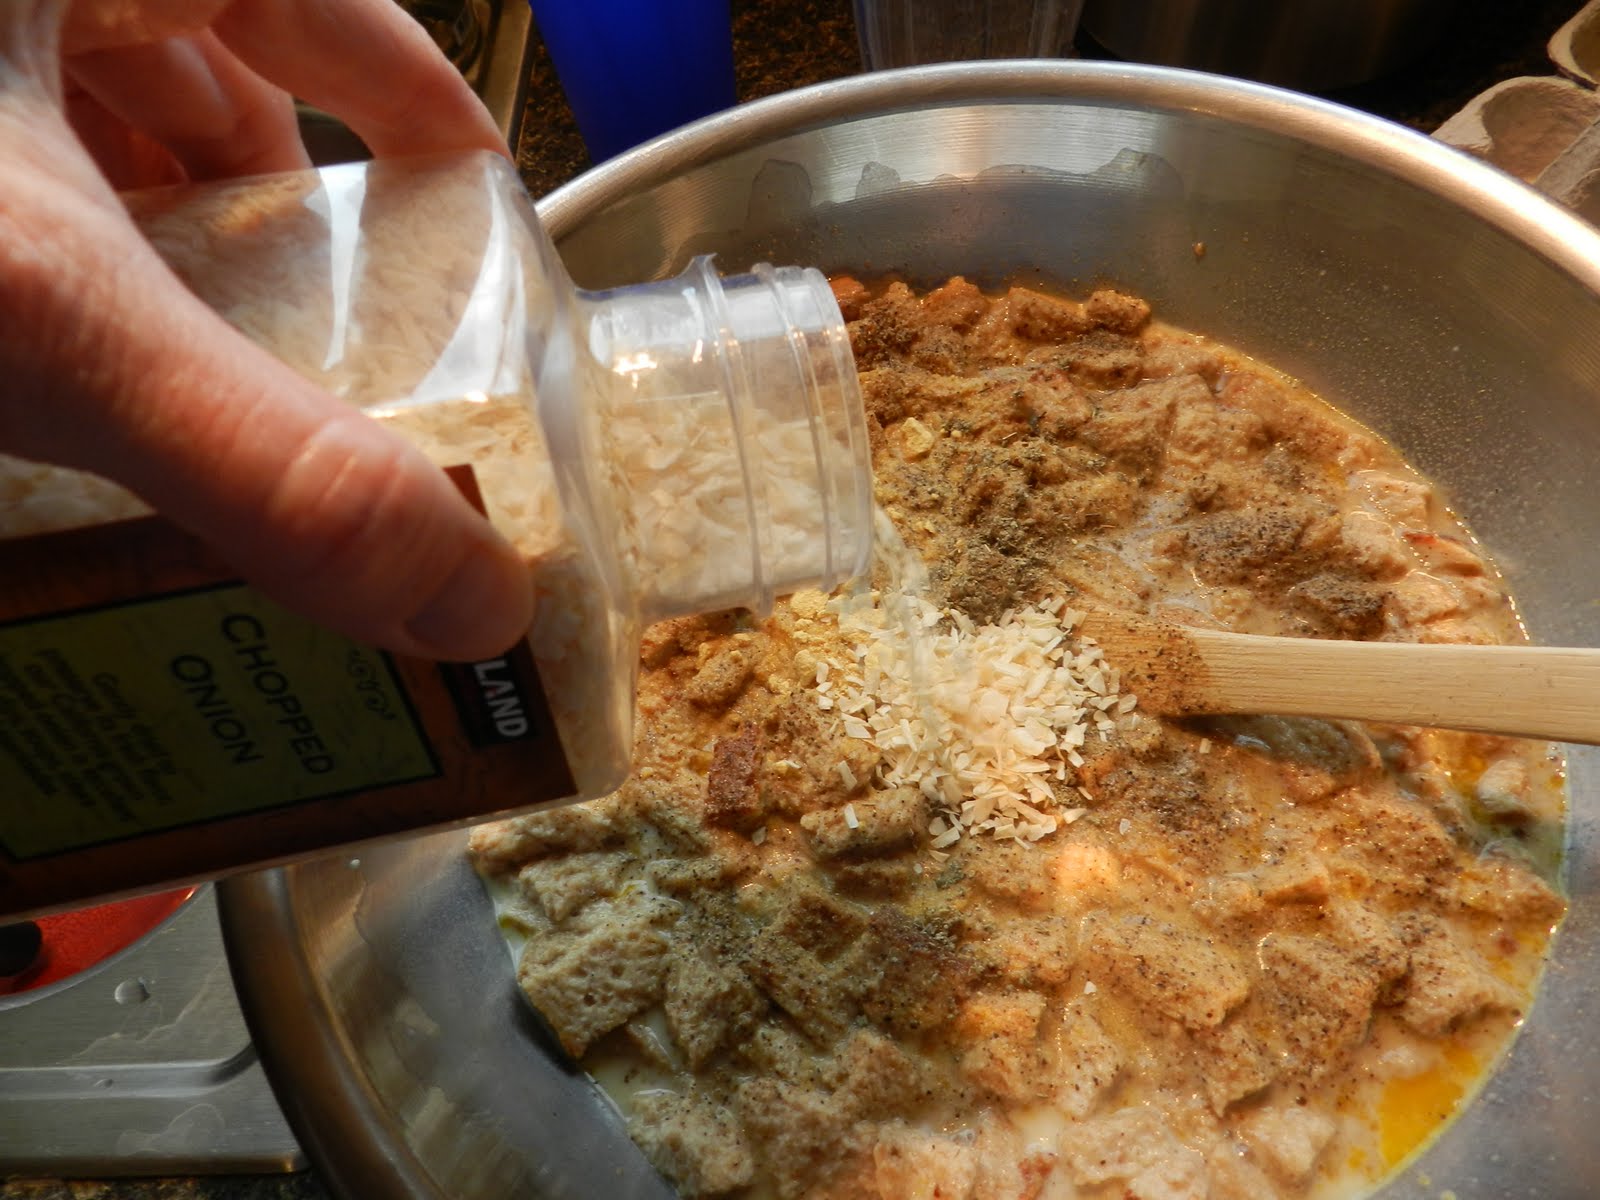
1 cup finely chopped onion
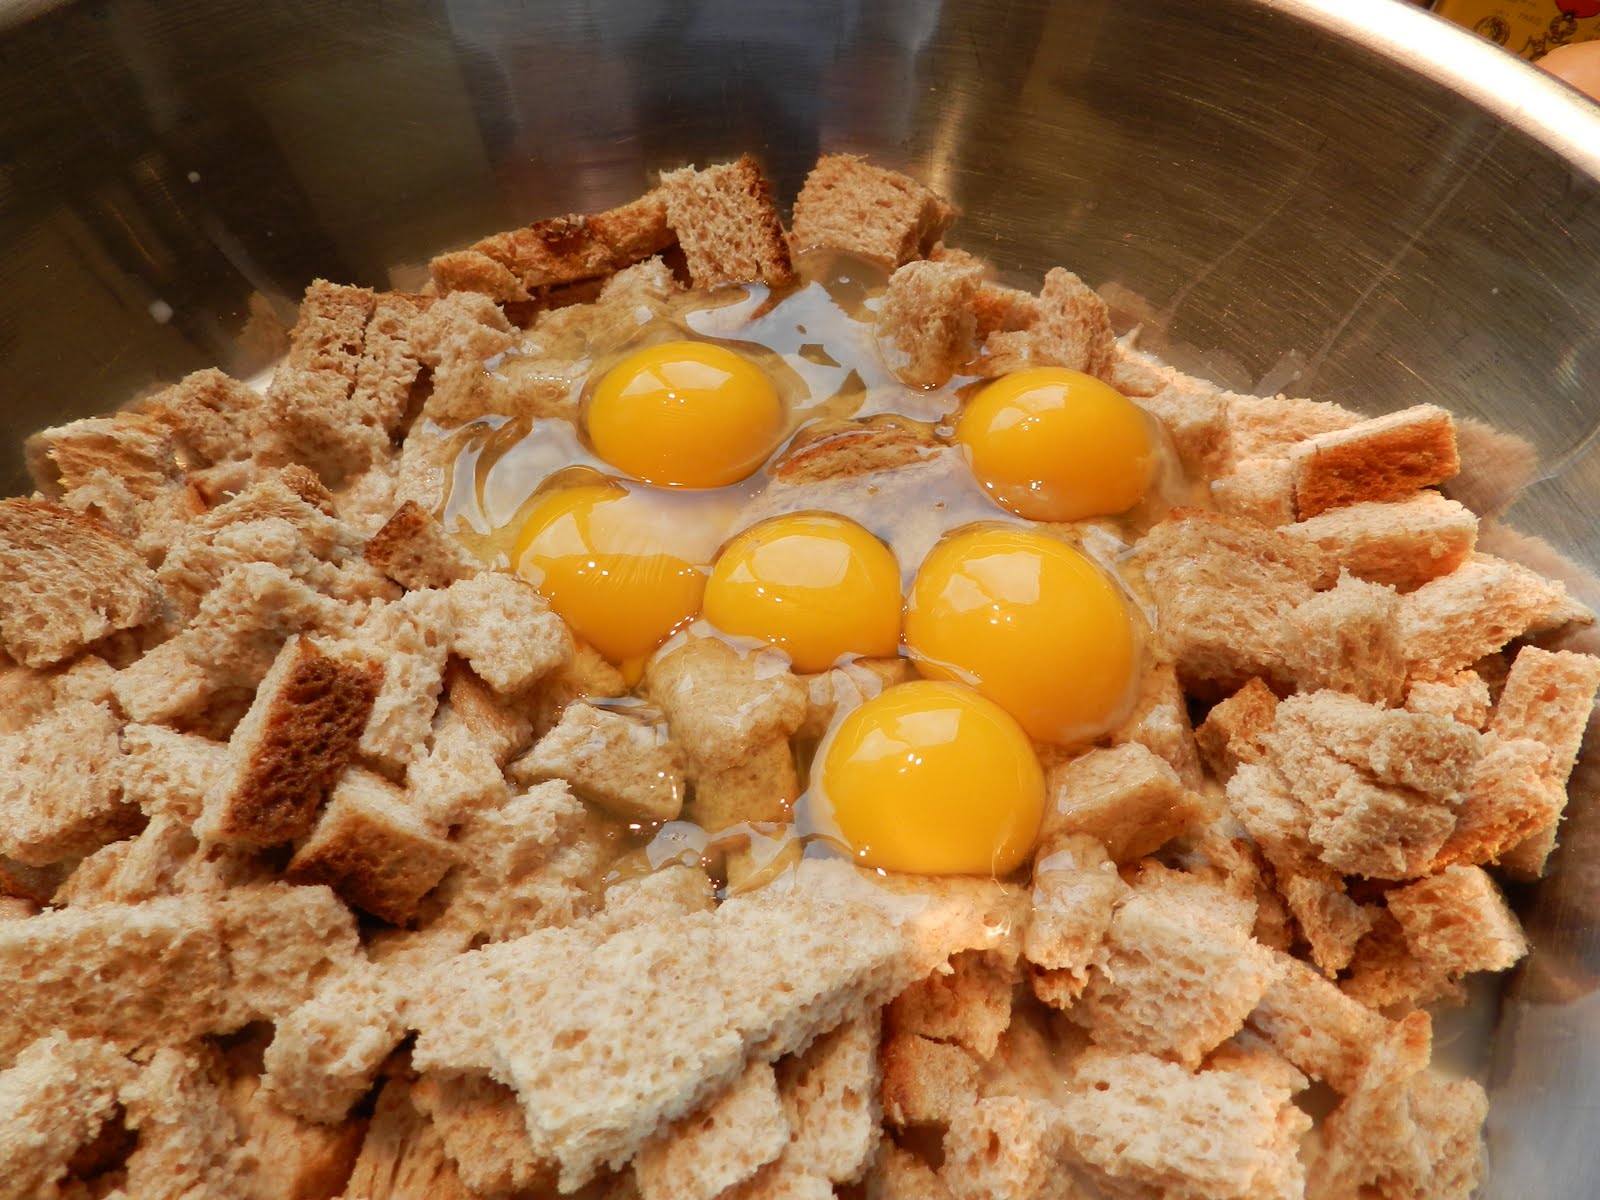
6 eggs
1 box frozen chopped spinach
8 oz Swiss cheese
2 TBSP flour
2 1/2 cups half-n-half
salt and pepper

Bake at 425 degrees for about 35 minutes. Makes two pies.

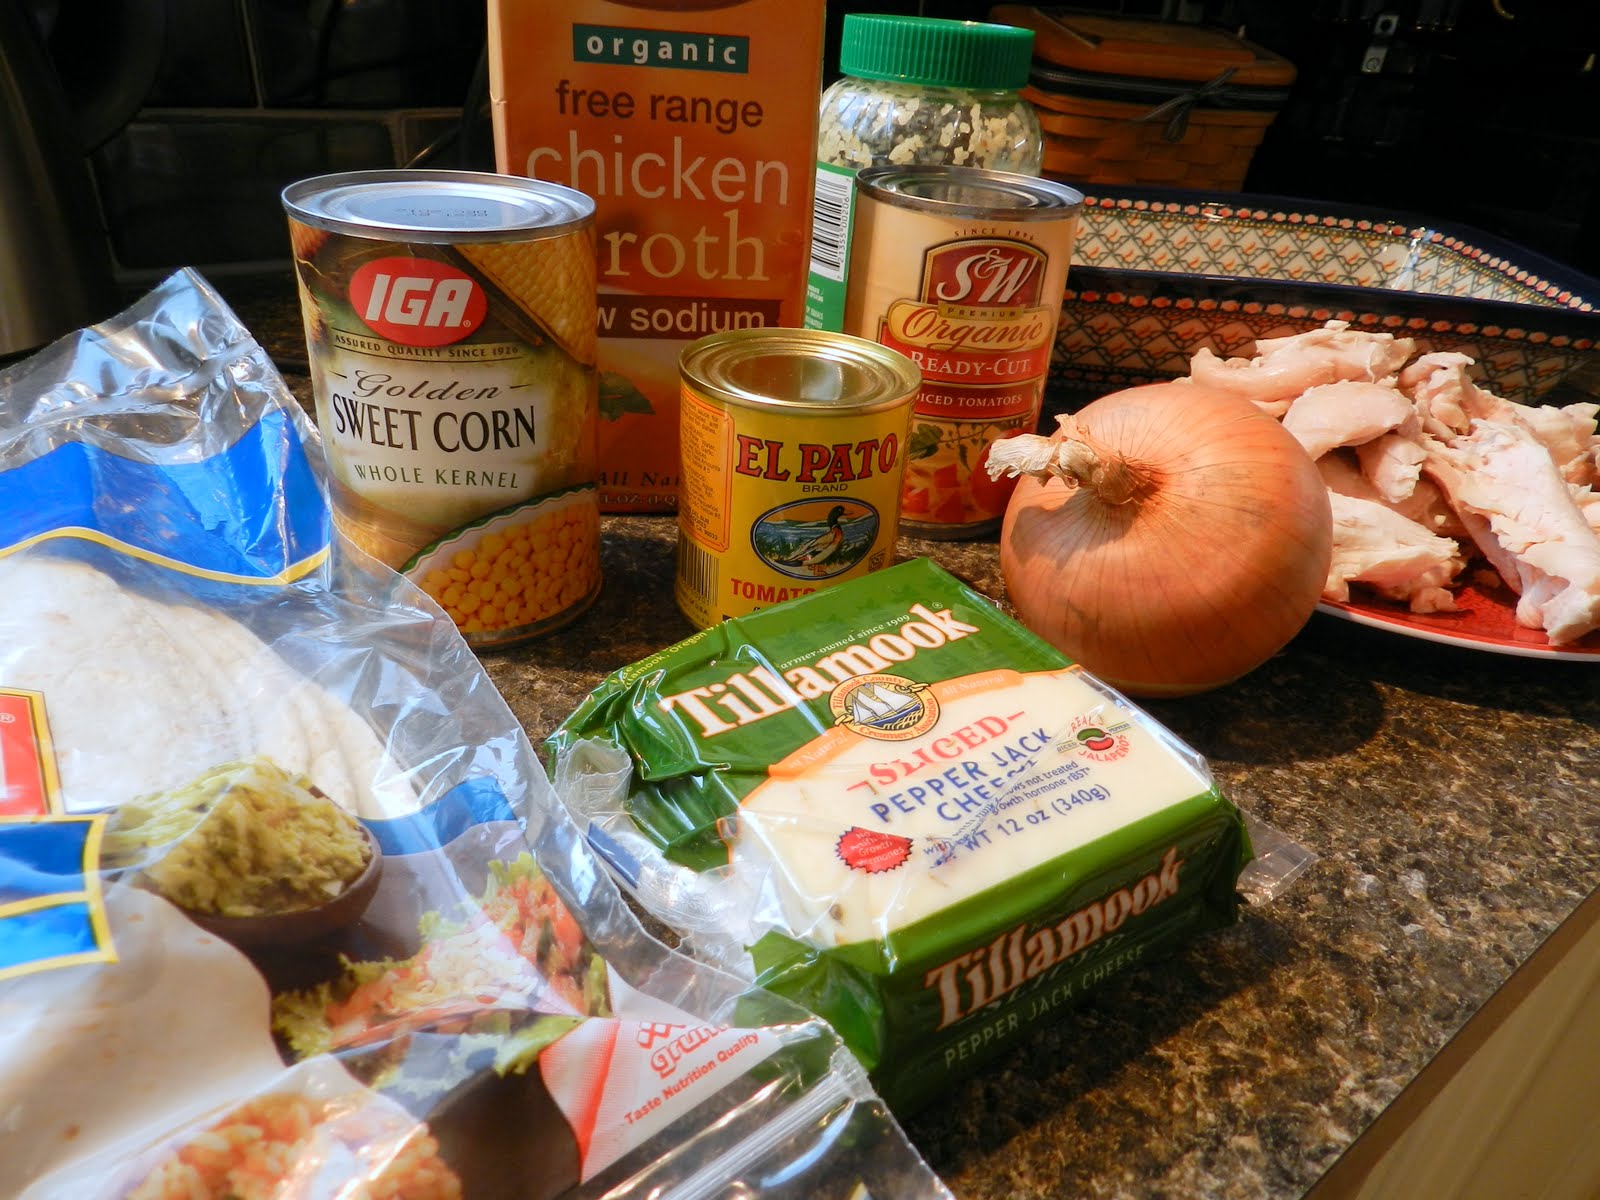
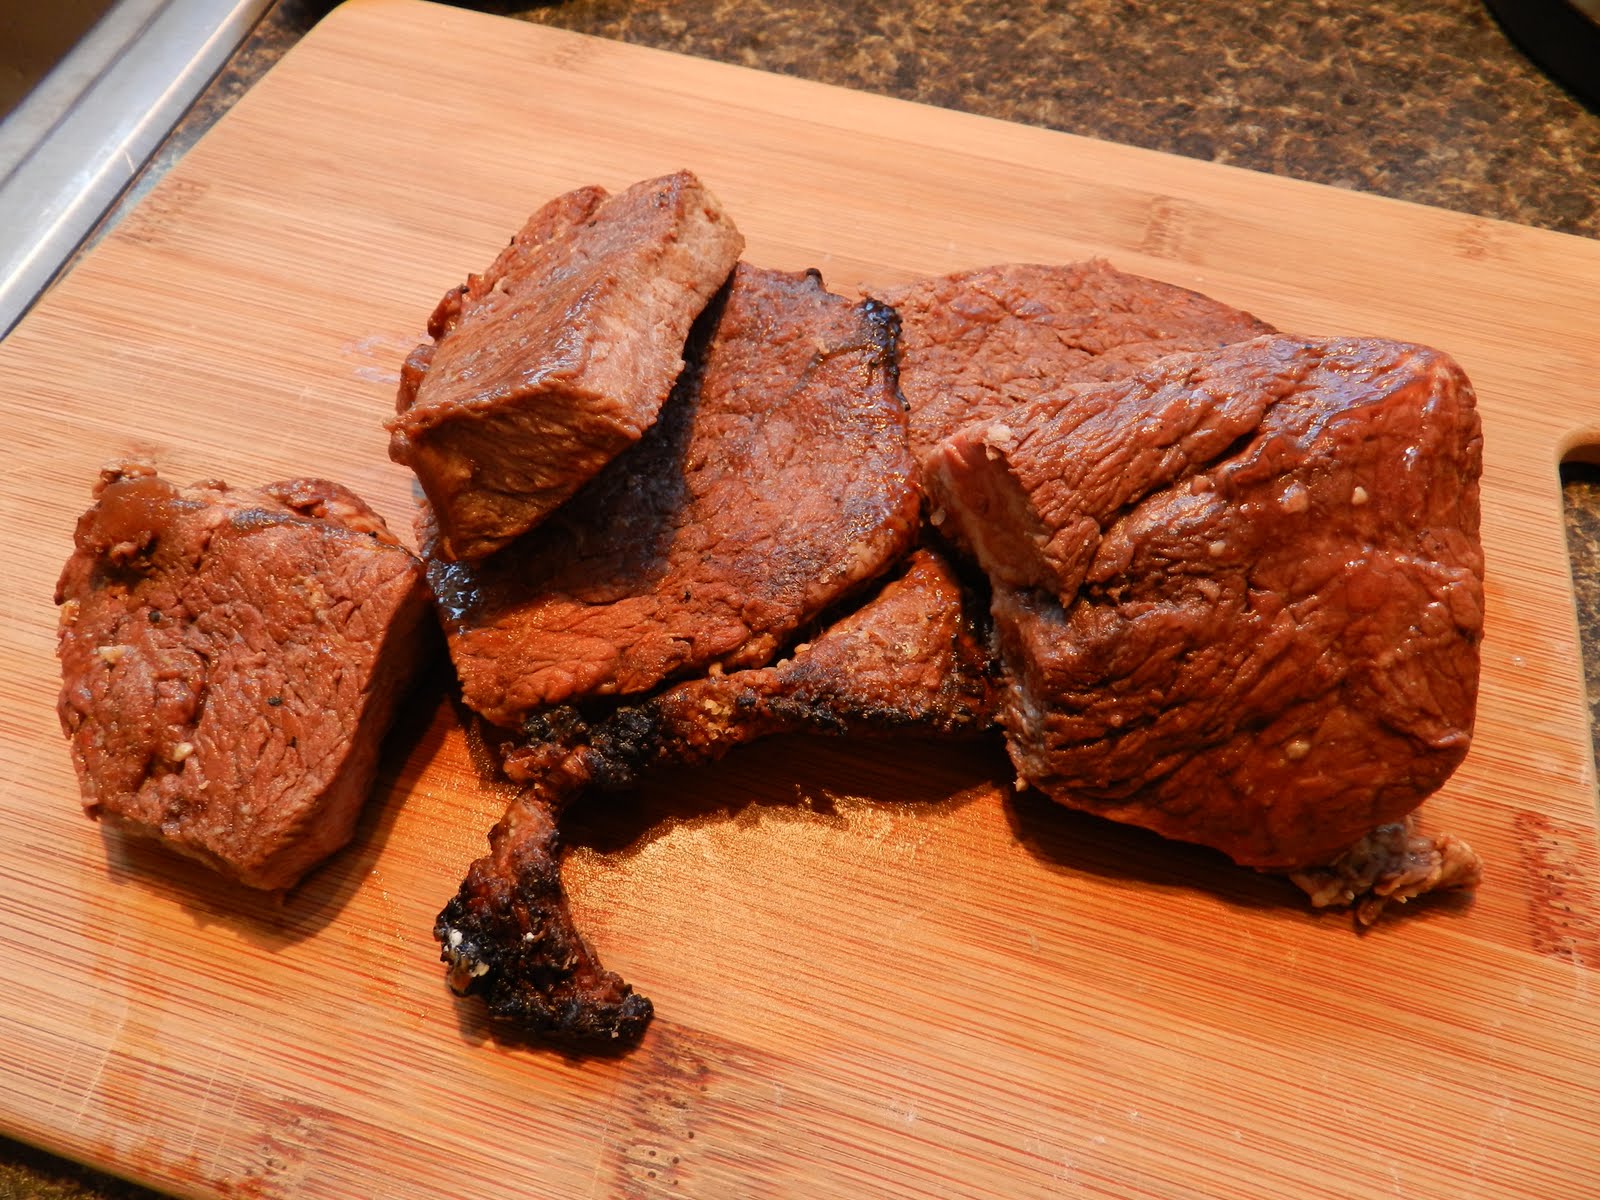
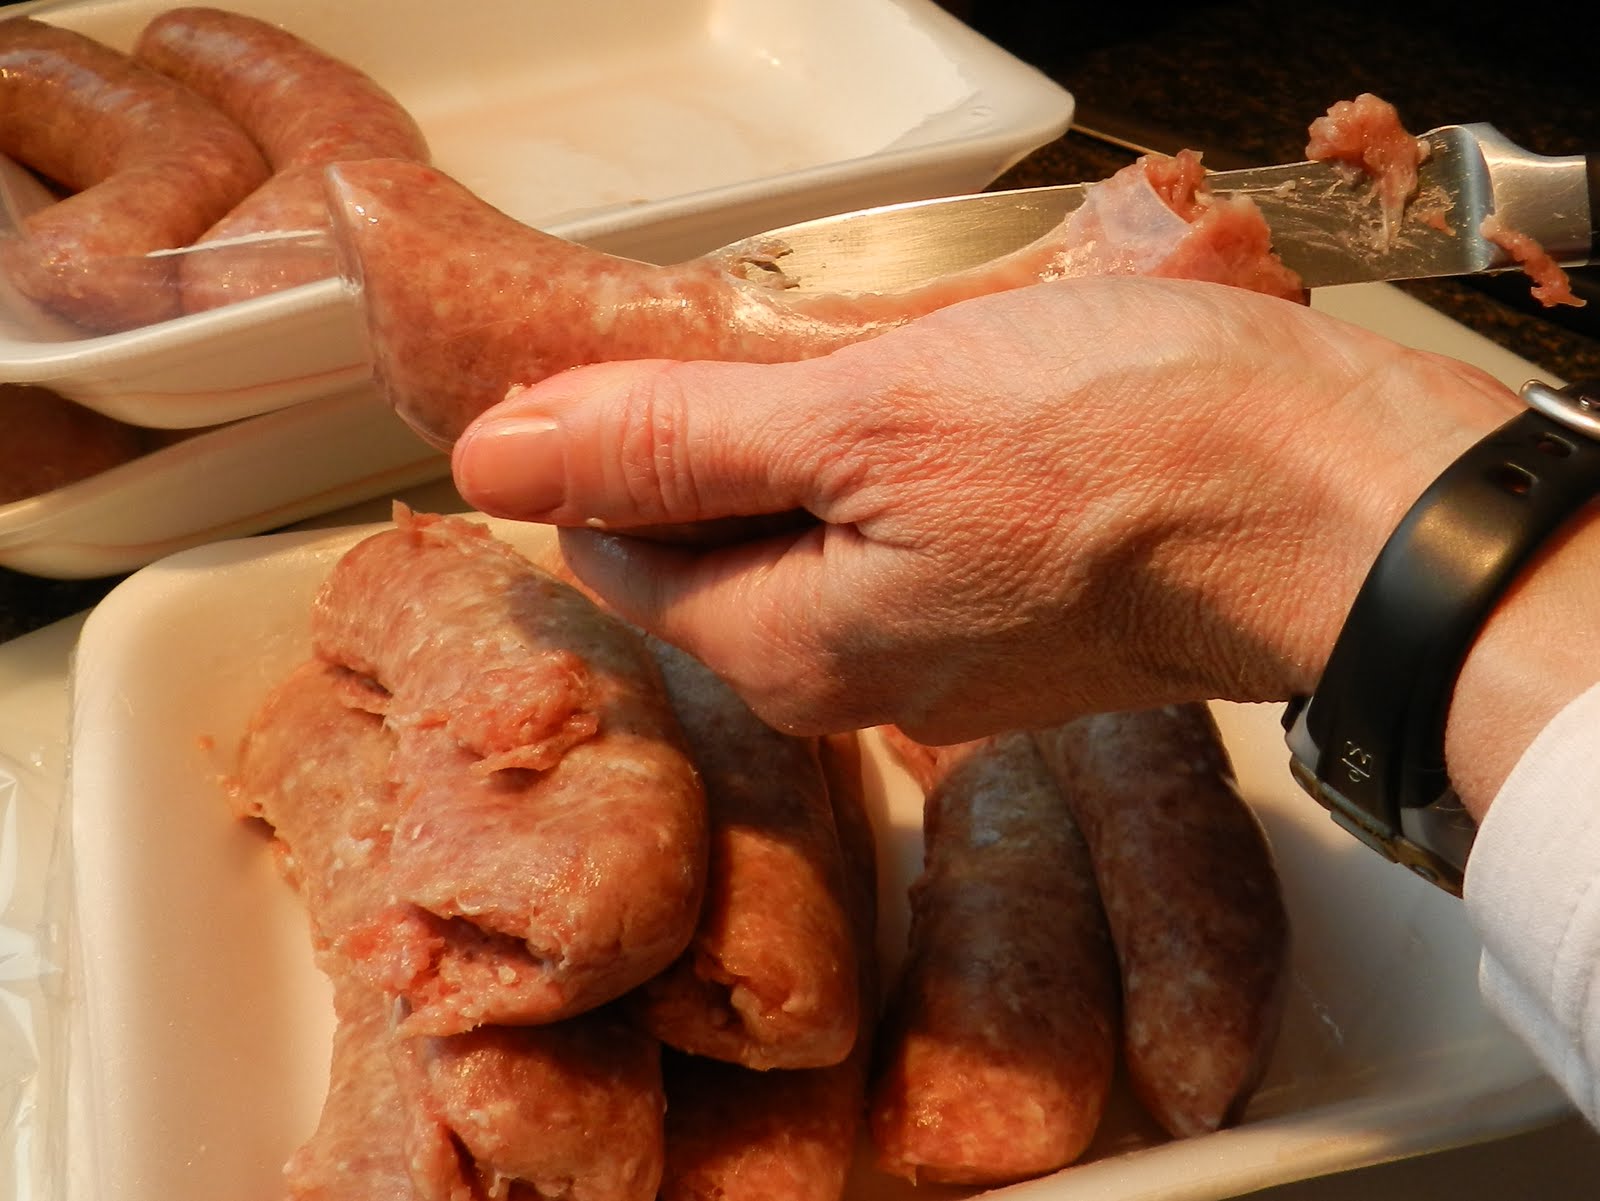
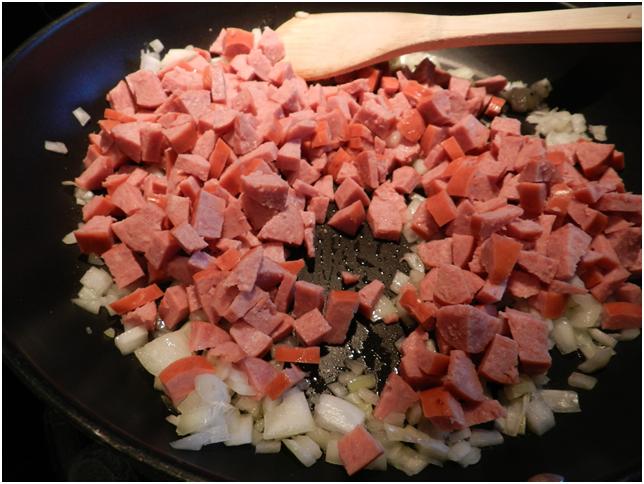
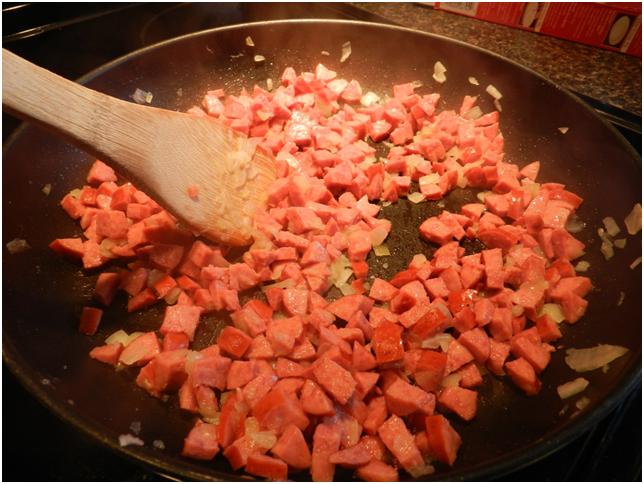
You’ll notice in the picture below that my bacon strips look an awful lot like turkey kielbasa. That is what happens when you write bacon at the top of the grocery list and then leave the list in the car. You get home, smack yourself in the forehead and then rummage through the refrigerator for an alternative. The kielbasa was fine, but I think I prefer bacon. I thought about not blogging because I messed up again, but if I dropped blogging every time I deviate from the ideal form of a recipe I would post something about once a month – in a good month. And, I guess we’re highlighting the point that quiche is versatile.


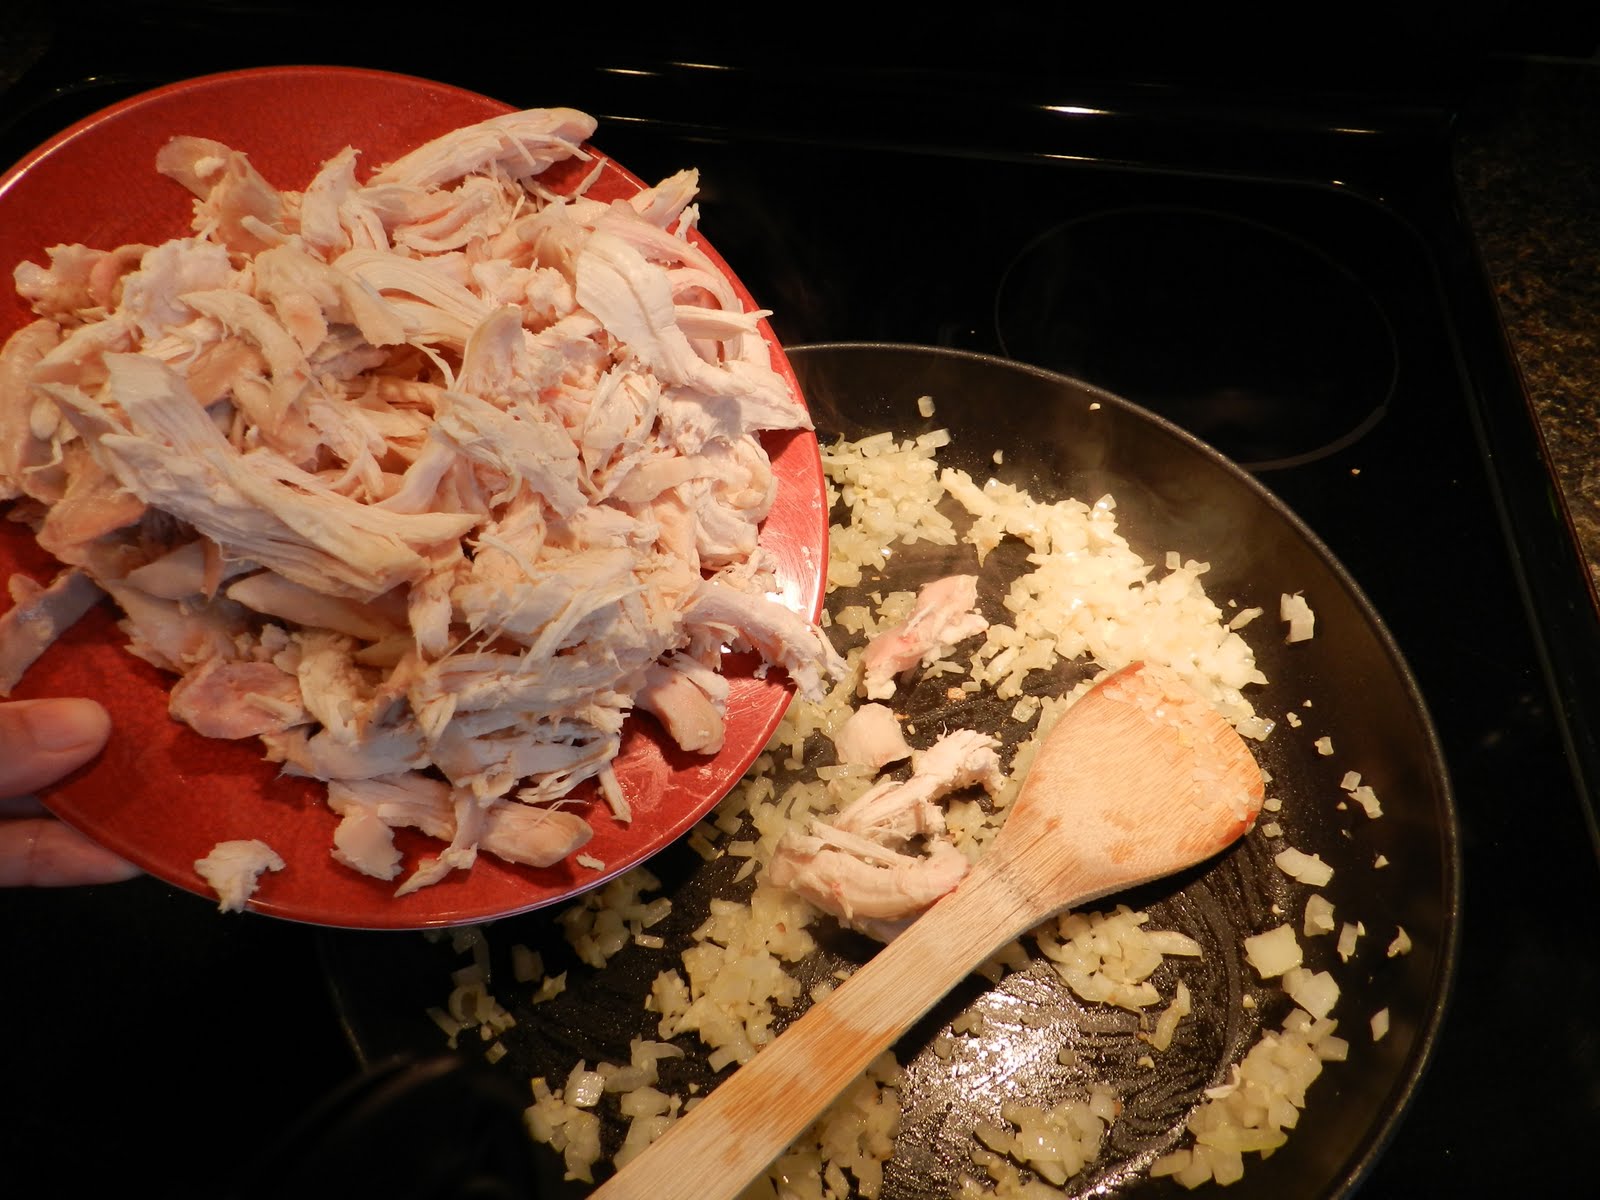
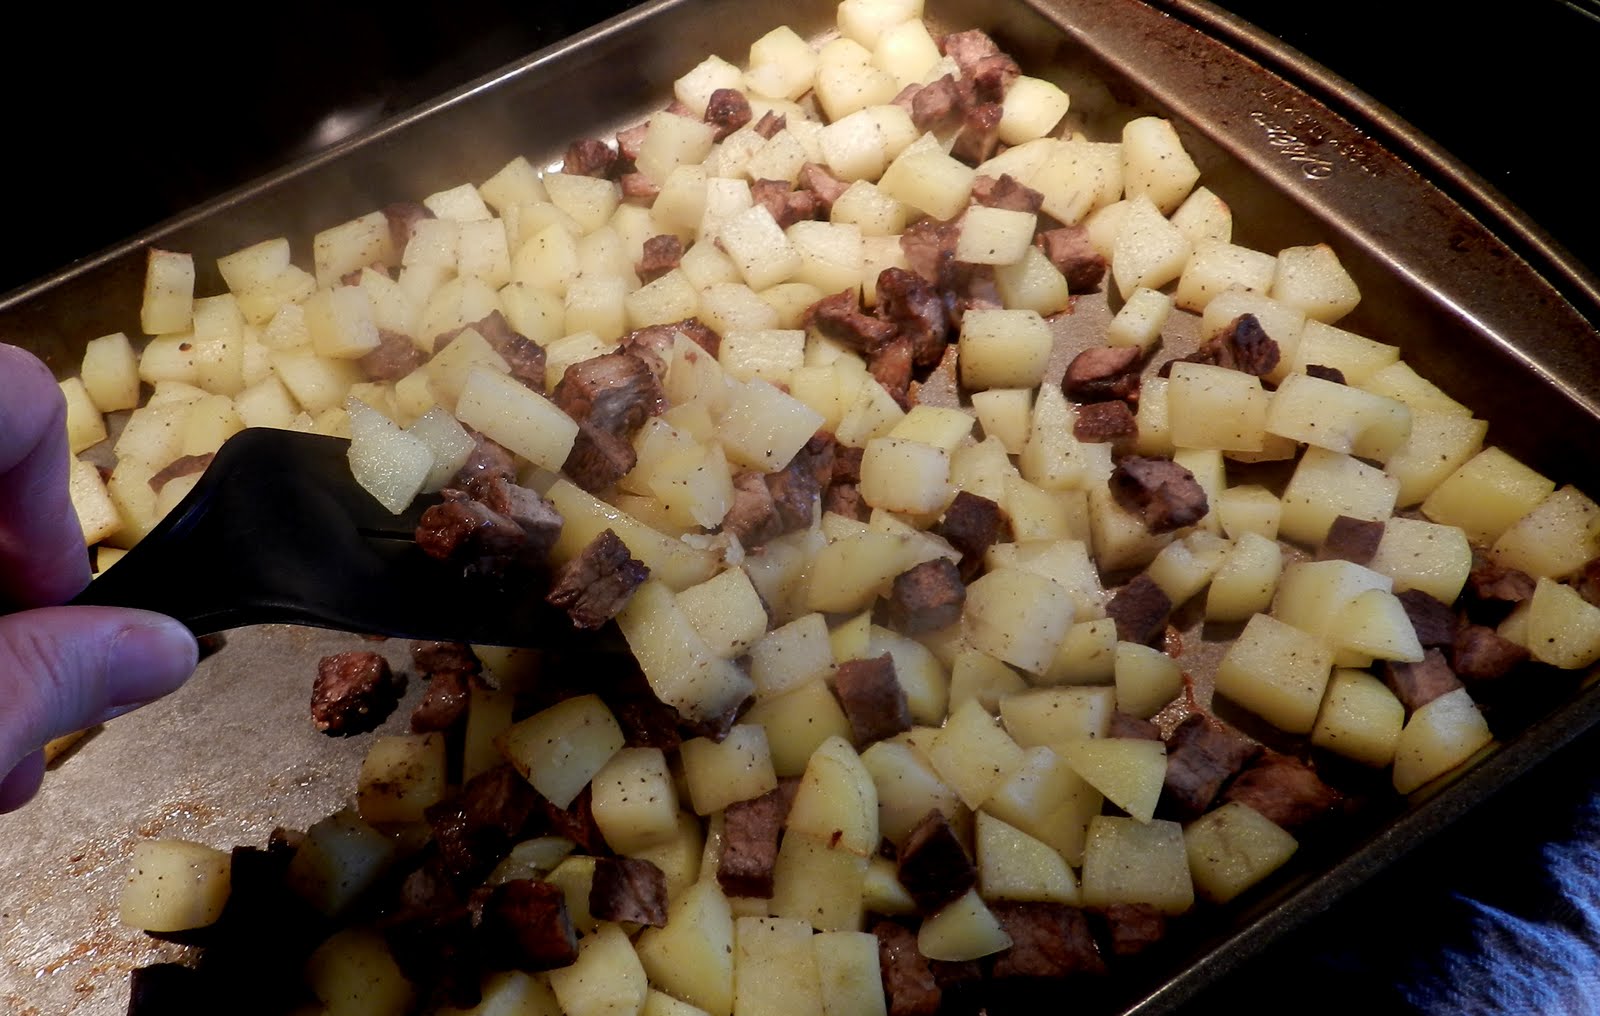
On a remembered-the-grocery-list kitchen catwalk, you would fry the bacon while sautéing the onion in some oil. But in this case…


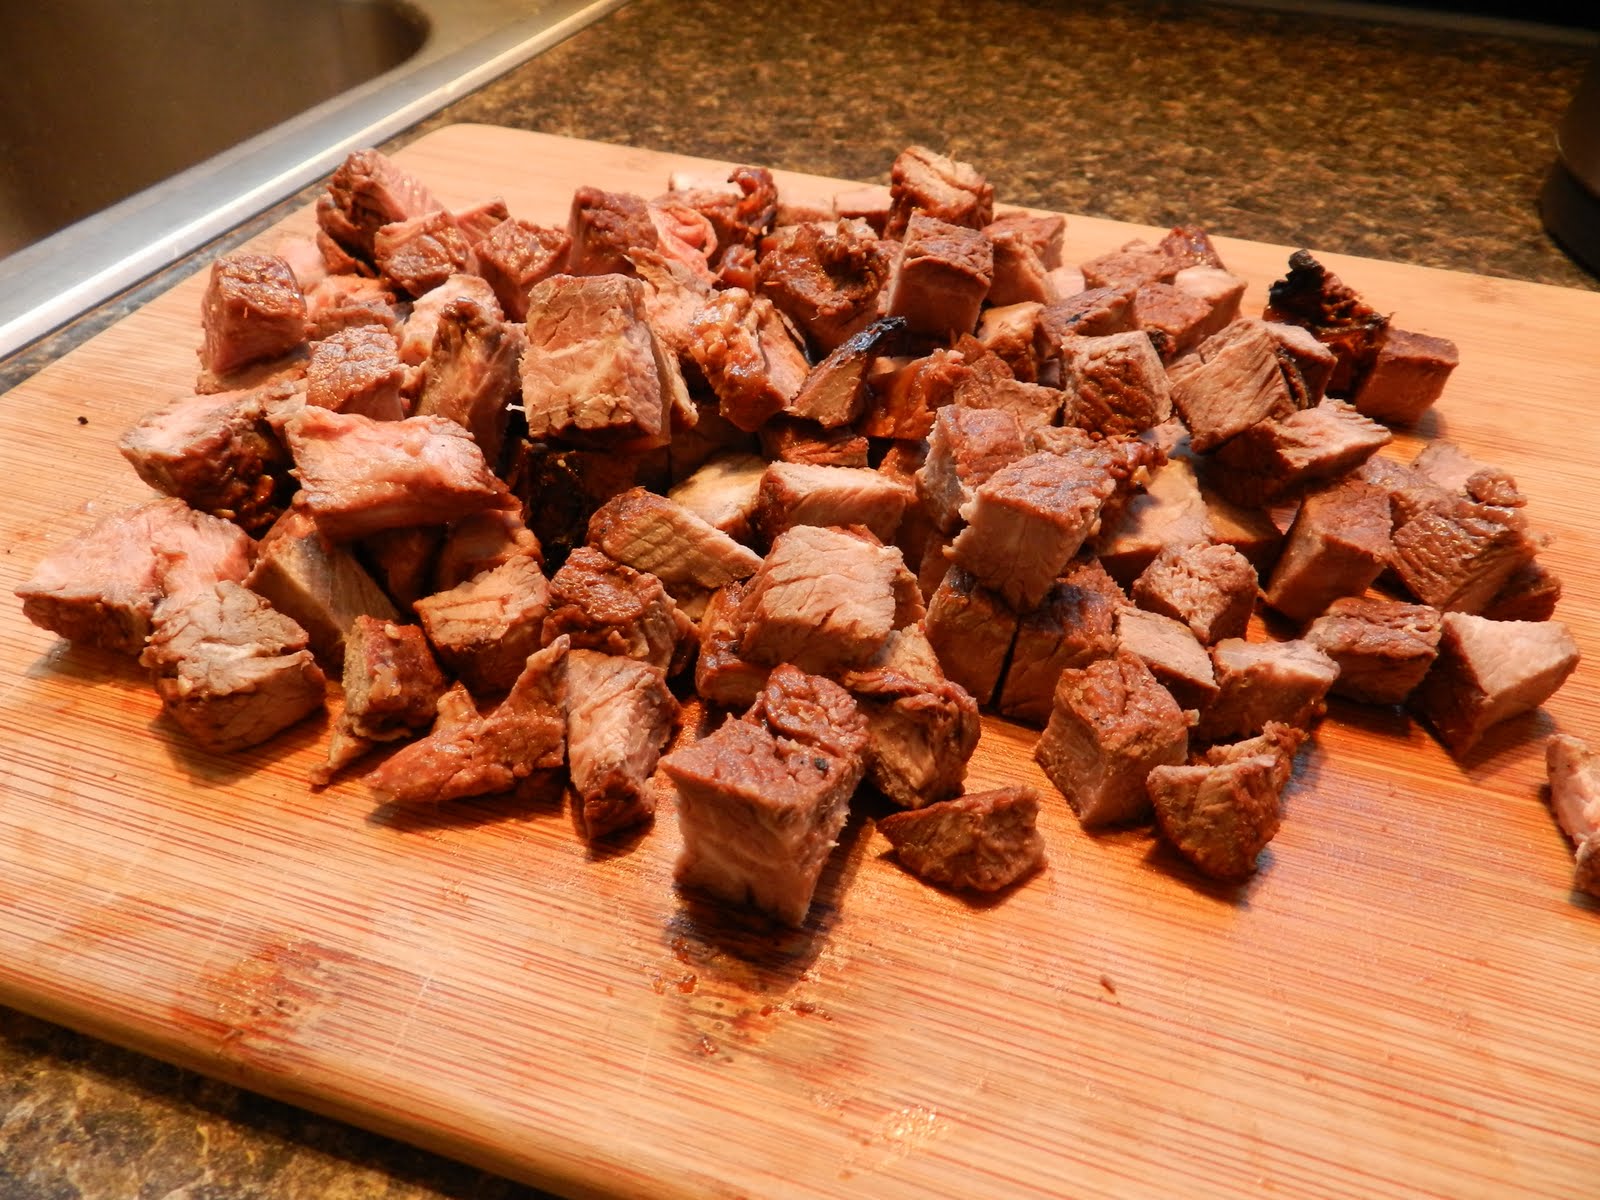
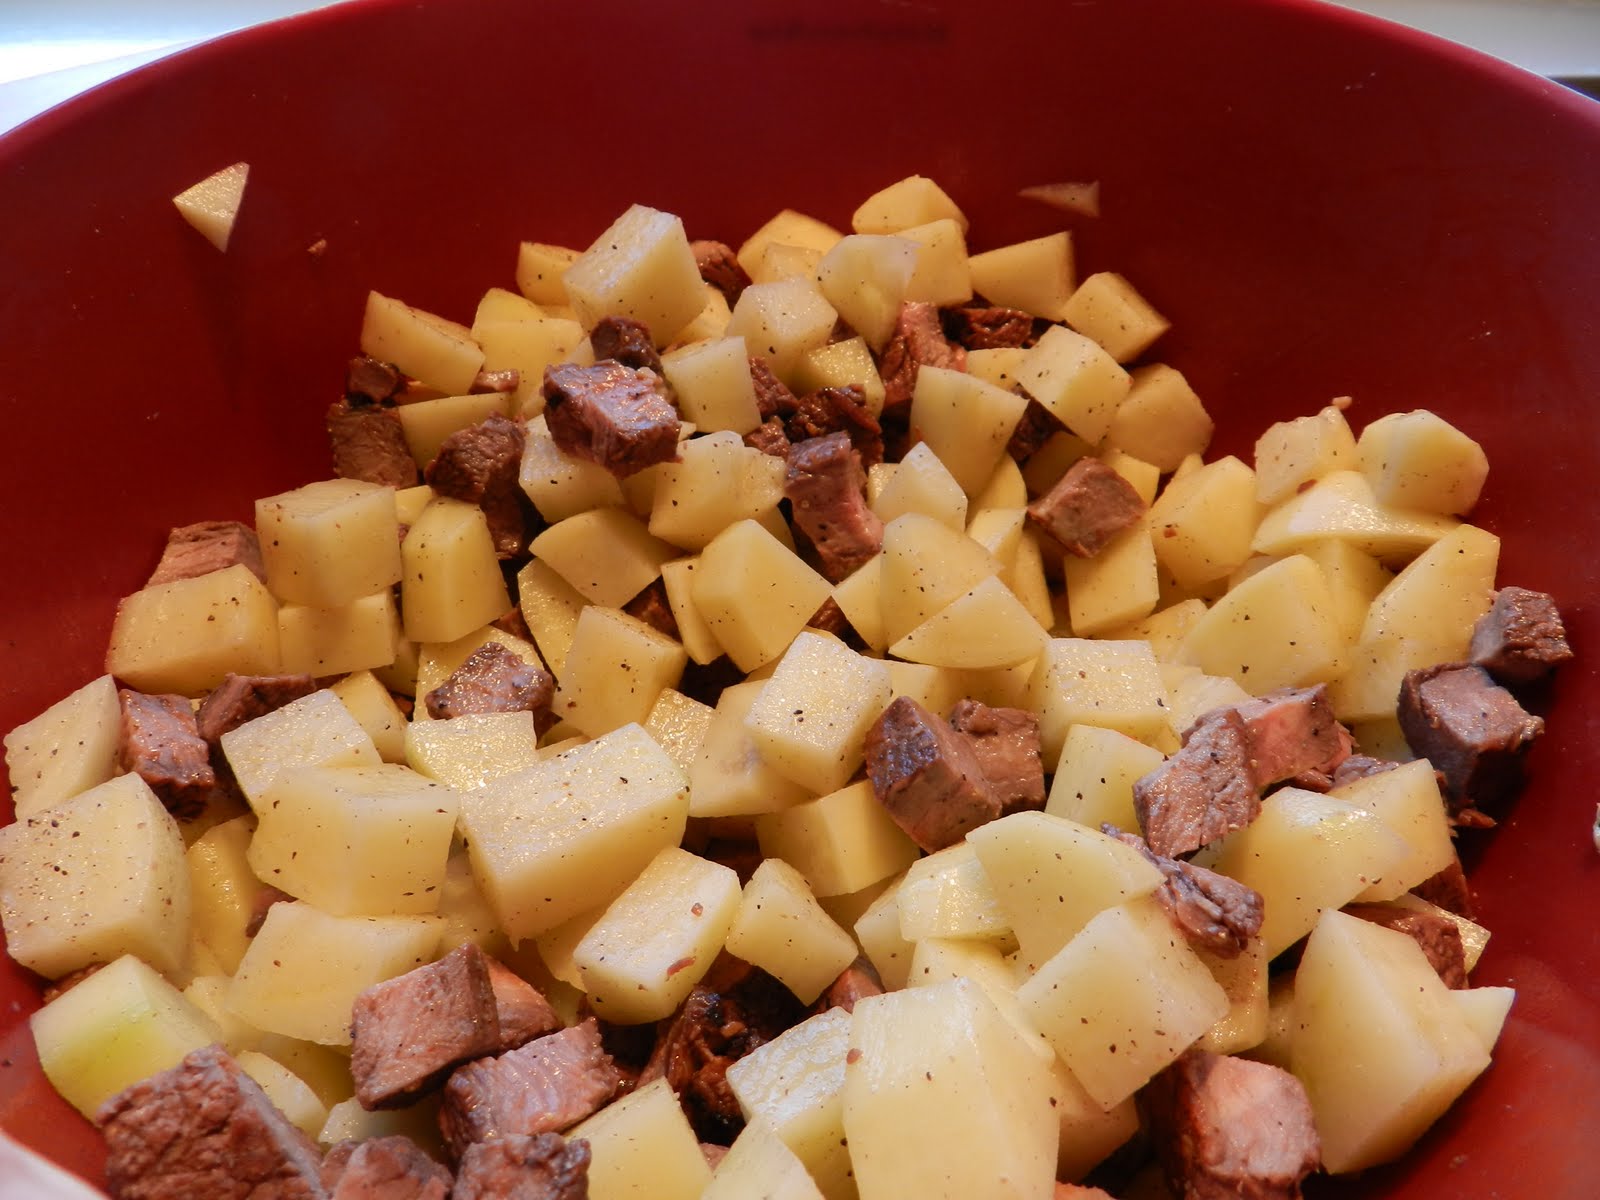
…the meat needed to be chopped into small pieces and I was able to brown it with the onion while I was working on the rest of the ingredients


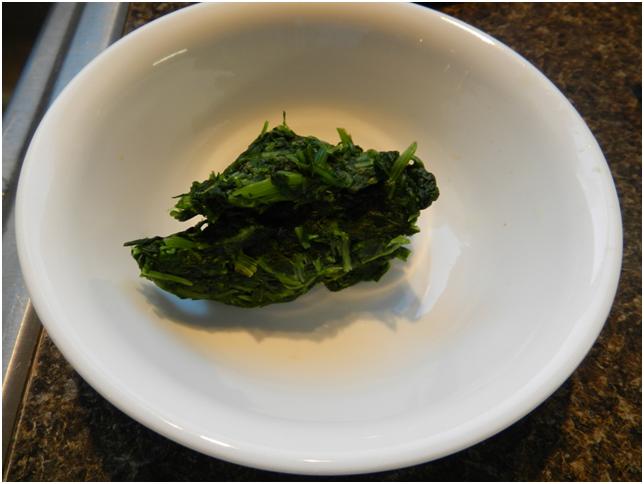
The box of frozen spinach gets a nice warm shower in a colander until it’s thawed.


Then I wring it out. You don’t want green spinach juice turning your quiche into a soggy rendition of something out of a Dr. Seuss book.


There’s really not much in a box of frozen spinach once you take out the water!


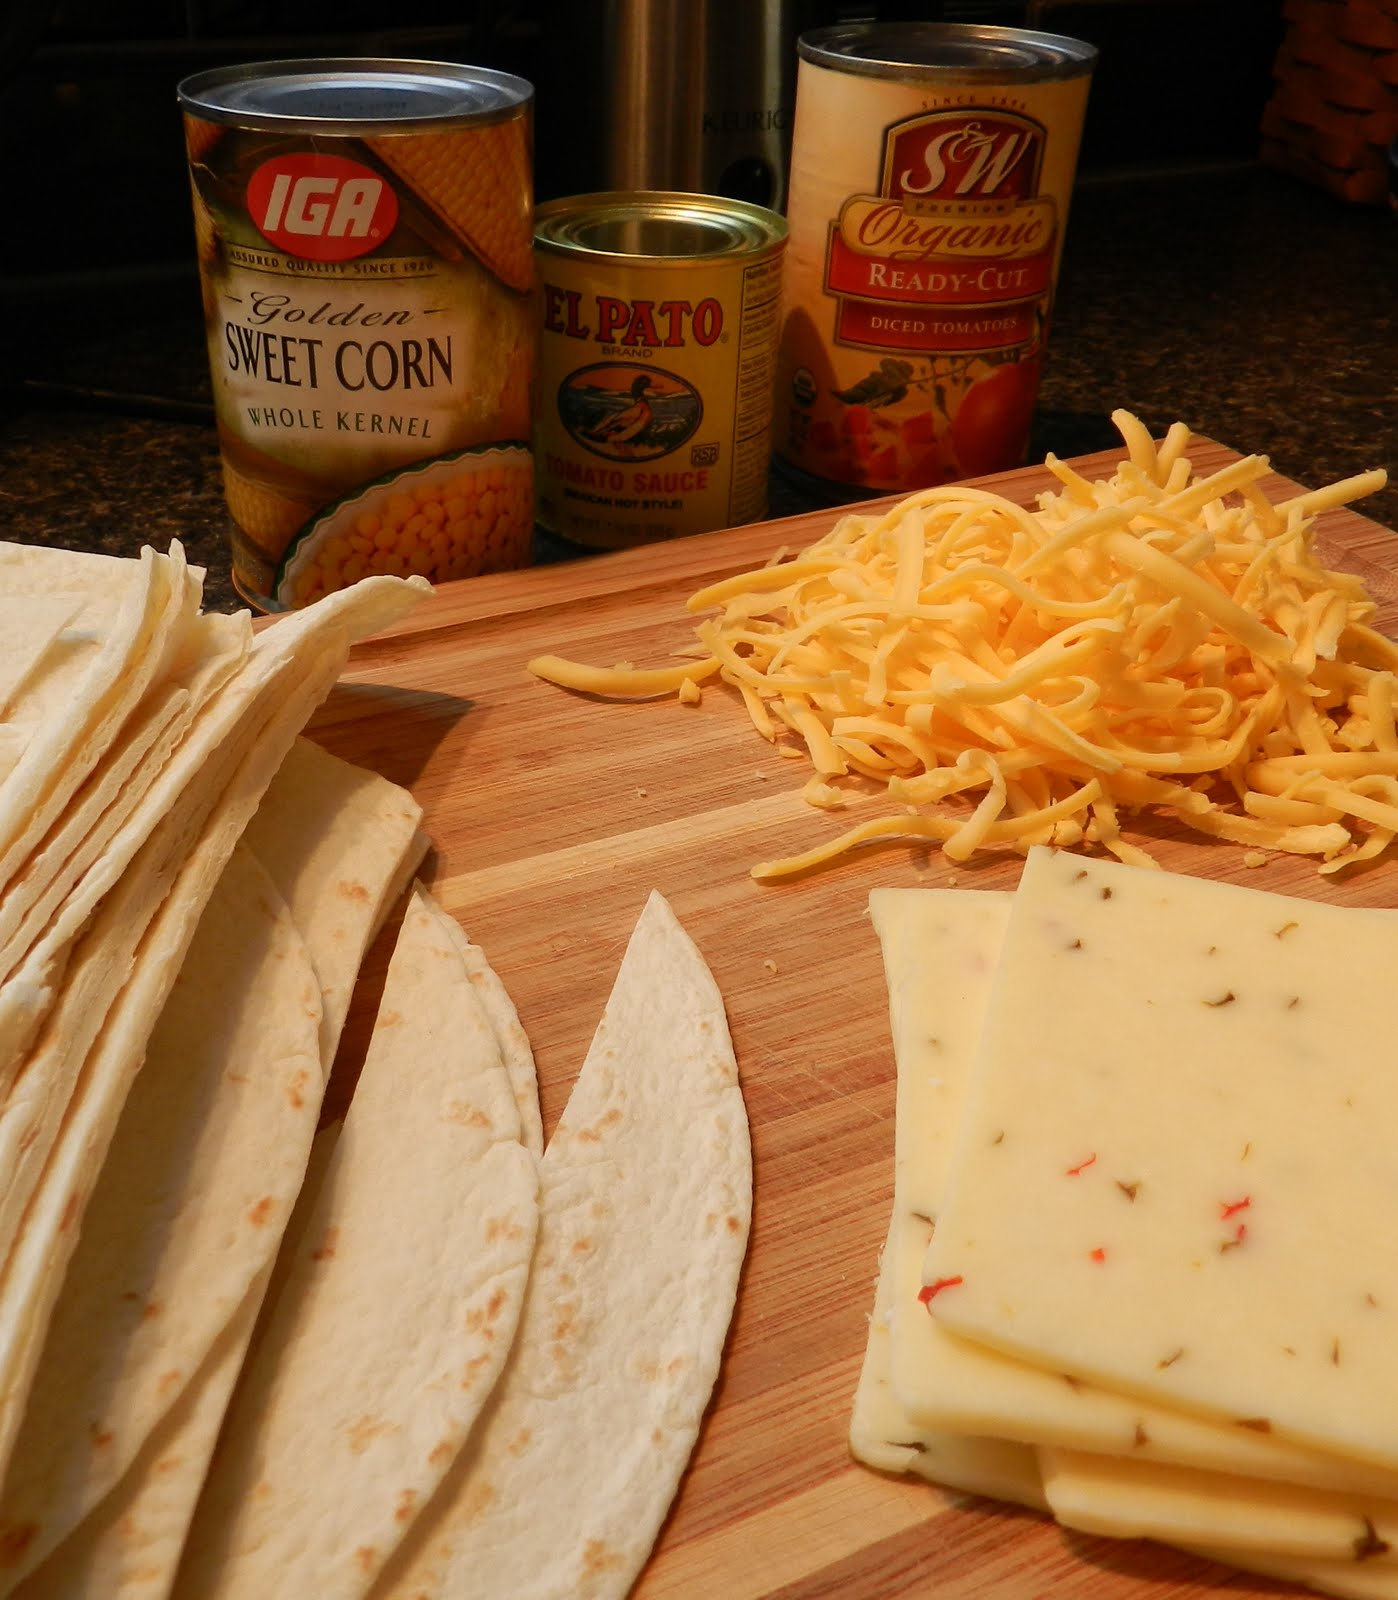
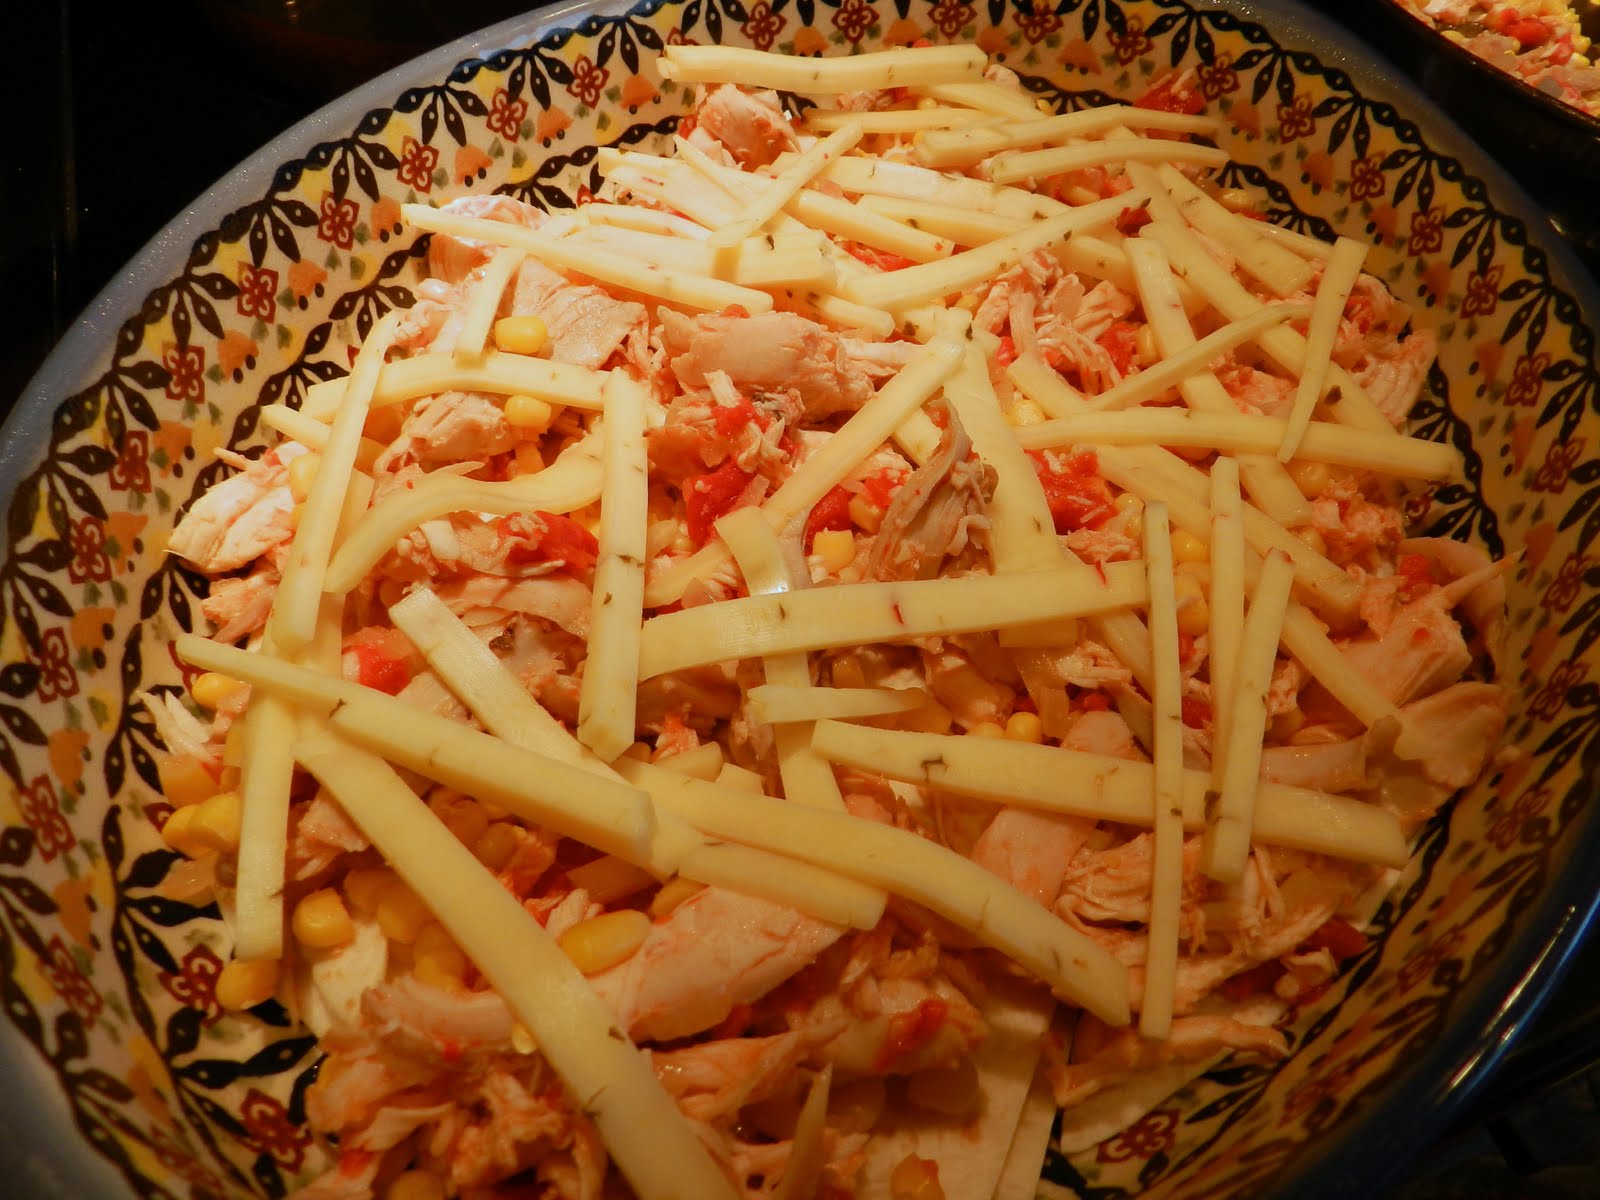
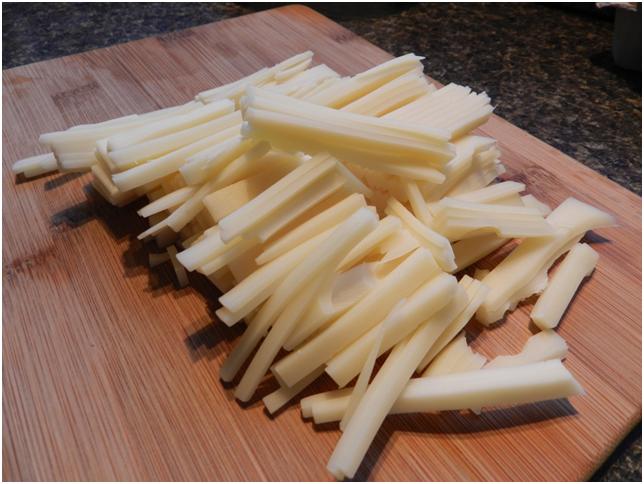
I usually have sliced Swiss cheese on hand, but it need to be in shreds, so I just cut the slices into thin strips and it’s close enough.


Put the cheese in a small bowl and drop in the flour.


Toss the two until the cheese is coated and there aren’t any pieces sticking together.


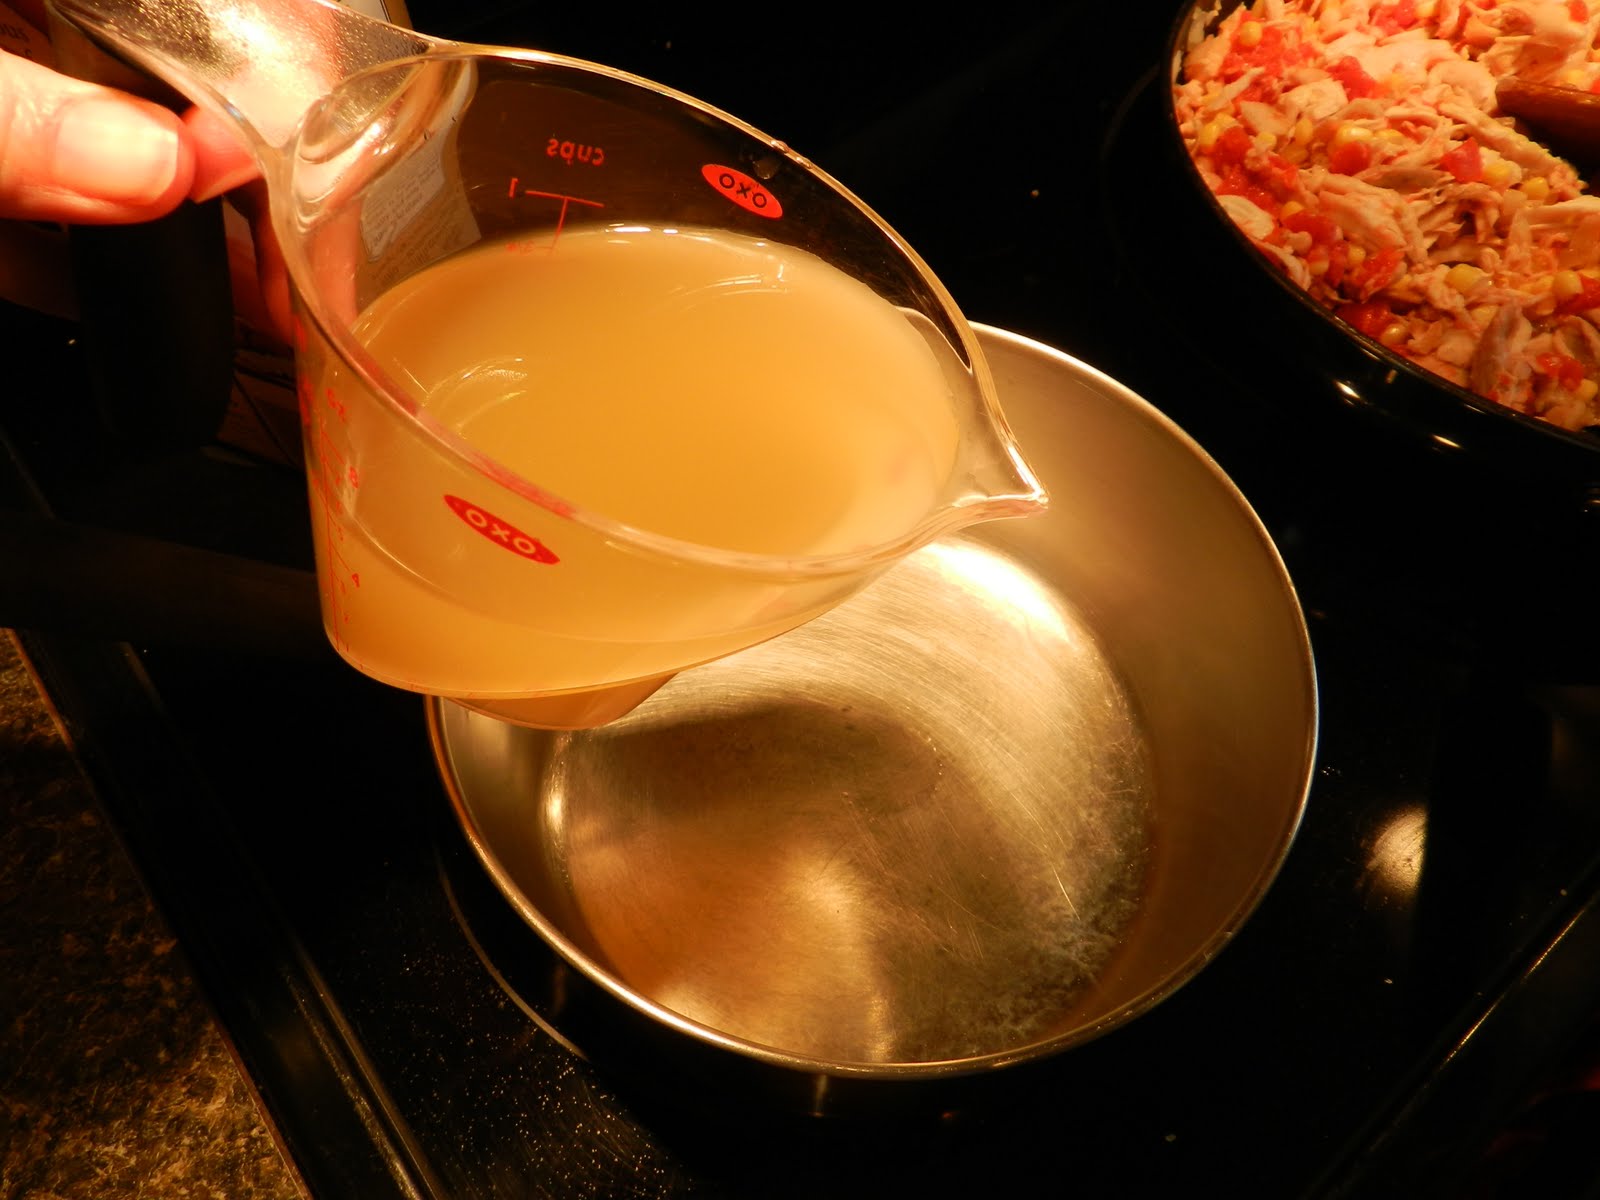
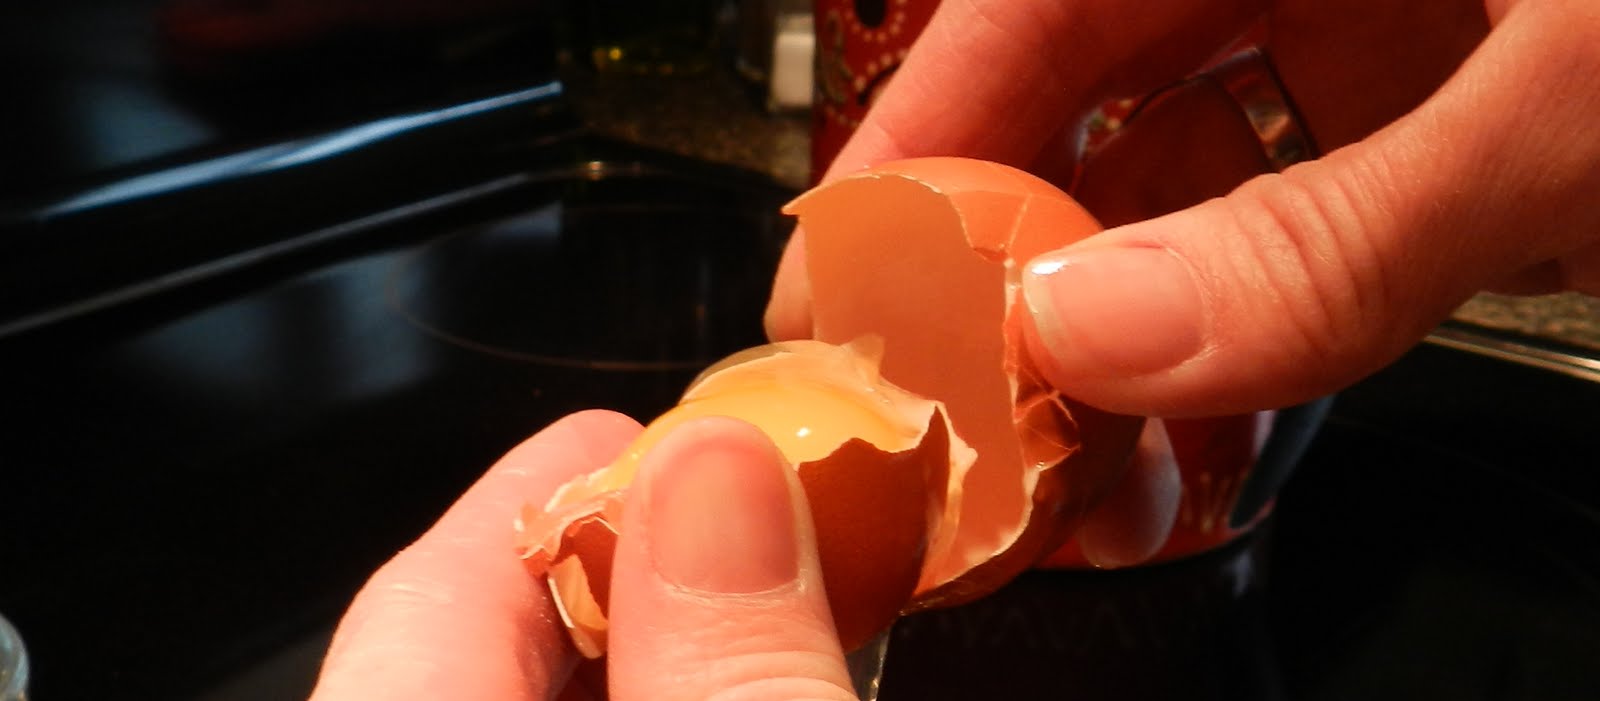
Crack the eggs into the half-n-half.


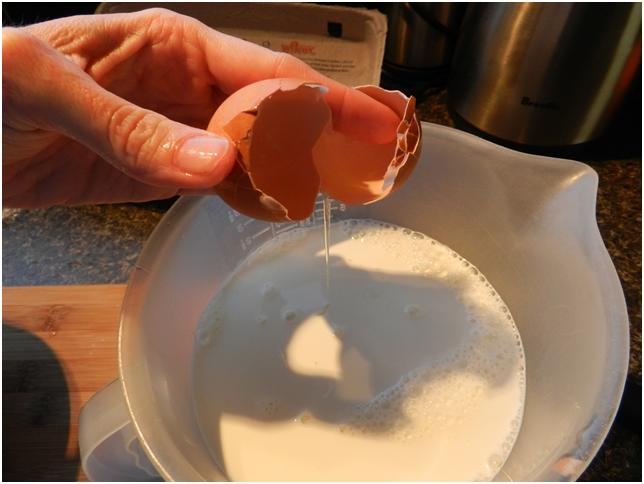
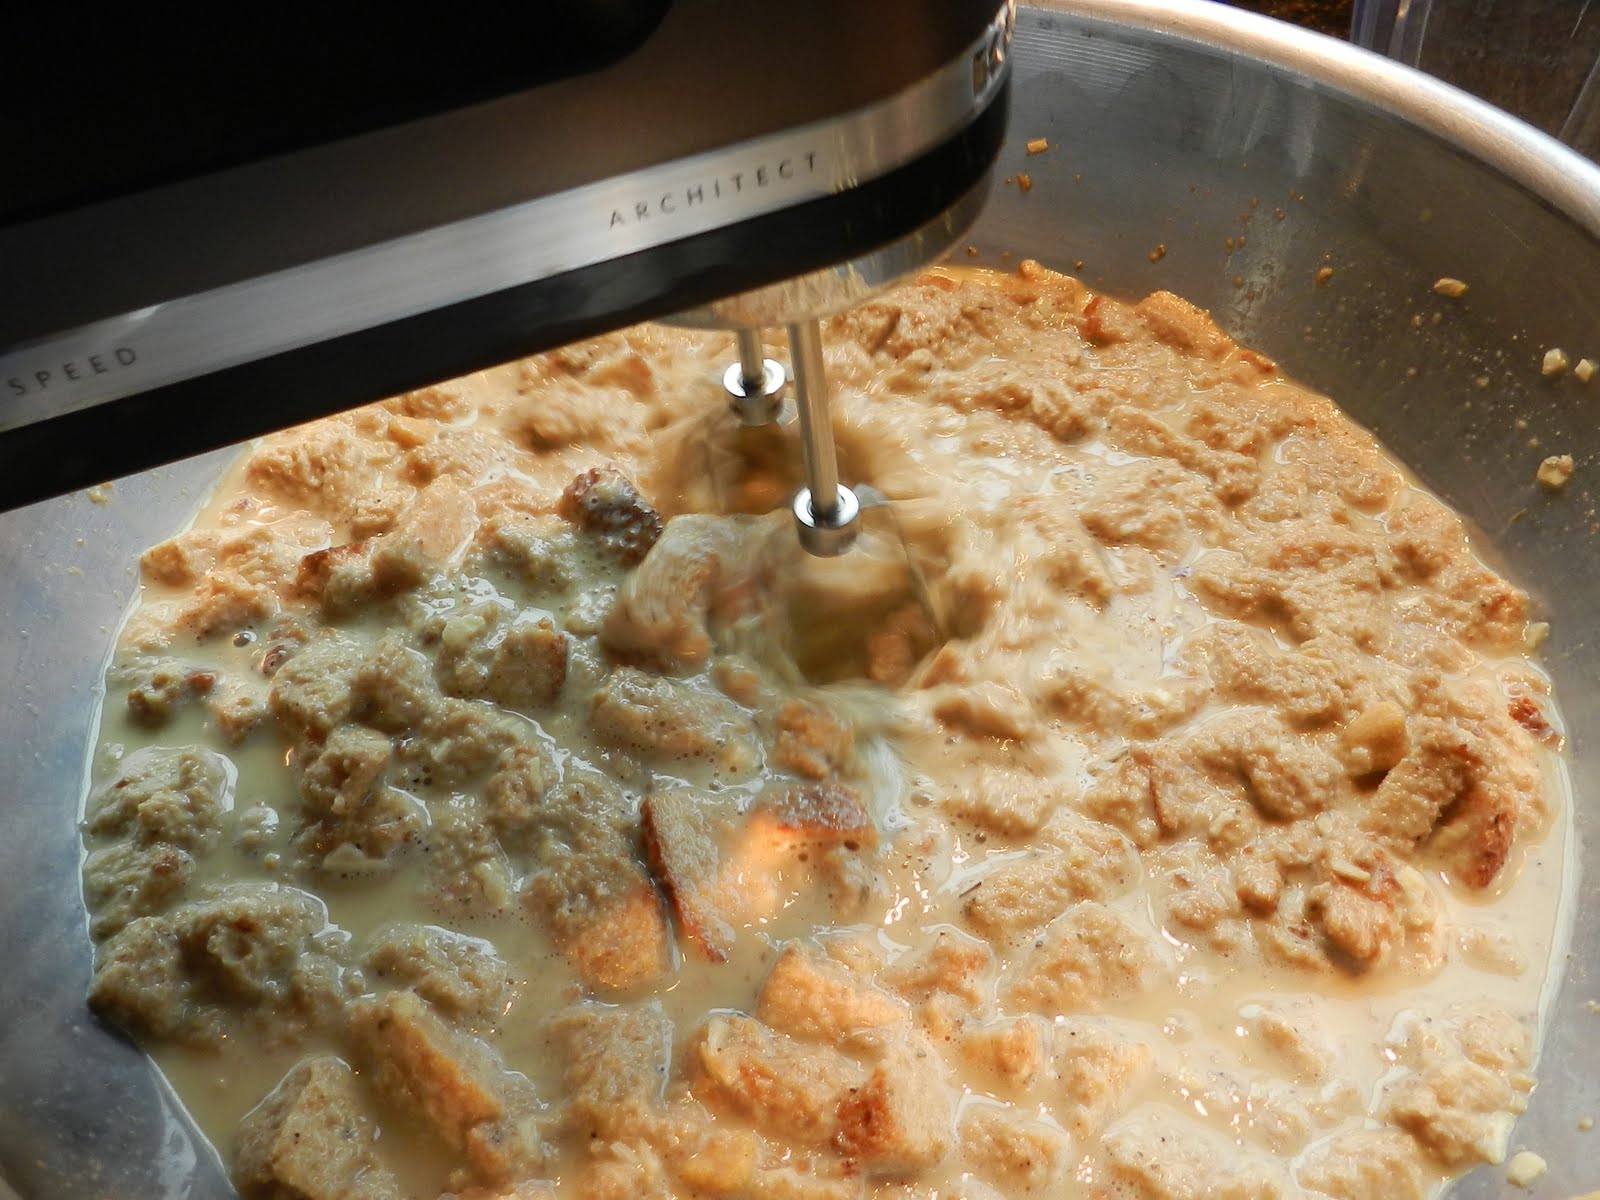
Stir vigorously with a whisk. (Hard to do that and take a picture at the same time!)


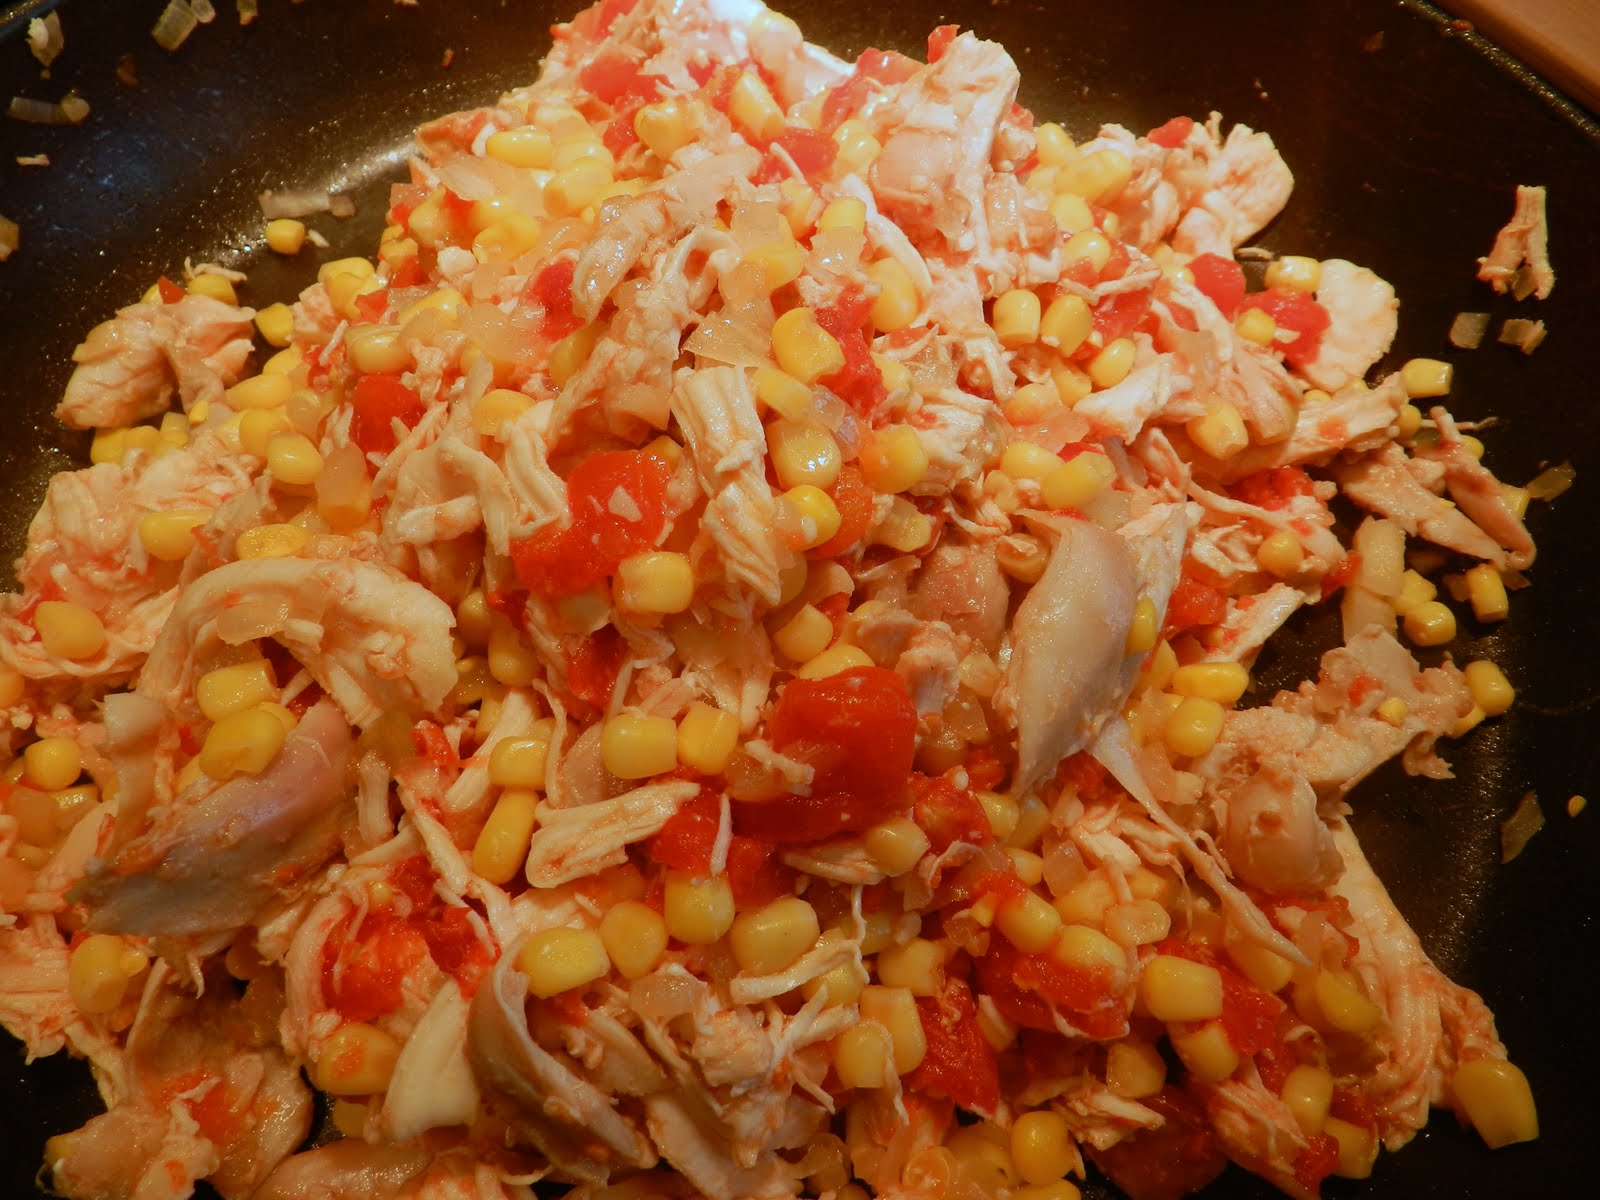
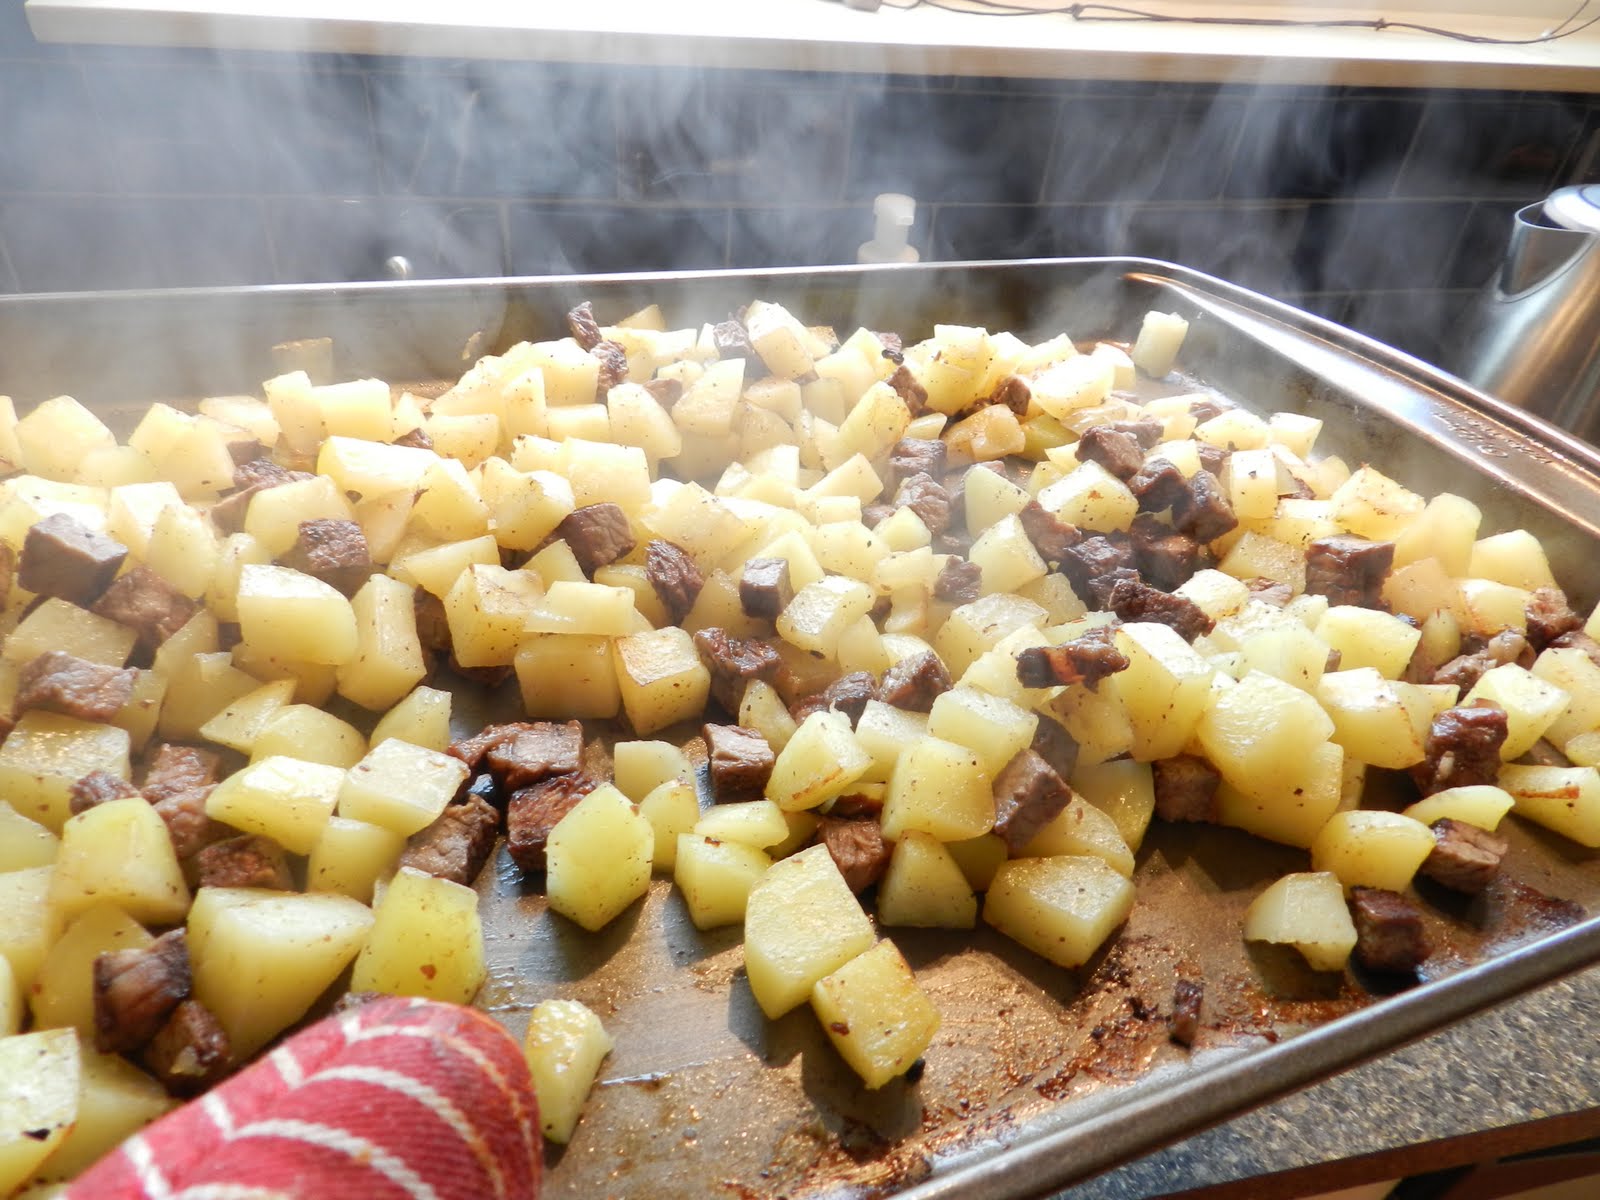
Keep checking on the meat. It took a while for the moisture from the kielbasa to evaporate and the browning process to begin.


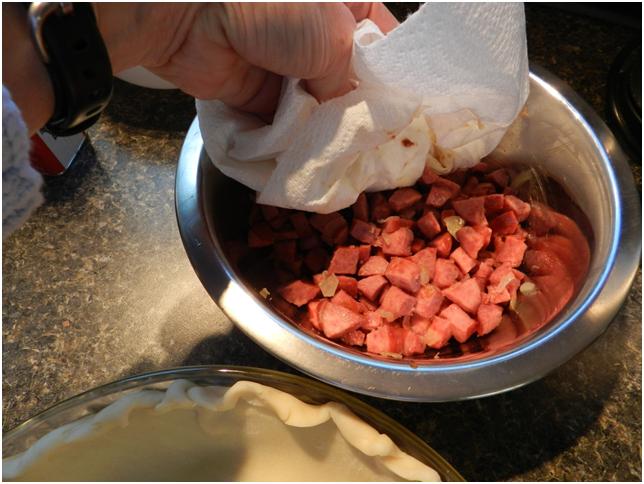
When the meat du jour is cooked, soak up any excess grease and oil with a paper towel.


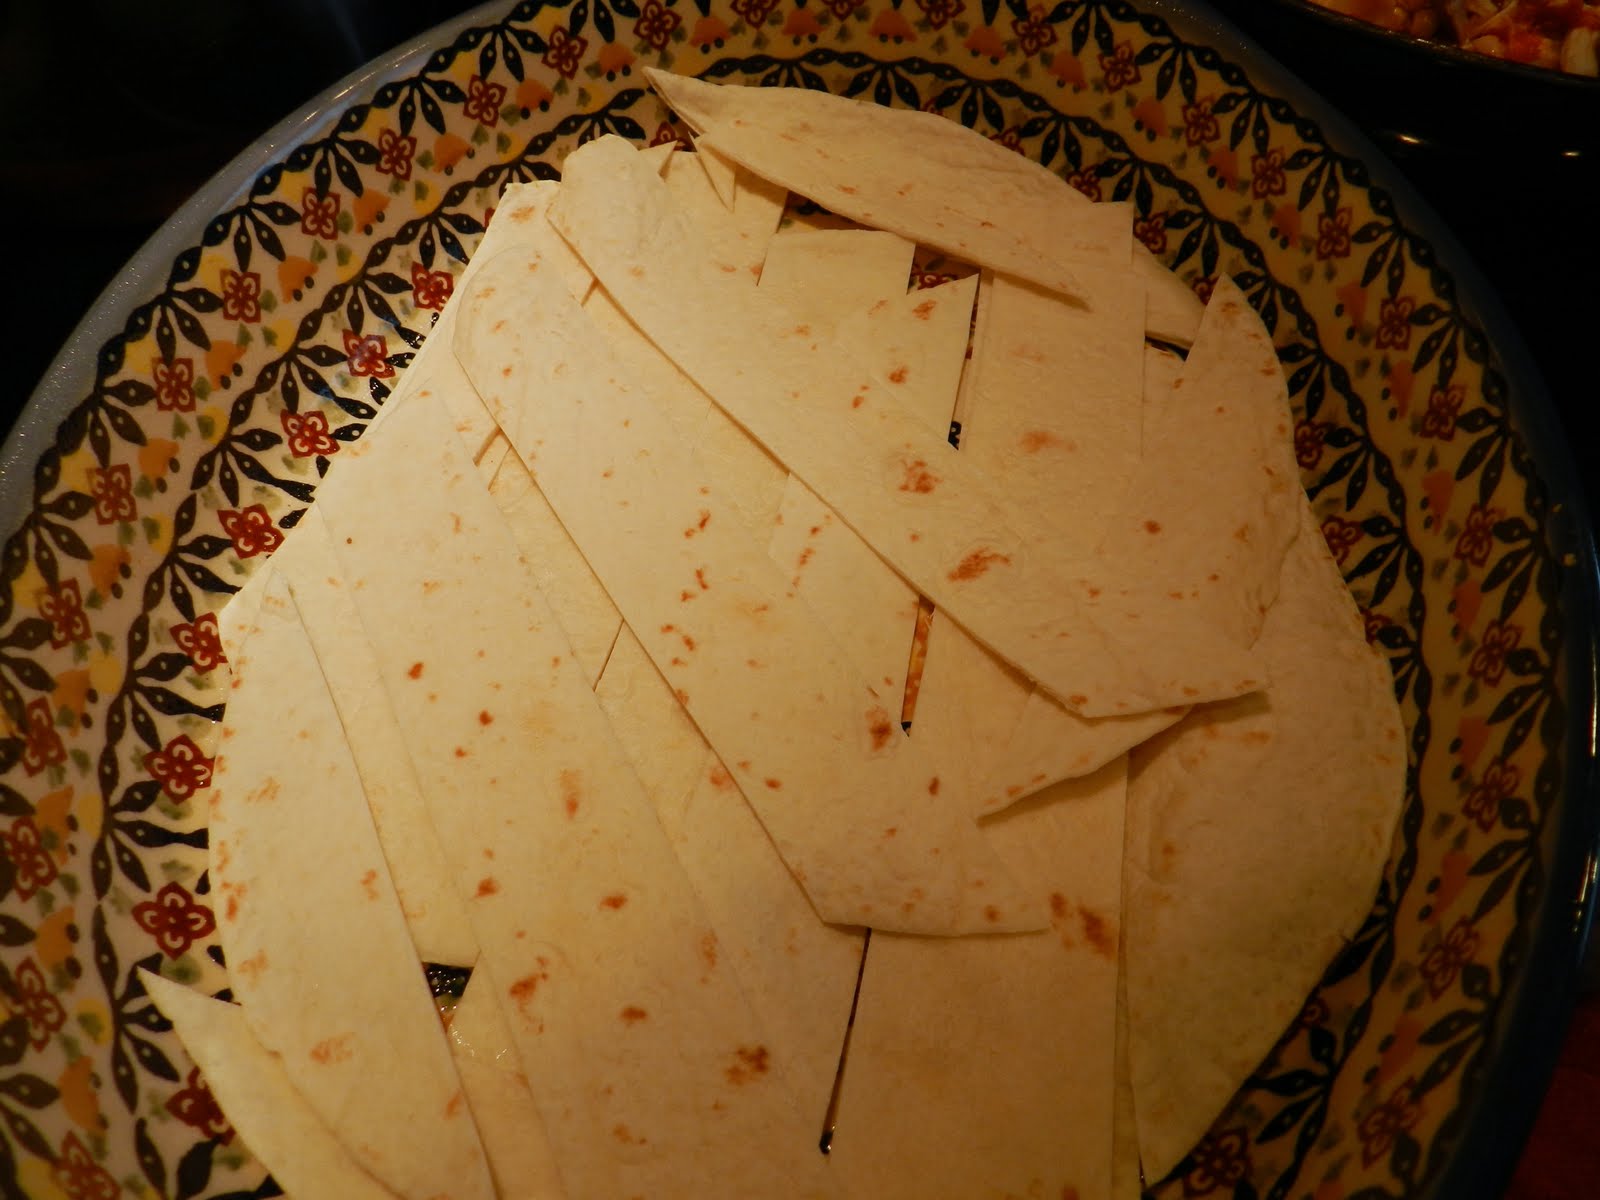
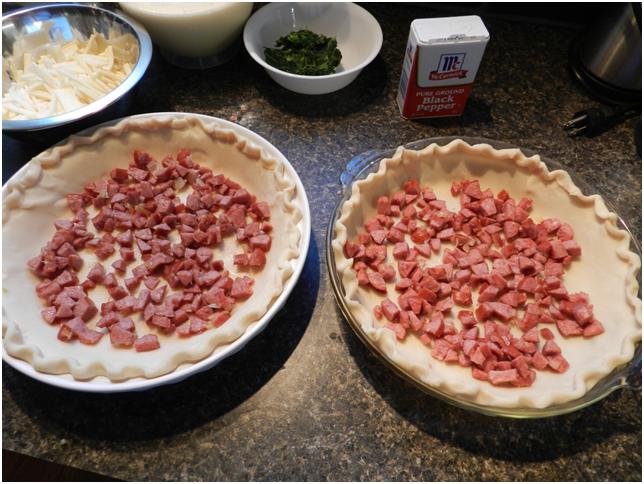
Put the crusts into the pie plates and try to make it look nice. Surely you can do better than I do – even my 13 year old son can!

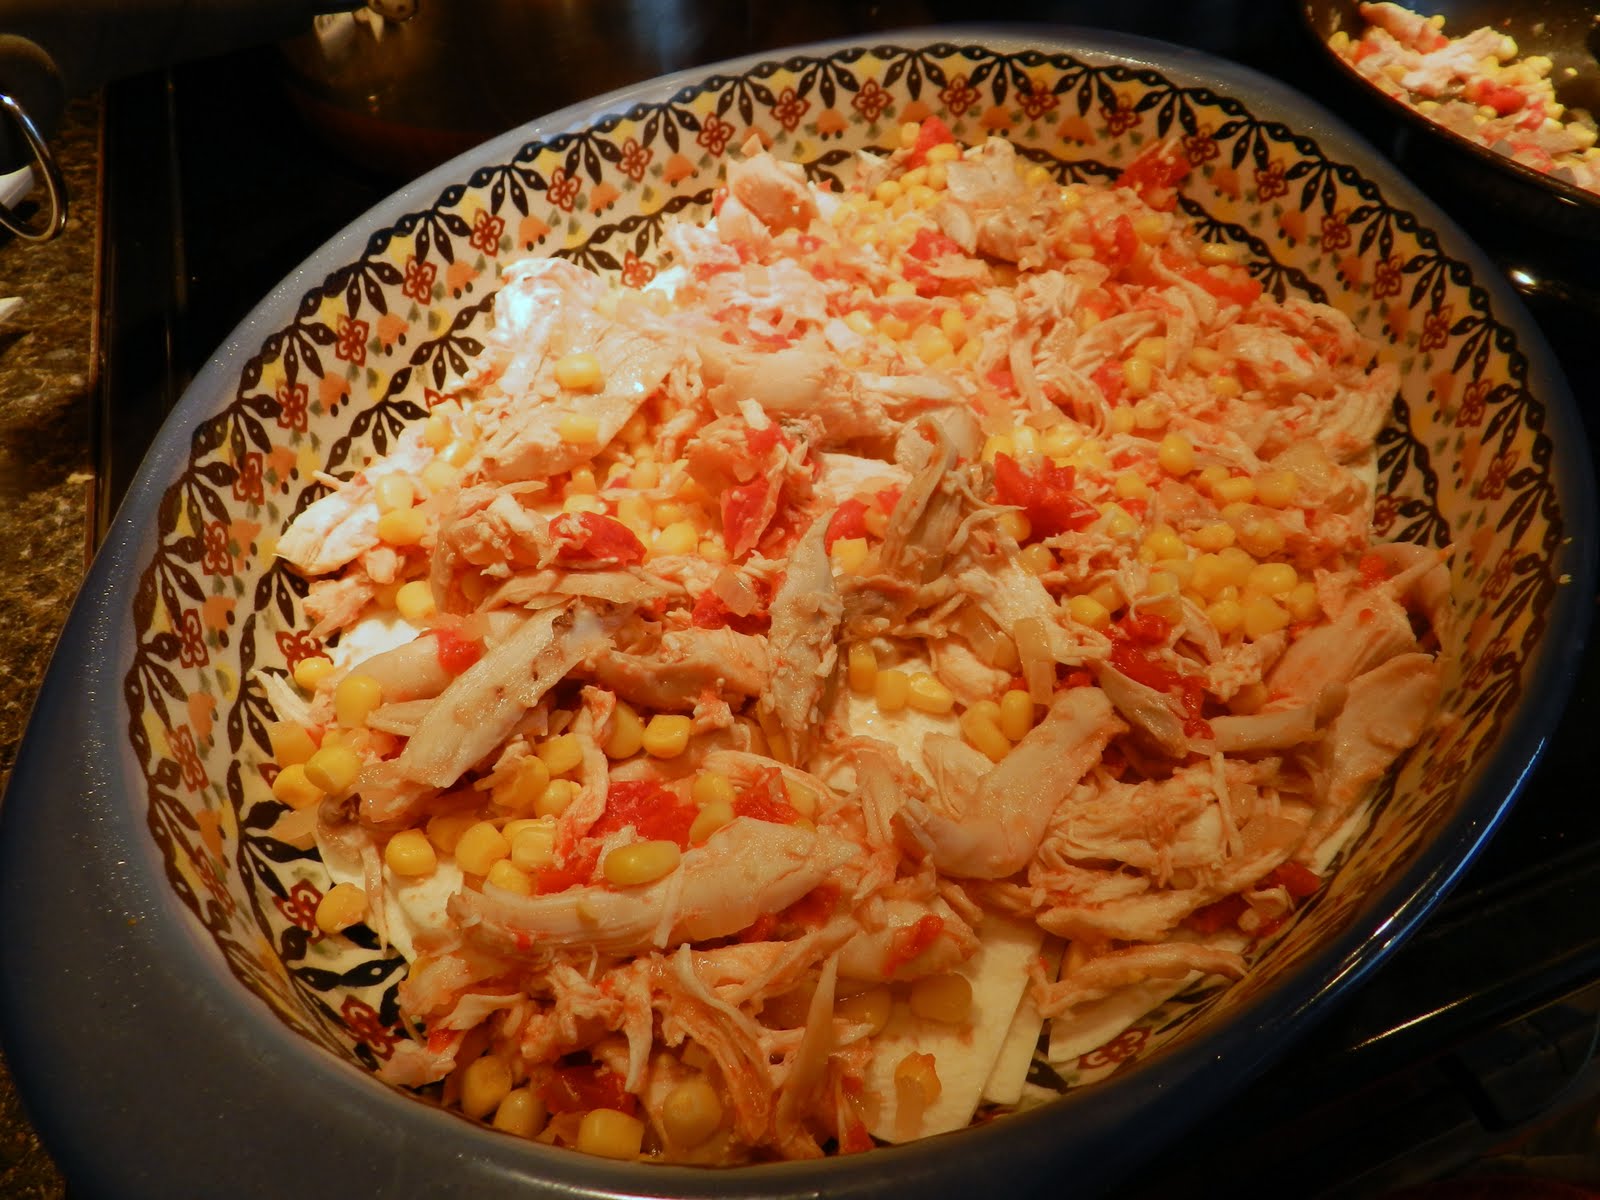
Then, divide the meat between the pie plates.


Decompress the spinach ball and sprinkle it evenly over the meat.


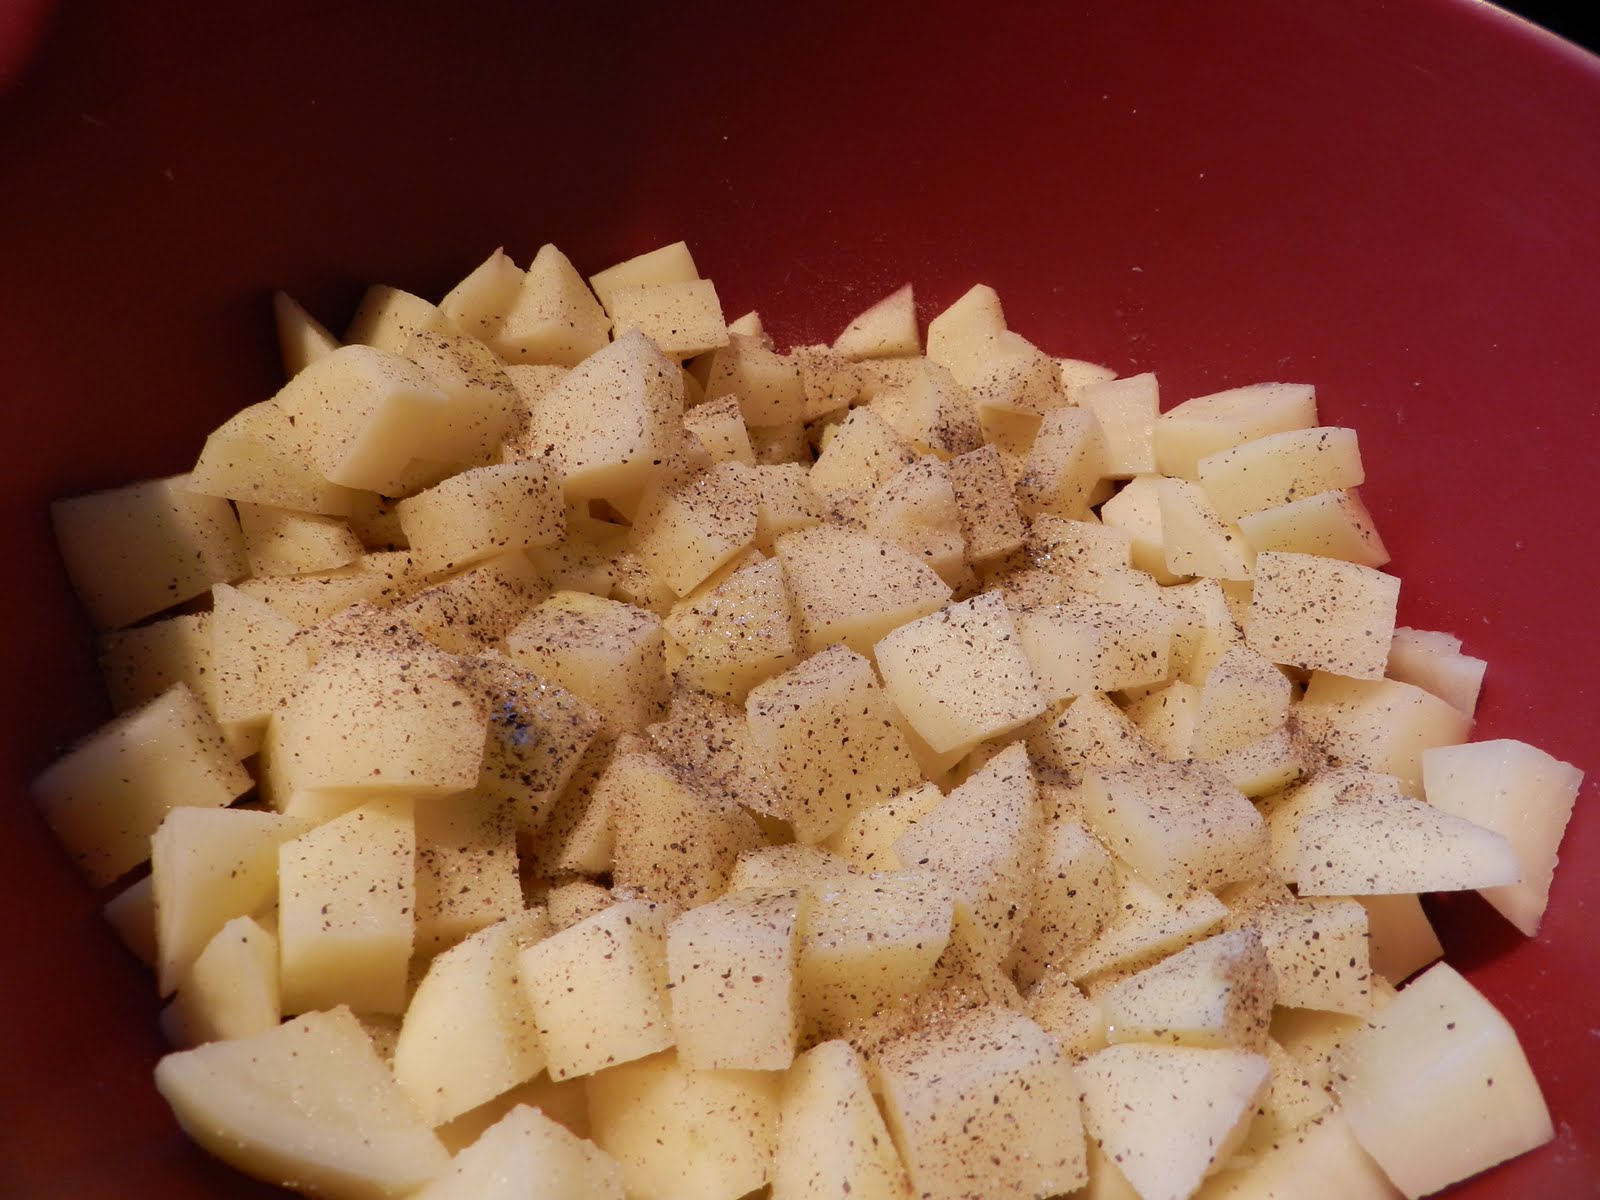
Spread a layer of cheese on top of that, and sprinkle with salt and pepper to taste.


Give the eggs and half-n-half another vigorous stir to make sure the mixture hasn’t separated then pour it between the two pans.


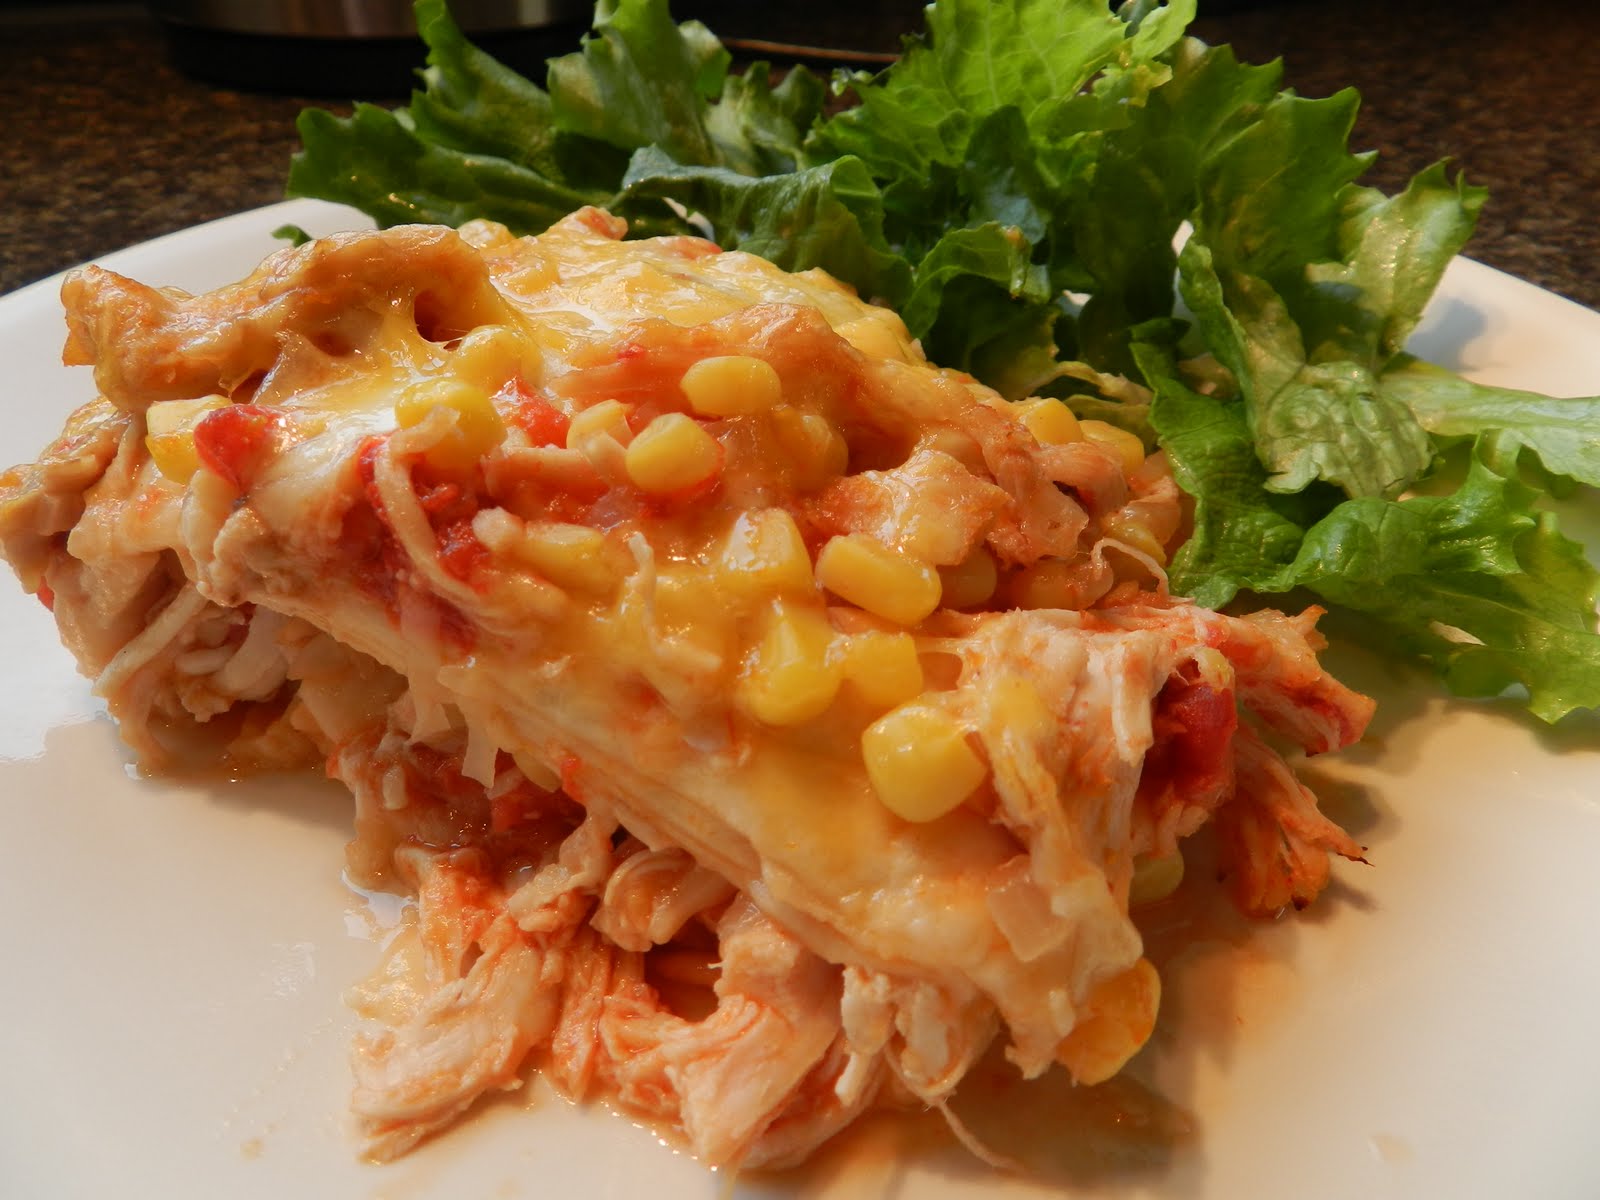
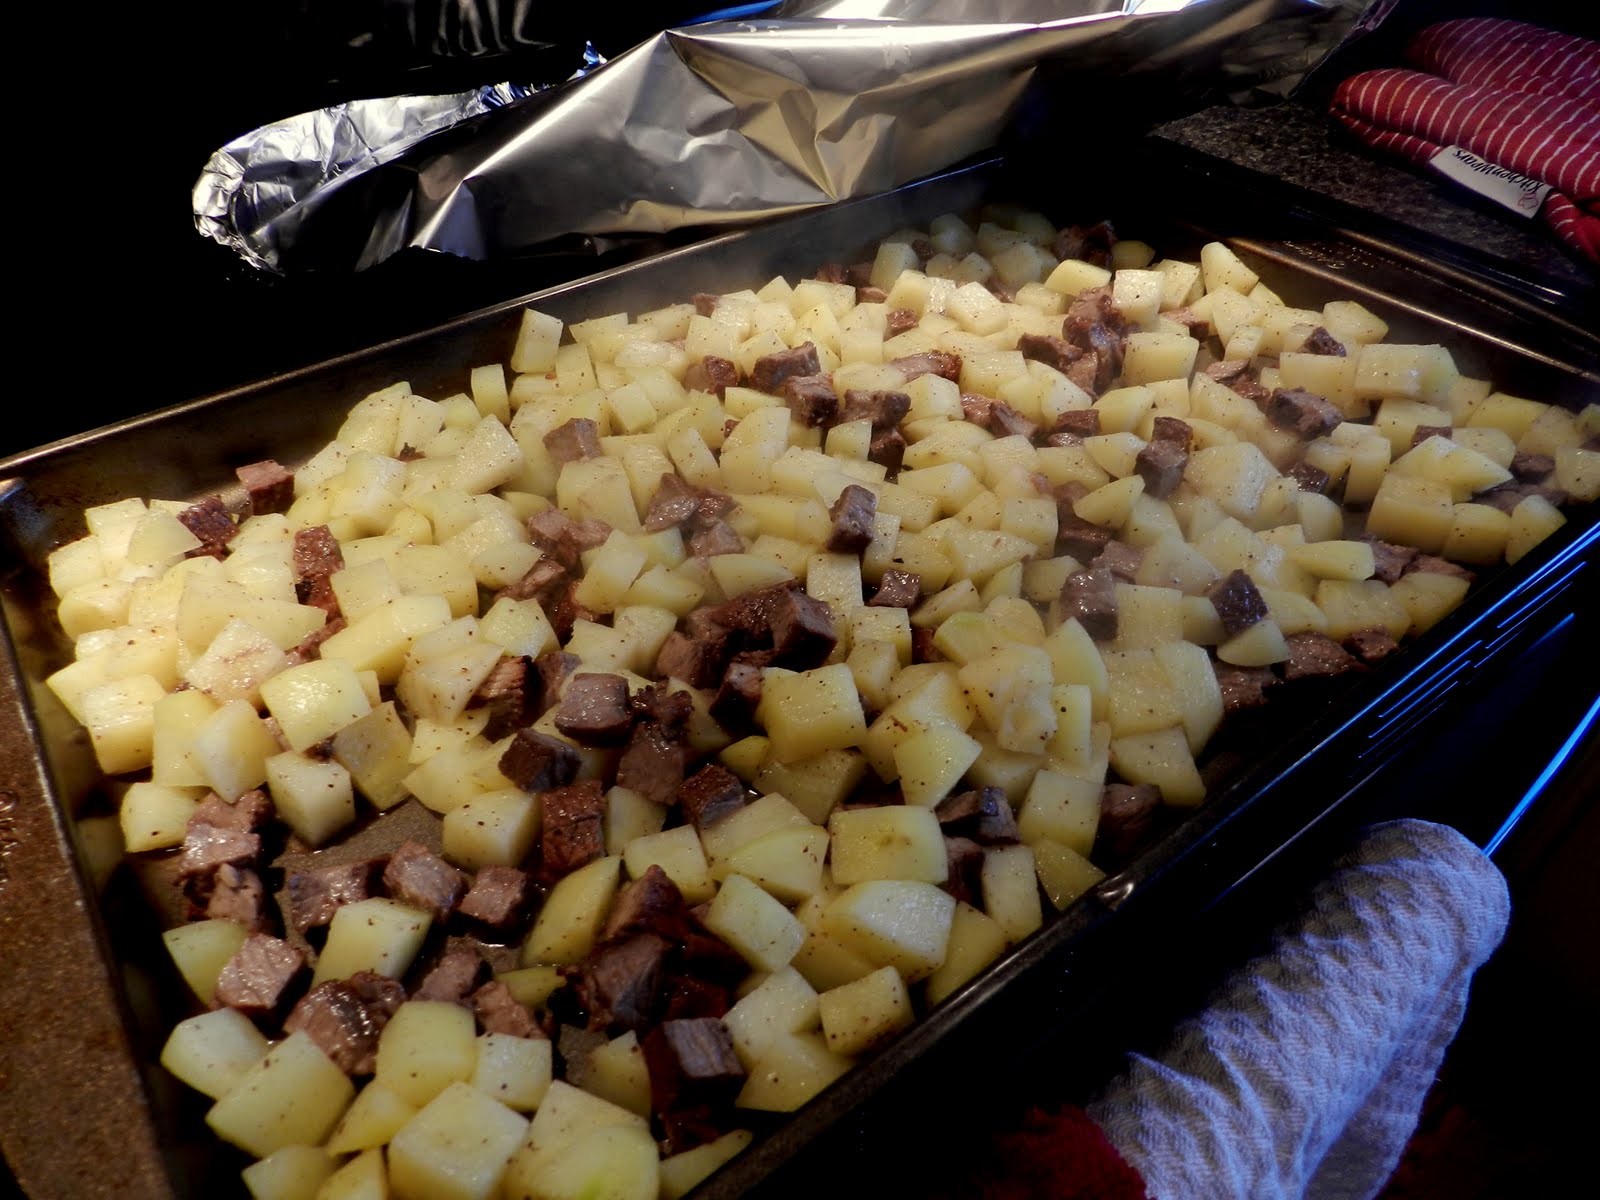
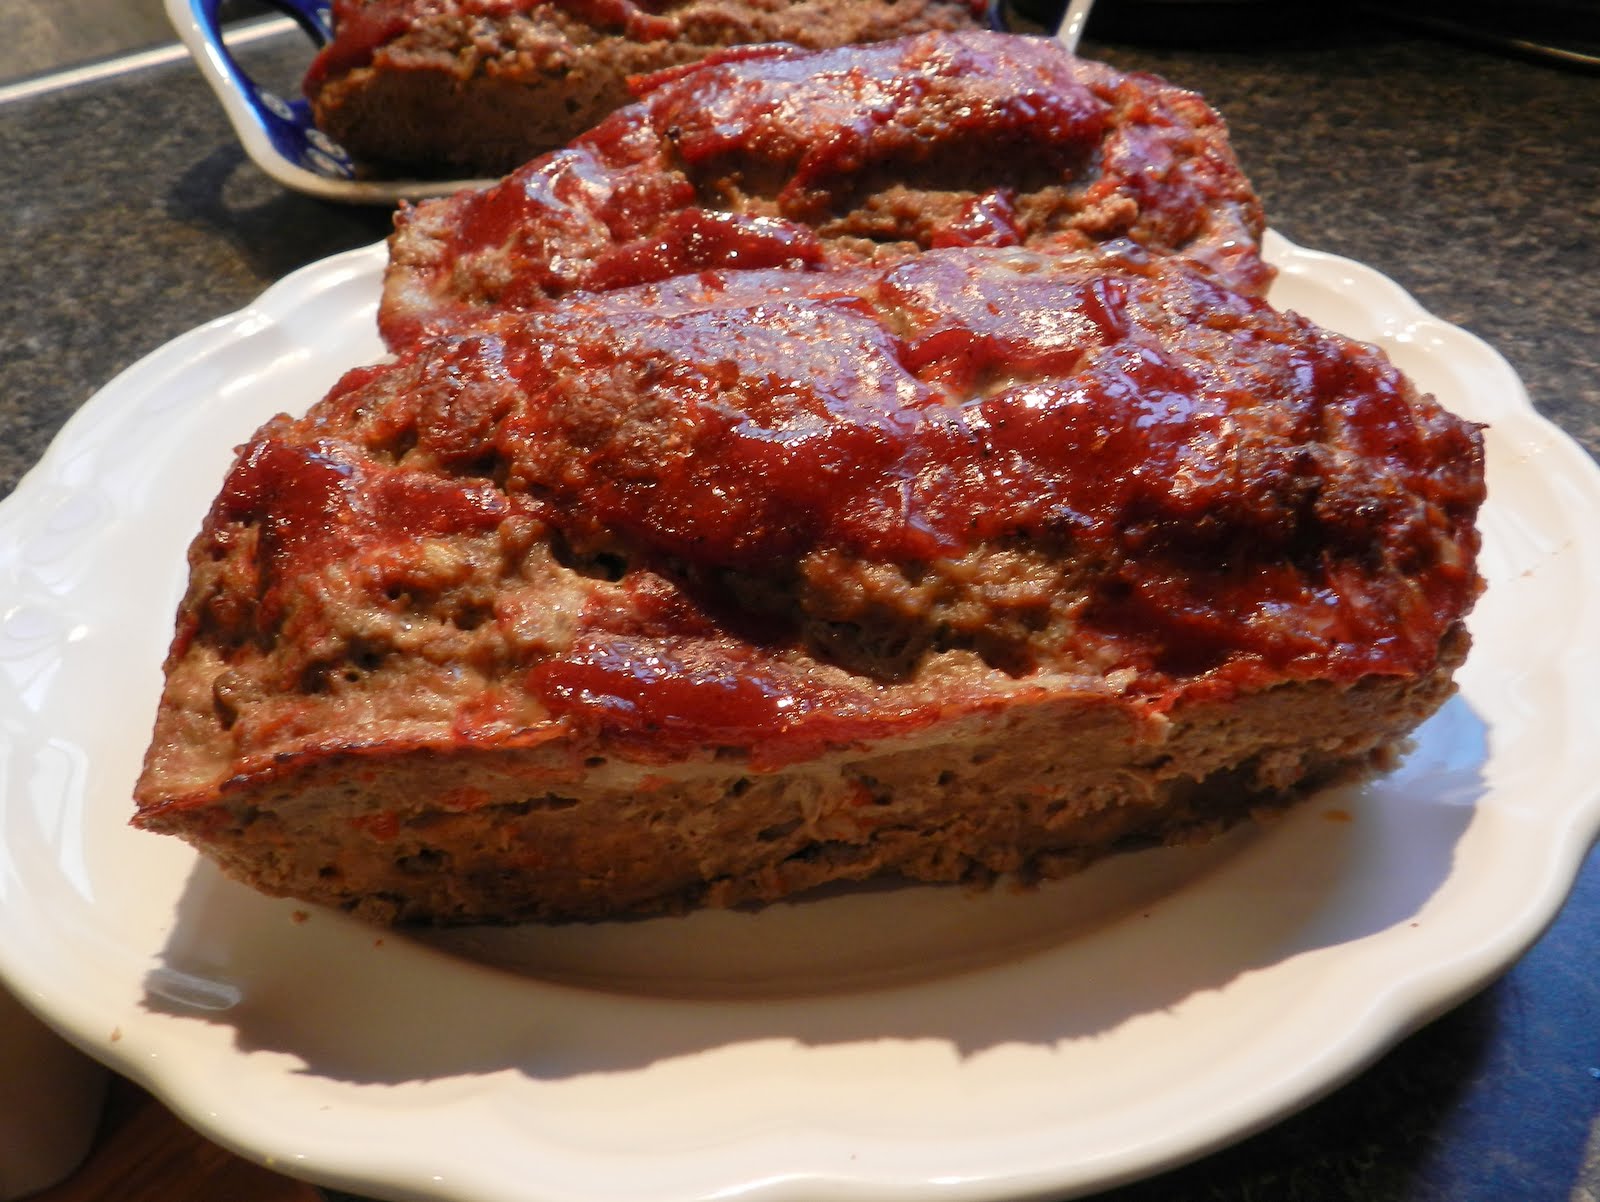
Pop them onto the center rack of a very hot oven (425 degrees) and bake for about 35 minutes. It should look about like this when it’s done.


Let it sit for several minutes before trying to cut and serve.


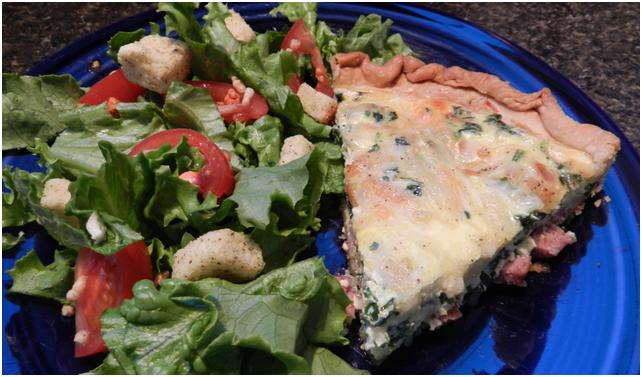
Yummy! And, talk about great breakfast leftovers!

Chicken and Corn Enchi-Sagna


When we’re getting ready to move I start to operate under a self-imposed grocery buying moratorium and use up what’s in the cabinets. The creativity that emerges usually doesn’t result in anyone saying, “Ooooh, make sure you write this one down!” but a few nights ago we hit on a keeper – a cross between enchiladas and lasagna.

I had a handful of rotisserie chicken in the fridge and Mr. Nobody left the bag of tortillas unsealed, so they weren’t supple enough for most ordinary applications. I also happened to have enough diced canned tomatoes to feed a small army, and corn enough for a platoon. All of this coupled with the vague recollection of a recipe in one of my Cooking Light cookbooks sparked an idea.


I chopped the onion finely, and sautéed it with minced garlic (out of a jar) in about a TBSP of olive oil.


I cut the tortillas into strips that would act like lasagna noodles. (Note that spelling and see my rant below!) I also cut a few slices of pepper jack cheese into thin strips and dug out a handful of shredded cheddar.


By that time the garlic and onion were heated through and softened. I added the shredded chicken and stirred periodically until it was hot.


Then I dumped in well drained cans of corn and diced tomatoes.


One and a half cups of chicken broth combined with about half of that can of spicy El Pato salsa made the sauce that would be poured hot over the top of all the layers. I put it on the back burner on medium heat while I finished working on the rest of the dish.


Half of the tortilla strips went down in a disorganized layer.


Then I dumped half of the corn, tomato and chicken mixture in and spread it around.


Then half of the pepper jack cheese on top of that.


The rest of the tortilla strips were followed by the rest of the chicken mixture.


The sauce was poured over the top.


Cheddar cheese got sprinkled on last.


It was baked in a 450 degree oven for about 15 minutes until the tortillas were golden brown at the edges and the cheese was thoroughly melted.


We served it with a dollop of sour cream and garnished it with surprised smiles – cabinet cleaning wasn’t so bad this time! In fact, it was good!

Okay, done with the food….now, back to that spelling issue! Did you notice how noodle is spelled with an “l-e” at the end, yet pretzel and tassel are spelled with “e-l”? Admittedly, I stink at spelling but that sort of thing makes me want a refund on my native tongue! If English was run by Adobe, Apple or Microsoft there would have been an update by now!

BUT, Since it’s up to me…here’s my new rule to remember this:

“L” before “e” in
Noodle, Poodle and Puddle 
Causes me no fuddle,

While “e” before “l” in 
Pretzel and tassel 
Causes me great hass-l-e!

P.S. You will be relieved to hear that I just bought a book on how to take pictures of food. If there is any honesty dust-jacket description, then eventually the photos will improve.

Cougar Graduation Cap Cupcakes


For the last three years we’ve coordinated the university ministry for our church and when it’s graduation time we have an open house with cupcakes for our grads. Washington State’s colors are “Crimson and Gray” so red velvet cake with gray cream cheese frosting works beautifully. The caps are made of little cookies with frosting tassels perched on a dollop of black frosting.

Notice how I’ve managed to work cookies into a cupcake design! Here’s how they’re made:

1 cup all-purpose flour
½ tsp salt
½ cup butter (cold – straight from the fridge)
½ cup sugar
1 tsp vanilla extract
1 tsp Wilton food coloring in your choice of color
About 1 TBSP water

Cut the butter into cubes and drop them into the food processor with the flour and pinch of salt.


Process into crumbles then add the sugar.


Separate the yolk from the white and drop it in. I do this by cracking the shell in half and plopping the yolk back and forth between the two shells until all of the white has dropped away. If some of it is clinging I kind of use the other shell to cut it away. I think this saves me a whole $2.00 splurge on an egg separator.


Add the vanilla.


Process again. It will get to a crumbly state like this. Then you can add the food coloring.


It will still be crumbly.


Add water a few drops at a time through the food processor’s feed tube until you get a ball of dough like this.


Divide the dough into four parts.


Flatten each piece into a pancake with your hands on an oversized piece of parchment paper.


Stack the “pancakes” and refrigerate them for an hour or two.


While you’re waiting, it’s a good idea to get the food processor cleaned up unless you want to see the stains from that food coloring for weeks to come. By the way, my food processor’s name “Princess P.” The P stands for what it can do: process, pulverize, pulse, puree. And, for how it sounds: it purrs. And, for Priscilla – because that also starts with P.

Okay, back to the dough. Usually by the time I pull the dough out of the fridge, I’ve overshot the target by a little and I need to actually let it warm back up slightly. When it is firm but pliable, place each pancake under a second piece of parchment paper. (So many P-s!) Then roll the dough to about 1/8 inch thickness between the sheets. (I now have a nice wooden rolling pin, thanks to my Uncle Pete’s suggestion, but it’s not getting anywhere near this much food coloring!)


Peel away the top paper.


Use a pizza cutter to form a grid of one-inch squares for the caps, with smaller lines of buffer dough between each row of caps. The buffer will be peeled away from between them and the caps will not leave their place on the parchment paper until after they have been baked. With cookies this thin, it is almost impossible to move them without mutilating their shapes.


Lift and peel the dough from between the cookies.


Poke little steam holes into the center of each cookie to avoid puffing. (I don’t know how critical this is but Julia Child says to do it with dough like this, so I do.)


Place the sheets of parchment onto a baking sheet and bake at 400 degrees for about 8 minutes.


Remove them on their paper to cool on a rack.


Once they are cool, use your clean fingers to rub off the inevitable crumbs that will be stuck around the edges. Set them aside to wait while you go on to the cupcakes. The cupcakes can be any kind you want to make. If you want to hear about the escapades involved in making mine, go to…. Lessons in Red Velvet.

For this post we’ll go on to the dreamy cream-y cheese frosting.


Frosting
2 boxes of cream cheese (at room temperature)
2 sticks of butter (at room temperature)
1 (2lb) bag of powdered sugar
Gel Food coloring

Drop the cream cheese and butter into the mixer and cream them


Add the powdered sugar. I don’t sift the sugar for frosting and the only time I’ve ever had trouble was when I used a cheap generic package. I also don’t add the sugar gradually…big surprise for those of you who’ve read my cookie recipes, I’m sure. Then, mix until it’s nice and creamy like this.


Pull out two small portions – one for the tassel color and one for the base of the caps.


Color the remaining frosting to the main color you’ve chosen. I made gray by adding a small amount of black Wilton gel food coloring. Gel food coloring is critical for frosting because it doesn’t mess with the consistency like liquid.


Don’t forget to color the other bowls of frosting. I use a table knife to get the color out of those tiny jars and then just use it to mix.


The final colors….Go Cougs!!


I pipe the frosting onto the cupcakes with a large frosting tip. I am only a perfectionist when I want to be and with frosting – I don’t want to be. As long as I come out with kind of cute layer on the cupcakes some way or another I’m happy.


Next I put on the base of the cap with a pastry bag that just has the tip cut off. Sandy and Susie taught me this tip-less trick while we were working on the Victorian Tea together. You get the cutest little dollops.


Press the cookies into place.


Then put the tassel-colored frosting into a piping bag with a fine line tip and make the top part of the tassel. (I am learning how to spell t-a-s-s-e-l by the way! Word is faithfully correcting me from “tassle”. I wish it would do so automatically and let me live in ignorance though.)


Then switch to a little frilly tip for the bottom part of the t-a-s-s-e-l.


Keep a toothpick handy to help cut off the end of each one if needed because it goes through open space from the cookie to touch down on the cupcake and it can be hard to lift the tip away without pulling the t-a-s-s-e-l away too.


Voila!!! Not one cupcake is perfect, but they’re pretty cute, especially with the happy graduates:

Kimberly…


Megan…


And, my hubby, the Army’s newest if not only Ph.D in Radio (Nuclear) Chemistry. He’s great looking for such a brain!


Last, but not least, a special thanks to Chris and Katie for making the sandwiches and setting everything up for the party while we were all at the graduation ceremony.


Lessons in Red Velvet


I know that we learn from our mistakes, but over the years I have decided that I am not a fan of this approach, which is why I read trustworthy cookbooks and put into practice what I pick up. This also happens to be a big reason why I study the Bible. I’d rather take wisdom where I can find it and not have to learn the hard way that God had a good reason for what He said to do.

Of course, in spite of the best guidance, I occasionally think I have better ideas, like with red velvet.


The foundation for this lesson started on Good Friday when I procrastinated about buying a cake mix (my usual approach to cake baking) and couldn’t find a red velvet mix in Pullman. A bunch of students were coming over after the Good Friday service to watch The Passion – and have dessert. I had racked my brain for what kind of desert might go with such a gut-wrenching movie and come up with a plan to make a cake that illustrated Isaiah 1:18. There was no time at the local IGA to think of a plan B. Thankfully, I had been ogling the Pioneer Woman blog and happened to remember that she had recently posted a red velvet cake. (See it here.) It was beautiful and I had looked pretty closely at the ingredients so I grabbed buttermilk and red food coloring and trotted home.

The cake turned out nicely – until I hurriedly tried covering over red crumbs with cream cheese frosting that was too thick for the job. It turns out that hiding crimson with white is harder than it looks in cakes, not to mention the cosmos. Anyway, there were crumbs of red embedded in the frosting, but the point was made, maybe even accentuated. Here are a few shots of that cake.


The real trouble with red velvet began when I watched a re-run episode of Bobby Flay’s Throwdown a couple of days before I needed to make red velvet cupcakes AGAIN for our graduation open house. (Note: If you missed my prior plug for that show, please check out the post on pulled pork (here). I’m still looking for someone who can explain the Zans!) In the episode we watched, a woman who owns a bakery made red velvet cupcakes, and she talked about how you shouldn’t use butter in cupcakes because it makes them dry. She believes in using oil. That got me thinking about the Pioneer Woman cake I had recently made, which called for shortening. I wondered if perhaps that perfectly delicious cake might have been too firm to be parlayed into scrumptious cupcakes. Meanwhile, Bobby Flay, used butter in his cupcakes and won, but I was already well down the destructive path of second guessing sound wisdom. Oil, butter, shortening – conflicting expertise – what a dilemma!

My solution – when the experts can’t agree appoint yourself as one. In my visions of blogging grandeur, I even took a picture of myself writing my own hybrid recipe from the two mentioned above. Stupid! I have studied cookies to the point that I can alter recipes with predictable results, but I have no business trying it with cake recipes, when my usual method involves pictures of eggs and oven dials on the back of a box.


This photo is now quite embarrassing!

But, we will never know exactly how this recipe might have turned out, because I failed to even follow my own plan correctly. Here’s how it happened.

Holly and Megan came over to bake with me, which was great fun.


I guess I was distracted with the novelty of a sifter being operated in my kitchen as Holly was measuring the flour and I told her the wrong amount. (It matters how much flour you put in cake, by the way.)


The batter tasted great, but I kept looking through the oven glass at cupcakes that weren’t rising and wondering why it was taking so long. Finally I pulled them out in a fit of aggravation and found that the bottoms were burned. WHAT!?

Worse yet, they tasted burned.


What you cannot see in this trash can is the chunk of my ego buried under the pile.

I called Ric who was already leaving the grocery store after shopping for other graduation party supplies and asked him (in a very miserable voice) to go back in and shake the place down for a red velvet cake mix. He felt so sorry for me that he bought me these flowers to make me feel better.


Maybe I should have baking mishaps more often!

He may have also been feeling bad about breaking the news that he did not find a mix. Instead, he found more red food coloring. Oh, yippee – a chance to redeem myself.

For the next batch I humbly followed the Bobby Flay Throw Down recipe exactly – almost. You can find it online here. The only exception was that I mixed the cocoa and the red food coloring like The Pioneer Woman recipe because it’s much prettier to dump red coloring into white batter. You get a picture like this….


Instead of like this…


…which is how it looks if the cocoa is added in with the dry ingredients. If I wasn’t blogging, I wouldn’t care, but now you’ve gotten to see some pretty red swirls. If you really want to see pretty red batter photography, check out the Red Velvet Sheet Cake on Ree’s Blog.

Both recipes made delicious cake – much better than I’ve ever gotten from a mix. So, the wheels are turning in my brain on this whole cake thing. I will conquer this process!

In the end, the lessons learned were profound. Follow directions when you’re not an expert and be careful about measurements.

Next Post: the graduation cap cupcakes that all of this trouble went into producing. Here’s a sneak peek.


Leftover Steak Hash Browns


For my birthday, a couple of weeks ago, the guys cooked. Ric stood over the grill in 40 degree weather with wind and spitting rain and the boys set the table with everything they could think of that they know that I love. It turned out to be a lot of red – from the meat and wine to the French pottery and table cloth. I thought it was very sweet and they really did a great job on the food.


The steaks were delicious! And, one of the things I love about steak is making oven hash browns with the leftovers.

I chop a bunch of potatoes into little cubes. The smaller they are the less time they take to bake.


Cut the left-over steak into cubes, about ½ inch.


Drizzle some oil over the potatoes – 1 or 2 Tablespoons is enough.


Throw in some salt and pepper.


Then throw in the meat and stir.


Spread it all on a baking sheet. (Notice I didn’t say “cookie sheet”.)


Cover with foil and put it into a 375 degree oven for 20 minutes.

I took this picture of blue sky from my deck while they meat and potatoes were baking. Notice the maple tree branch. Three days from May and that’s all we had in the way of leaves. Brrrr…. This is why I’m still stuck on winter food.


Back to the kitchen…thank you, Mr. Timer for the reminder!! After 20 minutes, take the pan out and stir everything around. The potatoes should be fork tender at this point. The next step is to get them crispy.


Bump the oven temperature up to 400 degrees and return the pan to the oven, this time uncovered. Leave them in for about 10 minutes, then pull them out and stir again. You should be getting some crispy edges.


Return it to the oven for another 7-10 minutes then pull it out and stir again. Repeat until your hit the crispiness point that you think is perfect.


We like to serve them with ranch and ketchup. And, it’s not a PBJ.

(originally published 5/5/2011)

Not-a-PBJ Update – #2-10


I am really not proud of this post, but for the sake of honesty you should know what I’ve been counting in the tally of alternatives to peanut butter and jelly sandwiches since I started this project in the first Not-a-PBJ post (Not-a-PBJ #1). Obviously, I’m not doing as well in the creativity department as I was hoping.

Let’s get a few of the ones without photos out of the way first.

Not-a-PBJ #2 – Top Ramen – I know, too much salt and minimal nutritional value, but we usually have fruit with it and one time they had had banana bread for a morning snack –

Not-a-PBJ #4 – Cheese sandwiches – toasted, or not – made to order. I’m very accommodating.

Not-a-PBJ #5 – Lipton Pasta Sides – Alfredo (It’s not a “side” when it’s for lunch!)


Not-a-PBJ #6 – Lipton Pasta Sides – Creamy Garlic Shells. These are not the same as #5. Notice the green verses blue on the package.


Not-a-PBJ #7 – Leftover Pizza – At least I warmed it in the oven and not the microwave.


Not-a-PBJ #8 Leftover taco filling and rice turned into burritos. I’m kind of proud of this one actually. Wrap ’em up in foil and bake them in the toaster oven and they’re crispy and yummy.


Not-a-PBJ #9 – Subway. Not in the budget for most days but the occasional indulgence is fun and the boys had just run three miles without griping so they were ready for a big lunch.


Not-a-PBJ #10 – Oven Hash Browns, which you will see in my next post. I’m going to throw it together quickly so that this embarrassing confession will not be sitting at the top of my blog for very long. The hash browns were actually for dinner while Ric was on a trip, but I am counting them because PBJ’s are indeed fair game for dinner when Dad is gone. In my mind I could count every meal that he’s on the road as an alternative to peanut butter and jelly, but then I might have to admit to a night or two of cold cereal, so I’m being selective.

Now, I’m once again resolving to be more creative with lunches so that I can wow you with my food bloggerness. Please don’t hold your breath though.

Chunkless Meat Loaf


One of my family’s favorite meals is meatloaf with homemade macaroni-and-cheese. The recipe below will make two loaves, so when it’s just our family I save half of the mixture in the freezer for a future date. Soon, it will take two just to feed the family though.

For the Tuesday night group it takes four or five so once again, the pictures are out of sync with the recipe – sorry.

Basic Meat Loaf (2 loaves)
2 eggs
2 cups milk
6 slices of bread
2 TBSP Worcestershire sauce
2 tsp salt
¼ cup of dry minced onion (or fresh –see upgrade option)
1 tsp garlic powder
1 tsp dry mustard
½ tsp rubbed sage
½ tsp pepper
2 lbs lean ground beef
1 lb turkey sausage (any flavor will do)
Topping: ½ cup chili sauce (or ketchup with some chili powder & pepper)

Upgrade Option: If you have an audience that doesn’t mind chunks of vegetables in their meat, then finely chopped onion, shredded carrots, and/or bell peppers all add some interest. My crowd seems to like the plain meatloaf best.

Start by skimming just the crusts off of the bread with a serrated bread knife. (Chunks of crust are unappetizing in meat).


Then cut the bread into cubes.


Put all of the bread into a nice big bowl and add the milk and eggs.


The bread needs to steep for 10-15 minutes in the milk and eggs, with only an occasional stir but you can add all of the other ingredients except the meat while it’s sitting.


When the bread is nice and soggy, use a mixer or a whisk to turn the glup into a smooth “goop”. Not the most appetizing procedure, but it keeps the finished meatloaf from being strewn with bits of gooey bread.


If the turkey sausage comes in casings, it has to be cut out of them. Fun! (not)


Toss the turkey into the goop.


Mix. If it wasn’t such a big batch, Darth Mixer would be doing this – and then getting a bath in anti-bacterial spray. Unfortunately, Darth doesn’t have a bowl big enough for feeding twenty-five and the next best option is to use your hands. I can’t stand raw meat, or anything else except garden dirt, under my fingernails, so I wear gloves. Eventually your hands are so cold that they go numb and you can’t feel much of the squish anymore.


Then, add the beef.


Mix thoroughly. (Note: This is the point where you put half of the mixture into a heavy zip-lock bag and stick it in the freezer if you want a loaf for another day. When you’re ready to use it, just thaw and proceed with the rest of the directions below.)


Divide the gunk into loaf pans.


Top with the chili sauce. In a pinch induced by poor planning, one can add a teaspoon or two of chili powder and some black pepper to regular ketchup and it’s just about as good.


Put the uncovered loaves into a 350 degree oven and then clean every surface in the kitchen that could have possibly been mucked up by meat germs.

After about 45 minutes pull each loaf out, drain the liquid from the pan and return it to the oven. (Obviously – Be VERY careful!) I use a spatula to hold the meat steady and tip as far as I can without dumping the meat into the sink.


Do the same thing again about 15 minutes later. This is a critical step in getting meatloaf that is actually shaped like a loaf, has a bit of a “crust” and isn’t soggy.

Leave the loaves in the oven until the internal temperature is hot enough for the turkey to be cooked – 180 degrees. It should take about 1 hour and 15 minutes for two loaves.

Let me add a plug for a good meat thermometer here. An adolescent episode of misery from improperly cooked chicken caused me to overcook poultry for years. When I finally got a meat thermometer that I trusted, results improved dramatically. Mine tells me the right temperature for each kind of meat and has a cord that lets the probe stay in while the oven door is closed. Love it. No more shoe leather for dinner.


Almost there.

Finally, let the finished loaves rest for about 10 minutes before slicing. Serve with ketchup….and macaroni-and-cheese, and green beans and rolls…and desert. Yum!


Oops…crumbles. Food staging requires more attention to detail than I have sometimes.

I ran out of camera snapping stamina when it came to the mac-n-cheese, so that will have to be a future post, but let me just ask: does this ever happen to anyone else?


Three open packages of elbow noodles in the same cabinet? How? Why?

I guess maybe it’s like what happens to socks in the dryer?

(originally posted 4/30/2011)

White Chocolate Cranberry Muffins


This was a mid-morning snack last week. The boys have grown five inches (between the three of them) in the last six months, so a dozen muffins is about right for “second breakfast” and with a tall glass of milk, “elevensies” is taken care of as well.

My basic muffin recipe goes like this:
1 cup All Purpose Flour
1 cup of: oats, whole wheat flour, another cup of all purpose flour or any other combination of dry flour-like stuff that I am in the mood to throw in
1/3 cup sugar
2 tsp baking powder
1 tsp salt
½ cup vegetable oil
¾ cup milk
Add goodies according to taste or what you have in the cabinet.

Muffins are the reverse of cookies. You start with the dry ingredients then add the liquid. (For this particular batch that second cup of dry stuff was quick oats.)


Stir it all together gently. You’re not supposed to over-stir muffin batter. Honestly, I can’t remember why, but when Alton Brown explained it in a book it made sense and I have done my best to obey this rule ever since. And, the muffin quality in my house has improved.

Once the dry and wet have been delicately combined, you can add goodies. For this batch, I used about ¾ cup each of chopped white chocolate chips, chopped dried cranberries, and finely chopped walnuts.


Scoop the batter into a muffin tin sprayed with non-stick spray. You can use papers, but I never seem to have them in the cabinet – possibly because my boys often chew them like little goats when they’re done with each muffin and it grosses me out.


Bake in a 375 degree oven for 12-14 minutes.

Spread the tops with butter or margarine. (Yes, I can allow for margarine in non-cookie situations!)


Then sprinkle with sugar.


Enjoy one before they’re gone. In my house, that’s about 10 minutes.


Edible Easter Baskets


The boys have outgrown snap-together eggs and plastic grass, but Easter is still about surprise in the morning – the surprise of life and of an empty tomb. Treat filled baskets can’t hold a candle to that, but they do add joy to the morning.

Thankfully, I’ve awakened to the world of food blogs, where culinary creativity abounds. (Maybe not so much on this one, which is why I’m staking my claim on corniness.) There are plenty of ideas out there so I decided to modify one of the cookie nests.


Recipe: The basket is a fortified rice crispy treat.
¼ cup butter
10 oz marshmallows
4 cups rice crispy cereal
2 cups shredded wheat cereal crushed


I added the crushed shredded wheat because I wanted a more “nesty” look than plain rice crispies would give me.

Melt the butter over low heat then add the marshmallows and stir until they are melted and smooth


Dump in the cereal and stir together.


Spray the inside of the cereal bowls you are going to use for molds.


Divide the mixture between the bowls.


Spray your hands with cooking spray to avoid sticking to your work and press the cereal goop into a nest shape.


Let the bowls sit overnight then pop out the nests and use them like baskets in the morning.


Joy to you this Easter!
(Originally published 4/24/2011)

Molly and Becky’s April Flowers

My friend Molly and her sister Becky brought me this GORGEOUS fruit arrangement on Wednesday. They made it themselves! Then Molly brought another one to Bible study on Thursday. What a treat!


I could hardly stand the thought of eating it, but it was too big to fit in the fridge. Thank goodness for photos. I asked if she took pictures while she was making it, because I’ve been trying to drag her into this blogging project. And, she did! So, enjoy…


And last but not least, you’ve got to see the one that her youngest daughter made to take to one of their neighbors. I think it’s adorable that it’s sitting in front of their homeschool chalkboard with flowers already drawn on it.


Thank you so much, Molly and Becky for such a delightful gift!