Skip to content

Archive for

My Favorite Broccoli Salad

There is no mystery about why I like this salad – sweetness, saltiness, crunchiness, chewiness, and even cheese! What’s not to love? The mystery is in how the combination is so much greater than the sum of the parts! My friend Katherine Dunn made if for a welcome picnic while we lived in Germany and I fell in love. Thankfully, she is the type of person who promptly follows through when she promises you a recipe. I imagine she is often asked for them because I happen to have more than one in my own collection. Here are the directions exactly as given – and I actually follow them that way!

Once the bacon is going, get to chopping.

Keep in mind that the broccoli needs to be torn into tiny pieces that actually work with a picnic fork and a flimsy paper plate.

Blot as much grease as possible from the bacon before chopping it. If you’re not a pork person then substitute with turkey bacon, but don’t leave it out altogether. The saltiness is part of the magic.

Mix the dressing and give it a couple of minutes for the sugar to fully dissolve.

Pile all of the “dry” ingredients into a big bowl.

Toss them together.

Pour on the dressing and stir it again.

Move the salad to a pretty bowl. This step is important, especially when you are working with one of Katherine’s recipes. She is one of the most dignified women I have ever met and she wouldn’t dream of bringing an ugly bowl to a picnic.

I decided to use pottery from my favorite shop in France. I may have even purchased it the day Katherine and I went together. This particular bowl wasn’t crafted with broccoli salad in mind, I’m sure, but I liked the way it looked.

Let it chill for a couple of hours.

Enjoy! (And, share.)

Lisa

Un-Sil’s Rice

When we first got married and lived at Fort Lewis, Ric was known as “the tall skinny guy” because he was 6’2″ and 135lbs. Our next door neighbor was a lovely Korean woman named Un-Sil who apparently took note of his physique and decided she would do her part to save him from starvation. She fed us for the better part of three years every time she was cooking enough to share, which was at least one-a-week. The meal that I think was basically her version of my propensity to serve spaghetti or tacos when I’m feeling lazy or uninspired was a rice dish that she always apologized for as “just some rice”. We loved it, craved it, and celebrated every time it showed up on our doorstep with her sweet shy smile! She offered vague directions on how to make it back then, but since I didn’t actually get serious about learning to cook until a few years later it took me a while to figure out how to make something pretty close. I hope you’ll enjoy what has re-emerged as a favorite in our family – even though it does result in a lot of pot washing.

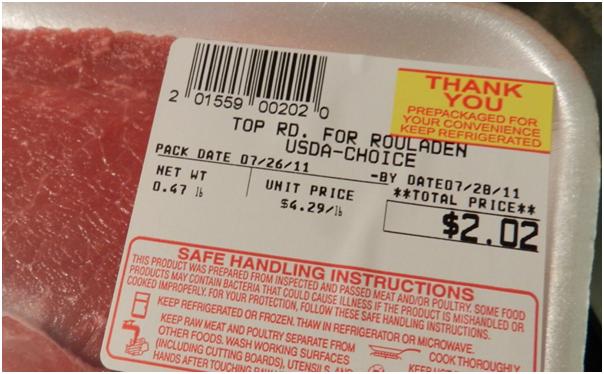
You’ll need rice, eggs, fresh carrots, frozen peas, rouladen beef, soy sauce and sugar. Notice that I’m following the vague recipe tradition…but I’m offering pictures.

The key to this being a quick meal is getting set up correctly before you start the rice. Then, it’s an intense project over the stove, but it only takes about 30 minutes.

Start by dicing some fresh carrots.

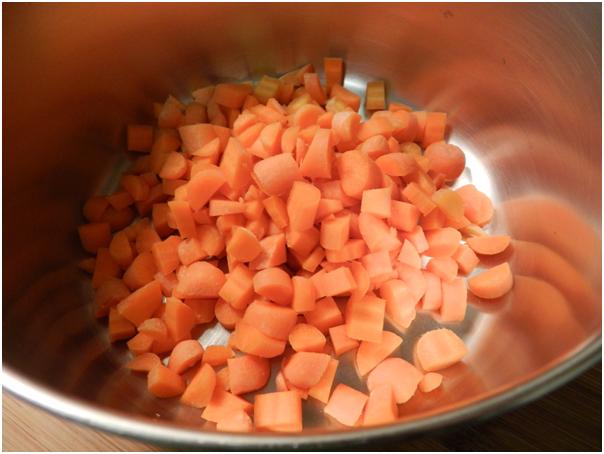
Toss them into a sauce pan and cover them with plenty of water because you’re going to eventually throw the peas in with them at the end. Bring the pot to a boil and then let it simmer while everything else is cooking.

Rouladen beef is cut in very thin flat pieces.

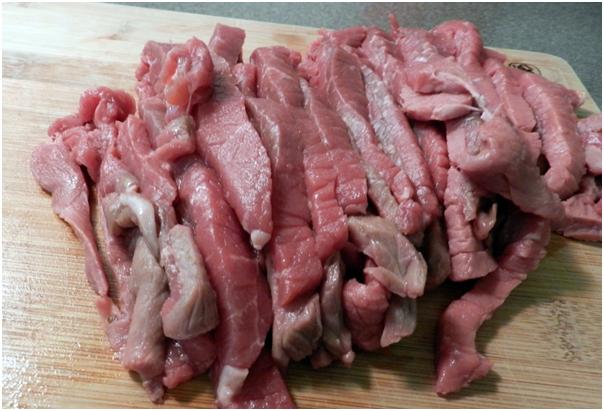
Cut it some more…into half-inch strips….

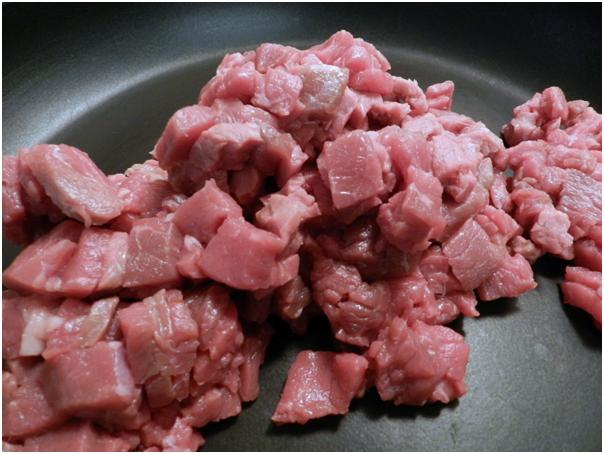
…then some more… into half-inch cubes. Toss those into a large frying pan on medium-high. Non-stick works best if you have that option. If not, spray the pan with non-stick spray but don’t use oil.

START both the beef and the carrots before you start the rice!

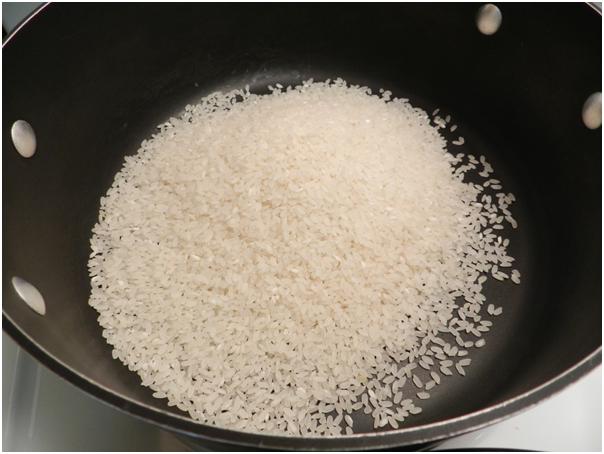
I use two cups for our family, cooked in four cups of water.

Crack eggs into a skillet coated with non-stick spray and turn it on medium-low.

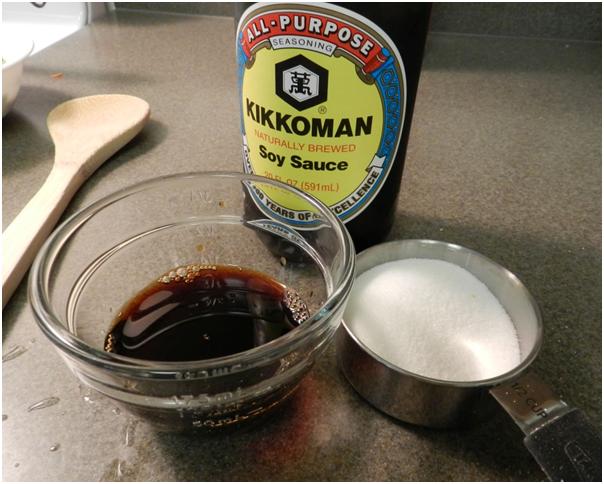
Pour about ¼ cup of soy sauce into a dish.

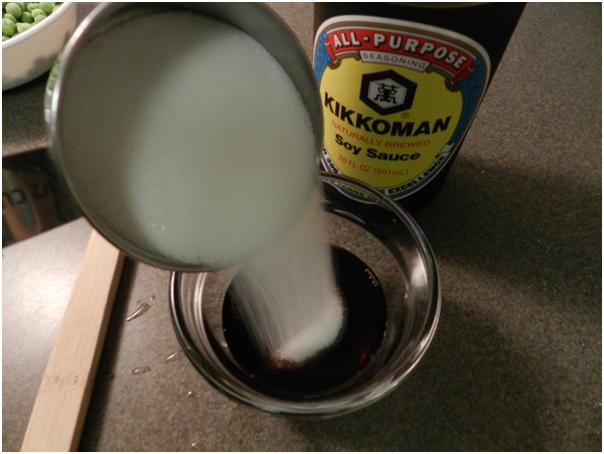
Add an equal amount of sugar and stir it together. I usually have to microwave it to get the soy sauce warm enough to dissolve the sugar. Set it aside.

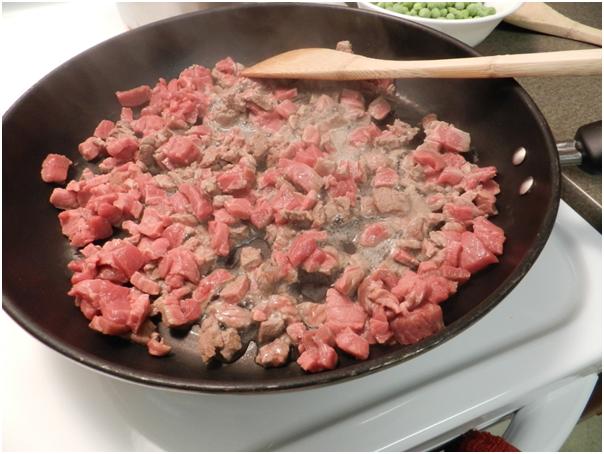
The meat needs to be “browned”, but as it starts to cook it ends up “boiling” in its own juice, which is not what you want.

When about this much juice has built up, remove it from the heat and drain the liquid.

Return the dry meat to the pan and keep going. I usually have to do this twice during the process.

Once it stops oozing its own juice and you’ve drained it one final time, give it a few minutes to do some actual browning- maybe two minutes on medium high. Then, it’s time to start adding the juice you’ve prepared.

Start by pouring in about half of the soy sauce and sugar mixture.

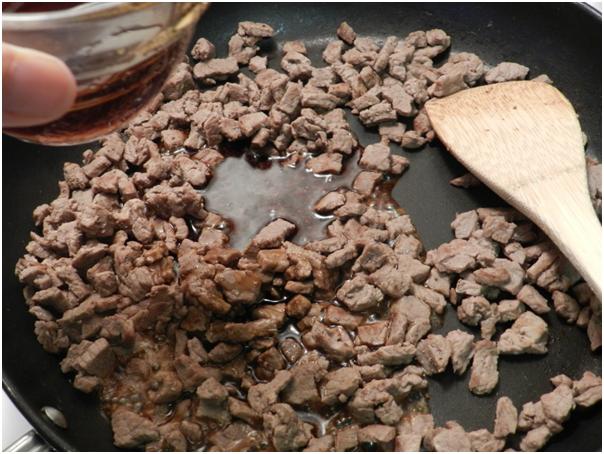
Stir to coat the meat.

Lower the heat to straight-up medium and keep stirring while the first portion of sauce reduces and gets absorbed.

By about this time, the eggs need a stir to start them scrambling.

Continue to gradually add sauce to the meat…

…until it’s all been poured in and mostly absorbed.

Add some salt and pepper to the eggs and turn them off before they over-cook.

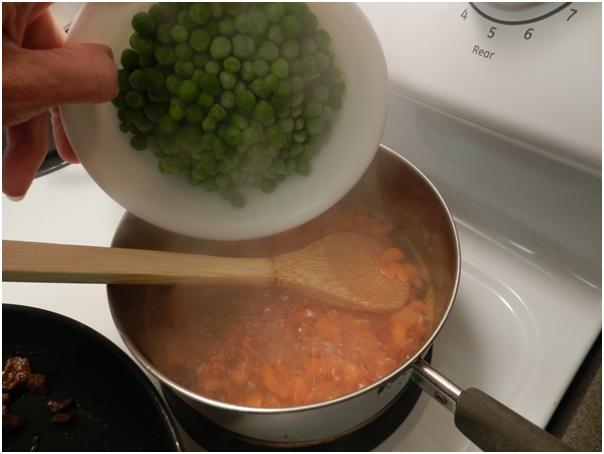
The carrots should be tender at this point. Drop the peas in and bring the water back to a boil.

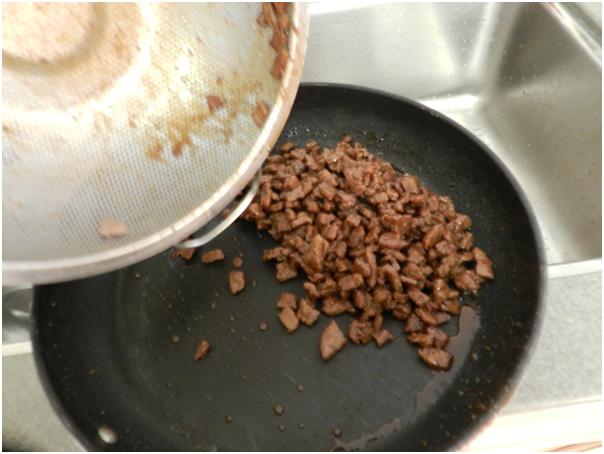
Drain the meat one more time and clean the pan up a bit with paper towel so that you don’t end up with brown goo in the rice at the end.

This was the absolute final outing for my strainer. I can’t remember how long I’ve had it, but I need a new one now. Look how the handle tore away from the metal. Sad.

I like to pile all of the other ingredients in together so that they keep each other warm and I can start the plethora of pans soaking.

The vegetables are ready to be drained as soon as the peas have had a minute or two of boiling.

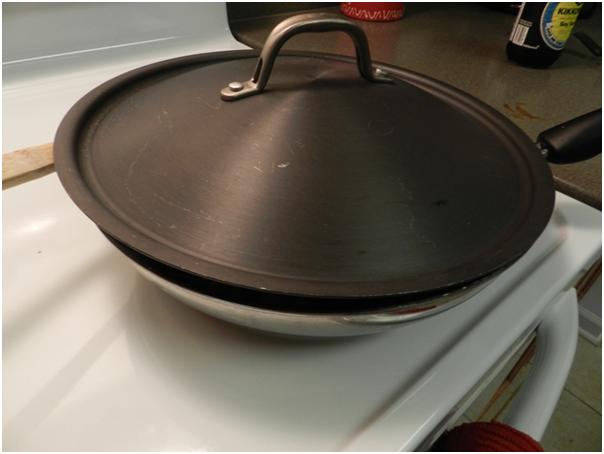
A lid will help retain heat while the goodies wait for the rice.

When it’s finally done and fluffed,

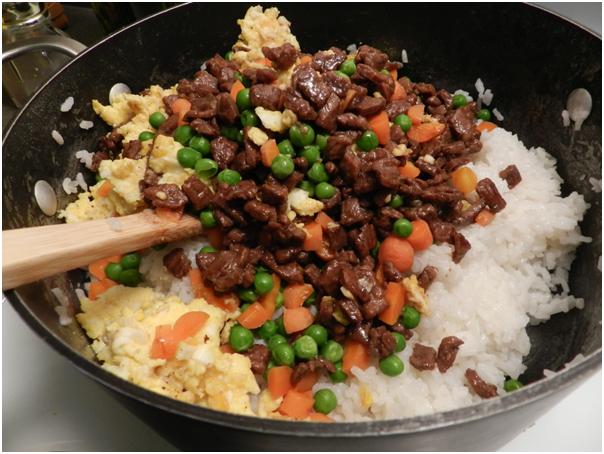
toss in the waiting goodness and stir gently.

Ring the dinner bell, break out the chopsticks and dig in!

Blueberry Muffin Recipe #2371

I was going to tell you that this will be about the 5,000th blueberry muffin recipe posted on the internet but I decided to check my facts and apparently it will only be about the 2,371st. I know there are plenty out there because a few years ago my mother-in-law typed “Blueberry Muffins” into Google, reached into the cyber bowl of hits and pulled one out. It turned out to be a winner. I kept the printed recipe and have modified it in the interim. This summer while my recipe box was in storage she and I wanted to make the same muffins. After about thirty minutes of shaking the Google bowl with different word combinations and reaching in to find it again, we realized that picking the same hit twice is nearly impossible. We came close, but it wasn’t exactly the recipe we remembered.

Here is my version of the right one.

2/3 cup softened butter

1 cup sugar

2 eggs

1 ½ cups vanilla yogurt

1 tsp lemon juice

3 cups all-purpose flour

1 TBSP baking powder

½ tsp baking soda

½ tsp salt

1½ cups fresh blueberries rinsed and drained (if you need to use frozen, thaw them and toss them in flour)

375 degrees for about 20 minutes. Makes 24.

Directions:

Assemble the wet ingredients.

Start by mixing the butter and sugar, just like cookies. You have to love a muffin recipe that involves Darth Mixer!

Add the eggs, yogurt and lemon juice. Mix.

Then it’s time for the fluffy white ingredients.

Note that it calls for the capital T, tablespoon of baking powder!

Mix until you have a batter that looks a lot like cake batter, which reminds me of my friend Anita Cory telling me about a funny video on the American obsession with cake. The line I think of when I make these muffins goes something like “What is the difference between muffins and cake? Nothing! Muffins are bald cupcakes. We call them muffins because we don’t eat cake for breakfast.” (Our good friend Google can take you to the whole stand up routine if you type in “cake comedy Jim Gaffigan”. It’s pretty funny.)

Now, the blueberries are entering stage left but they cannot jump in the bowl with Darth doing the mixing!

They need to be dumped in last and folded gently into the batter.

Scoop into sprayed muffin pans.

This left-over batter will not see dishwater in my house. That’s what a good spatula is for – yummy.

Put them in the oven at 375 degrees for about 20 minutes.

When they come out, spread some butter on their little tops while they’re hot…

…so that a sprinkling of sugar will stick. My children consider this the most important step.

Let them cool just a bit.

Pop them loose with a table knife or spoon.

I’m working with a new oven and I think I had the rack placed a little too high, so the bottoms are a little crispier than ideal. How embarrassing. Oh, well. Blogging perfection bites the dust again.

But, they were still very tasty!

I like these smooth cakey muffins but I think I’m also going to find a recipe with a crumble topping and more of a traditional muffin texture to add some variety during blueberry season. I’ll let you know when I come up with a good one. Of course if you’re reading this and have one to share, please send it on and save me from sorting through the 2700 options on the internet!