Skip to content

Posts from the ‘Cookie Posts’ Category

Molasses Sugar Cookies

I love cookies but these are my absolute favorites. I get asked for this recipe more than any other. So here it is…with pictures.  I hope you enjoy!

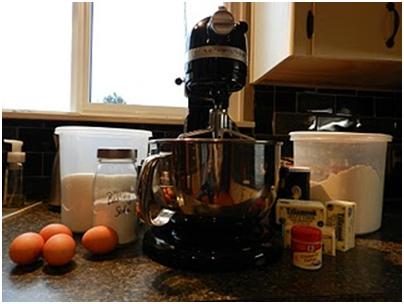
1 cup butter – very firm
½ cup butter flavor Crisco (…I’ll explain below.)
1 cup sugar
1 cup brown sugar packed
½ cup molasses (don’t skimp)
2 large eggs
4 ½ cups flour
4 tsp baking soda
1 tsp cloves
1 tsp cinnamon
1 tsp ginger
½ tsp salt

Preheat the oven to 350 degrees with the baking stone in it.

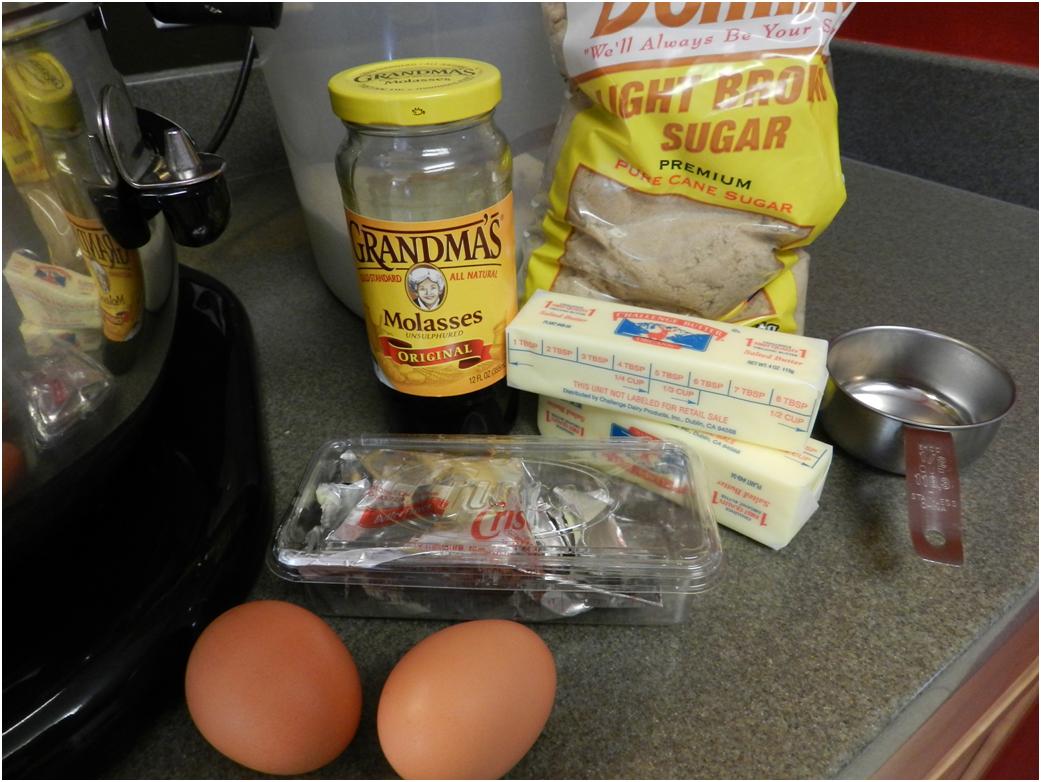
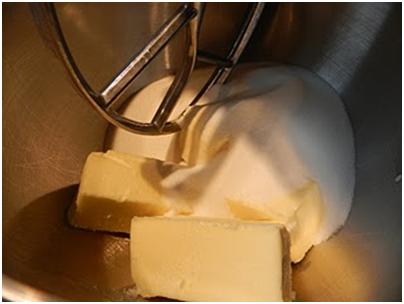
As you all know, I believe in butter alone for cookies, but in this – my favorite recipe no less – I have decided that a little Crisco really does improve the texture. I still waffle though. If the entire batch is going to be eaten almost immediately and I know I’m going to be on my A-game with the oven temperature and timer then I cut the Crisco and convince myself that I have improved flavor. You decide. Let me know what you think.

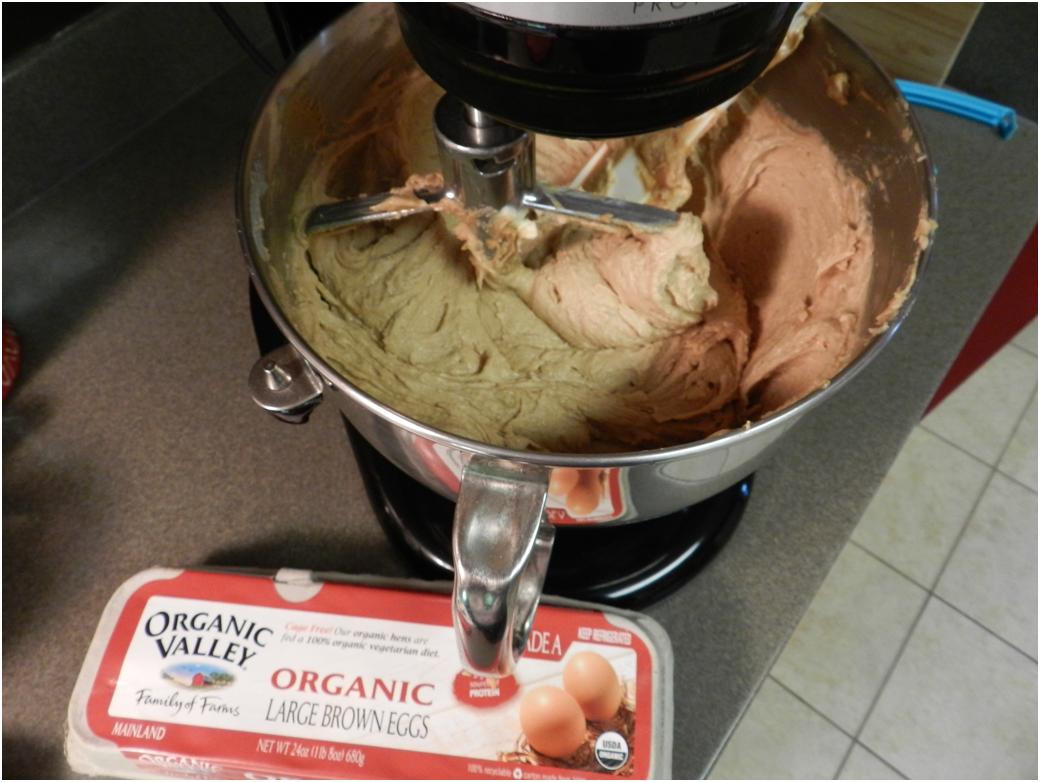
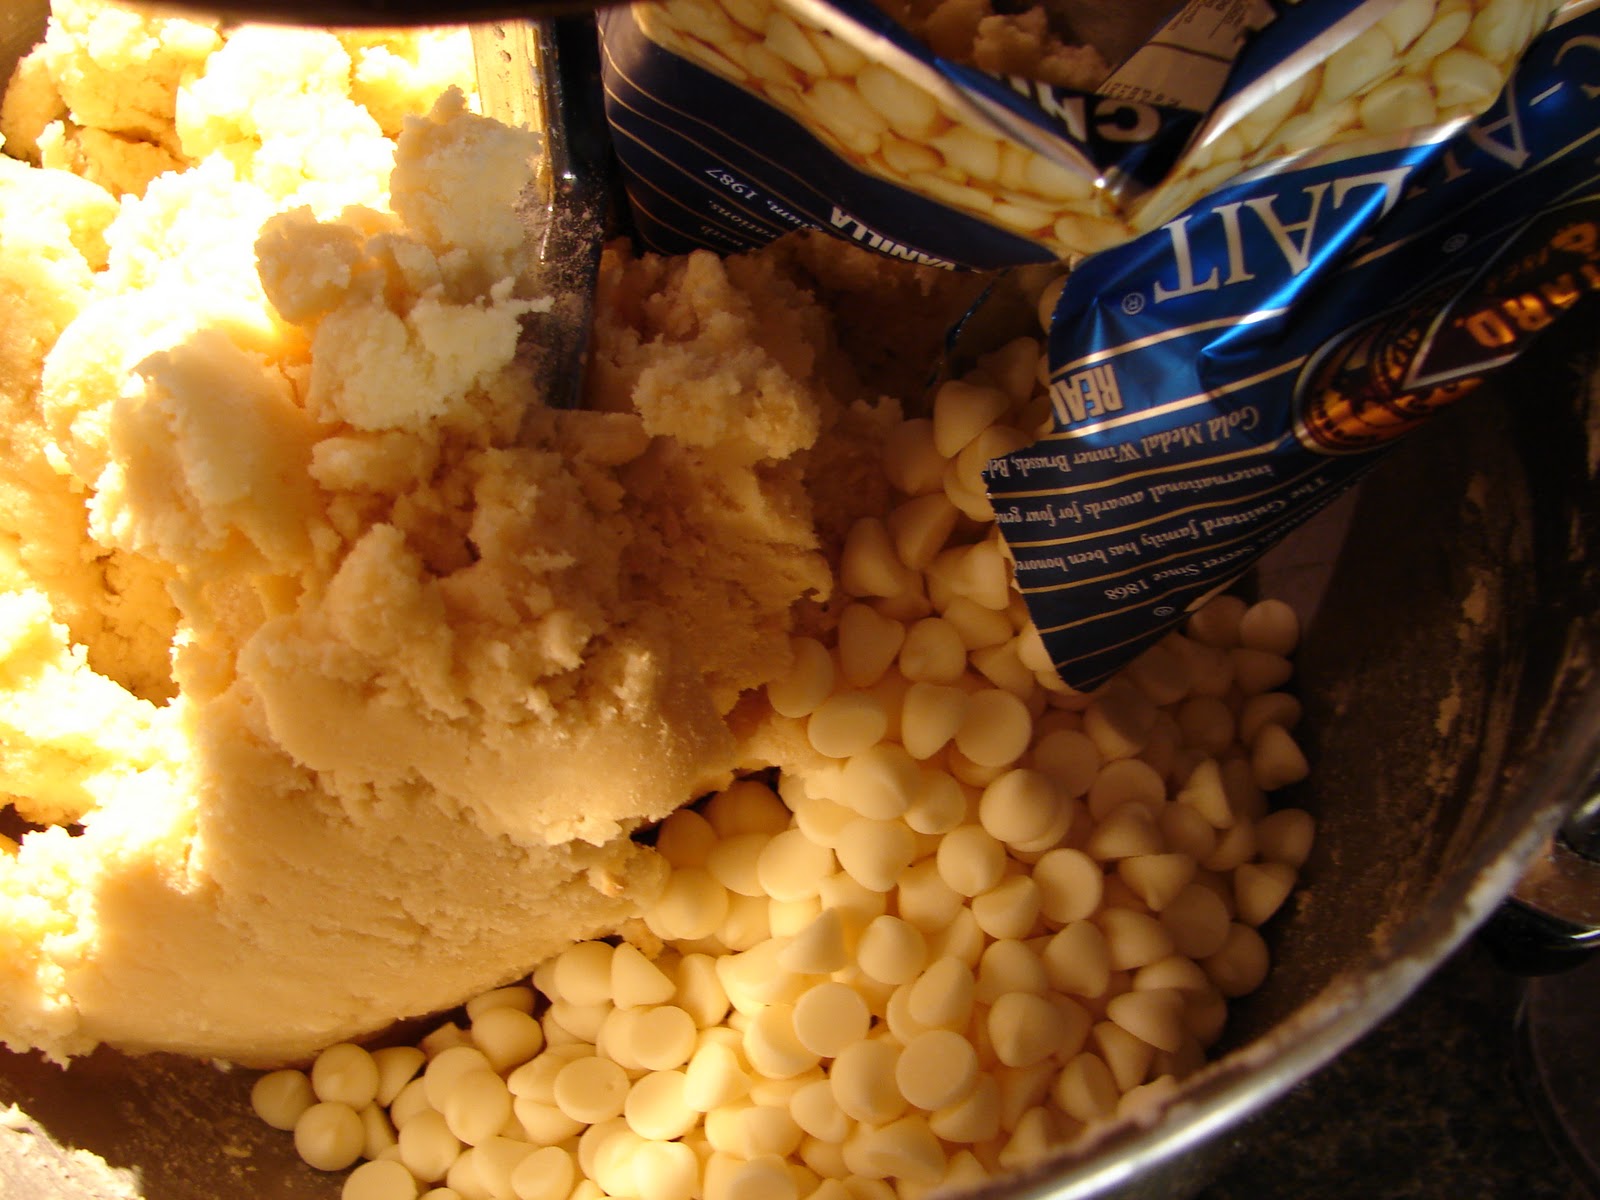
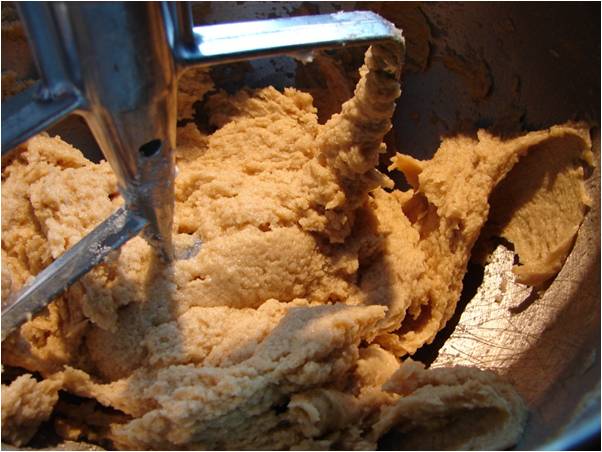
Start by creaming the sugar, with the yellow fatty combination of your choosing.

Then, add the eggs and the molasses and mix again.

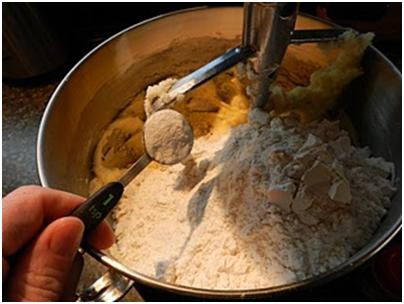
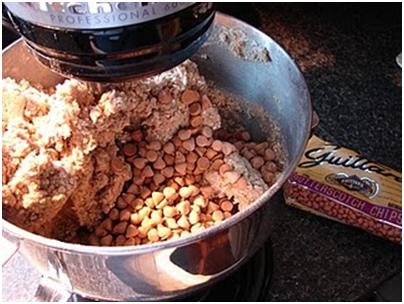
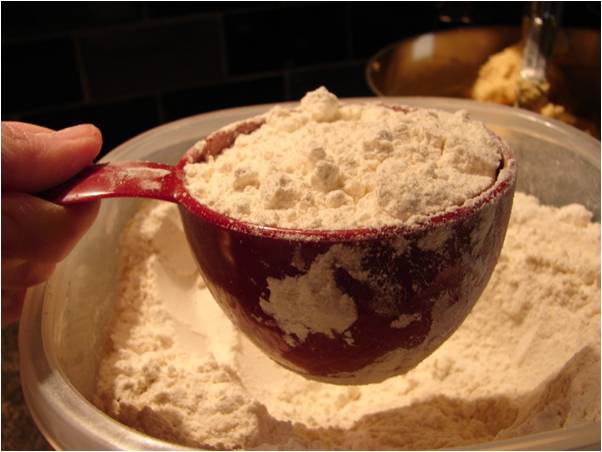
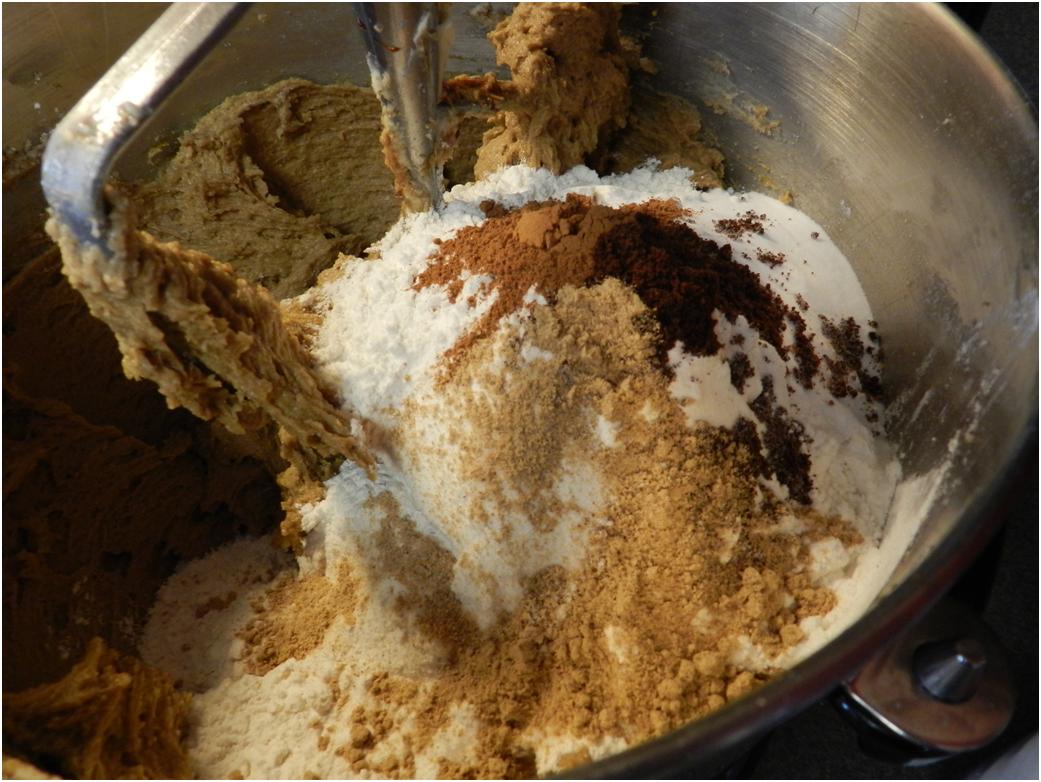
Next come the dry ingredients.

First, the white load – flour, soda, salt.

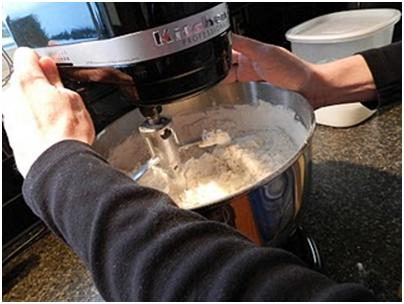
Then pile on the delicious smelling spices.

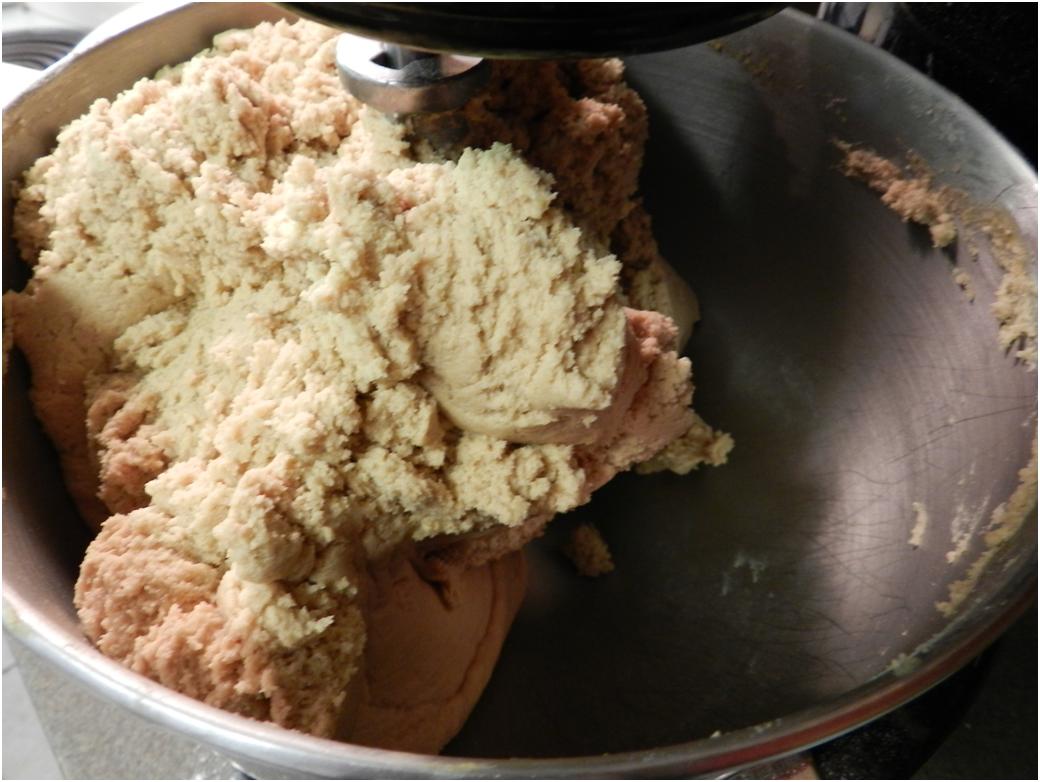
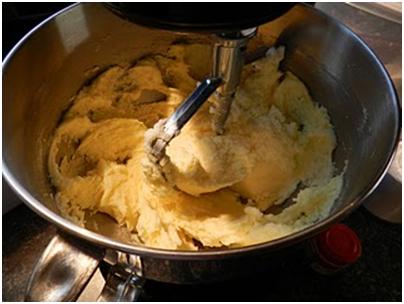
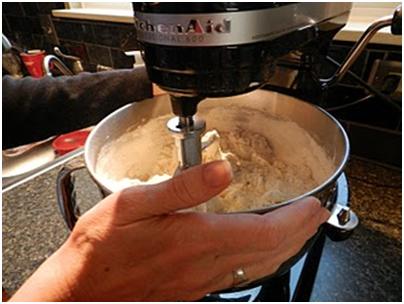
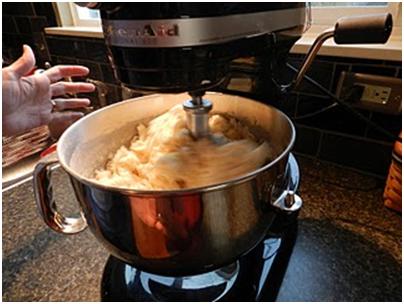
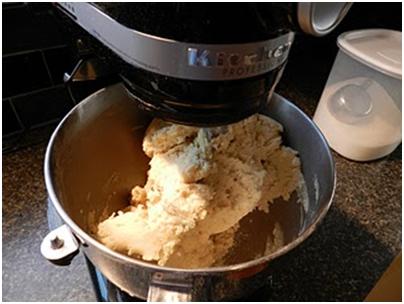
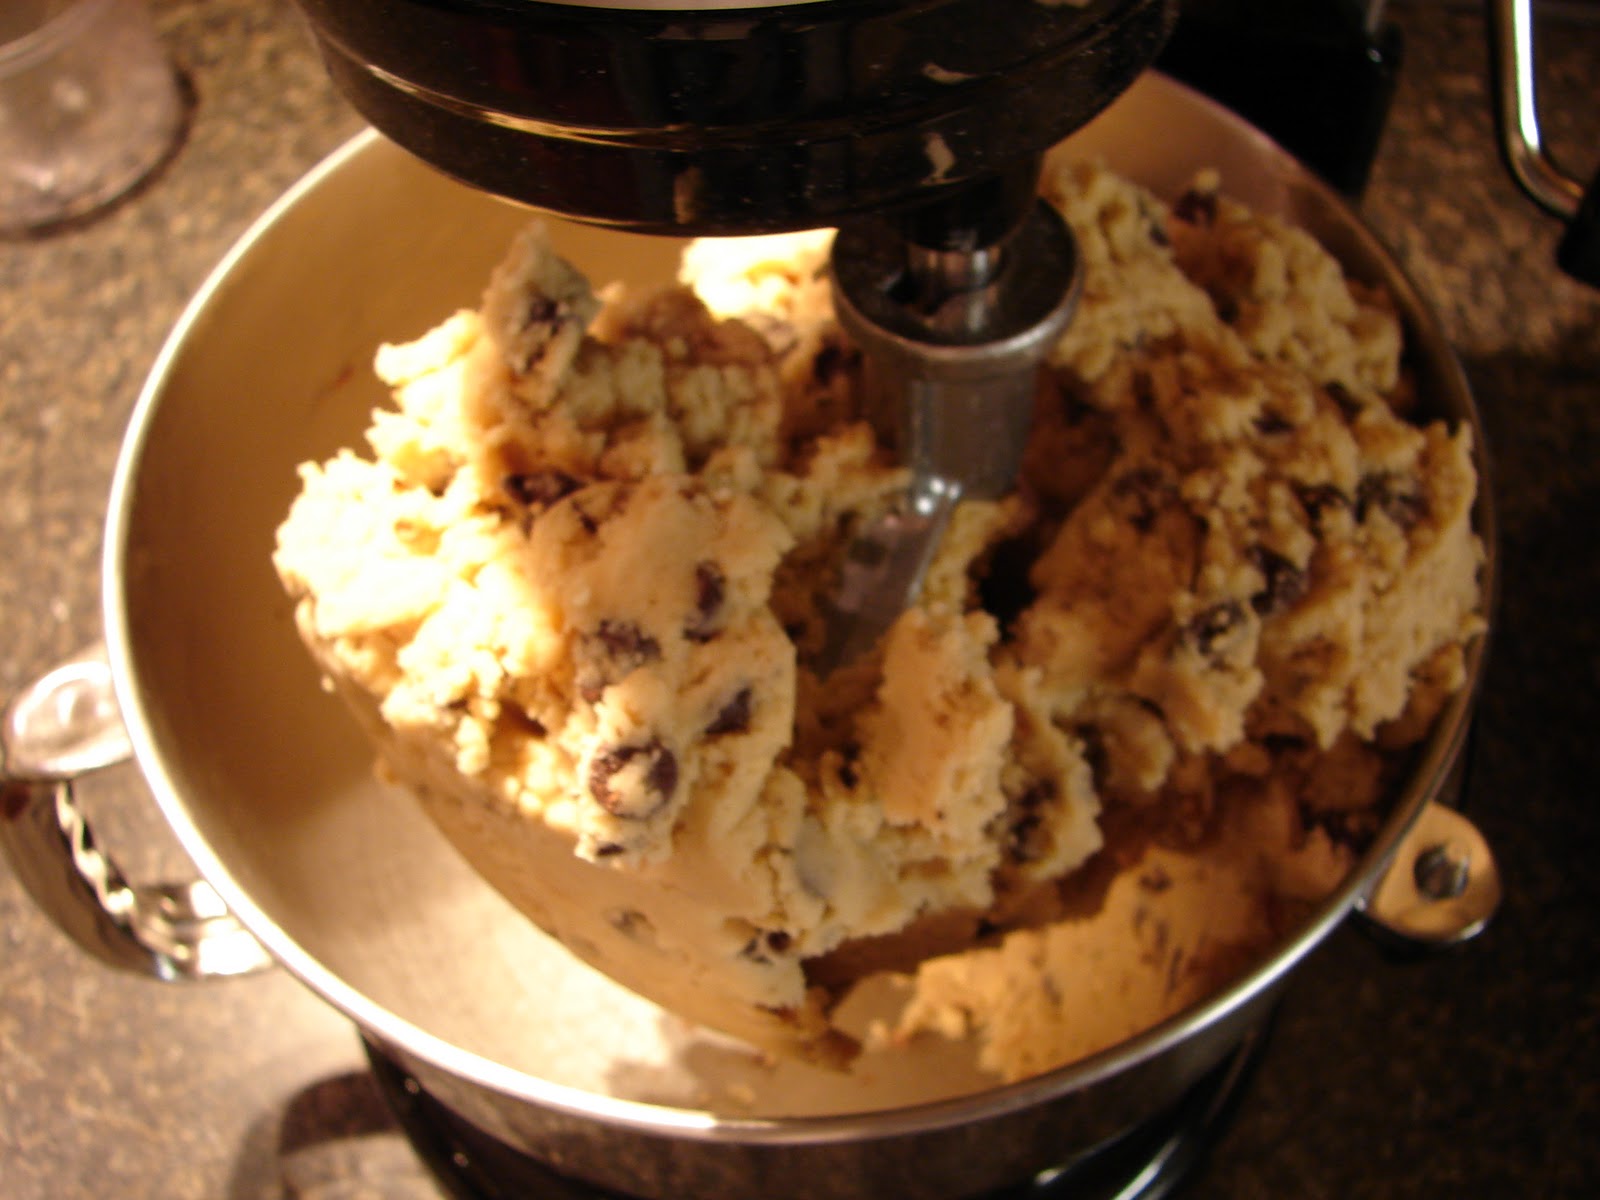
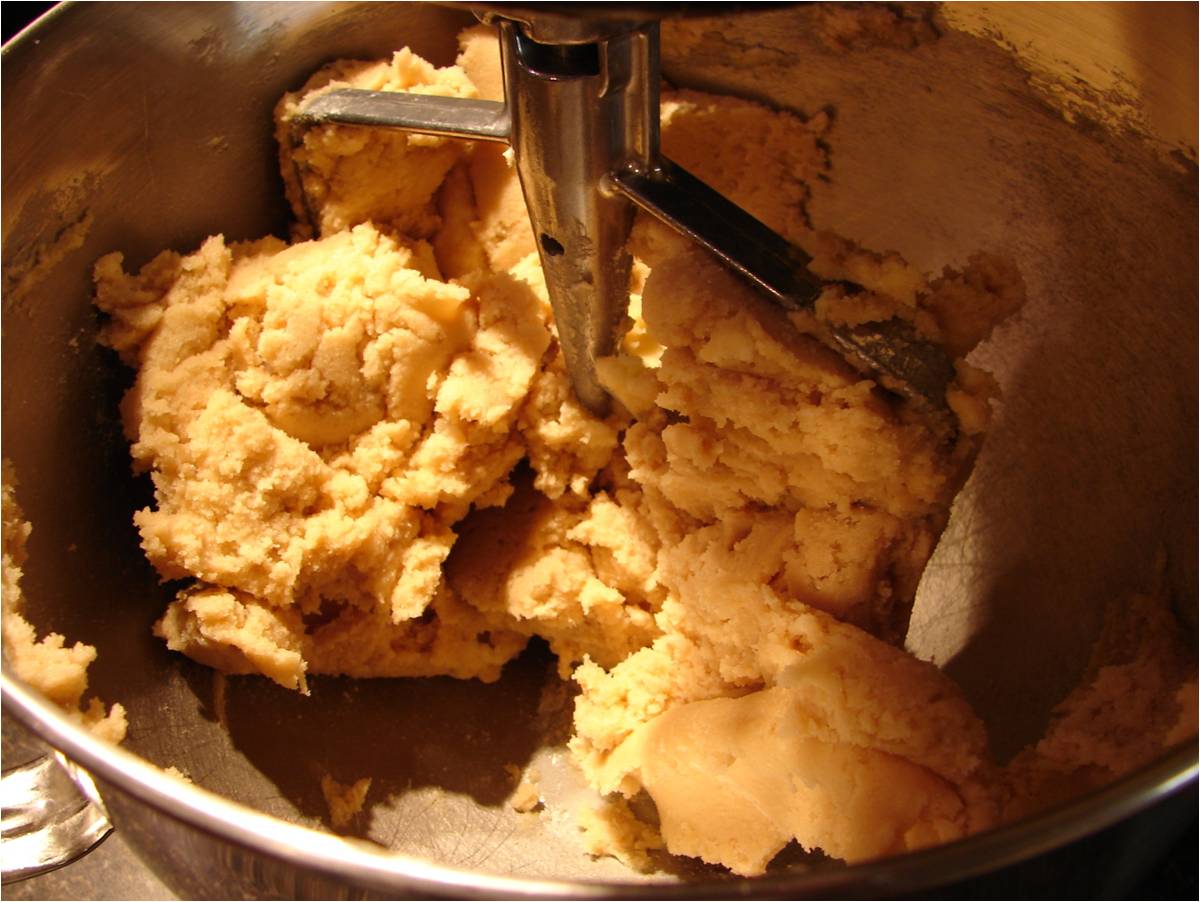
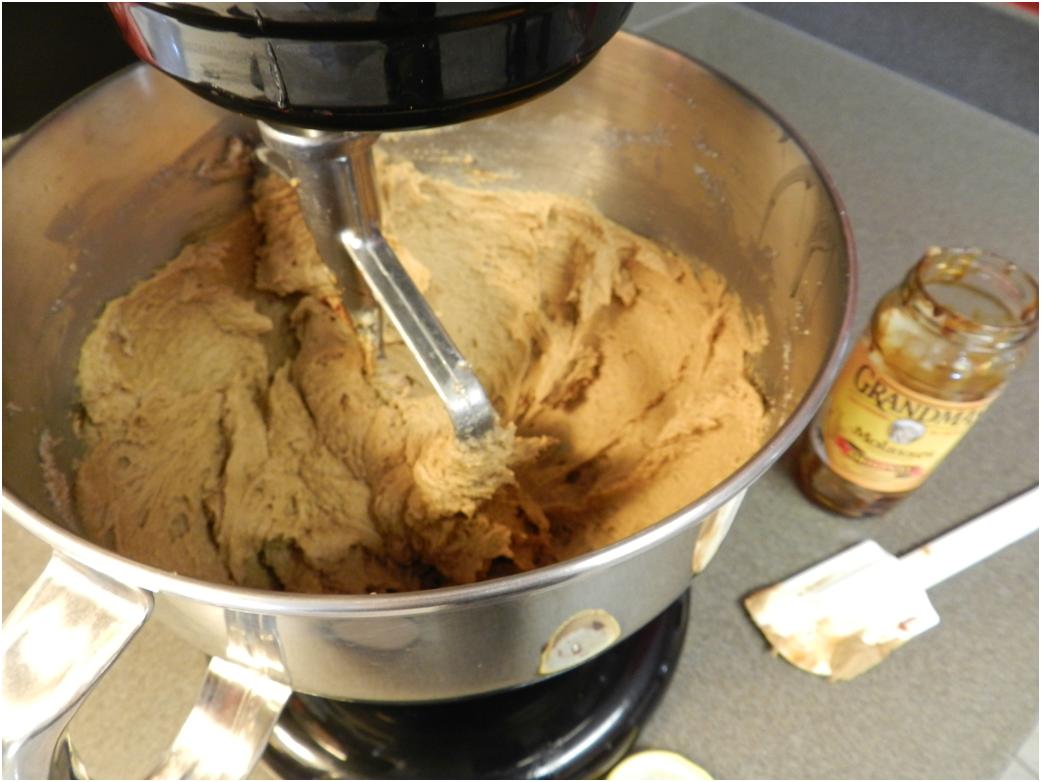
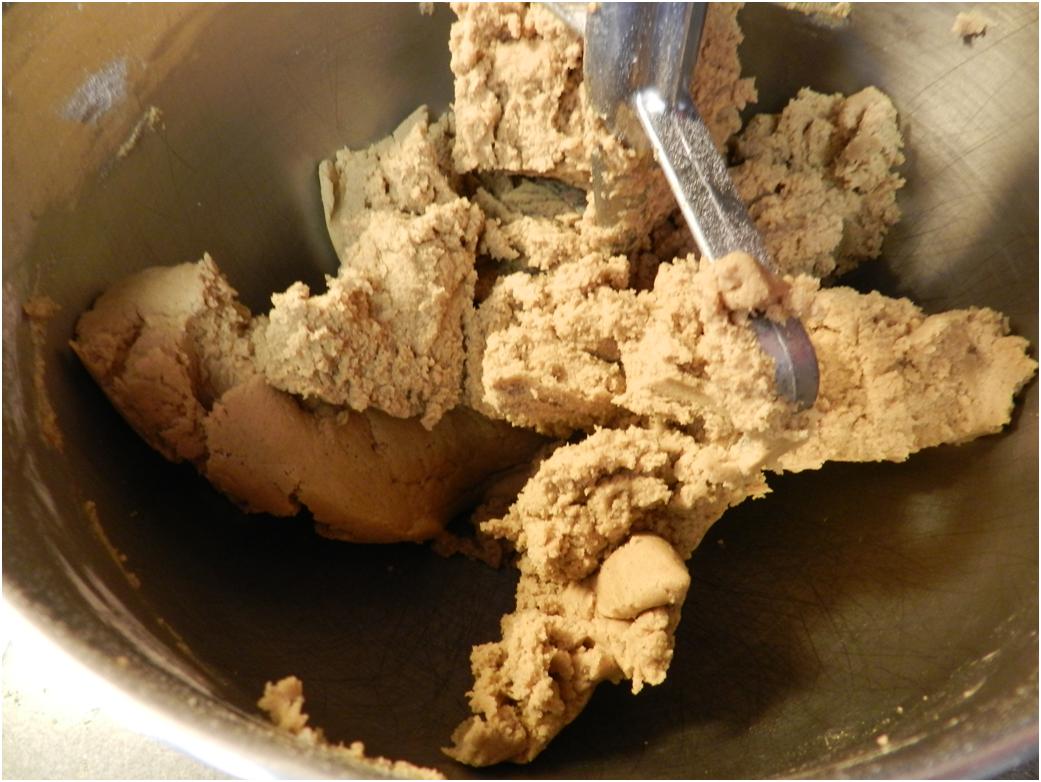
And, mix again. Good Ku-Ki-Do should turn into a big firm lump and leave the sides of the bowl practically clean without a spatula. If your dough is sticky, add a little extra flour, unless it’s because your butter was too soft. If the butter was too soft, then you’ll just have to live with cookie flavored pancakes.

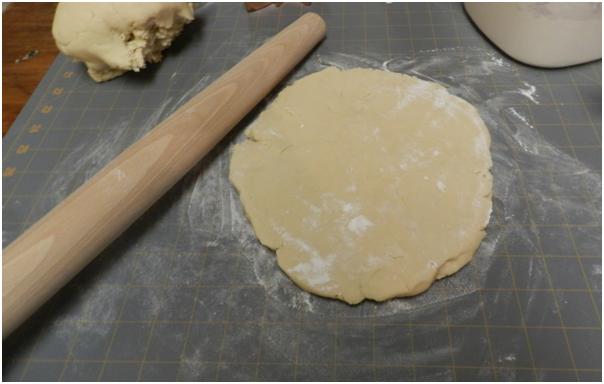
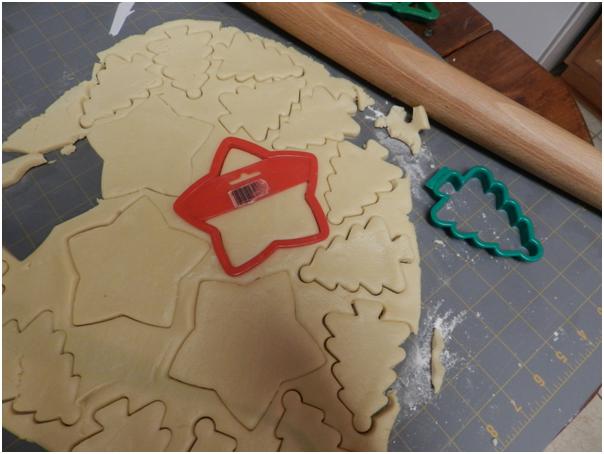
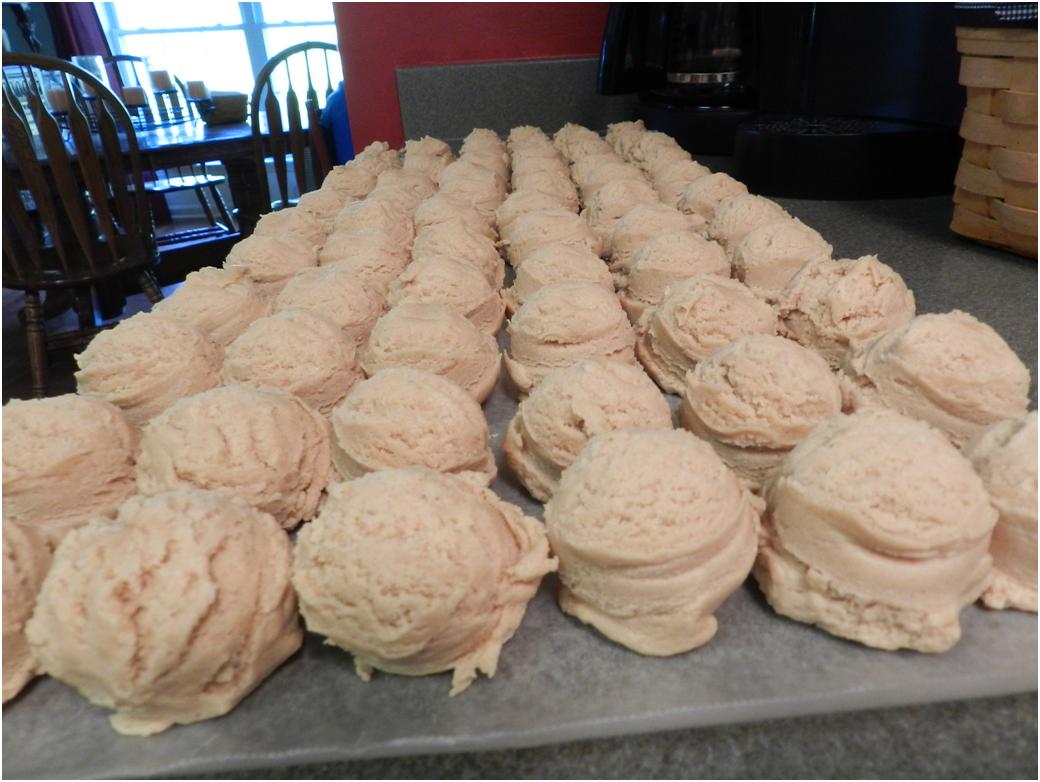
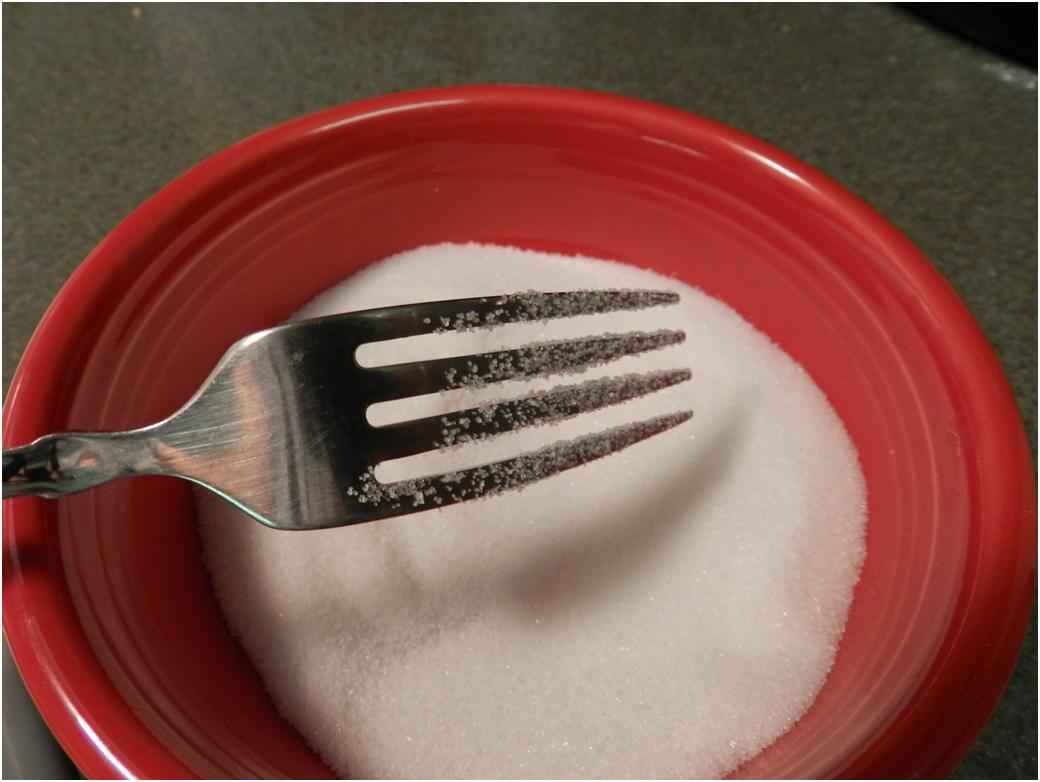
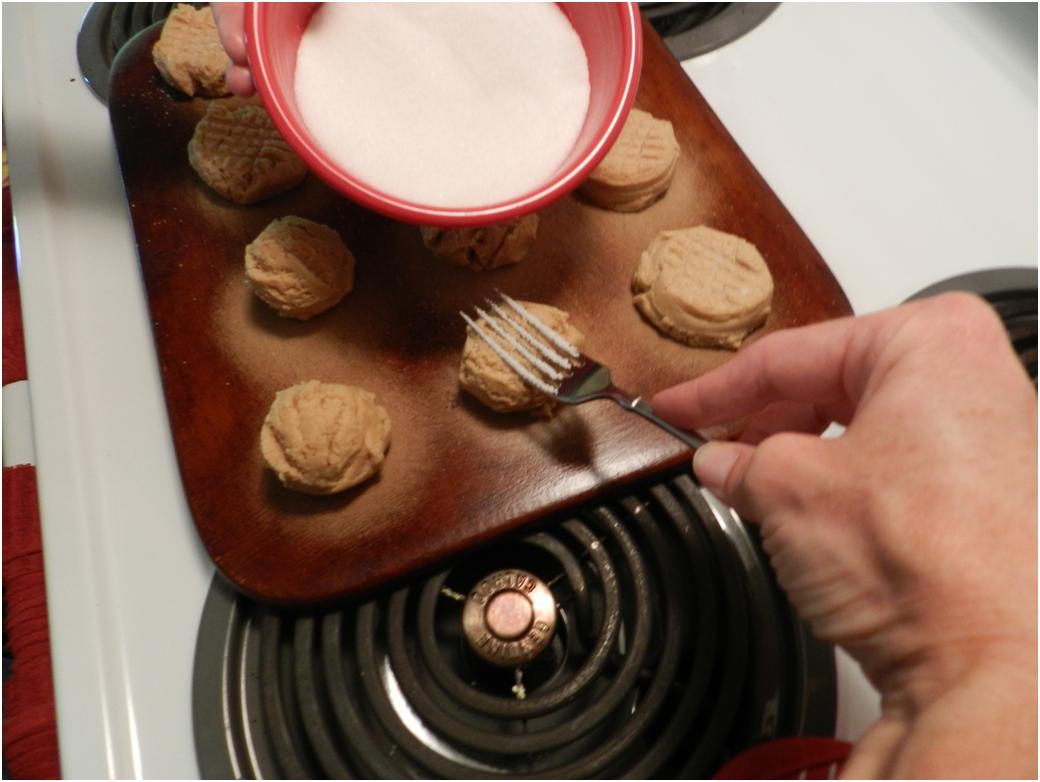
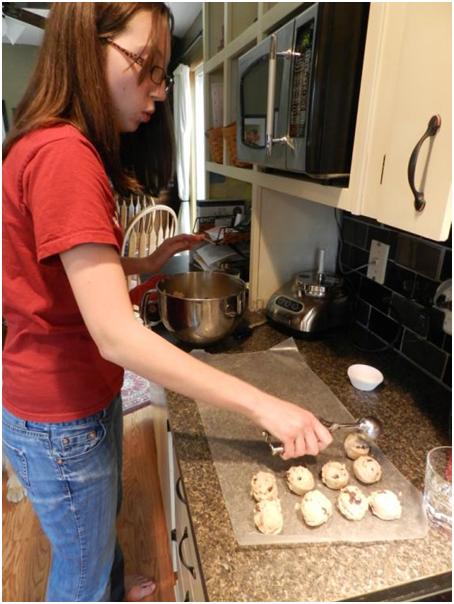
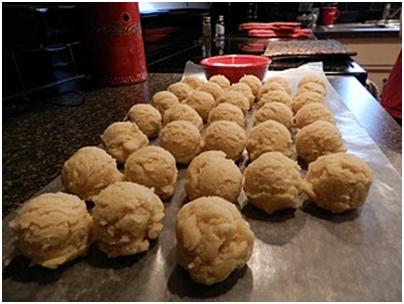
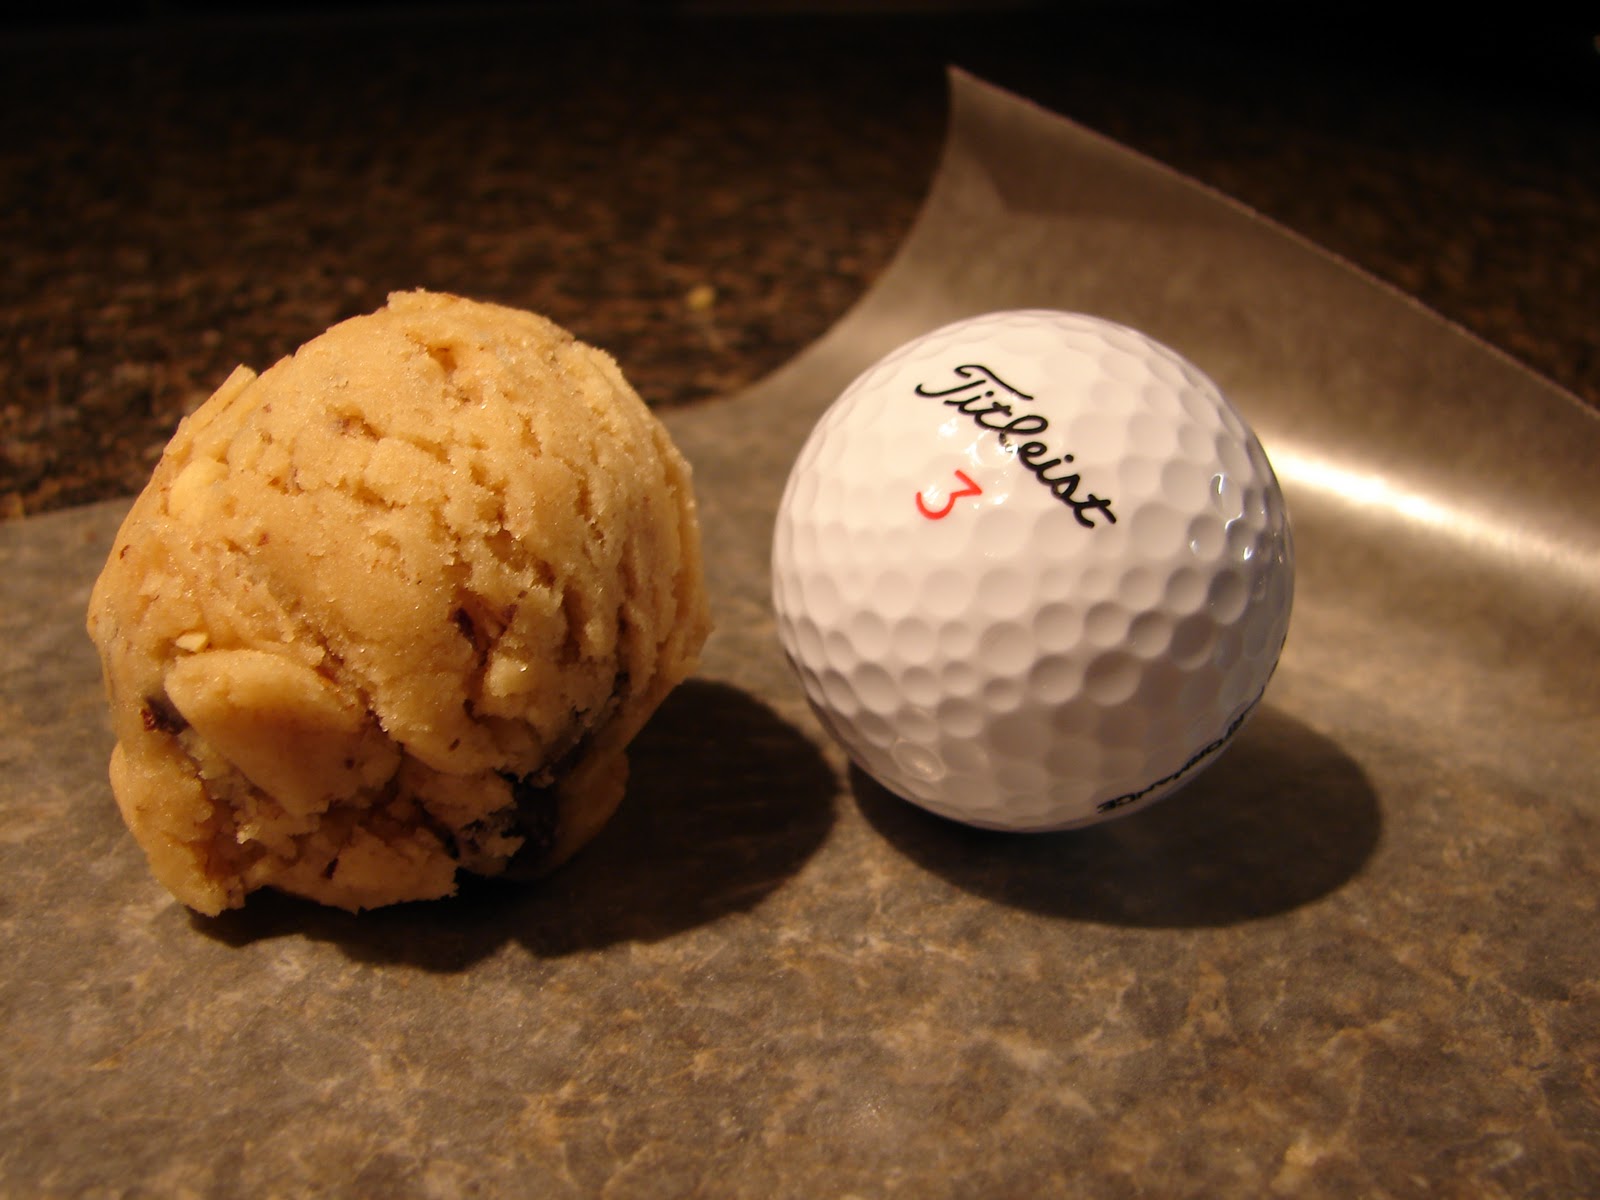
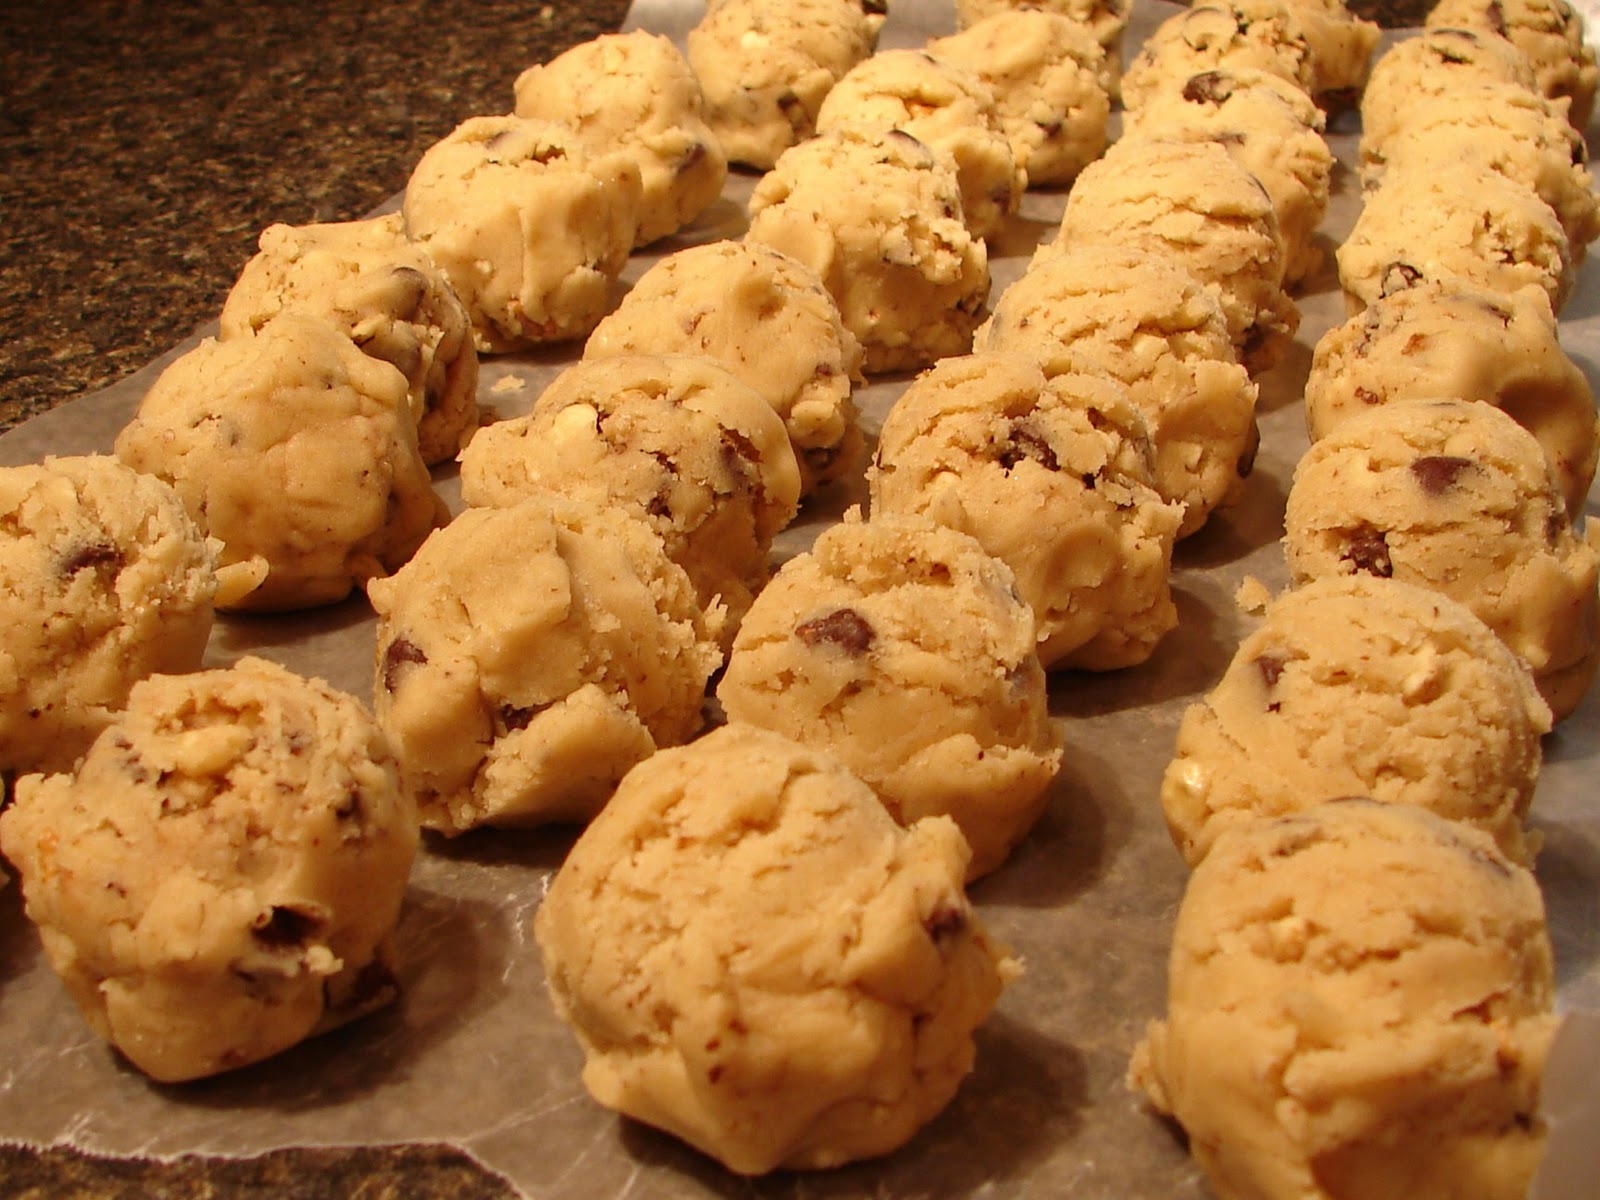
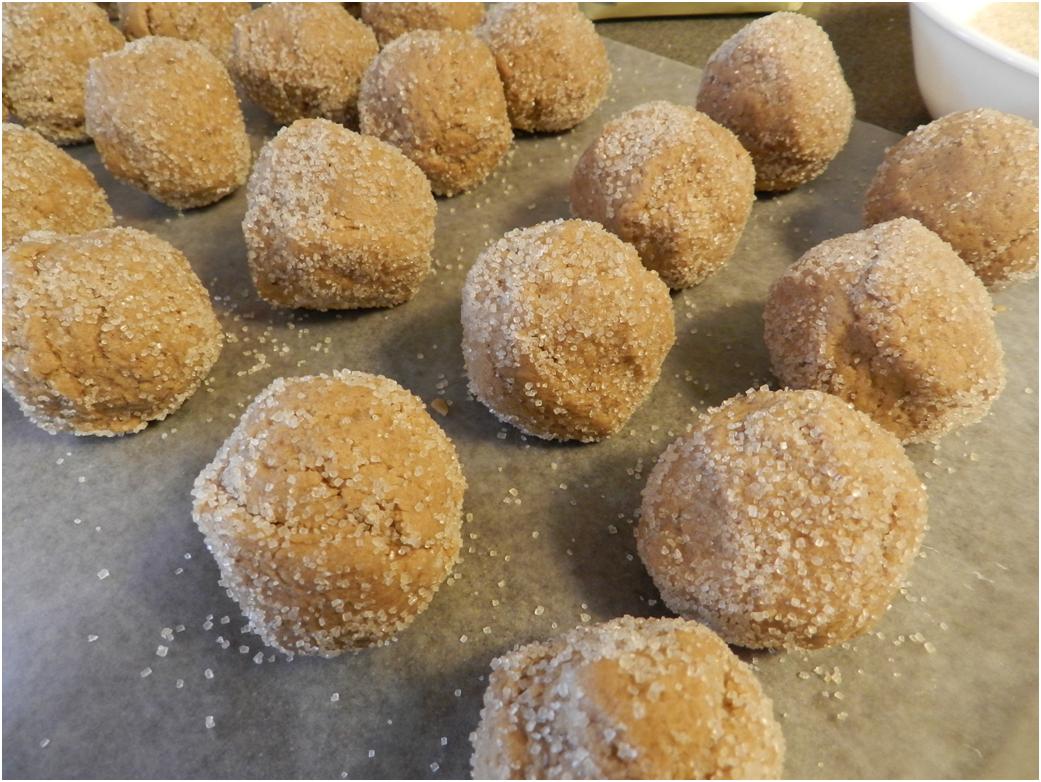
Form the beautiful dough into balls. I like to find coarse sugar for rolling if I can – and this brand of organic fits the bill. Somehow it also makes me feel better about the Crisco…a little bit.

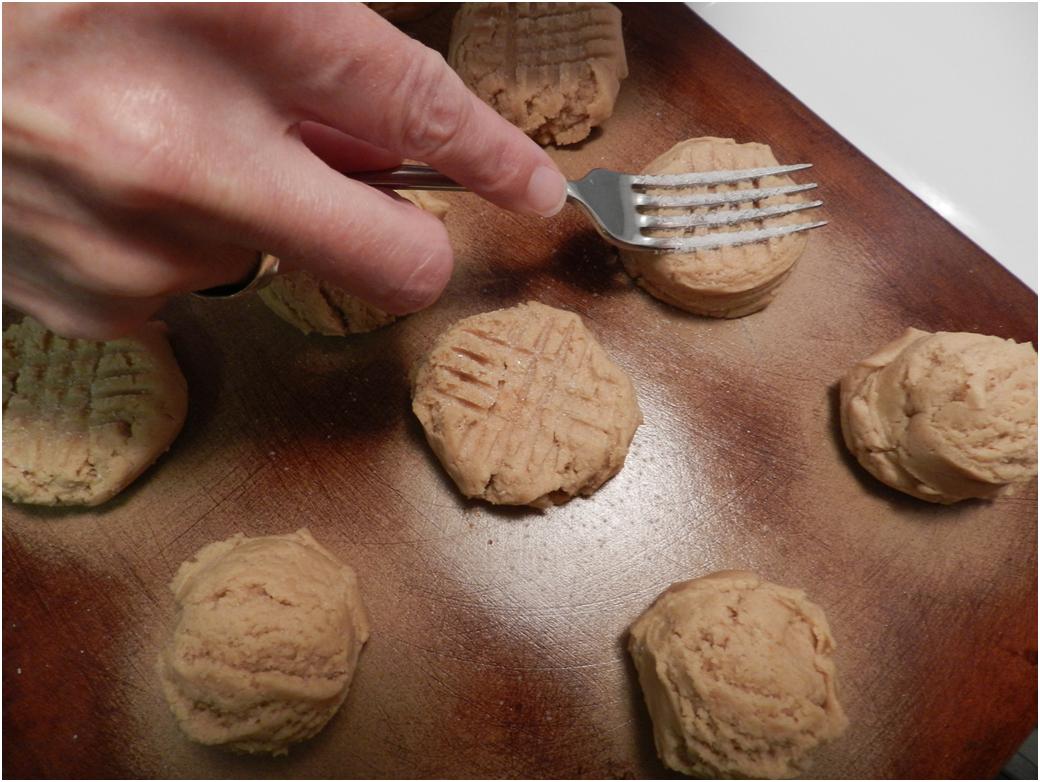
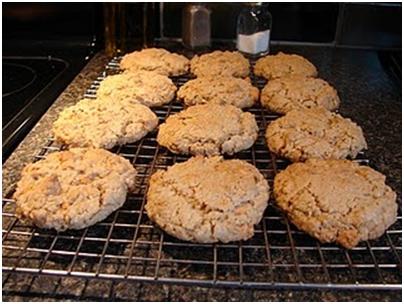
Dressed and ready for 12-14 minutes in the oven, depending on size.

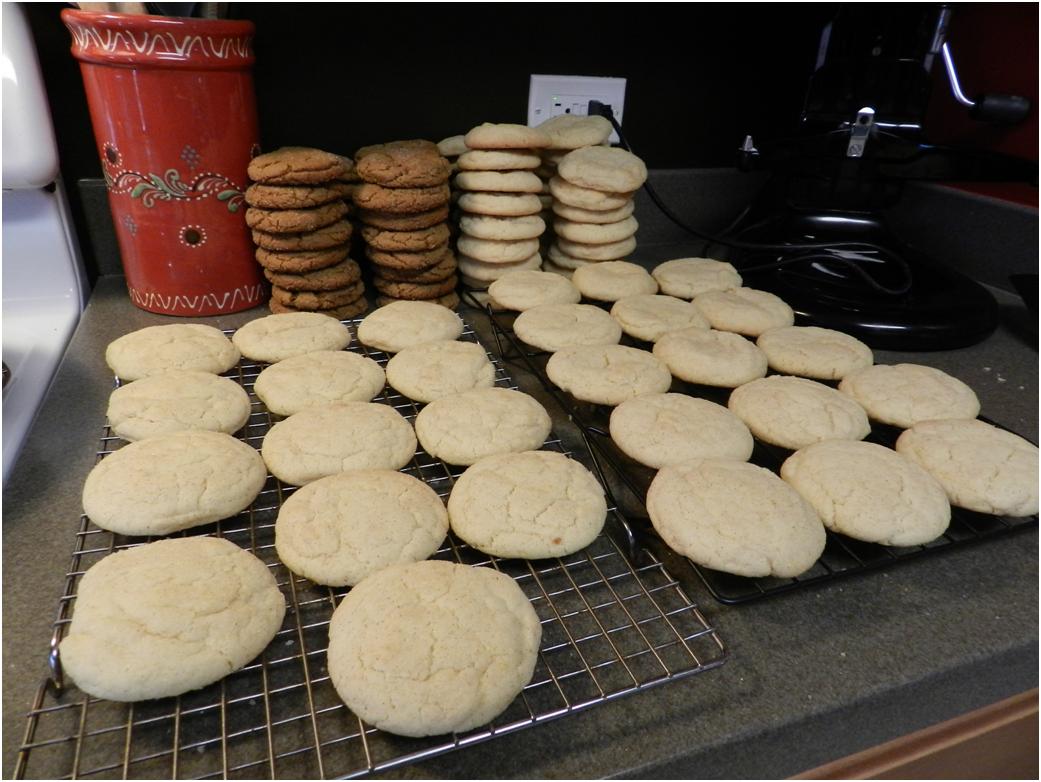
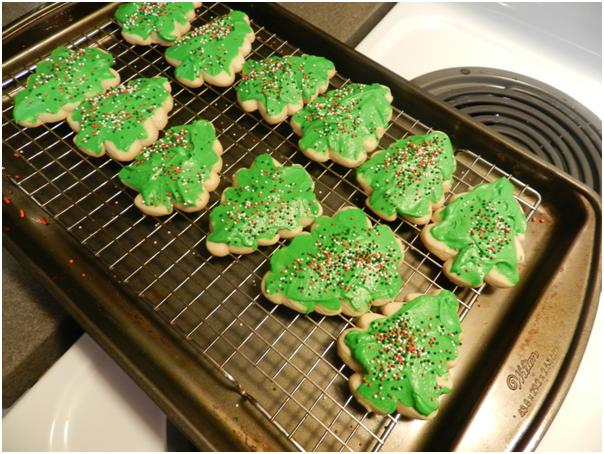
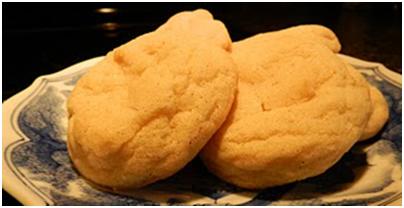
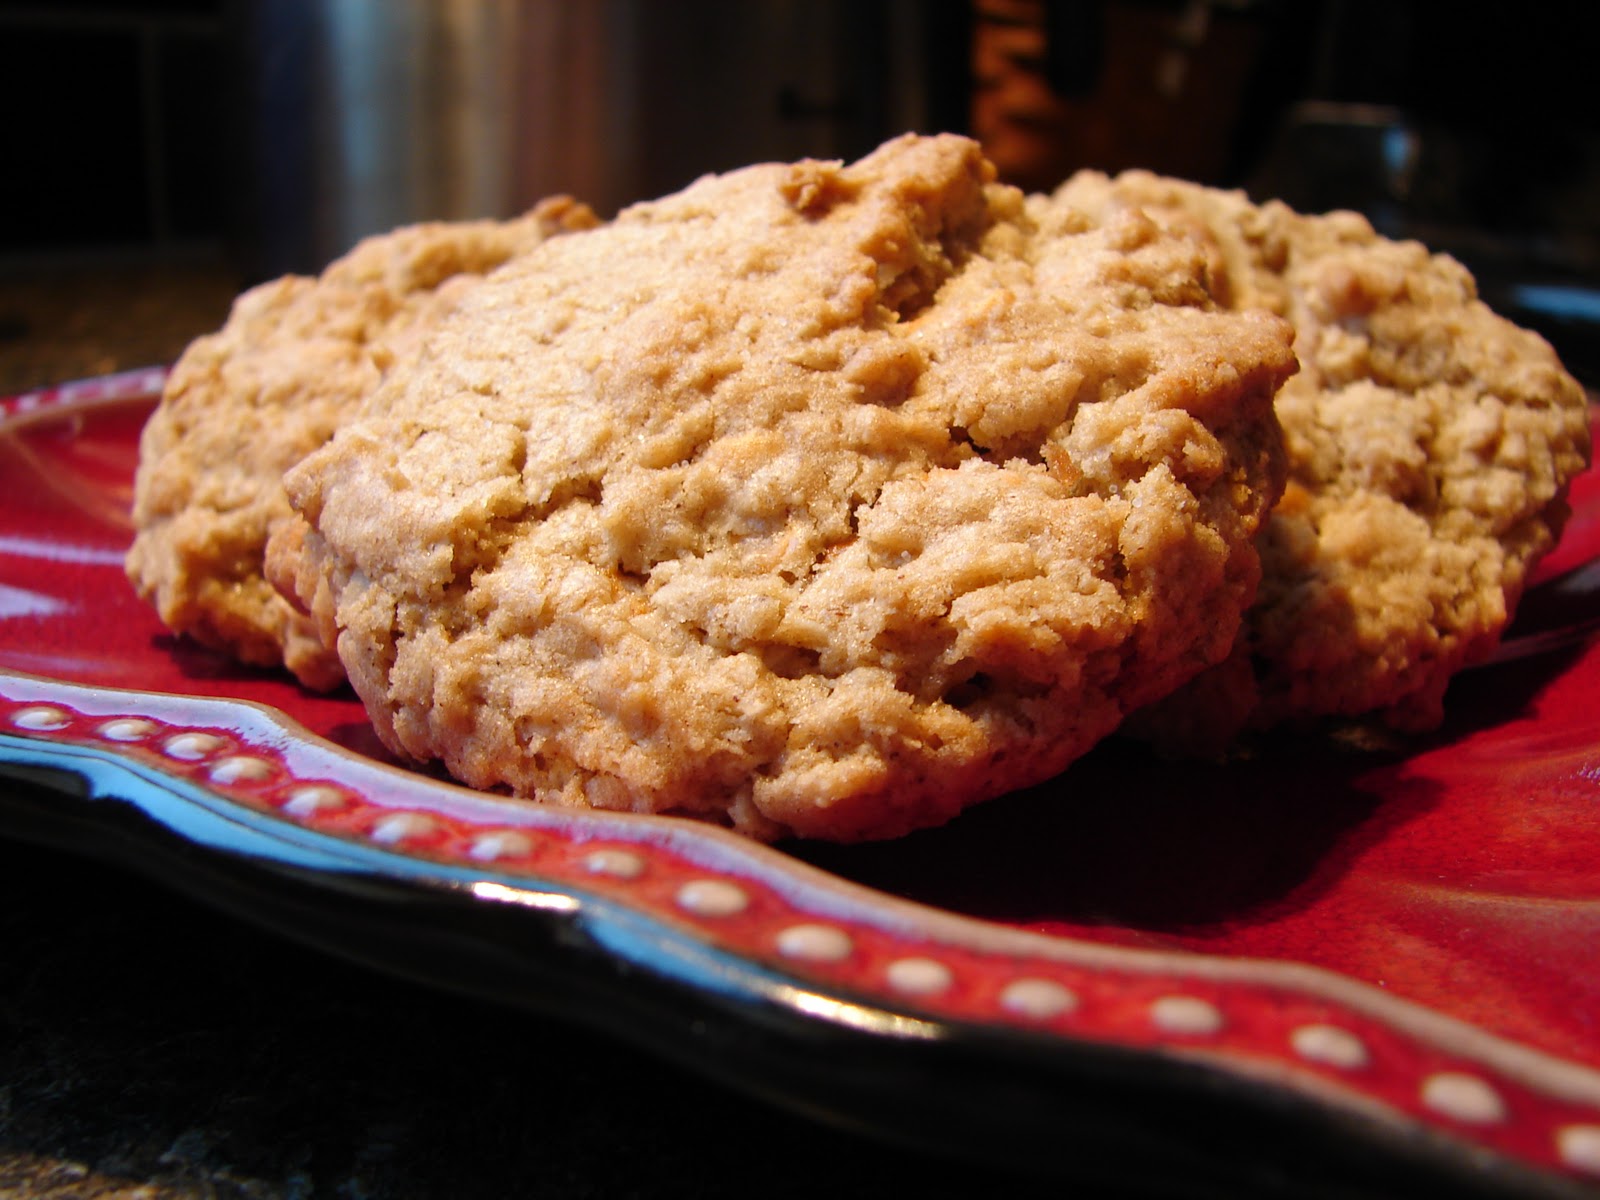
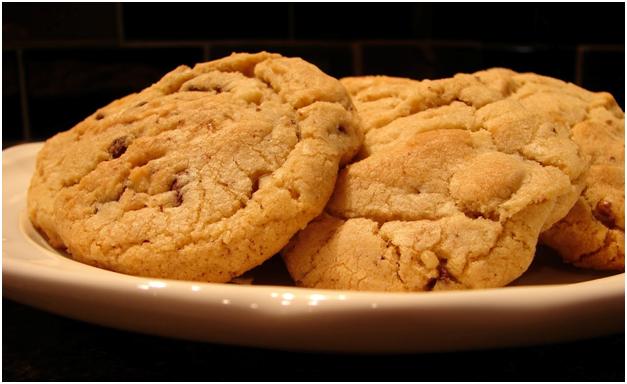
By the time I bite into one of these, I couldn’t care less about what’s in them. When baked perfectly they are soft in the center and crispy on the edges. Don’t over-bake or they turn into hockey pucks – especially if you decide to go with straight up butter.

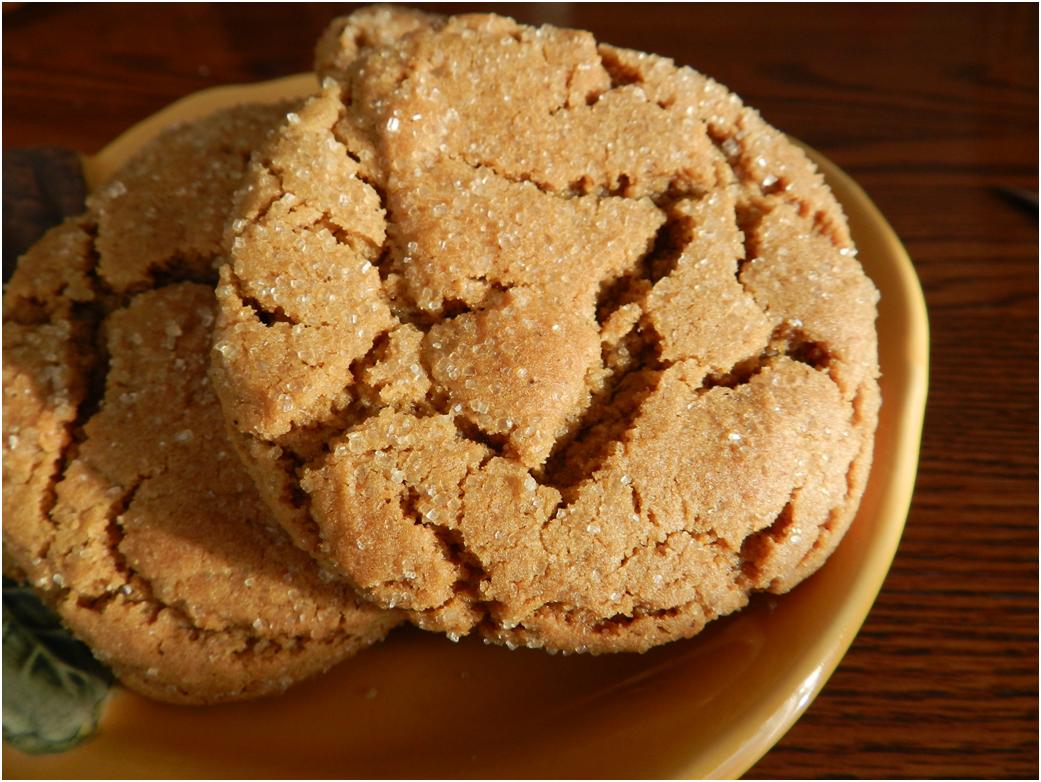
As I’ve said before, cookies are meant to be shared. This batch was paired with snickerdoodles to feed a bunch of OCF cadets. I think snickerdoodles are boring next to molasses sugar cookies, but they have their fans and the combination is always a big hit.

Sugar Cookies – A Kitchen Catwalk Christmas Carol

Mixer blades, mixer blades

It’s Christmas time in the kitchen

Swish-n-whir, hear them purr

Soon it will be Christmas day!

Kitchen catwalks, busy catwalks

Dressed in holiday style

In the bowl

There’s a mixture of goodness

Butter whipping

Sugar creaming

Mixing egg after egg

And on ev’ry kitchen catwalk you’ll hear…


Mixer blades, Mixer blades

It’s Christmas time in the kitchen

Swish-n-whir, hear them purr

Soon it will be Christmas day!


Scoops of powder

Dreamy powder

Billow up from the cream

As the blades rumble on with their mixtures

Hear the big thump

See the dough clump

It’s a mixer’s big scene

And above all this bustle you’ll hear…

Mixer blades, mixer blades

It’s Christmas time in the kitchen

Swish-n-whir, hear them purr

Soon it will be Christmas day!


Creamy dough lumps, tasty dough lumps

Pressed in pat-a-cake style

On the counter

There’s a layer of flour

Pins are rolling

Dough is flat-ning

Meeting roll after roll

And on every catwalk you will see…

Ku-Ki-Do, Ku-Ki-Do

It’s Christmas time in the kitchen

Shapes-to-make, smell them bake

Soon it will be Christmas day!

Specks of sweet lights

Tiny star lights

Blink a bright red and white

As the bakers dress up all their treasures

Taste the frosting

Tint the frosting

This is sugar’s big scene

And after all of this bustle you’ll taste…

Sugar cookies, Sugar cookies

It’s Christmas time in the kitchen

Crunch-n-munch, eat a bunch

Soon it will be Christmas day!

Kitchen Catwalk Christmas Cookies
3 cups powdered sugar

2 cups butter

2 tsp vanilla

1 tsp almond extract

2 eggs

5 cups flour

1 tsp baking soda

3/4 tsp cream of tartar

Frosting
3 cups powdered sugar

1/3 cup butter

Vanilla if you like it in frosting

2 TBSP milk (or so…this is how you control consistency, so go slow.)

Follow the usual Ku-Ki-Do directions.  Bake at 350 degrees for 9 minutes on a regular cookie sheet…no stone for these guys.

If any of you bake and decorate sugar cookies, I’d love to see pictures!!! Sing while you work.

Wishing you all a love and joy-filled Christmas!

Lisa

Peanut Butter Cookies

Ah, cookies again! It’s been a while. One of my young friends, Jessica Lawton, asked for my Peanut Butter cookie recipe a couple of weeks ago so this is especially for her. She spent a lot of time in my kitchen last time we lived at West Point and I’ve since seen photos of her impressive cooking. She certainly doesn’t need pictures to go with a list of ingredients, in fact what she needs in an apron award, but since I’ve taken up blogging no one ever gets a simple recipe!

Let me start by saying that I’m not a fan of soft waxy peanut butter cookies – the kind that often have a Hershey’s kiss on top. Those are so cute, but I really prefer the kiss and the cookie separately and I like soft centers with crispy golden edges just as much in a PBC as I do in any other cookie. So, here’s my version.

1 cup sugar

1 cup brown sugar

1 cup peanut butter

1 cup butter (the real stuff!)

2 eggs

2 ½ cups flour (and more at the end if needed)

1 ½ tsp baking soda

1 tsp baking powder

¼ tsp salt

Start with the butters and the sugars. I normally like to use chunky peanut butter or chop some peanuts to add at the end, for extra crunch but I don’t always plan well enough for crunch.

I was baking for a bunch of cadets so what you see in the pictures is double-batch quantity – a lot even for Darth.

Once the butter and sugar are creamed, add the eggs and mix again.

Then, add the fluffy white ingredients.

I could see the gleam in Darth Mixer’s eyes at the thought of flinging all of that flour across the kitchen, so I covered him with my absolute favorite dishtowel embroidered by my Aunt Mary. A chicken at the Kitchen Aid – yup that’s me. Darth won in his own way!

With peanut butter dough, the rules of great Ku-Ki-Do still apply. It has to be stiff enough to pull away from the mixer bowl into a chunk without a spatula or the cookies will be like pancakes. Sometimes with peanut butter you have to add more flour than the basic recipe calls for because not all peanut butters are alike.

When the dough is the right consistency, go ahead and form balls just like you do with other cookies and line them up on waxed paper. I love rows of Ku-Ki-Do!

As always, the cookie sheet should be preheated. This means that you have to make quick work of crisscrossing the cookies.

Start by dipping your fork in sugar to coat the tines.

Then each time I touch the cookie I re-dip the fork and try to shovel a little bit of sugar onto the tines so that it can be shaken off onto the cookie as I press down.

You have to be as quick as possible to keep from messing up the bottoms but a well-seasoned stone keeps them from burning. Put them into a 375 degree oven for 12-15 minutes, depending on size.

Sometimes peanut butter cookies (and others) have a tendency to spread in unflattering ways on the stone, even when you’ve done your best with dough consistency. They come out of the oven looking life they’ve been in there having a nice big relaxing group hug. If this is the case you can use the spatula like a bulldozer blade to break up the party and push the edges back toward the center of the cookie they belong to before you try to pick them up from the stone. The process is kind of like a cookie tummy tuck and the separation of conjoined cookie twins all in one. While they’re hot, and still on the stone they are very pliable so you can reshape them quite a bit. I was having the group hug problem with this particular batch but as you can see I was able to corral them back into fairly appropriate looking shapes so you would never know if I kept my mouth shut…

…but peanut butter cookies are meant for open mouths!

Happy baking, and stay tuned – the leaves are almost ready to turn. Soon it will be Molasses Sugar cookie time!

Lisa

First Ever Ku-Ki-Do Apron Awards

I am currently confined to a kitchenette in a military lodging facility which means it’s a perfect time to take care of some posts that don’t require me to cook…like recognizing a few up-and-coming Ku-Ki-Do Masters.

The first award is an Advanced White Apron to Holly Diccico. Holly came to my house and made Classic Chocolate Chip cookies with my equipment but I kept my hands completely out of the project. Her results were very good. She will have her Yellow Apron once she tells me she’s made a couple batched on her own and that will have to wait a few weeks, because she’s in South America at the moment.

Holly’s Apron – The black border around the picture shows it’s an “advanced” apron.

Holly scooping Ku-Ki-Do

The second award of Yellow Apron goes to Megan Tilton. Megan watched Holly make cookies and has since attempted multiple batches on her own and sent me text message pictures of her results. Megan has demonstrated appropriate discernment regarding problems with dough consistency and is troubleshooting her way to perfection. Keep the cookie pictures coming Megan and you’ll soon be a Green Apron.

Megan’s Apron

Megan making cupcakes

The third award, a pair of prestigious Green Aprons, goes to the team of Nathan and Kara Johnson. They came over to make a batch with me late last spring and they’ve been working at home with Darth Mixer’s predecessor, The Little Clone Trooper, ever since. They were doing some pretty advanced troubleshooting by the time I left Pullman, even researching different kinds of baking stones. They are well on their way to mastery and I have independent reports that they are very close with the Classic Chocolate Chip, if not there. They will go on to Blue Aprons when they try a couple more cookie varieties and send me some pictures – there are some Snicker Doodle and Oatmeal Cookie lovers in the U.COME.UNITY group too. I’m sure I’ll continue to hear great things about how it’s going.

Kara’s Apron

Nathan’s Apron

Kara and Nathan making Ku-Ki-Do eyes at each other.  Aren’t they sweet!

Congratulations, Guys!

If anyone else is out there making and baking great Ku-Ki-Do, let me know, and you too can have an apron award. Of course, I’m making up these awards as I go, so no one really knows what I’m talking about – least of all me, but these guys will be able to say they were the first to earn these colors! The colors are going to go like my old Tae-Kwon-Do class White-Yellow-Green-Blue-Brown-Black. I got a green belt in Tae-Kwon-Do and it was hard. I don’t think I’ll ever get a black one, but I gave myself Ku-Ki-Do Black Apron straight off because I invented the whole Ku-Ki-Do thing. It’s nice to invent something once in a while, even if it is corny.

If you don’t know what I’m talking about with all of the apron nonsense, please go to my very first blog post ever: (click here)

Oh, and it wouldn’t be right to leave out a few honorary Ku-Ki-Do black aprons that I happen to know of!  They are: My Mom, Tracie Addyman, Molly Sears and Mrs. Fields.

If you’re wondering what I’m doing in a lodge with a lowly kitchenette, click on the Nomadlibs link at the top.

Happy Ku-Ki Baking!

Lisa

Snickerdoodle-Doos


These cookies are about the most un-interesting cookies that I make. No flavor, no chunks, no real color, not terribly photogenic, but somehow very addictive. They are second only to chocolate chip, and possibly molasses sugar cookies in popularity with friends and family. At least they have a name that I can play with! When my children ask what kind of cookies I’m baking, I answer in my rooster voice. They roll their eyes.


Snickerdoodle-Doos
2 cups butter (VERY firm)
3 cups sugar
4 LG eggs (use the white of an extra egg or two if you don’t have LG)
5 ½ cups all-purpose flour
1 tsp baking soda
½ tsp cream of tartar
½ tsp salt

Approx. ½ cup sugar mixed with 1 tsp cinnamon for rolling


For complete instructions on how to mix great cookie dough, see: Ku-Ki-Do 101

Start with the butter (it needs to be very firm) and sugar. Mix thoroughly


Add the eggs and mix again.


Add the dry ingredients. I am a believer in dropping them all in at once. I see no benefit to gradual additions.


I also like the challenge and intrigue of trying to keep the flour in the bowl. Woman, outwitting mixer – here’s how I do it.
On – off – On – off – On – off …


Darth Mixer would love to sling flour all over the kitchen, but just as the blade gets moving I cut the power. I am in charge! I let each poof settle before giving the blade another turn.


Then I transition to: Oooonnn – off – Oooooooonnnnn – off – ON! Go, Darth! Go!


Good job, Darth!


When Darth looks like this, I think it’s kind of sad. Here he is with empty arms, singing to his bowl… “Baby, come back! You can blame it all on me…”

Ignore the lonely mixer while scooping the dough into golf ball sized portions and rolling them in sugar.


Slip them onto the stone and into the 375 degree oven for 12-14 minutes.


They should come out with just nicely browned bottoms.


This recipe makes kind of a fluffy snicker doodle compared to what you get in the stores. It’s not chewy, but it should be soft in the center with a crisp crust. Over-baking ruins them.

My hubby would want me to say that if you live close and happen to try this recipe, he would be happy to taste test. snickerdoodles are his favorite.

And, this post wouldn’t be complete if I failed to mention that I can’t ever make snickerdoodles without thinking of Jordan Cook, a cadet who baked hundreds of them at our house last time we lived at West Point. Now, she’s in law school – and still in the Army – we’re proud of her!

“Stout” Butterscotch Oatmeal Cookies

My burly brother once referred to these as “STOUT” cookies – which is a hearty term of approval in his vernacular. The name stuck.


Butterscotch Oatmeal Cookies

When I first made them (back in the days before the internet caught on) I thought I was producing something quite original. My first inkling to the contrary was in Germany when I took a plate to my upstairs neighbor, Tracie Addyman – who happens to be a Ku-Ki-Do Black Apron herself – and she was just as surprised as I was to find that she wasn’t the only one who made “Oatmeal Scotchies”. I guess great cookie minds think alike, but according to Google we aren’t as original as we thought we were. Oh, well…


Be sure you taste test a few of the chips!

Butterscotch Oatmeal Cookies    
1¼ cup butter 
1 cup white sugar
1 cup brown sugar
2 LG eggs (use white of a 3rd if you don’t have LG or XL)
1 tsp. vanilla
3 cups quick cooking oats
2 ½ cups all purpose flour
1 tsp. baking soda
½ tsp. baking powder
½ tsp. Salt
1 tsp. cinnamon
1 12 oz pkg. butterscotch chips
The salt shaker on standby

Directions

Mix butter and sugars. Add eggs and vanilla and mix again. Dump in the dry ingredients and try not to let fly. When you have a stiff dough, add the chips. Bake at 365 degrees for 13-15 minutes. Be careful not to over-bake or they turn into rocks. (For complete directions see: Ku-Ki-Do 101 )


Lightly Salted Goodness!

When these come out of the oven I like to sprinkle salt over the tops – the hint of saltiness with the sweetness of butterscotch seems just perfect to me.

If you’re new to cookie baking, this is a great recipe to start with. It tolerates greater imperfection of method than most cookies and produces a hearty, almost healthy snack.

White Chocolate Chip & Cashew Cookies

Cookies are the perfect make-ahead breakfast! And, if you eat them by themselves, you’ll be ready for breakfast again about two hours later (if you can pick your face up from your desktop). When paired with something that furnishes nutrients they may lack you have “a balanced breakfast” and all day to burn the alleged extra calories. Catch me in the evening and I’ll tell you why that’s also the ideal time to eat cookies.

Here’s the recipe for my breakfast du jour: 
2 cups of butter (very FIRM)
3 cups granulated sugar
2 LG eggs plus the white of a third
4 ½ cups all purpose flour
2 tsp baking soda
1 tsp salt
12 oz white chocolate chips
1 cup finely chopped nuts – See “nut notes” below


Cute little dough balls.

This is a variation of the classic chocolate chip cookie recipe featured in my last post. You’ll notice that the brown sugar is ousted in this one.


No brown sugar for these.

The lack of molasses from brown sugar makes the extra egg white essential – even with big eggs. If you don’t have LG or XL eggs then add two whites.


Pretty white chips meet nice stiff dough.

The Directions – are the same as the ones for the regular chocolate chip cookies (see March 6th), except that these take a little longer to bake. A full 15 minutes. Method is still important if you want to avoid white chocolate pancakes. For complete directions on how to make perfect Ku-Ki-Do click here.

Nut Notes:

  • In December, Ric and I came back from Hawaii with macadamia nuts, which are supposed to be the thing for white chocolate chip cookies. After trying them, I’m not convinced.
  • Last night, after a cabinet cleaning expedition I decided to try a different angle with the remnant of salted cashews from one of those Costco sized plastic jars. BINGO! I think I’ve hit on my nut of choice. The salty nuts were great with the extra sweetness of white chocolate and cashews are just a delicious nut. What could be better?


A perfect combination!


Chopped cashews – Some not so “finely”.

Thanks to my “big kiddo Tuesday-night crowd” for providing the excuse for the batch that left me breakfast!


This is what the Tuesday Nighters looked like last year – Guess I need to take a new picture!

The Classic Chocolate Chip Cookie


This is my blue-chip recipe; the one that filtered through the weeks on end of trying to figure out the nuances of great texture and taste for the sake of hungry cadets. It turns out cookies that hold their shape nicely and stay soft in the center with a crispy exterior.


All of the Basic Ingredients

The Pure Smooth & Chewy Version 
2 cups of real Butter (VERY FIRM)
1 ½ cups granulated sugar
1 ½ cups light brown sugar
2 Large eggs (add the white from a third if you don’t have L or XL eggs)
4 ½ cups all purpose flour 
2 tsp baking soda
1 tsp salt
12 oz Chocolate chips (or less)

If smooth and dreamy is what you consider ideal in a chocolate chip cookie, then stick to the above and you’ll be pleased. I happen to like a little bit more texture, so over the objections of my children, I often make one of the adjustments below.

For Extra Texture:

Add 1 cup of very finely chopped walnuts – these provide a nice little bit of crunch without overwhelming the chewiness. AND, as I tell my children, nuts are good for you! So are cookies, but in a different kind of way.


Finely Chopped Walnuts.

Or

Back off by about ¼ cup on the flour and add ½ cup of quick oats. Don’t overdo. You don’t want to turn this into an oatmeal cookie, but a handful will give the texture some greater complexity if the basic recipe is too smooth for you taste.

A Note about the Chips: Less is more! The cookie should be the star. Chocolate is a powerful accessory and needs to be used with decorum. You’ll notice that my master recipe is twice the size of the little boutique batches you see from real recipe sources, but the amount of chocolate is not doubled with the rest of the recipe. This allows you to enjoy the actual cookie with the appropriate accent of chocolate.

Directions

Before you start, take a look at the post on  Ku-Ki-Do Methodology  for step-by-step instructions with photos. If you want really good results, the process is critical.

  • Mix the very firm butter and the sugar – it should turn into a stiff but very tasty lump.
  • Add the eggs and mix again – now it’s creamy.
  • Pile in the four, soda and salt. Then mix again until a stiff dough forms and pulls itself away from the sides of the mixer bowl.
  • Add the chocolate chips, and nuts if you please, and mix until they’re evenly distributed.


No spatula was used in the shooting of this photo!

Eat some dough! My mother feints at the thought of this, and I know the eggs haven’t cooked themselves since step two, but what’s life without a little risk?

Form what’s left into golf ball sized lumps. Don’t mash and smash – just spoon up enough dough for the cookie and get it shaped into a rough ball. Smashing messes things up…in cookies and in life.


So, maybe they’re a little bigger than golf balls.


I love the rounded cookies, In gold battalions drilled…(Free cookie recipes if you can name the misquoted poet!)

Bake at 365 on a baking stone for 13-15 minutes. (I know the temperature is odd but trust me. Maybe one of these days I’ll sacrifice a few cookies at the end of a batch to show you the difference 10 degrees makes.)

Place on a cooling rack for the time it takes the next dozen to bake.

Enjoy and Share! You’ll end up with about 3 dozen large cookies so generosity is a necessity.

Thanks to my neighbors Karen, Sue, Tricia, Kate and their families for helping to eat the batch in the pictures! 🙂

Cookie Methodology 1 – Great Ku-Ki-Do


Ingredients vary by recipe but the procedure for cookie dough is basically the same whether you’re making chocolate chip, snicker doodles or even roll-out sugar cookies.

The first step is to cream the butter and sugar – which just means mixing them together. However, the state of the butter makes a big difference in outcome.

The Butter: It has to be the real thing and FIRM! I think that stiff butter is one of the biggest factors in avoiding flabby cookies that resemble pancakes. Butter in the proper state for cookies should barely give when you press it with your finger and should try hard to hold its shape, even when it meets with the blade of your real mixer. I pull sticks straight out of the fridge and microwave them in their wrappers at 50% power for approximately 10 seconds per stick. Obviously, microwaves differ but it’s better to error with butter that’s too cold. It may hold out for a few extra seconds but the mixer will eventually win.

(Note: If you’re harboring traitorous thoughts of substitutions at this point, it’s time for you to find a new Ku-Ki-Do master. Margarine is an atrocity. Butter flavored Crisco can fill a gap if you’re a little short on butter, but only in extreme emergencies and you’ll have to live with the waxy consequences. Don’t even talk to me about applesauce unless it’s September or we’re discussing muffins.)

Balanced Sugars: Don’t skimp! These are cookies after all. Try to use the right kind and amount of brown sugar. It’s been my experience that there’s a texture difference based on the combination of sugars. The absence of brown sugar when it’s called for seems to lead to a brittle texture. I’m okay with the texture difference in some cookies, but in others, you need to stay on the chewy end of the spectrum and leaving out that hint of molasses that comes with the brown sugar zaps the chewiness.


When the butter is stiff enough, the mixture of butter and sugar should turn into a big lump that doesn’t really look “creamy” at all. (I recommend a little taste at this point! You never know when the simple mixture of butter and sugar will take on new complexities and you wouldn’t want to miss it.)

Add the Eggs: The bigger the better! If you don’t have large or extra large eggs, then add an extra white from a third egg for every two of a smaller size. Eggs have a big impact on texture and density – they help with fluff. (BTW: cage-free organic works best for the chickens involved.)


Once the eggs are mixed in with the butter and sugar, you finally achieve a texture that I would consider “creamy”.

Time for the Dry Ingredient Dump: I know this is where I’m supposed to say something about sifting, and leveling and gradually adding as you go, but those of you who know me know better! I plunge the measuring cup down into the flour bin, scoop out a heaping pile then jiggle the contents until it levels itself (more or less). Then I dump it in the bowl, and go for the next cup. Half-cups are totally eyeballed and it all goes into the bowl in one big pile. I just drop the salt, baking soda, etc… in on top.


Hint: Here’s where the kitchen can get really messy. Real mixers have an impressive dust flinging radius so I usually use a technique that I picked up from my “bread
sewing machine”, which is to pull the start lever forward for a second, then quickly turn it back off so that the blade only makes about half a turn. I do this several times until the flour is starting to work into the cream, then I go to longer bursts and eventually, when the flour shower danger has passed, let it run. Another method that works equally well is to drape a towel over the whole project and let the dust billow under the makeshift tent until it all settles down.

Perfect Dough Consistency: Once you mix in the dry ingredients, the dough should pull itself into a chunk of its own and give up clinging to the security of the bowl. If all of the ingredients are mixed and it’s still sticky, then gradually add more flour until it’s right… UNLESS… you didn’t follow the directions about keeping the butter stiff. If your butter started out too soft, then get ready for cookie flavored pancakes.

Cookie Hardware – Meet Darth Mixer & Friends

Here is a list of the necessary equipment for cookies in my very arbitrary order of importance.

The Mixer: You need a REAL mixer.

If you can mix your cookie dough by hand; you’re either a heck of a woman (with a wooden spoon that would strike fear into the hearts of small children) or you’re not getting the dough stiff enough.

I happen to love Kitchen Aids. When we first got married, about 20 years ago, I got a Stuff-Mart-Special mixer and it lasted about three months. So did its first replacement. Ric concluded that I must need a Super Duper Stuff-Mart mixer. He was right. It was better. I think it lasted a whole year before I burned out the motor. After some quick math he decided that a Kitchen Aide (which “they” say lasts a lifetime) would pay for itself in about two years at the rate I was burning through Stuff-Mart Specials. So, He brought home a little white Kitchen Aid with an adorable red stripe that made it about 17 years before every part and hinge had begun to rattle and the finish was worn off of both the blade and the replacement blade. In mixer mileage it probably had about 300,000 on the odometer but it was still grating cheese and turning out good cookies. I loved that little mixer – much more than one should love a simple piece of equipment.


But, Ric saw the writing on the wall and for my birthday last year he seized upon a fortuitous coupon and bought me a new one.

Bom, bom, bom, ba, ba, bom,ba, ba, bom…
Meet Darth Mixer. I’m thinking of making him a cape.


Darth is much bigger and heavier than The Little Clone Trooper he replaced. They looked so cute together that I was entertaining notions of keeping them both but Ric looked  at me with furrowed eyebrows every time I joked about that. I got the hint, and now The Little Clone Trooper has gone to live in a kinder, gentler home with my friend Kara where less will be asked of him in his geriatric years. Darth and I are still bonding, which is hard with a machine called “Darth”, especially when you’re not much of a Star Wars fan. I keep trying to switch to “Darthy” but it’s not working.

Oh, my. In case the point got lost in my story, it is this:

serious cookie dough requires a serious mixer.

Next…

Baking Stone: I use a baking stone because it offers more forgiveness when you forget to set the timer. Metal pans turn out black bottoms at the slightest overheating because they conduct heat so much more readily than the air in the oven which is touching the rest of the cookie. The stone on the other hand, isn’t a great heat conductor, but it is a great heat holder which is what you want. My husband, the scientist, is cringing at my vocabulary I’m sure, but what I mean to say is that the whole process stays stable on stone. Funny, what’s built upon a rock…

Timer – If you’re as distractible as I am, then one loud enough to track you down in the laundry room and remind you that you have cookies in the oven is indispensible.

Oven Thermometer: You have to know your oven and it’s worth a minor investment in an oven thermometer if things don’t seem right. During the experimentation days at West Point I had a deranged government employee of an oven that would randomly heat to a different temperature from the dial – and not by predictable percentages. In a very aggravating way, this taught me the importance of temperature. I began to live with a thermometer on the middle rack and work with the moods of the appliance. What else can you do?

Scoops and Spoons Spatulas: For years I used a spoon and my fingers to shape the balls of dough. Now I use a scoop and my fingers, but honestly I don’t think it makes that much difference. You shouldn’t need a spatula very much if your butter is firm enough (see next post) but once in a while you have to shove around ingredients that are straying from the mixing area. A nice stiff, flat rubber spatula is what you want for this job.

Cooling rack – Probably just as essential as a real mixer, but doesn’t have to be fancy.