Blueberry Muffin Recipe #2371
I was going to tell you that this will be about the 5,000th blueberry muffin recipe posted on the internet but I decided to check my facts and apparently it will only be about the 2,371st. I know there are plenty out there because a few years ago my mother-in-law typed “Blueberry Muffins” into Google, reached into the cyber bowl of hits and pulled one out. It turned out to be a winner. I kept the printed recipe and have modified it in the interim. This summer while my recipe box was in storage she and I wanted to make the same muffins. After about thirty minutes of shaking the Google bowl with different word combinations and reaching in to find it again, we realized that picking the same hit twice is nearly impossible. We came close, but it wasn’t exactly the recipe we remembered.
Here is my version of the right one.
2/3 cup softened butter
1 cup sugar
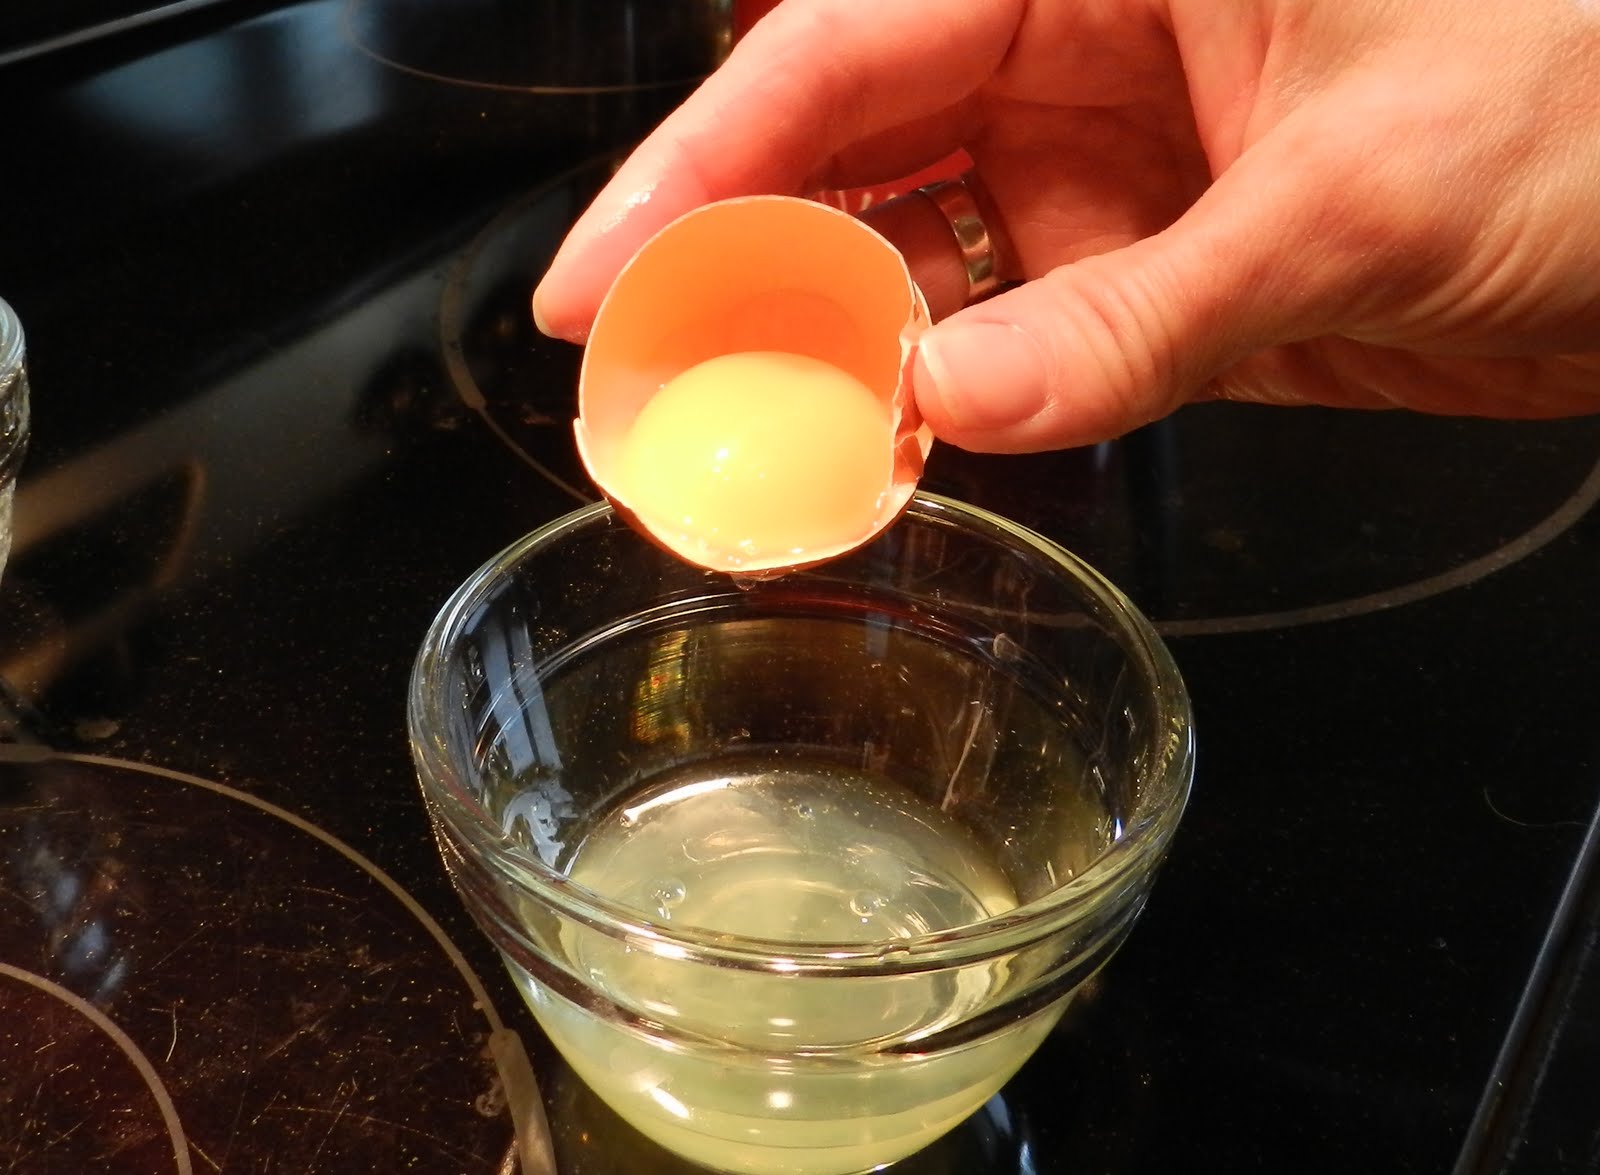
2 eggs
1 ½ cups vanilla yogurt
1 tsp lemon juice
3 cups all-purpose flour
1 TBSP baking powder
½ tsp baking soda
½ tsp salt
1½ cups fresh blueberries rinsed and drained (if you need to use frozen, thaw them and toss them in flour)
375 degrees for about 20 minutes. Makes 24.
Directions:
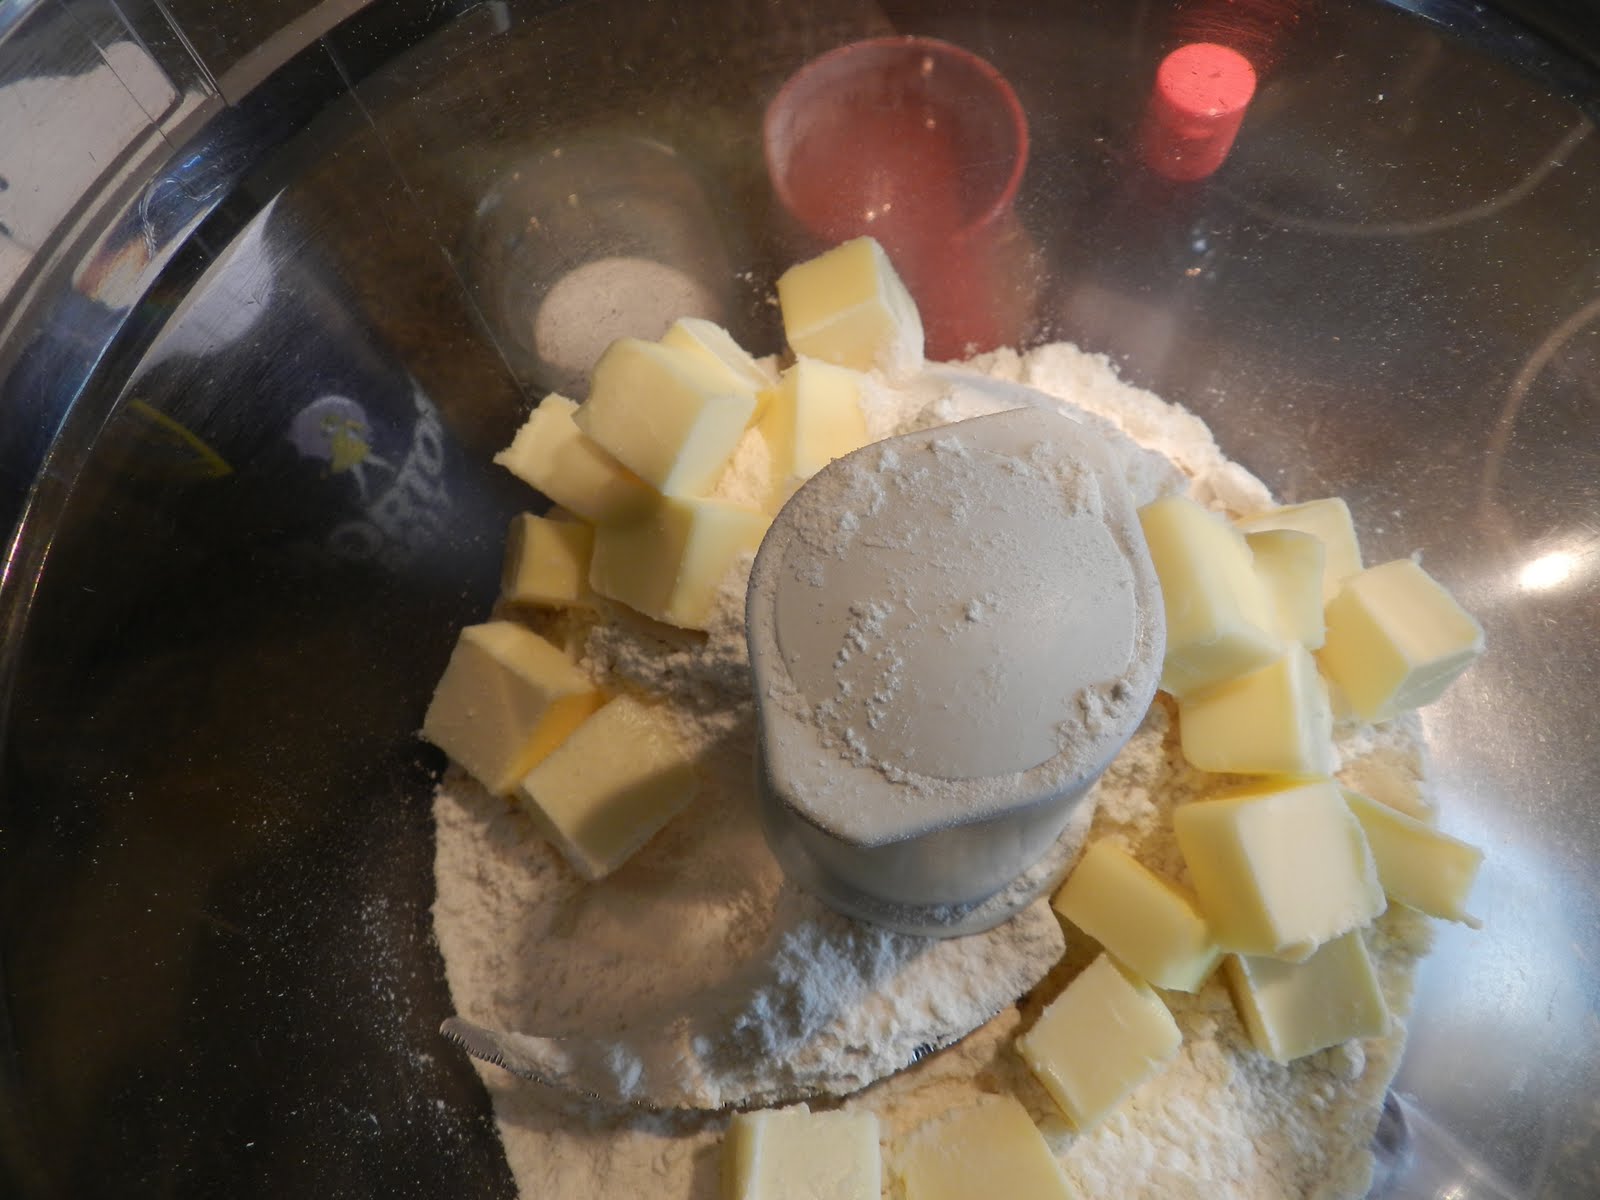
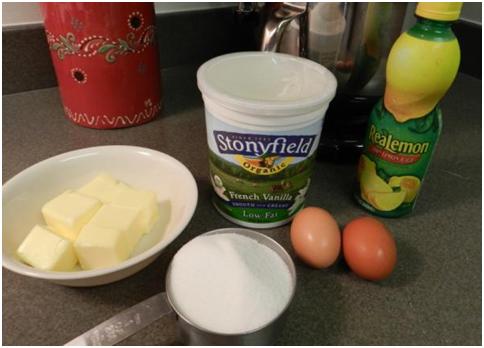
Assemble the wet ingredients.
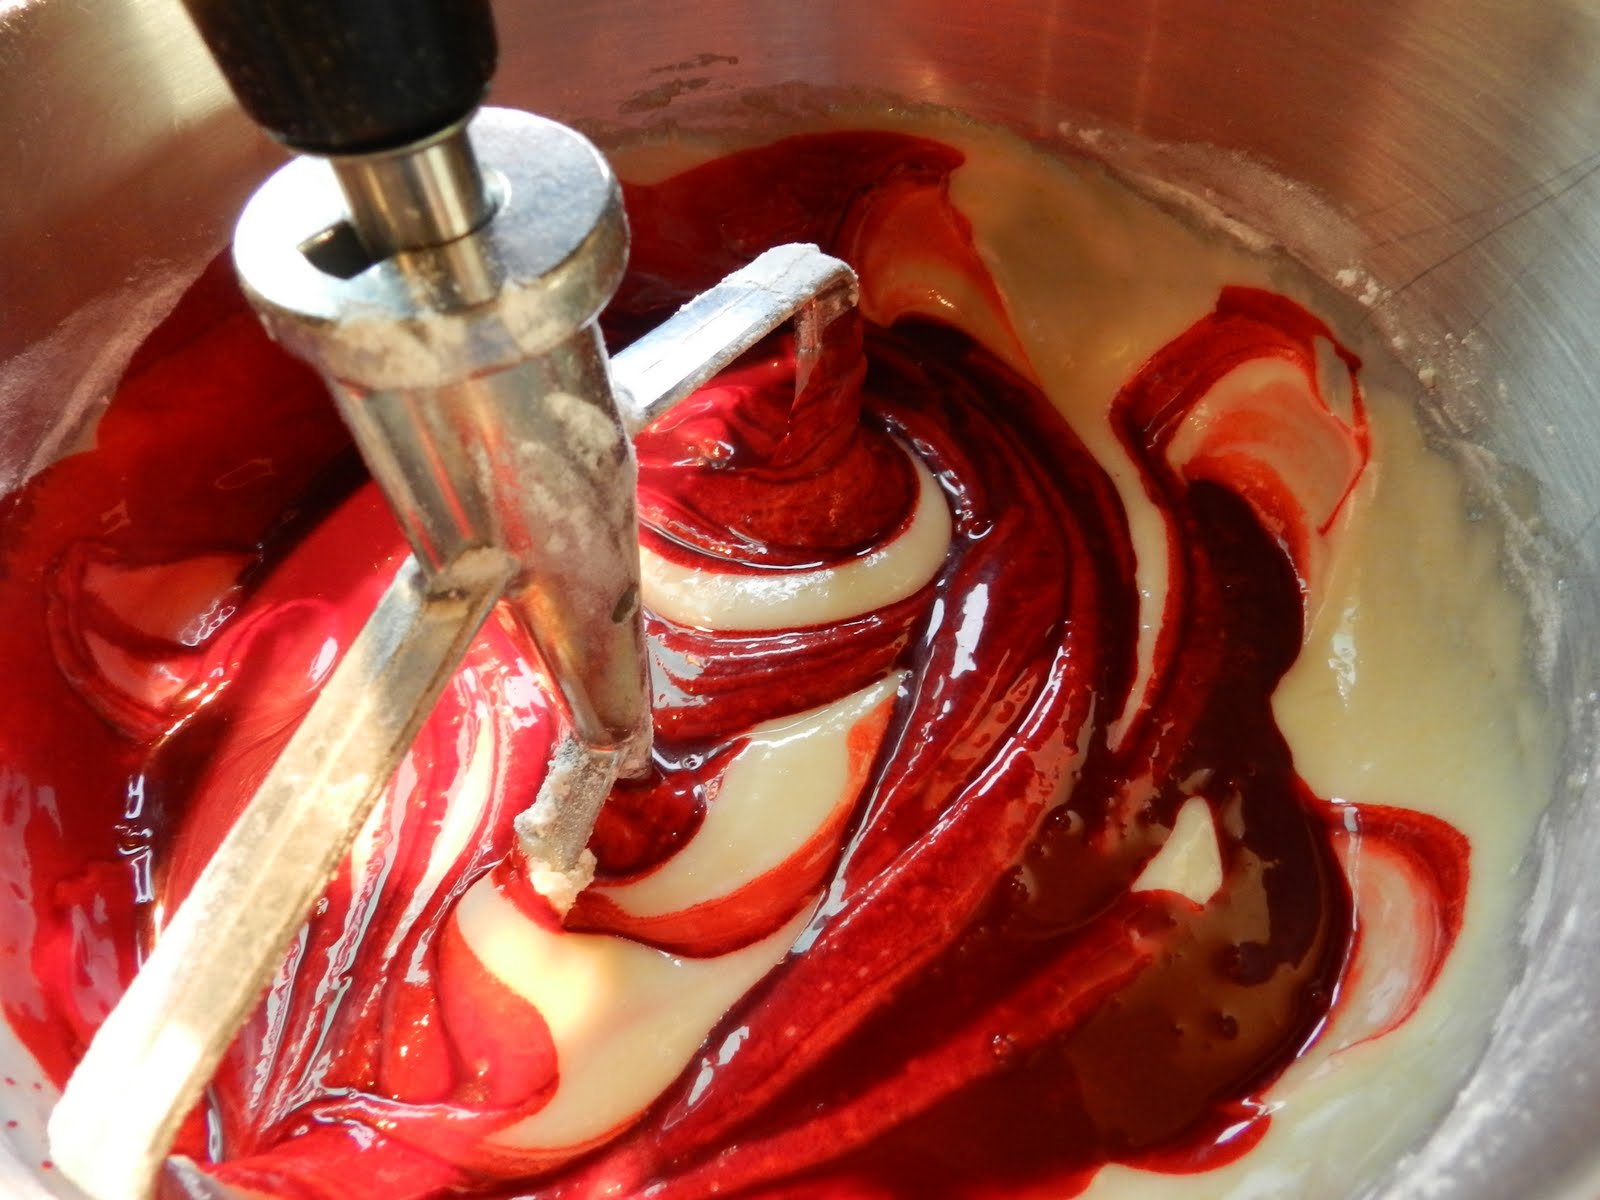
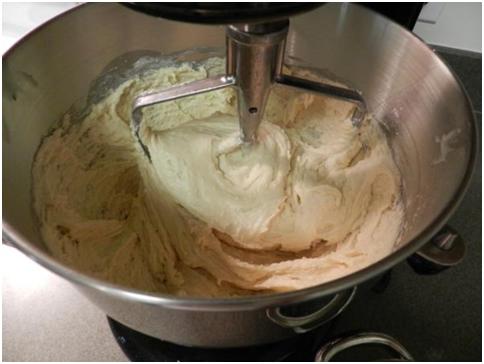
Start by mixing the butter and sugar, just like cookies. You have to love a muffin recipe that involves Darth Mixer!

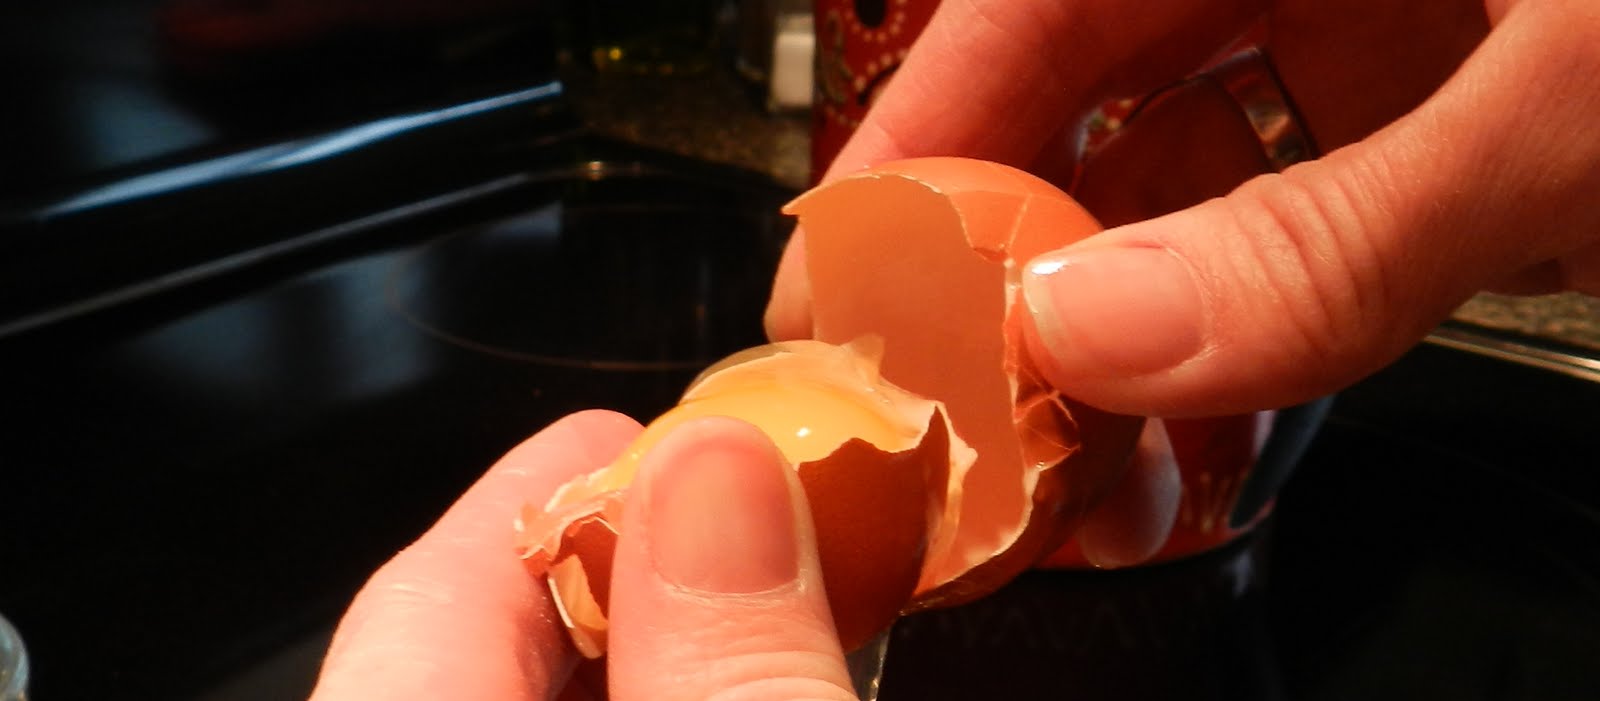
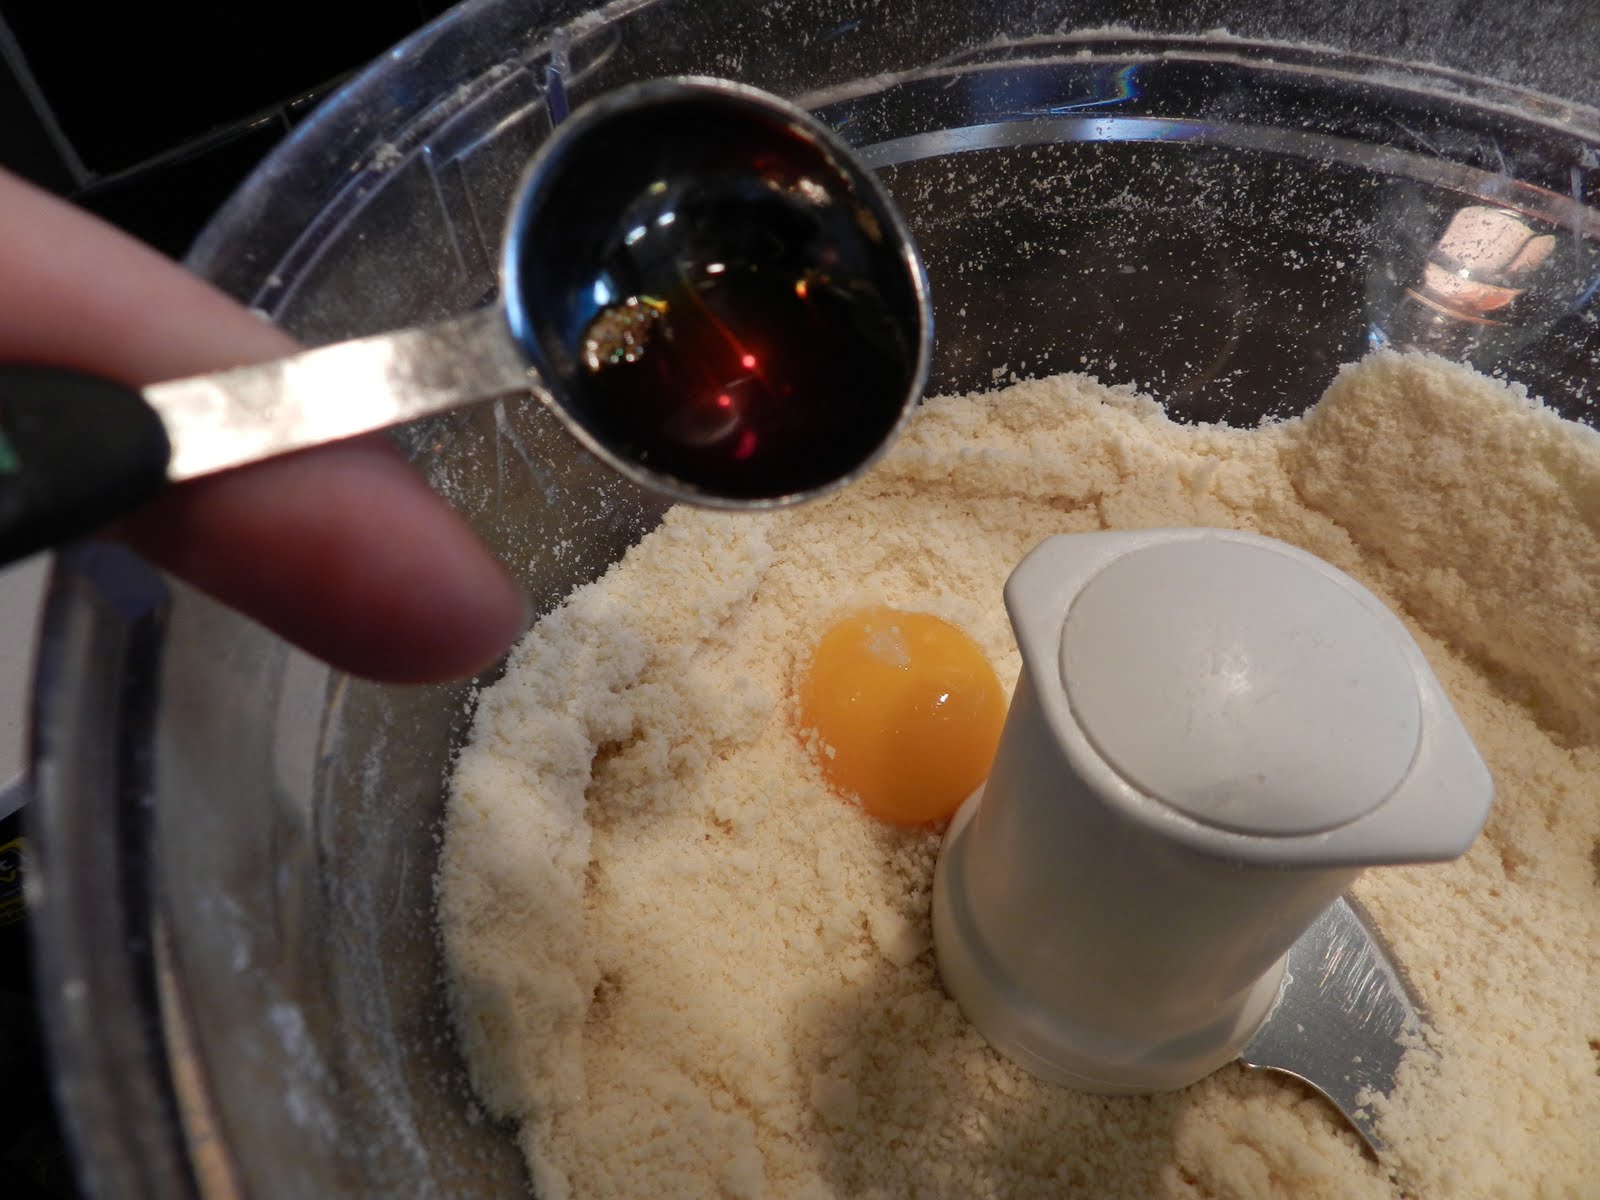
Add the eggs, yogurt and lemon juice. Mix.

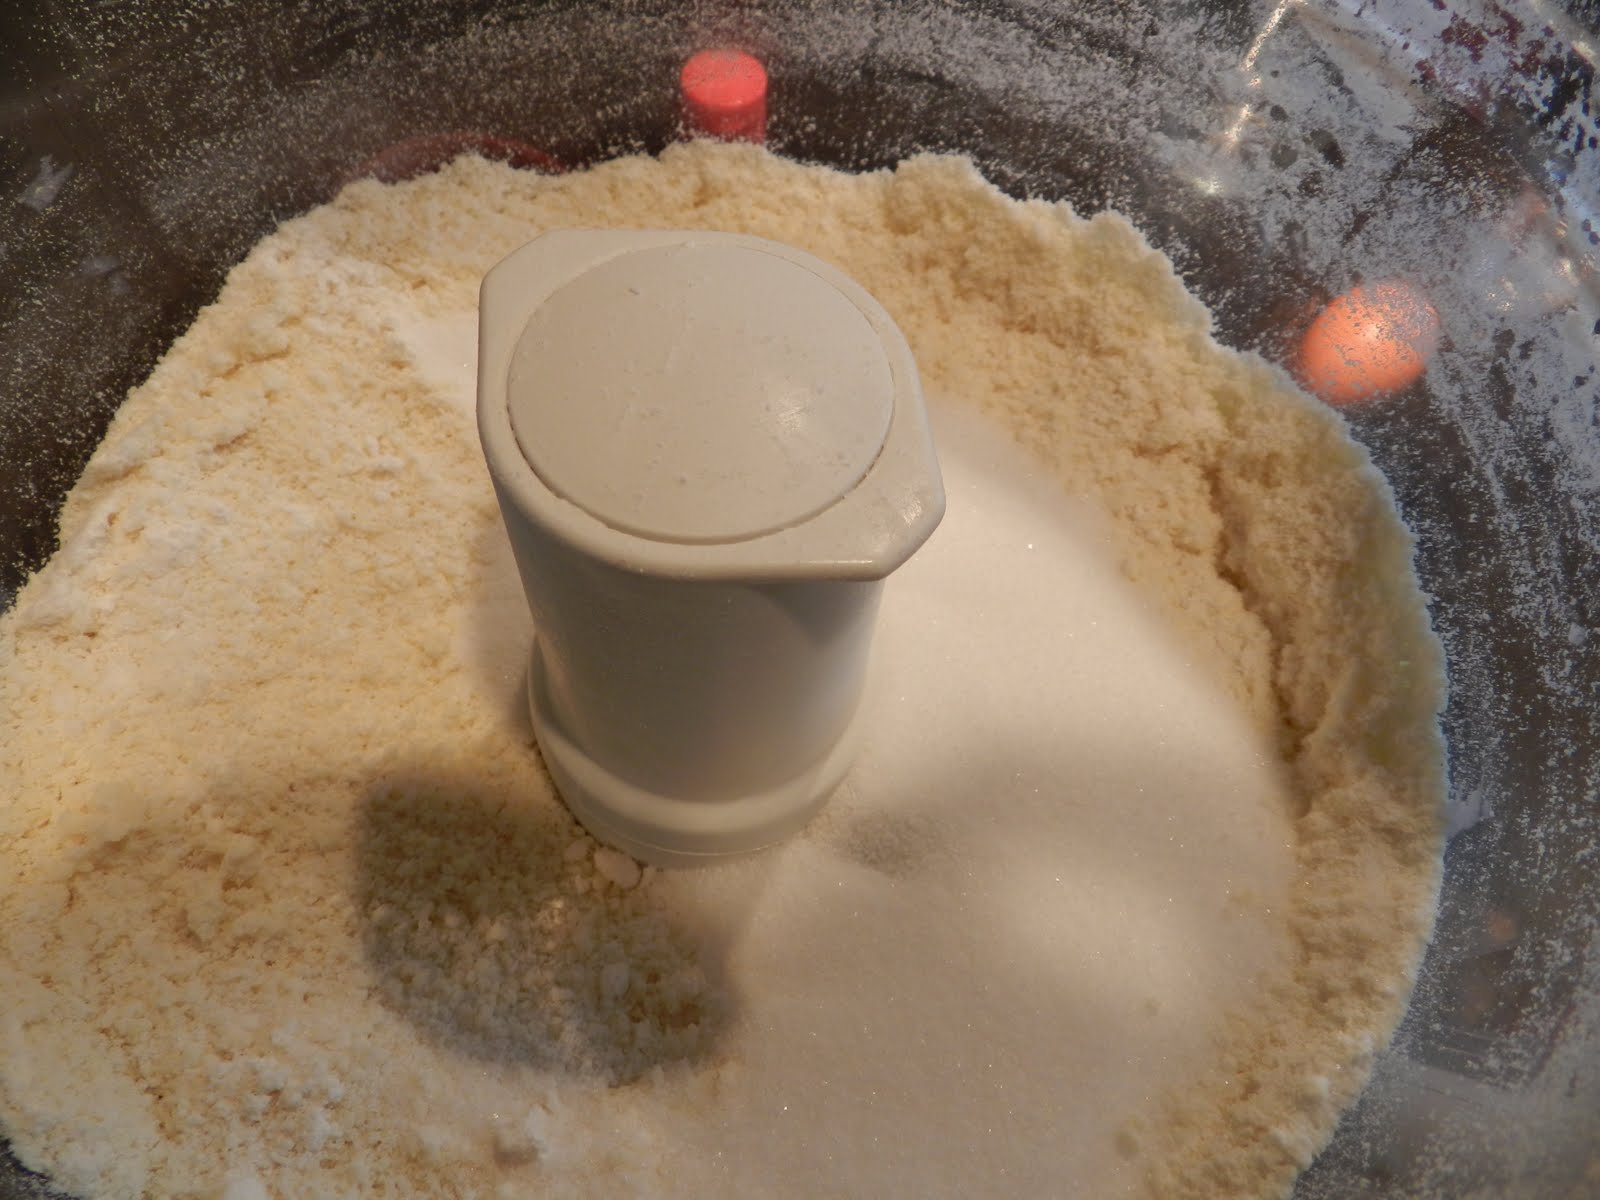
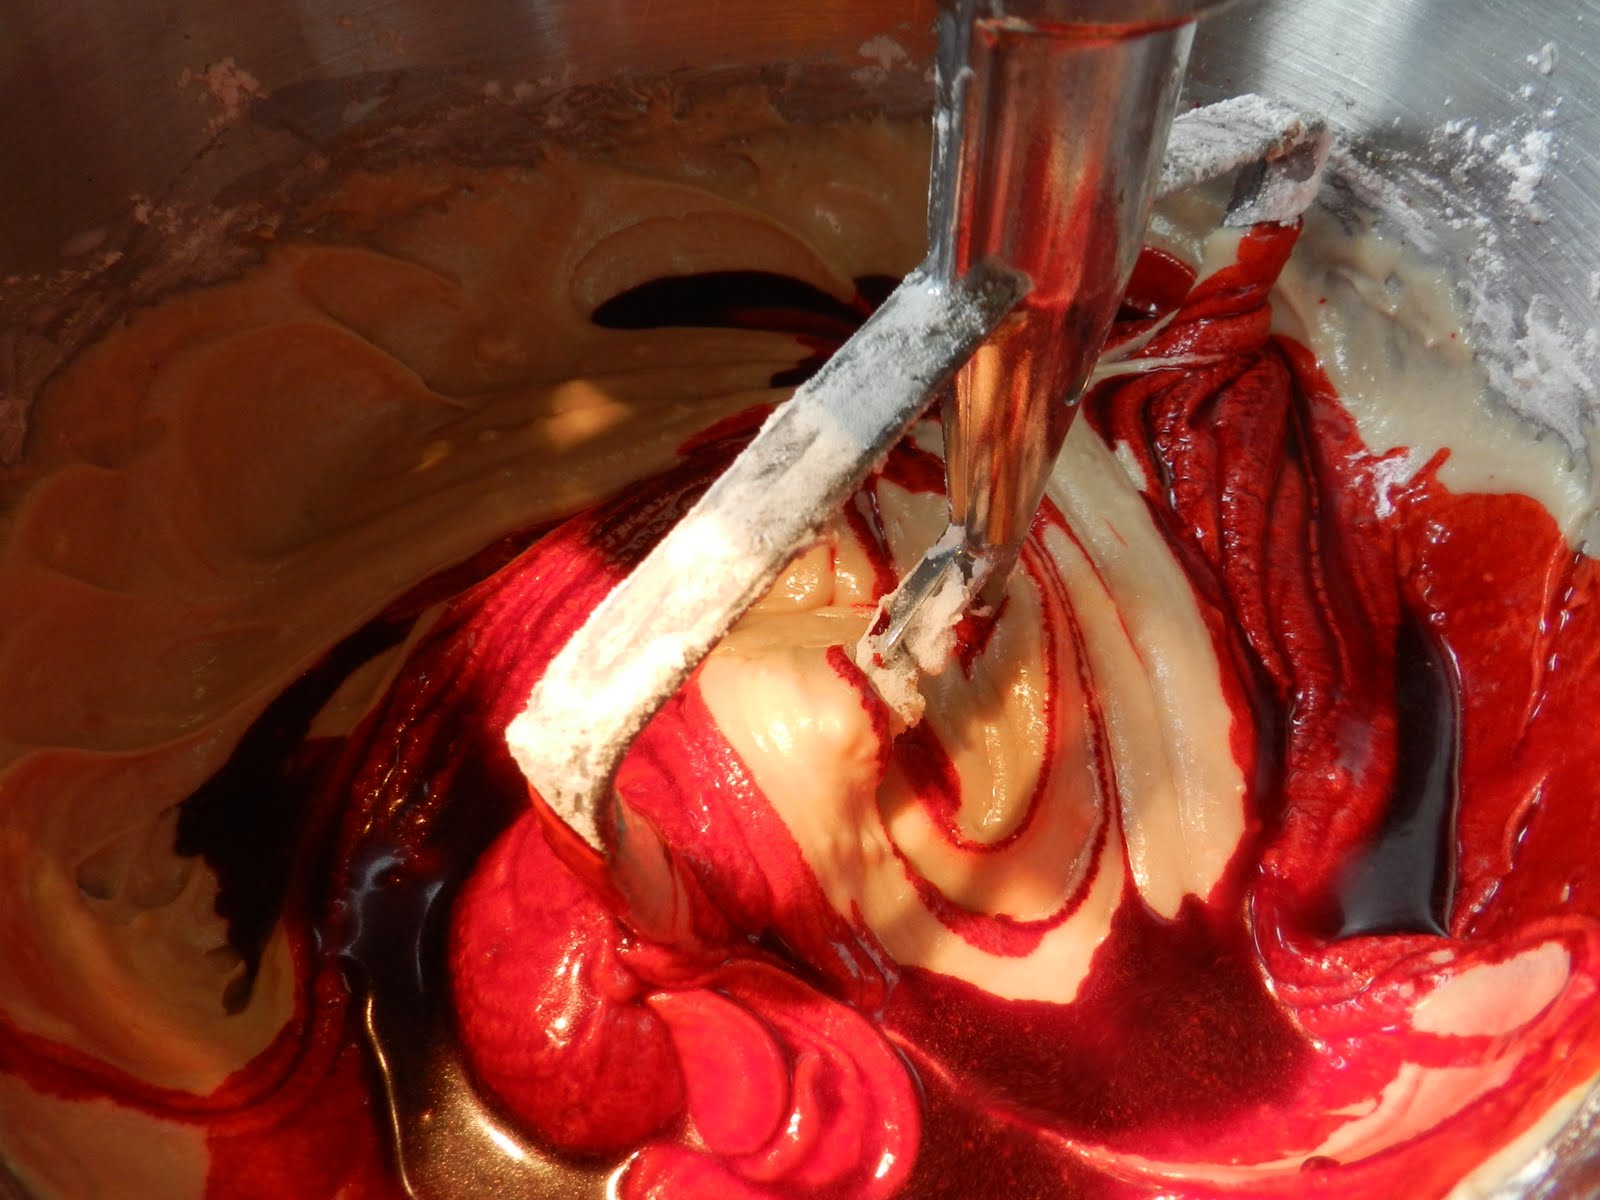
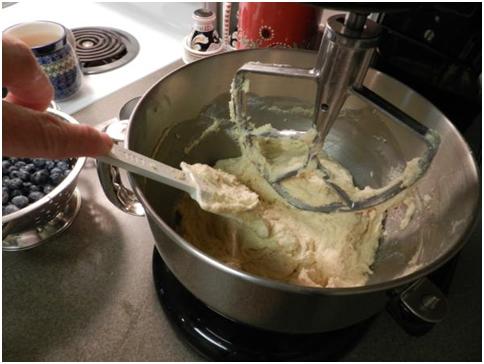
Then it’s time for the fluffy white ingredients.

Note that it calls for the capital T, tablespoon of baking powder!

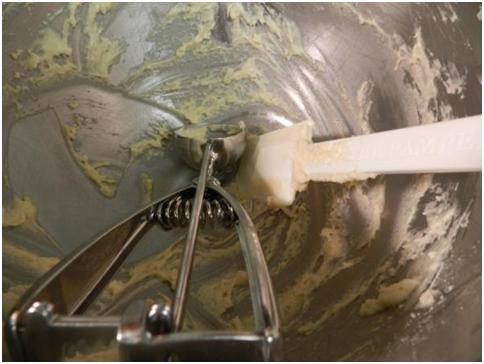
Mix until you have a batter that looks a lot like cake batter, which reminds me of my friend Anita Cory telling me about a funny video on the American obsession with cake. The line I think of when I make these muffins goes something like “What is the difference between muffins and cake? Nothing! Muffins are bald cupcakes. We call them muffins because we don’t eat cake for breakfast.” (Our good friend Google can take you to the whole stand up routine if you type in “cake comedy Jim Gaffigan”. It’s pretty funny.)
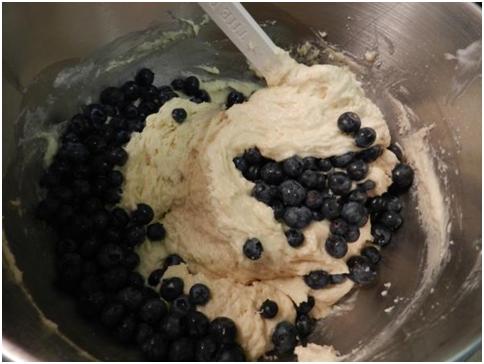
Now, the blueberries are entering stage left but they cannot jump in the bowl with Darth doing the mixing!

They need to be dumped in last and folded gently into the batter.
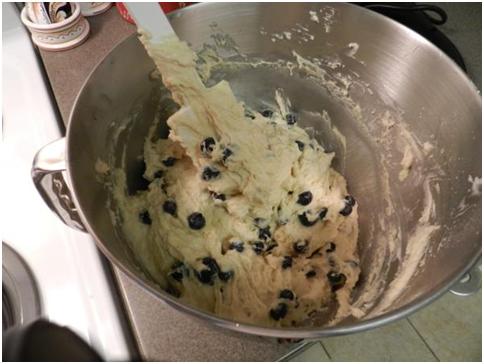
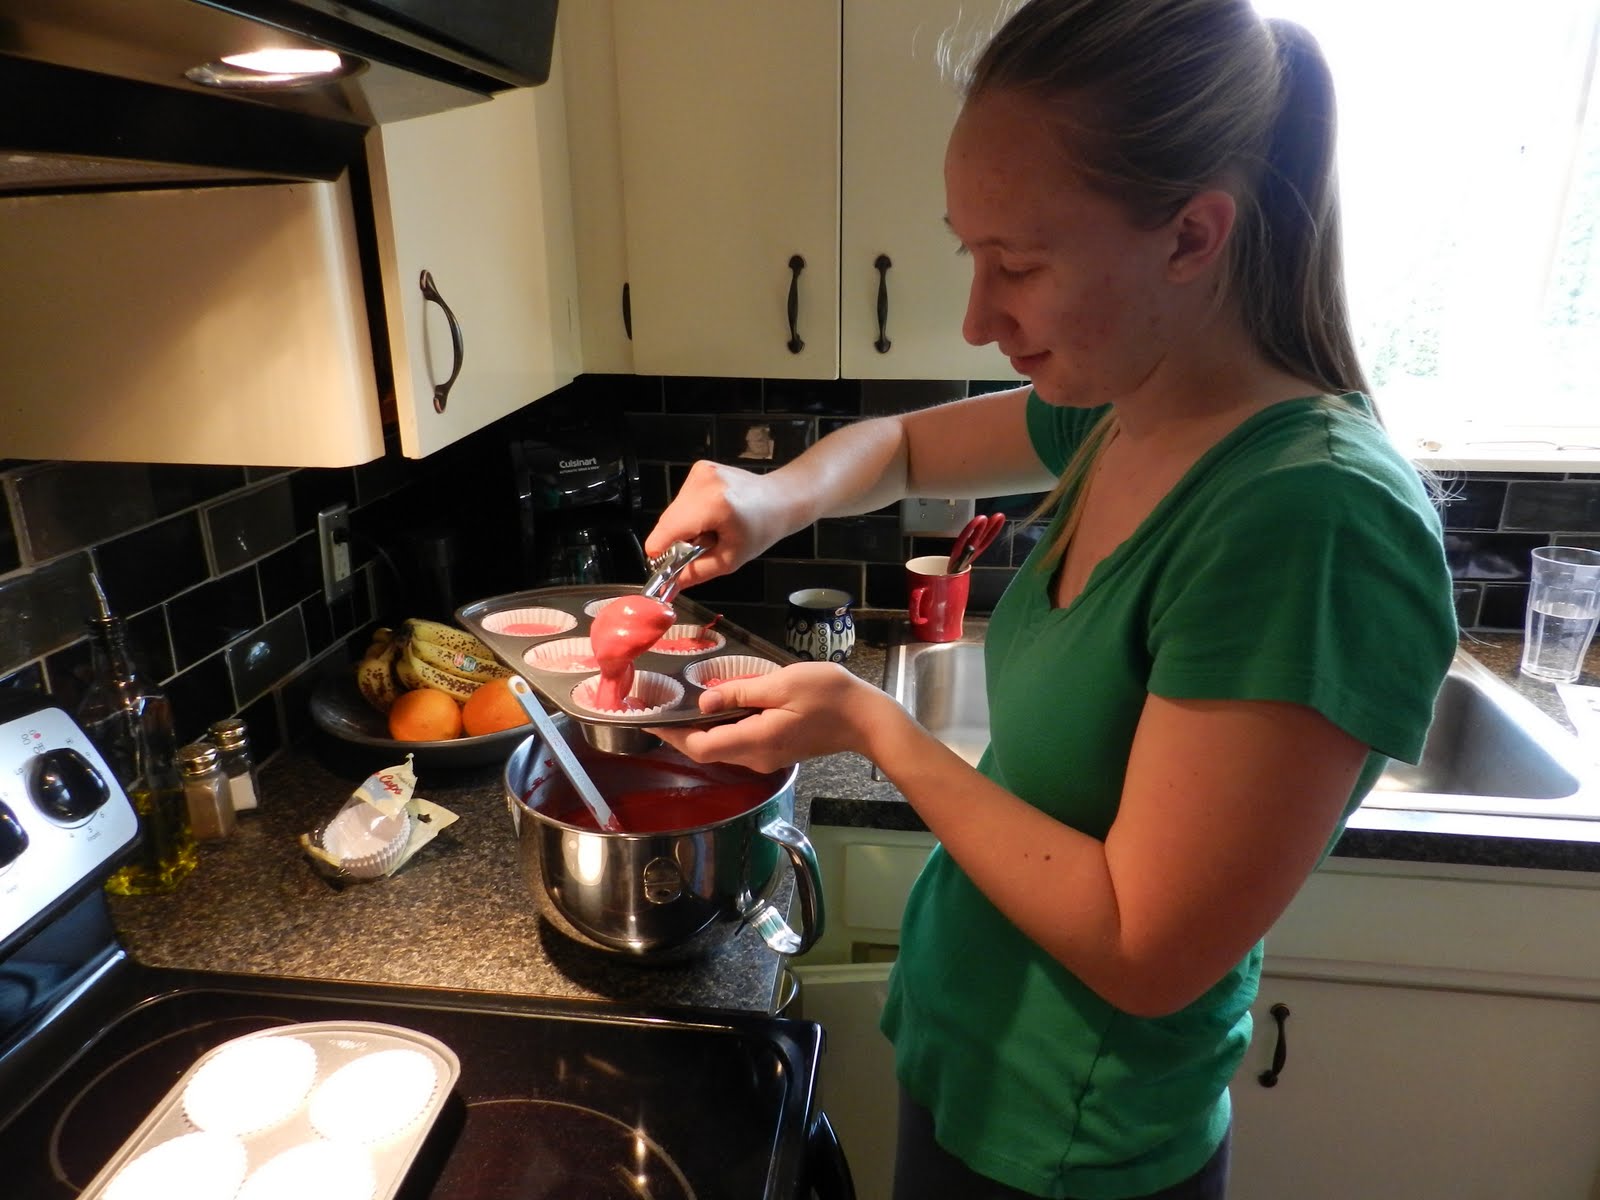
Scoop into sprayed muffin pans.
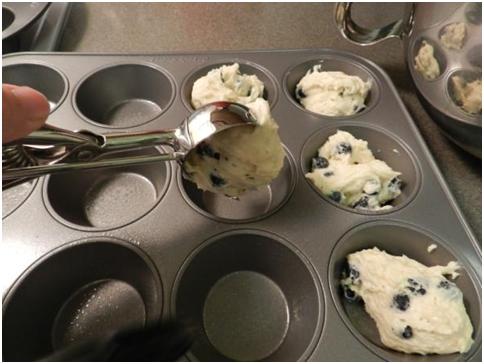
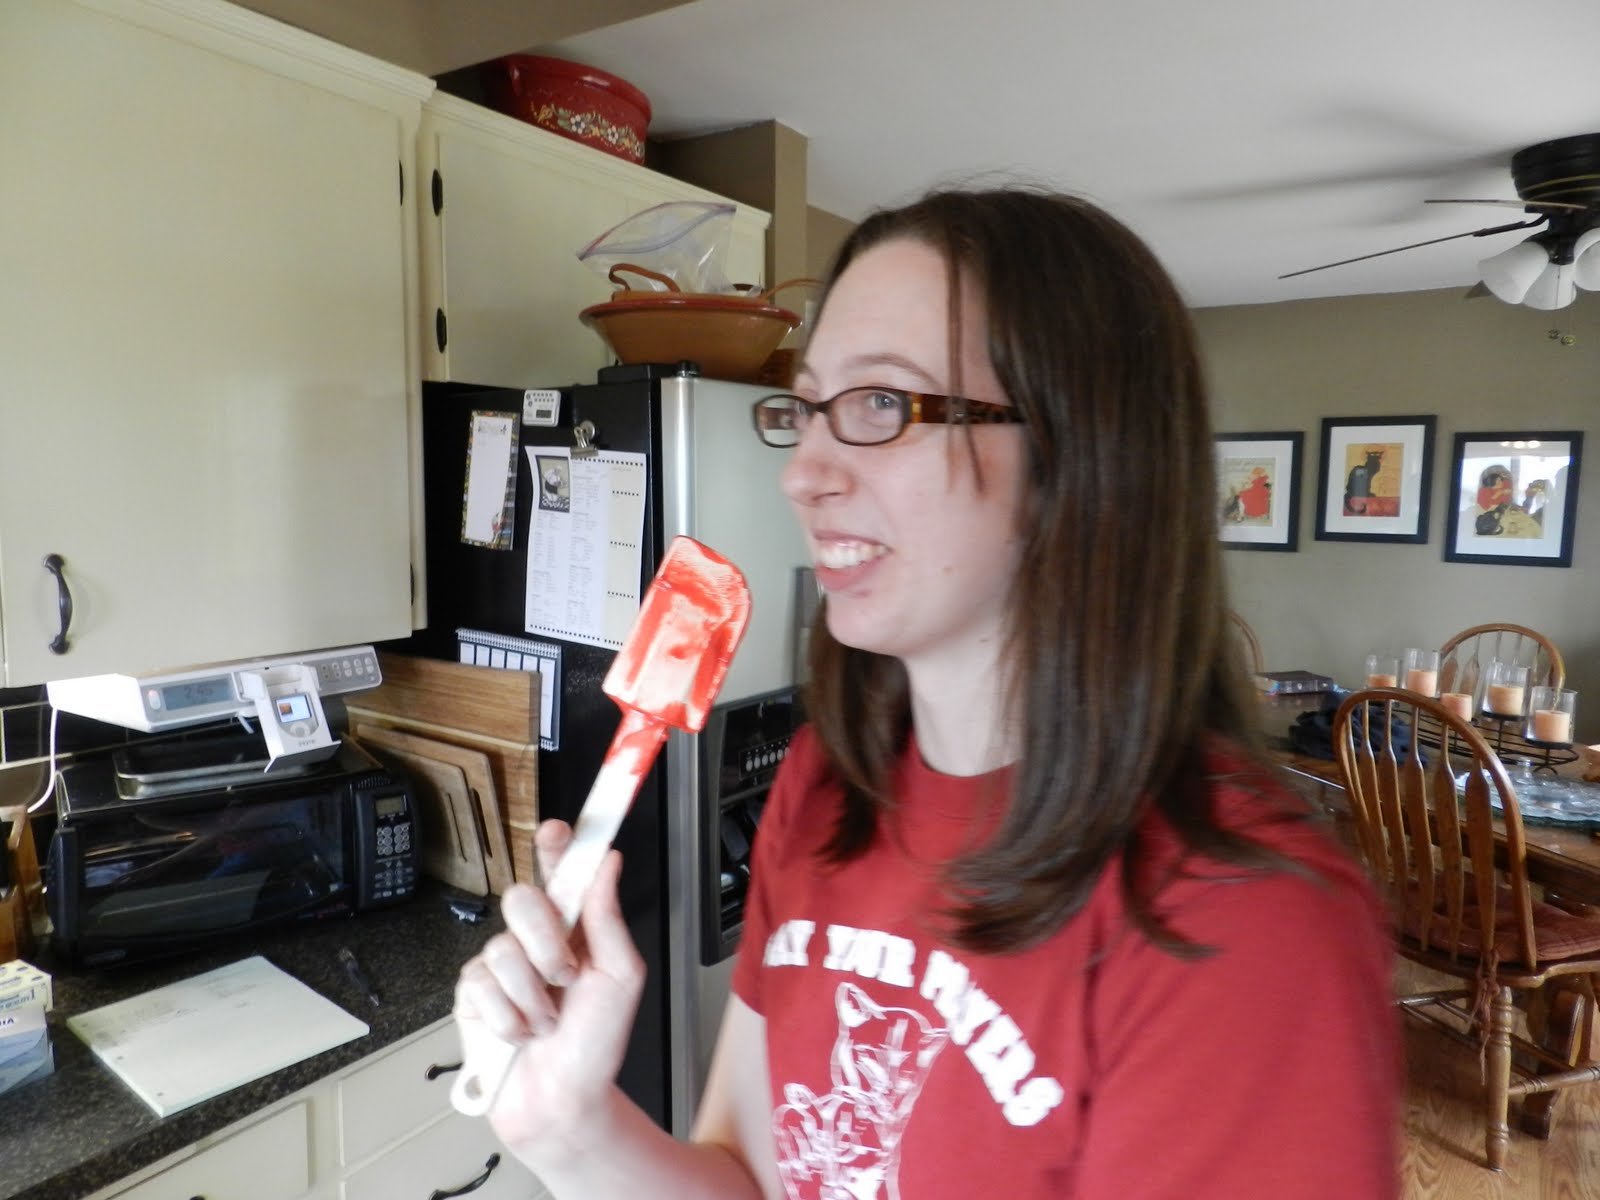
This left-over batter will not see dishwater in my house. That’s what a good spatula is for – yummy.
Put them in the oven at 375 degrees for about 20 minutes.

When they come out, spread some butter on their little tops while they’re hot…
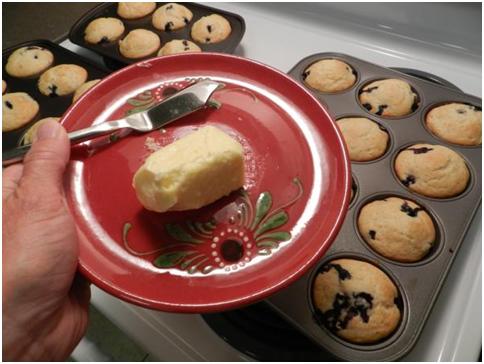
…so that a sprinkling of sugar will stick. My children consider this the most important step.

Let them cool just a bit.

Pop them loose with a table knife or spoon.
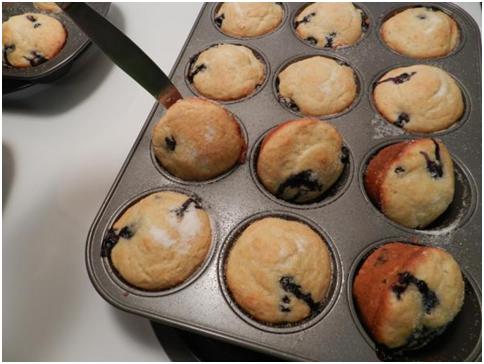
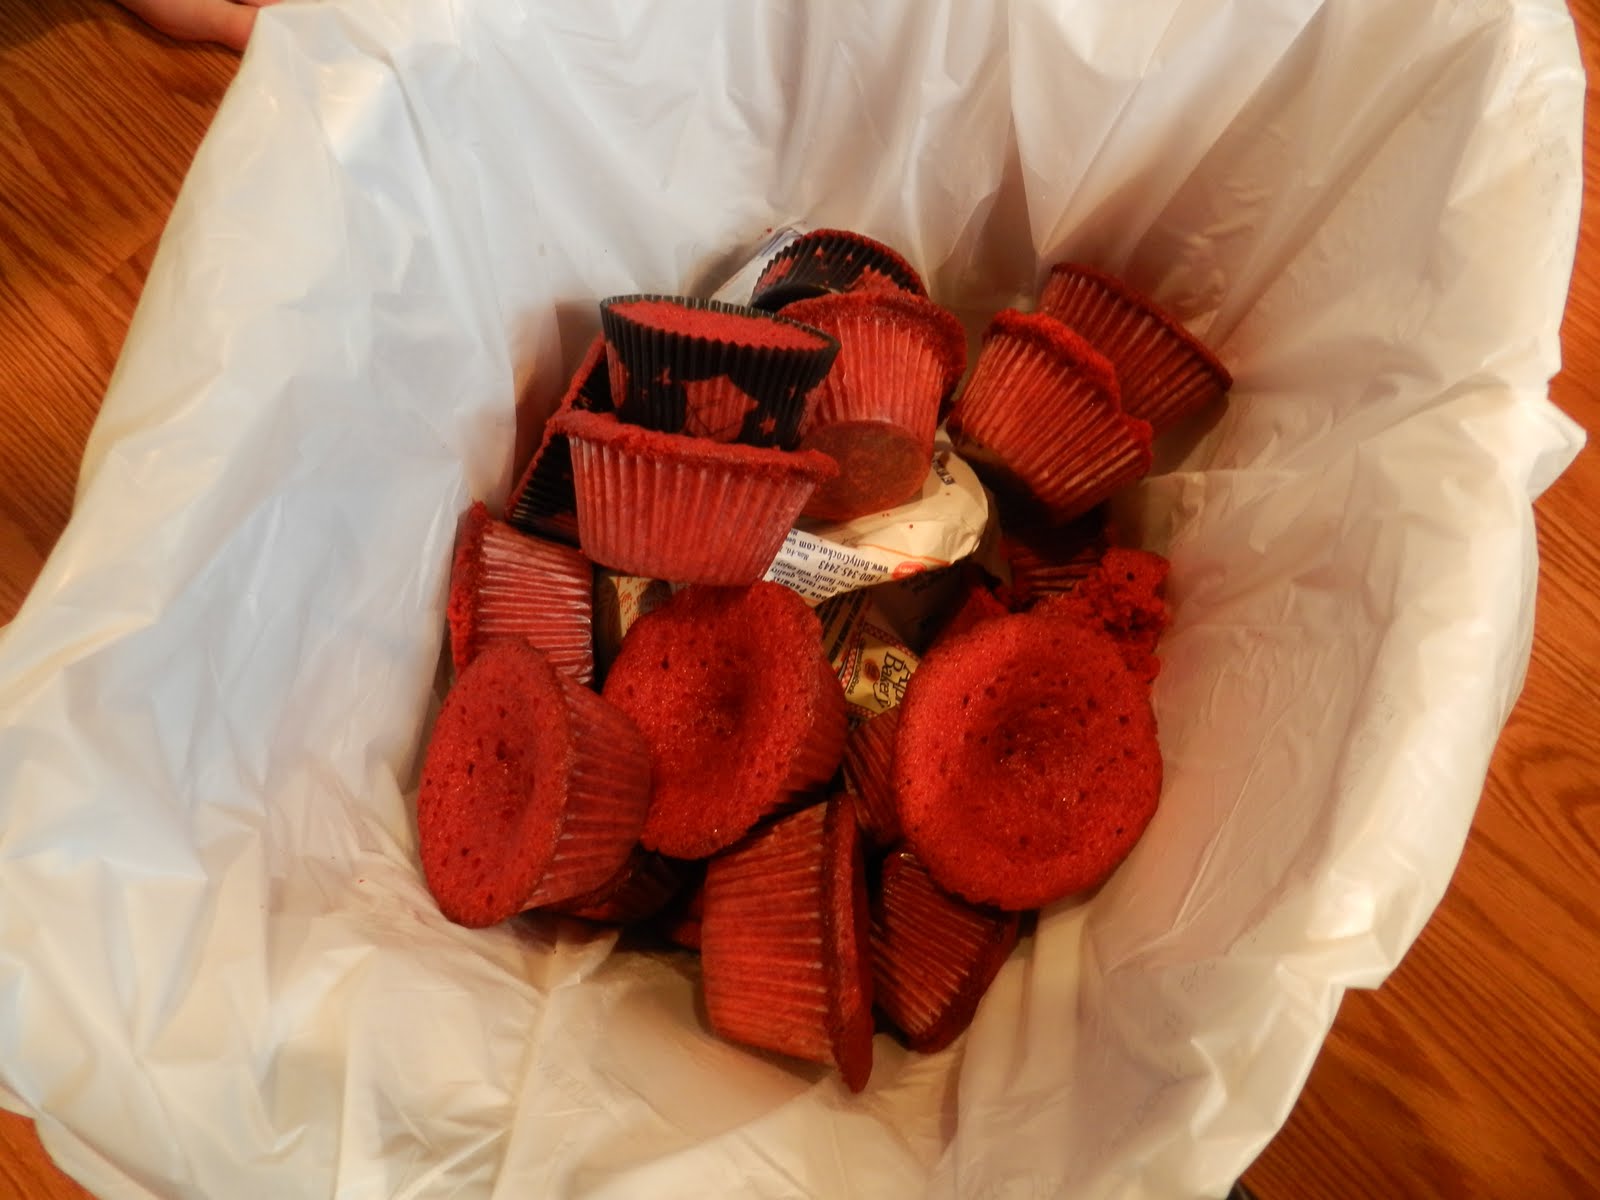
I’m working with a new oven and I think I had the rack placed a little too high, so the bottoms are a little crispier than ideal. How embarrassing. Oh, well. Blogging perfection bites the dust again.

But, they were still very tasty!

I like these smooth cakey muffins but I think I’m also going to find a recipe with a crumble topping and more of a traditional muffin texture to add some variety during blueberry season. I’ll let you know when I come up with a good one. Of course if you’re reading this and have one to share, please send it on and save me from sorting through the 2700 options on the internet!