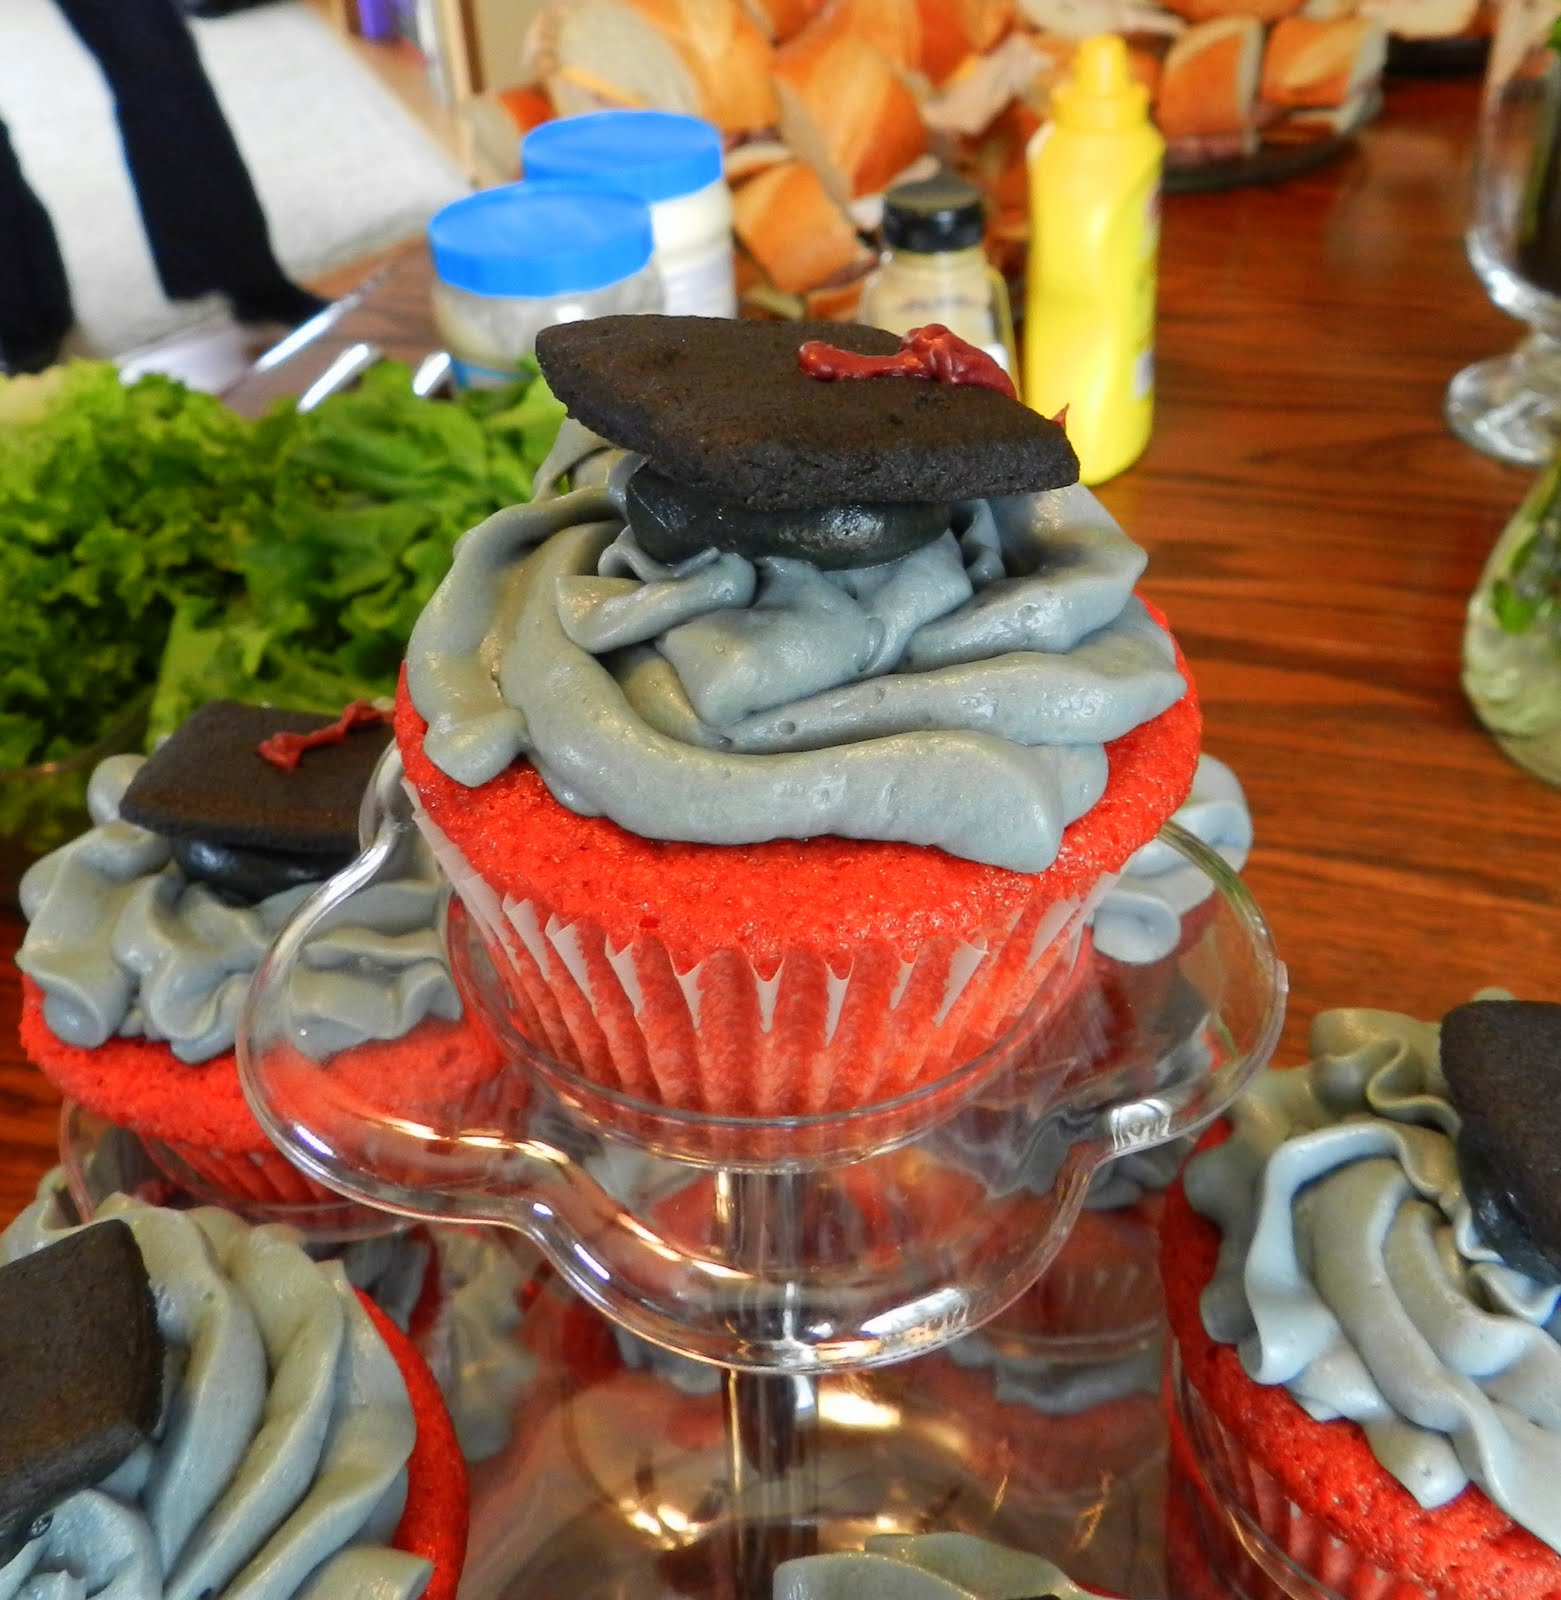
Cougar Graduation Cap Cupcakes
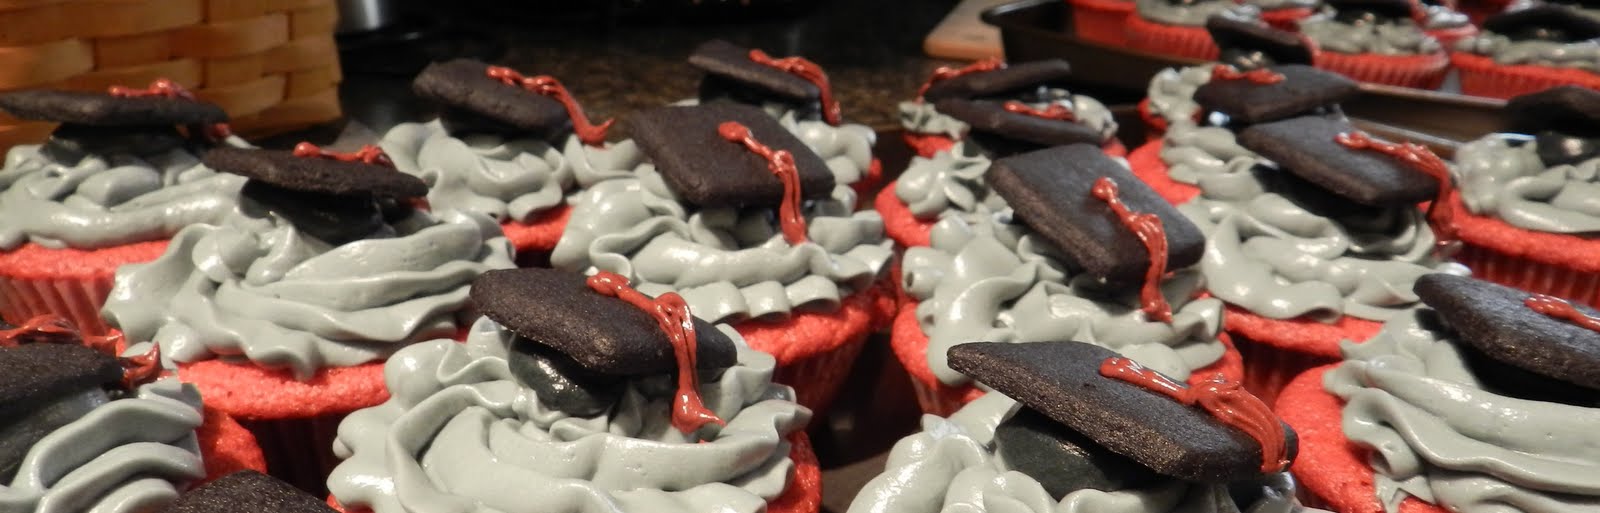
For the last three years we’ve coordinated the university ministry for our church and when it’s graduation time we have an open house with cupcakes for our grads. Washington State’s colors are “Crimson and Gray” so red velvet cake with gray cream cheese frosting works beautifully. The caps are made of little cookies with frosting tassels perched on a dollop of black frosting.
Notice how I’ve managed to work cookies into a cupcake design! Here’s how they’re made:
1 cup all-purpose flour
½ tsp salt
½ cup butter (cold – straight from the fridge)
½ cup sugar
1 tsp vanilla extract
1 tsp Wilton food coloring in your choice of color
About 1 TBSP water
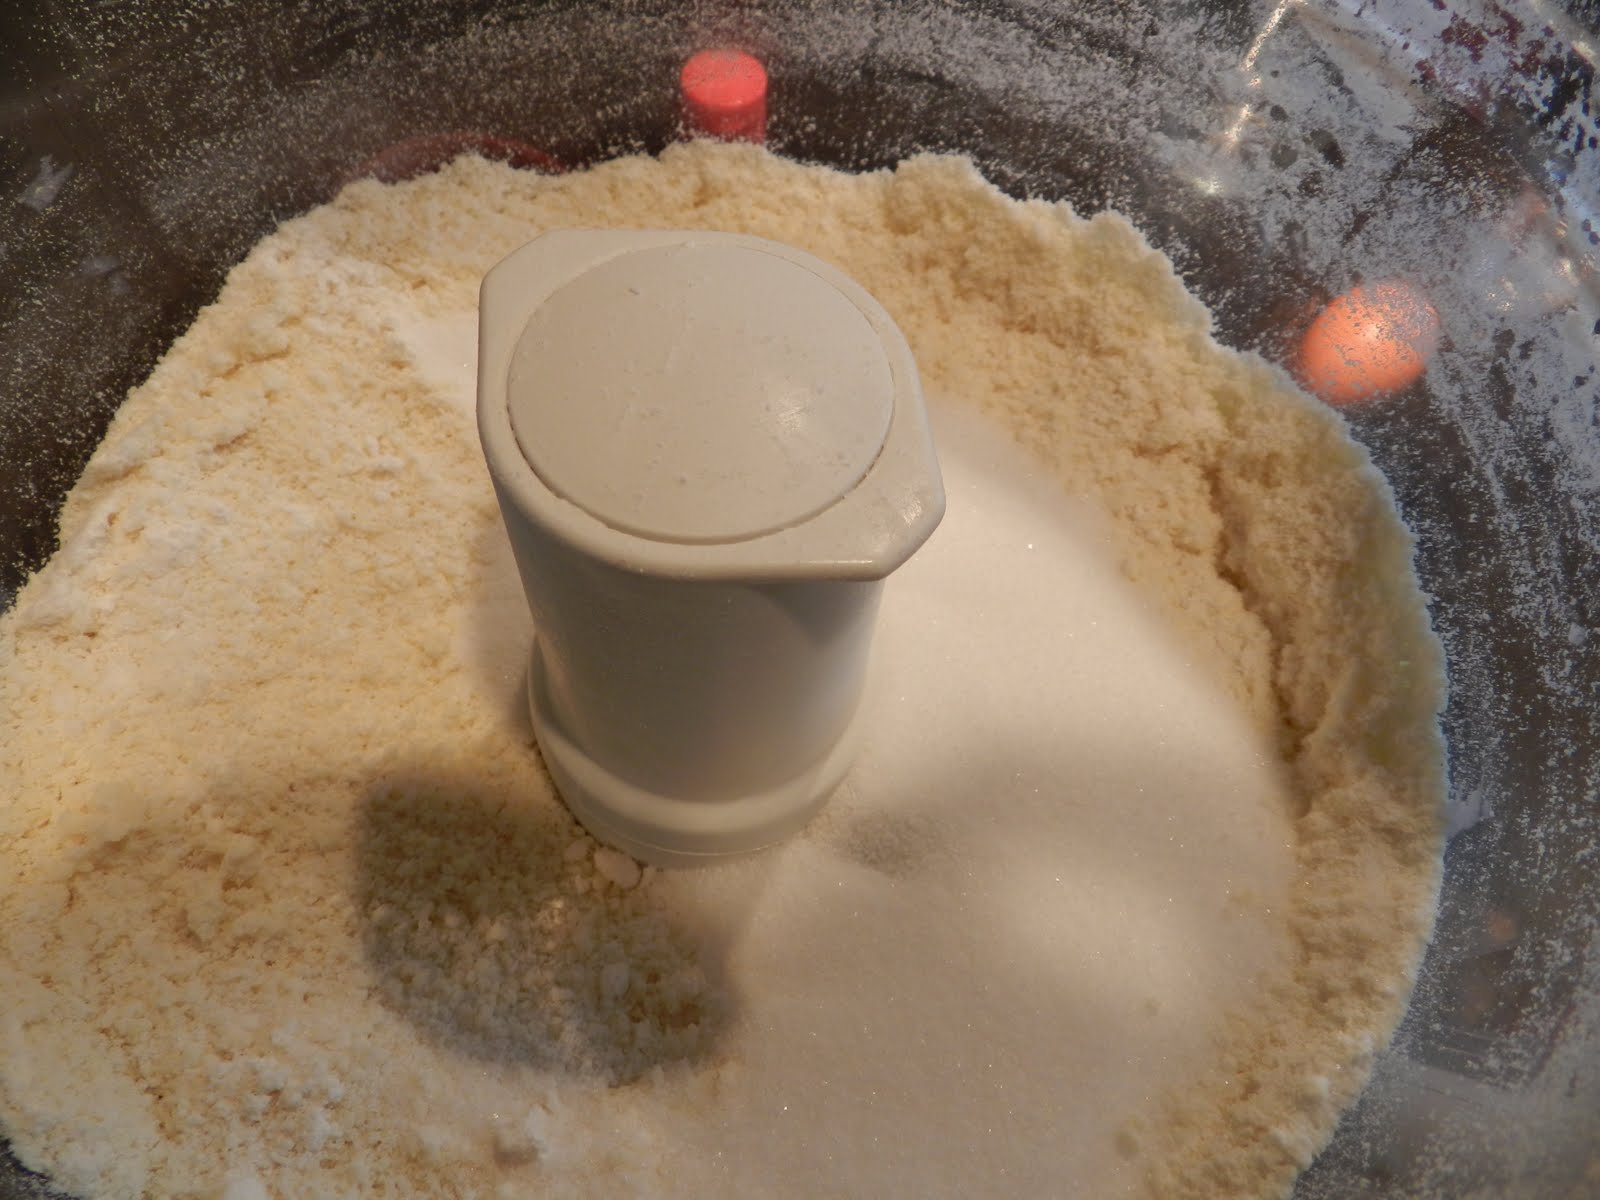
Cut the butter into cubes and drop them into the food processor with the flour and pinch of salt.
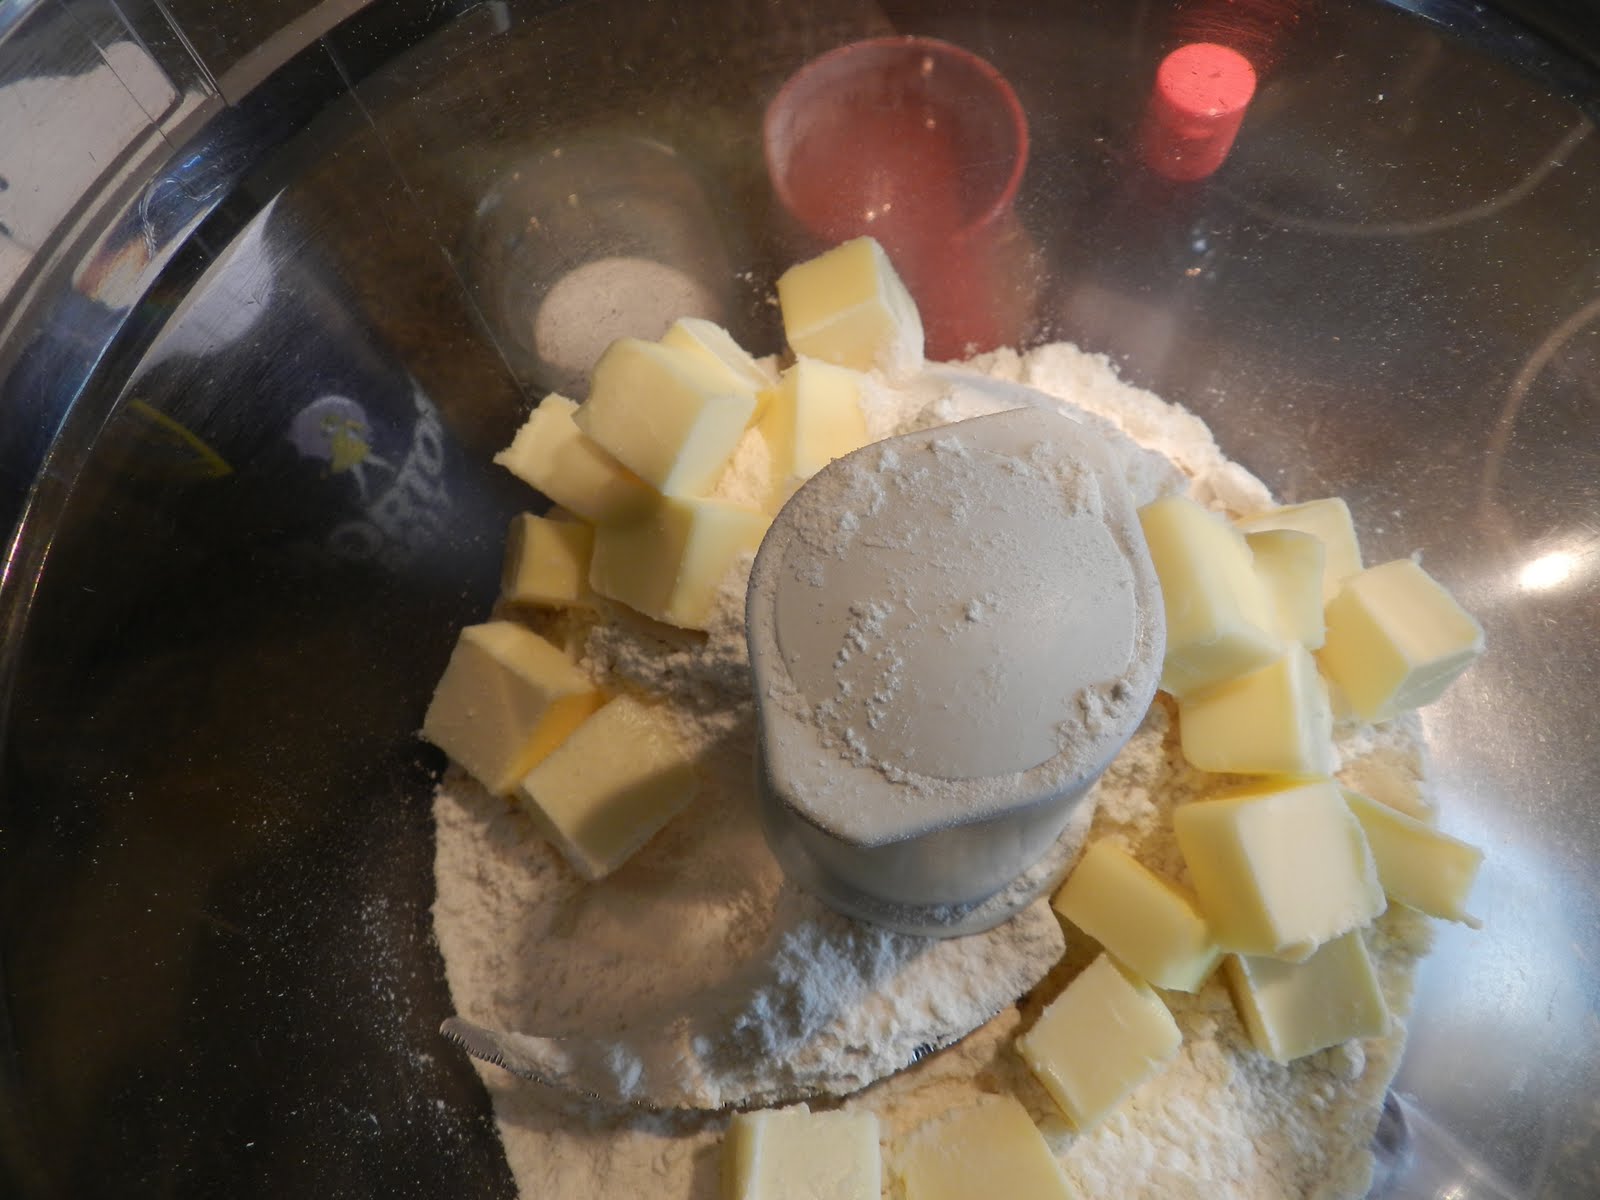
Process into crumbles then add the sugar.
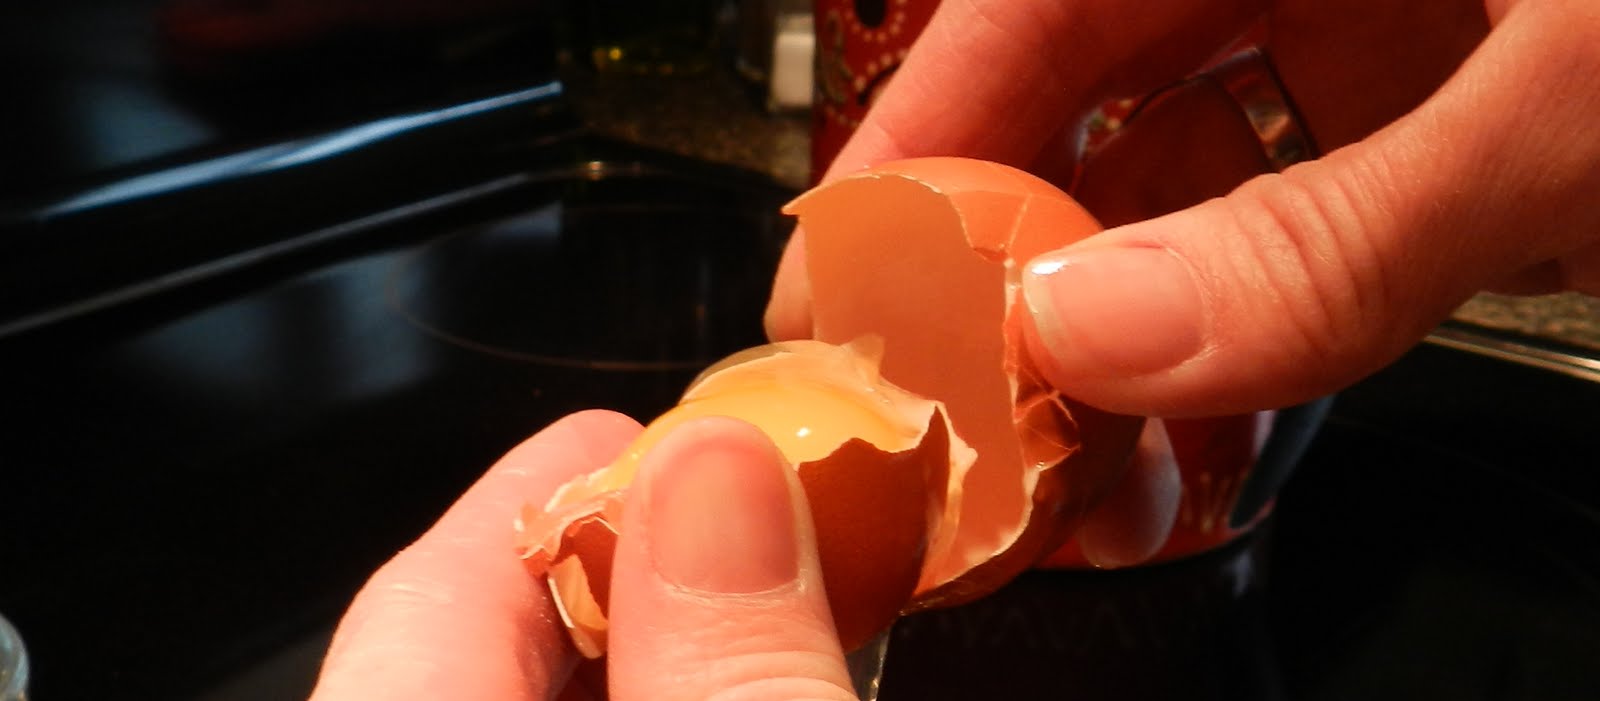
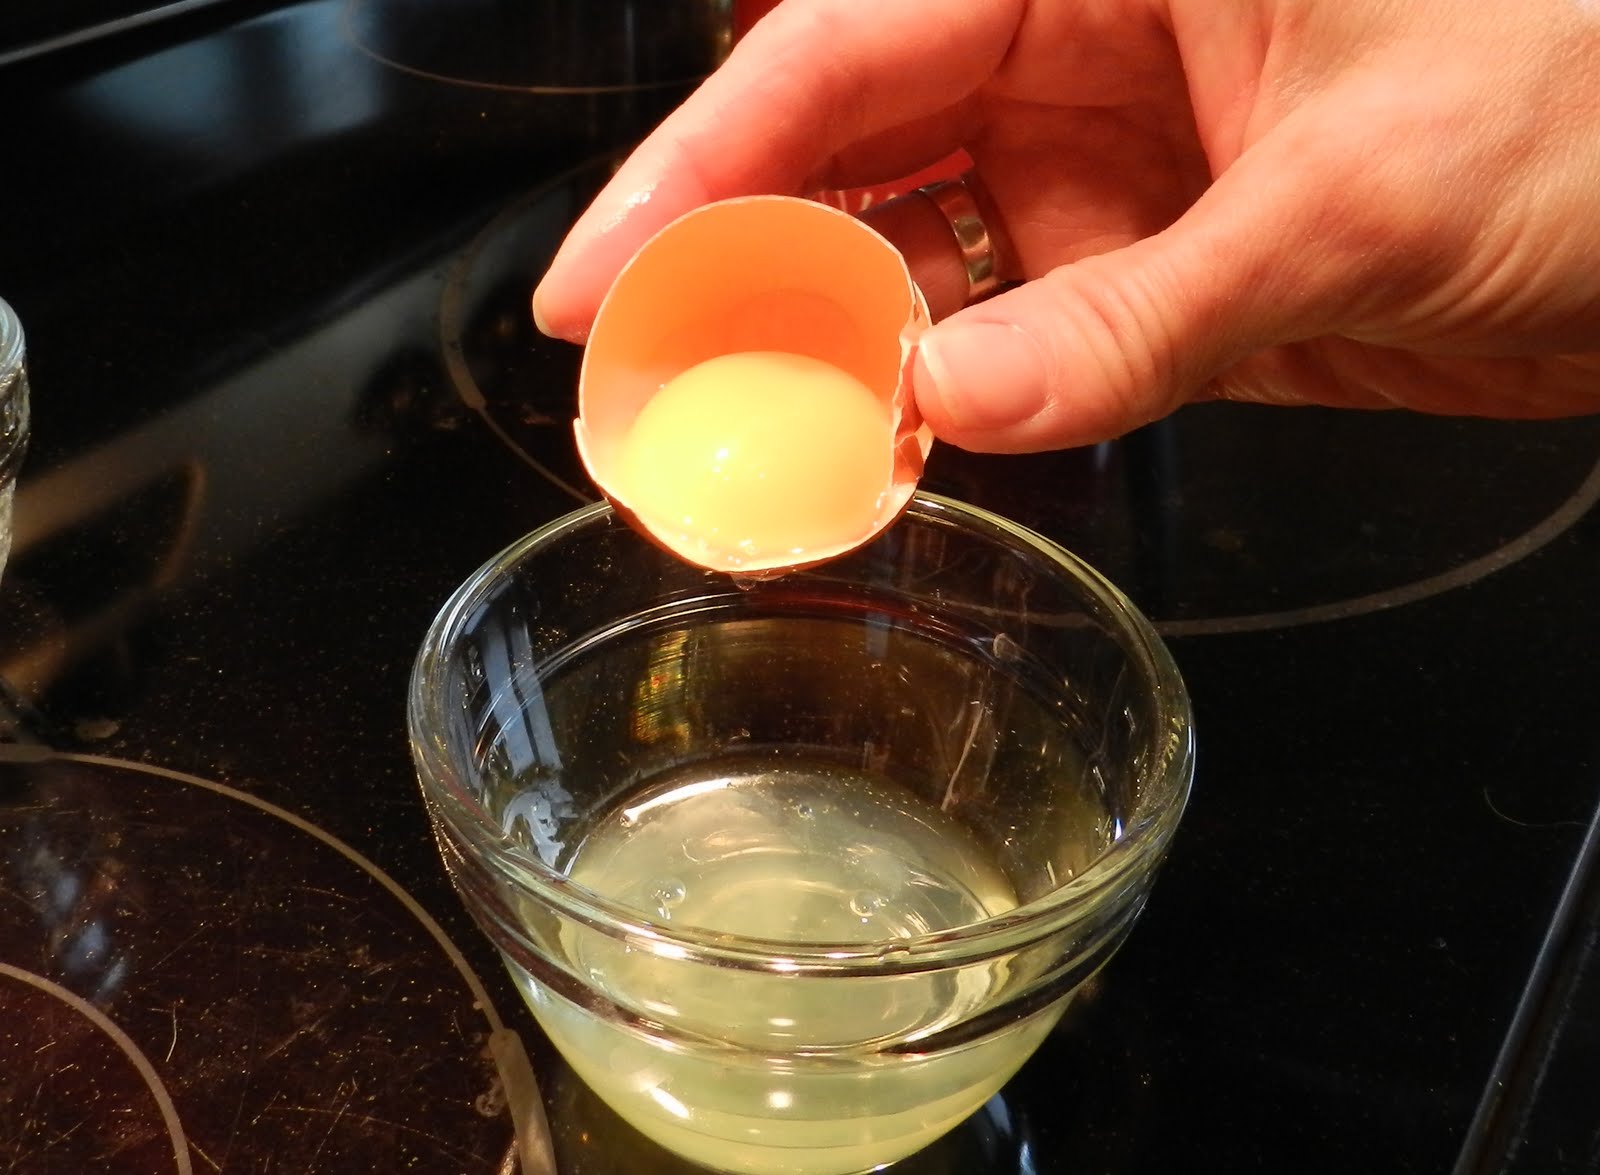
Separate the yolk from the white and drop it in. I do this by cracking the shell in half and plopping the yolk back and forth between the two shells until all of the white has dropped away. If some of it is clinging I kind of use the other shell to cut it away. I think this saves me a whole $2.00 splurge on an egg separator.
Add the vanilla.
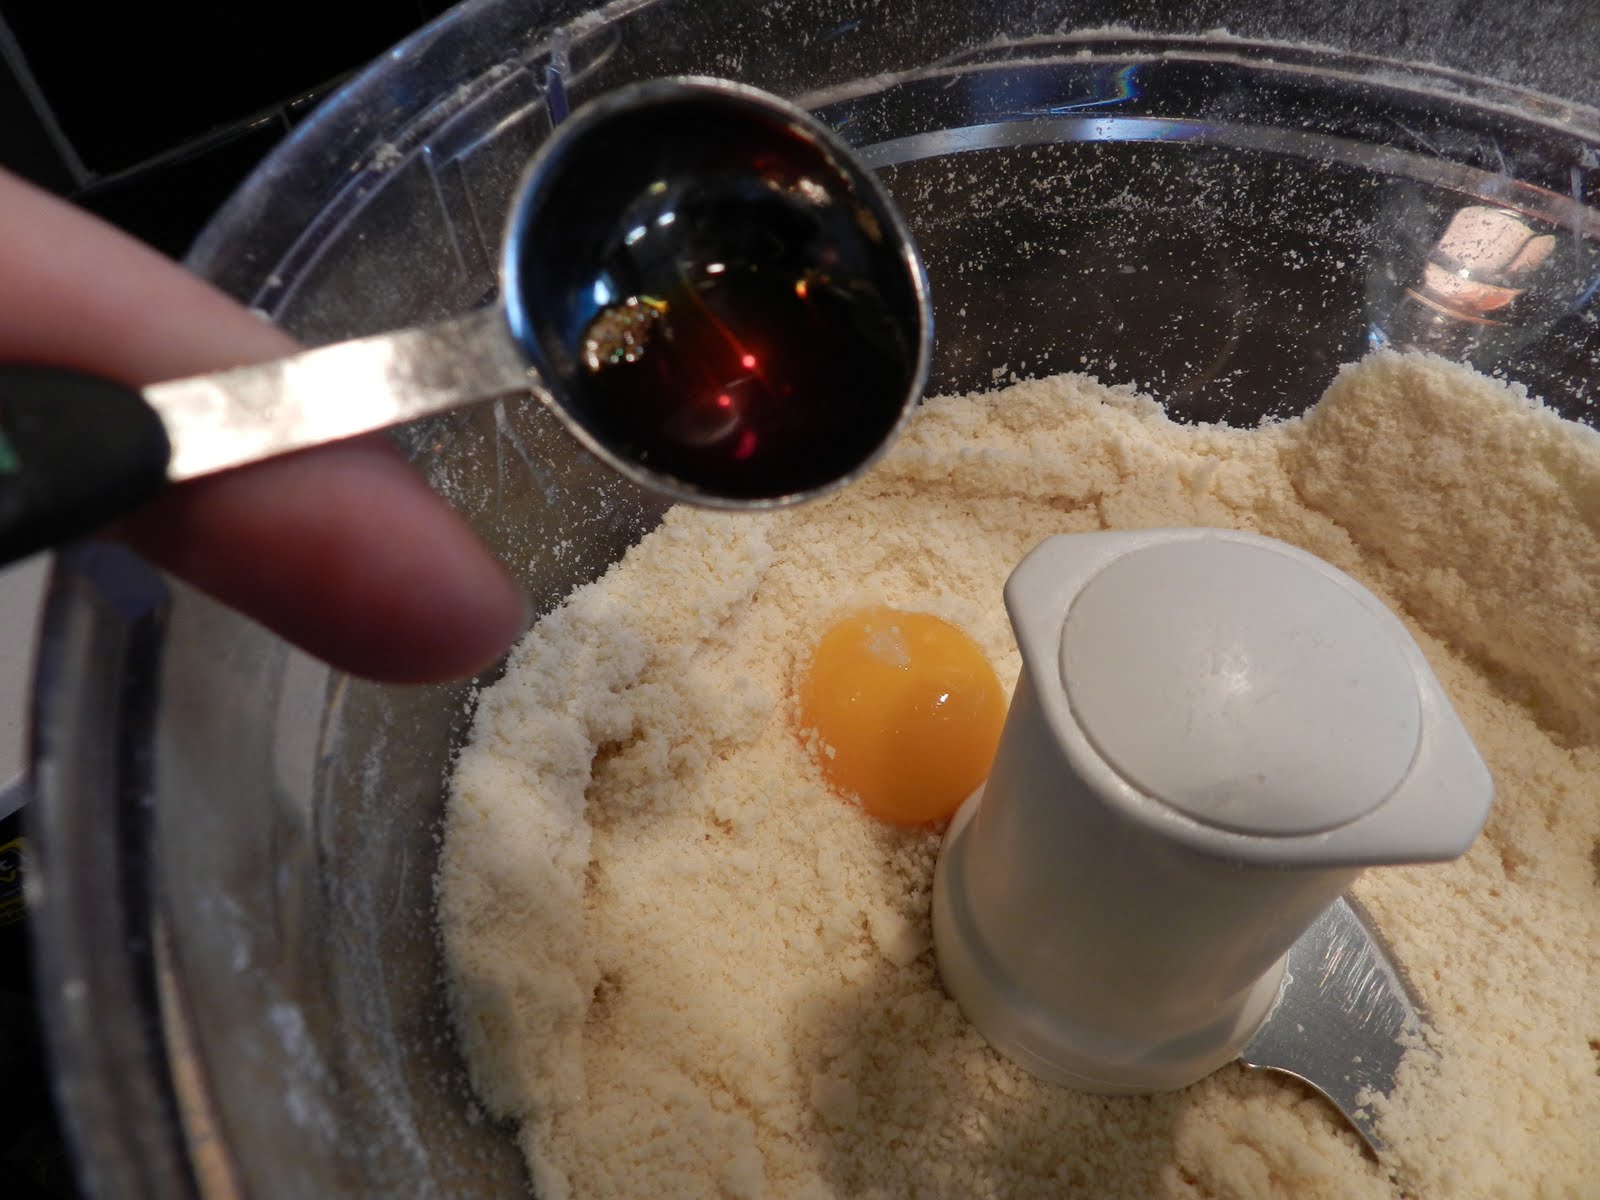
Process again. It will get to a crumbly state like this. Then you can add the food coloring.

It will still be crumbly.
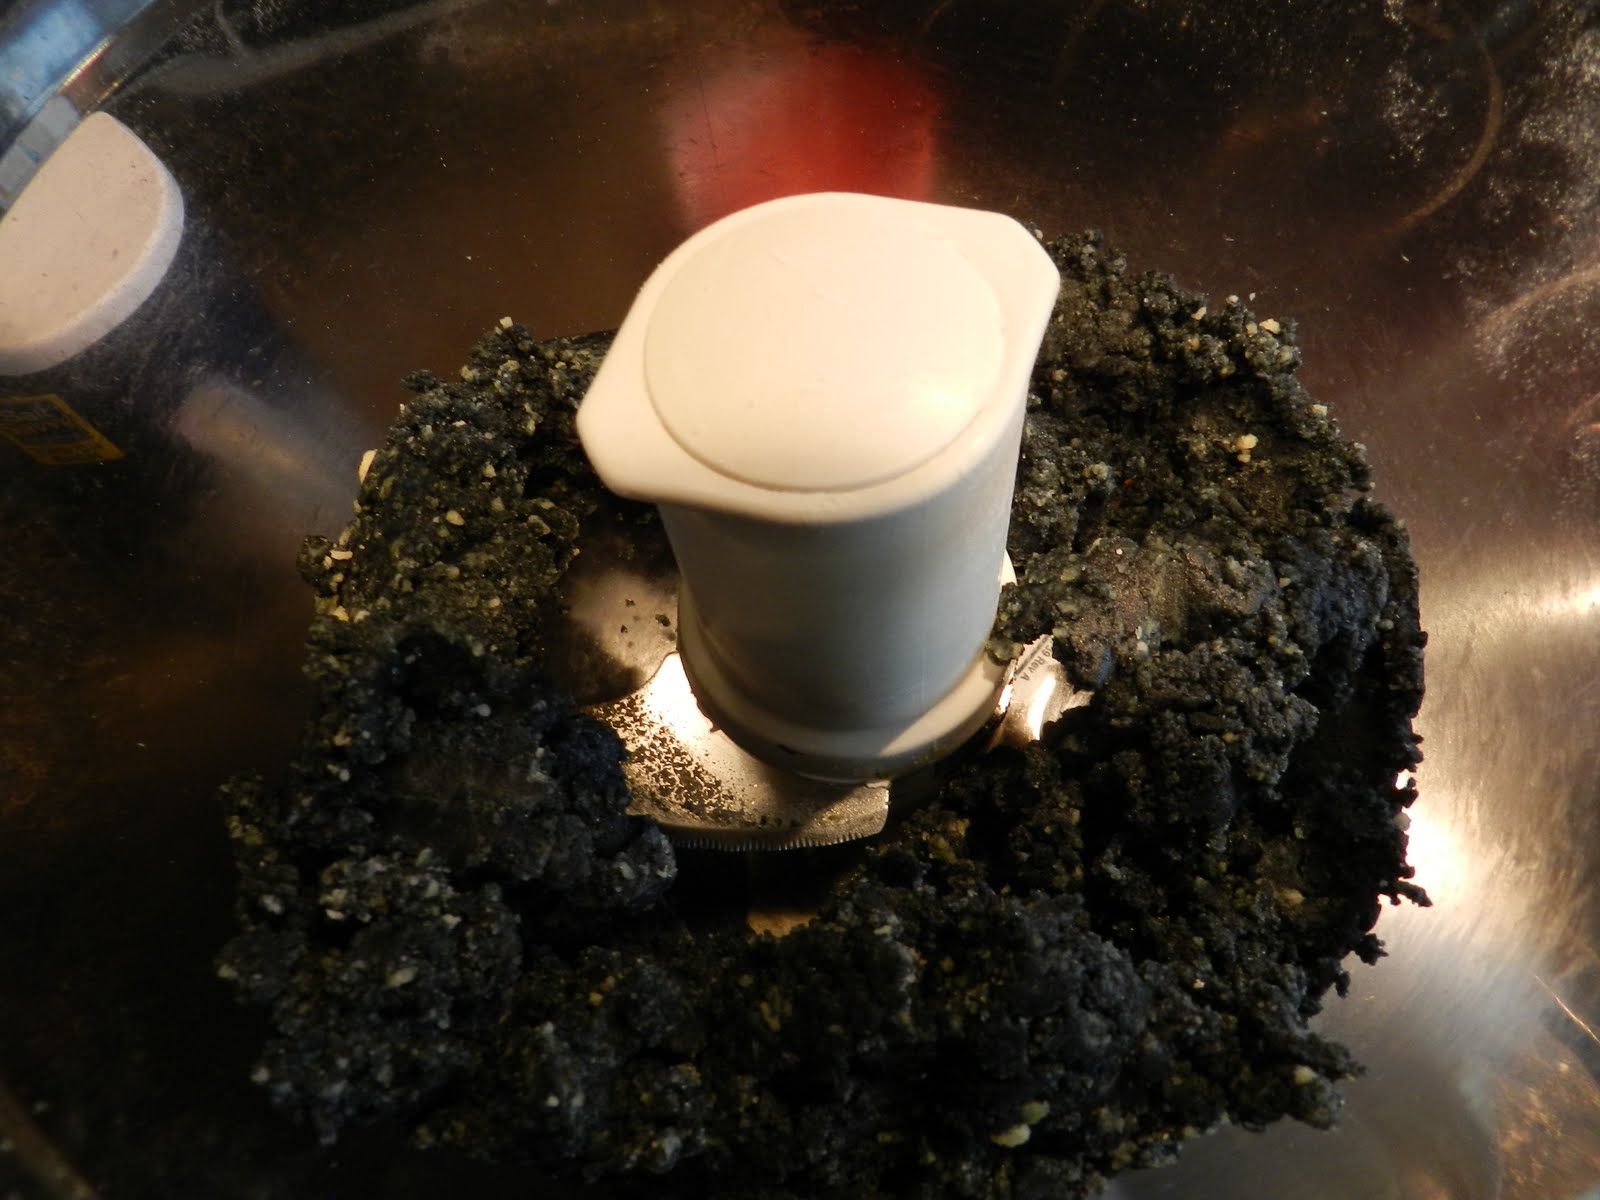
Add water a few drops at a time through the food processor’s feed tube until you get a ball of dough like this.

Divide the dough into four parts.
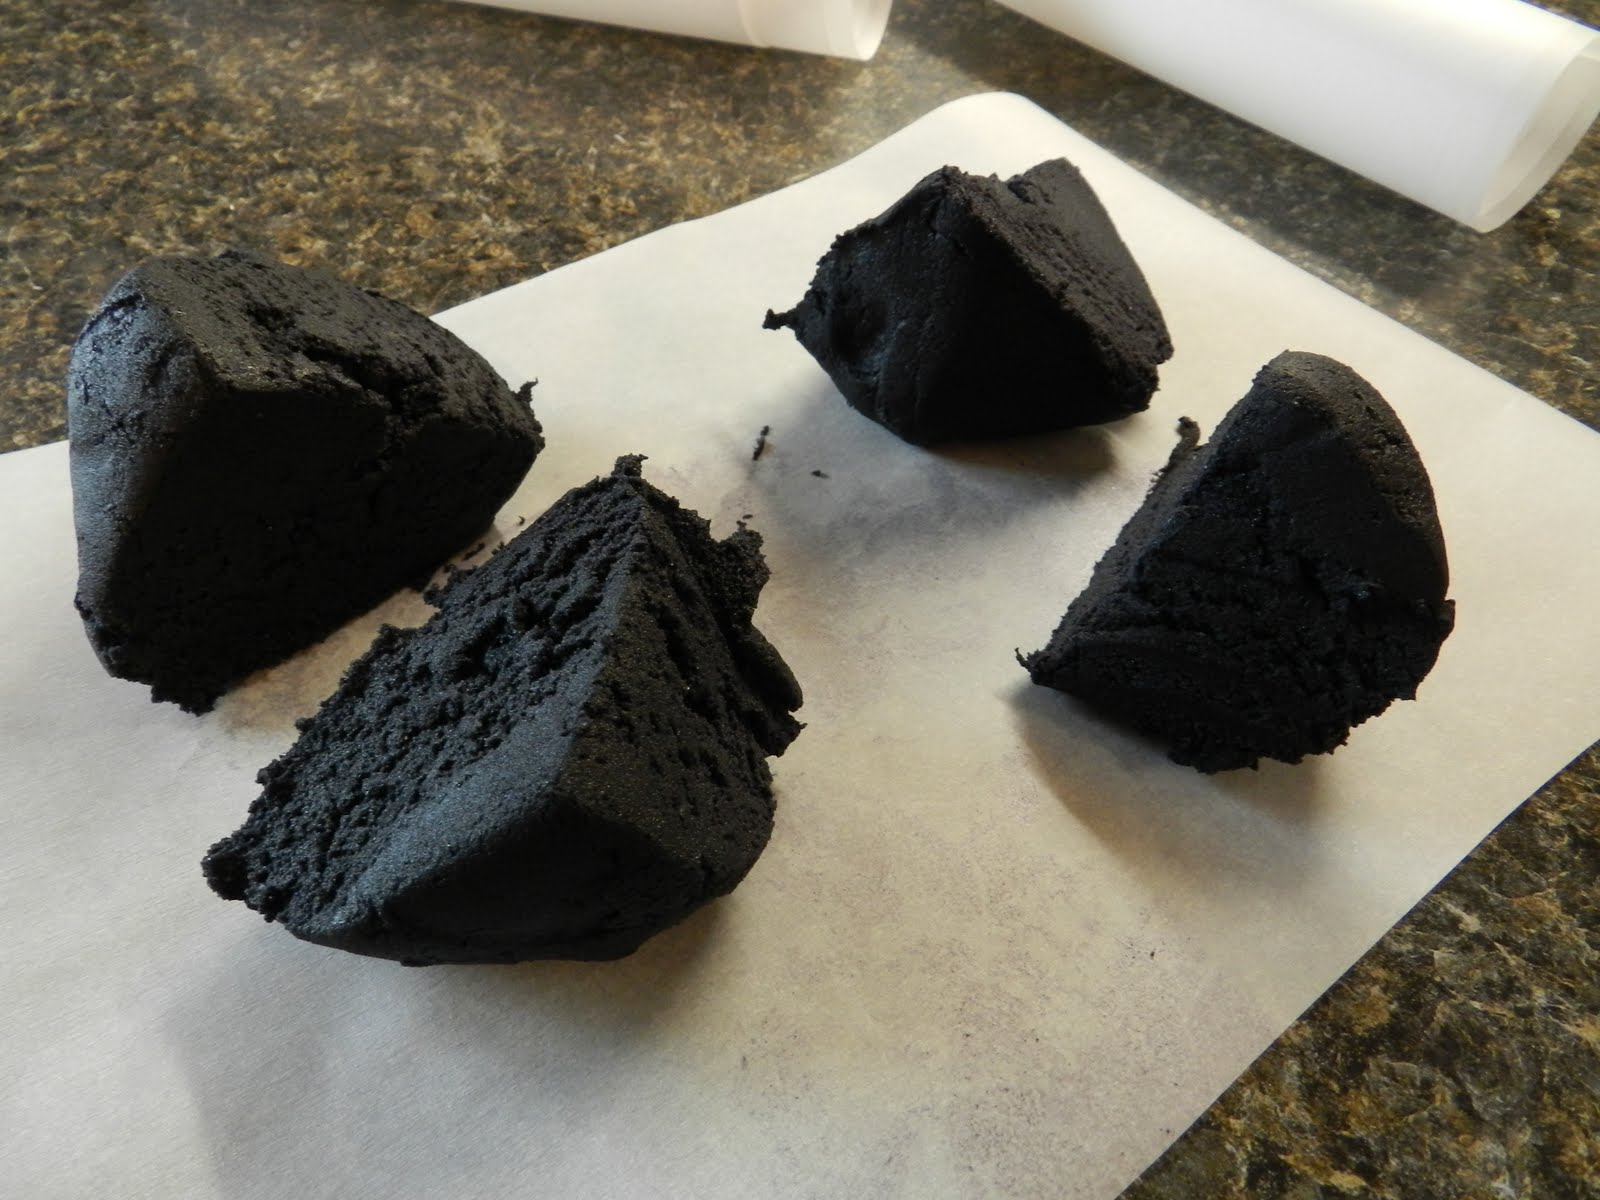
Flatten each piece into a pancake with your hands on an oversized piece of parchment paper.
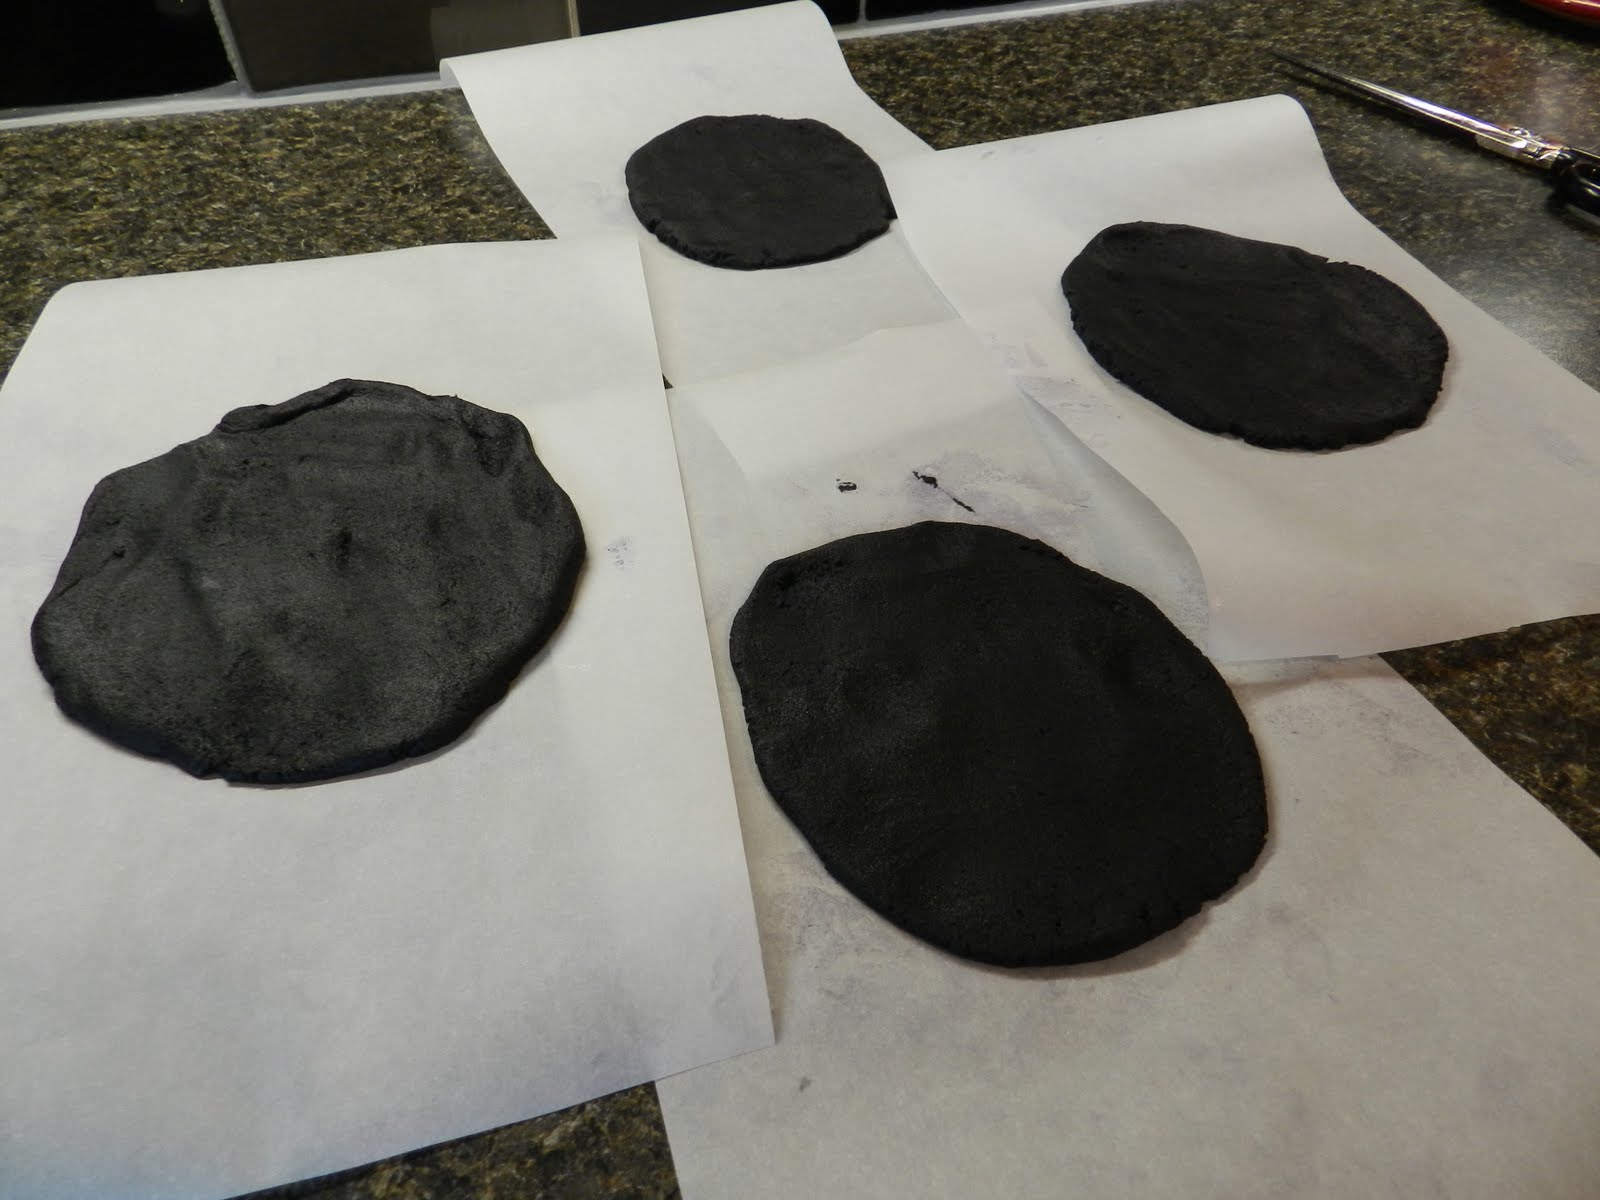
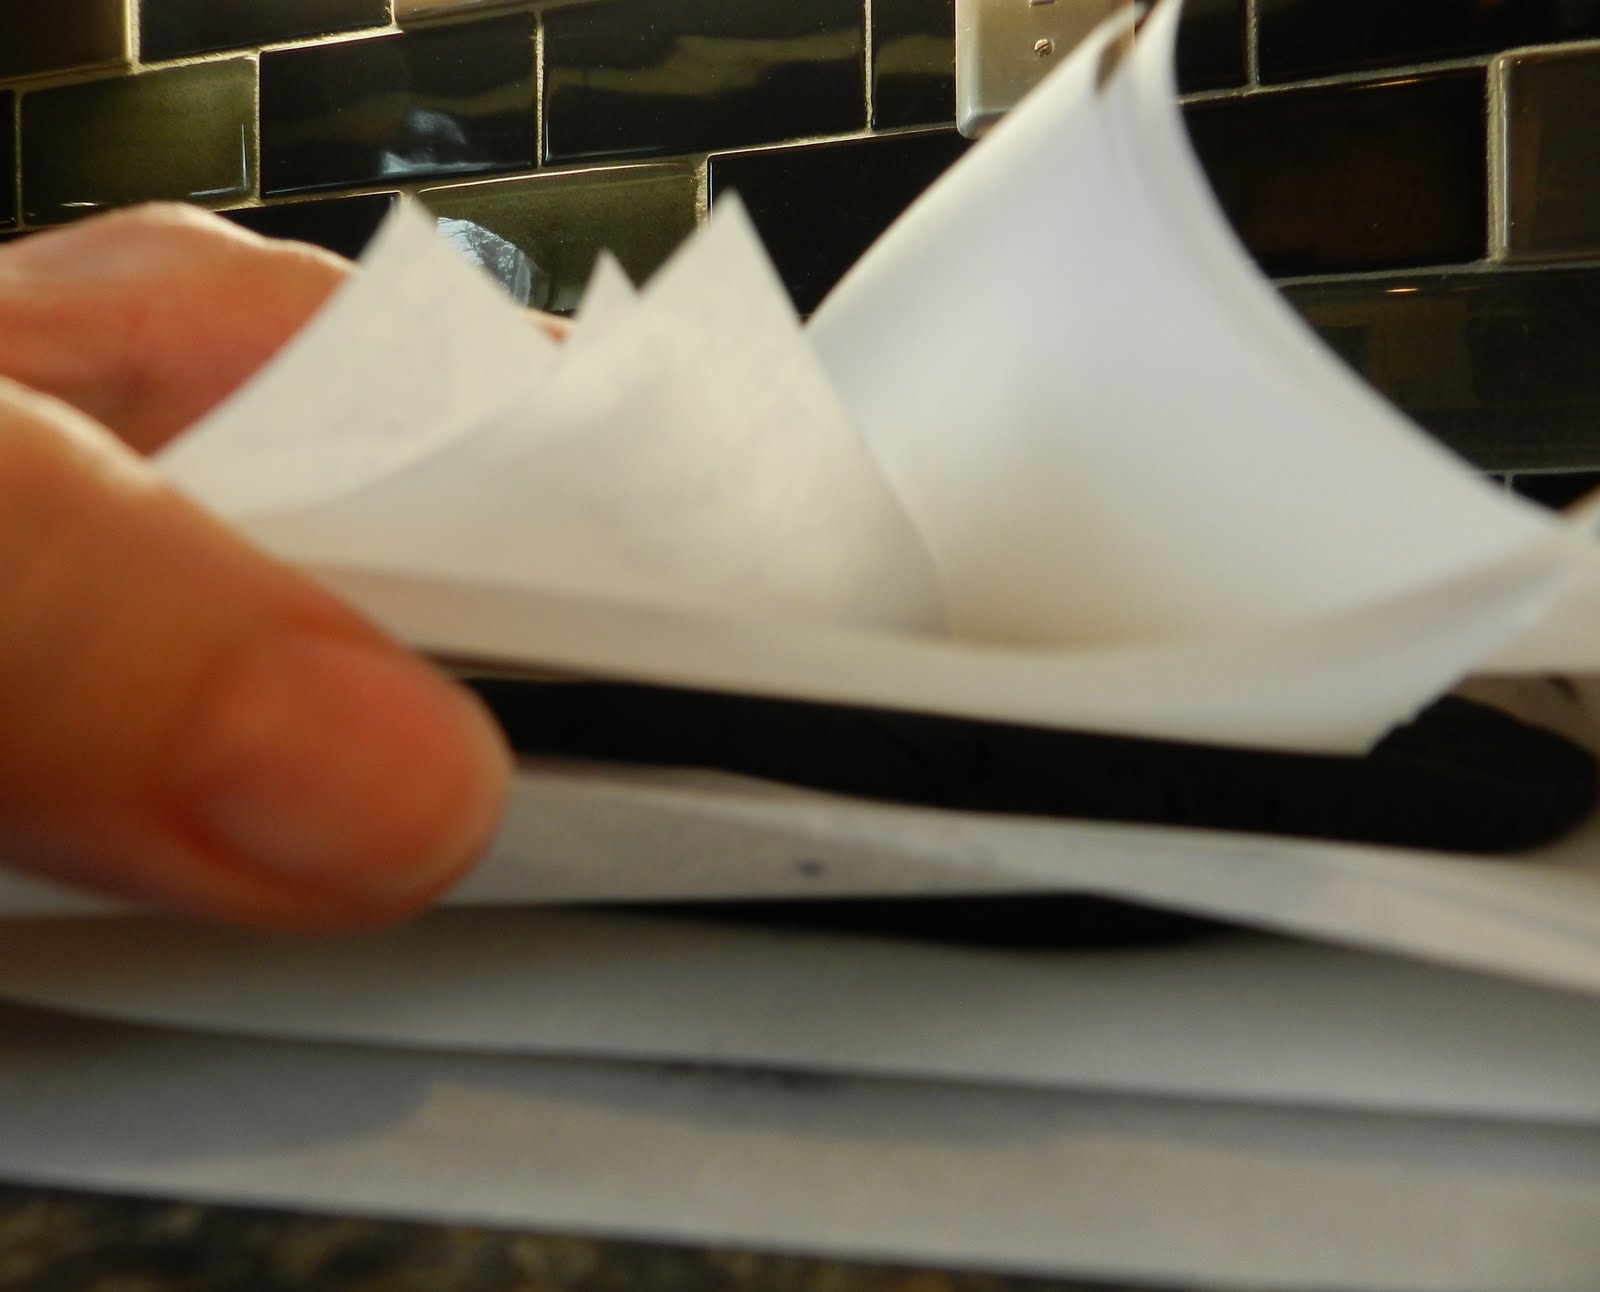
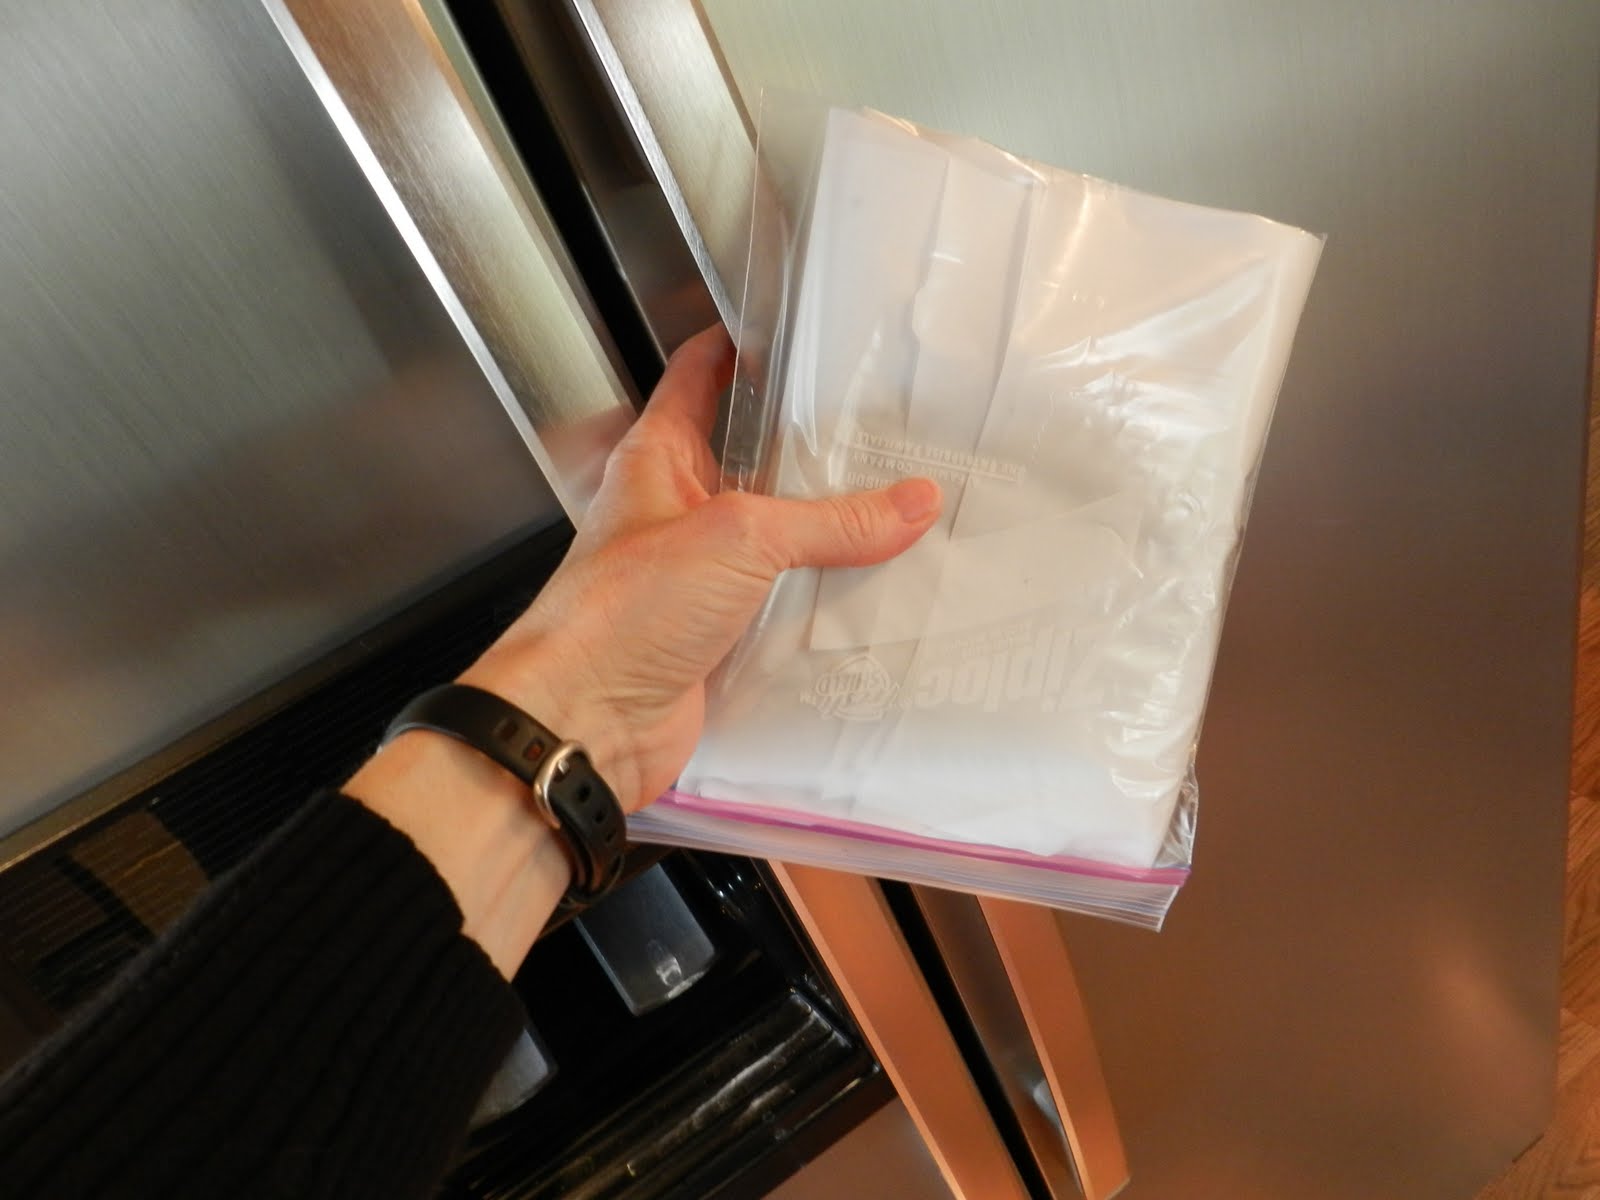
Stack the “pancakes” and refrigerate them for an hour or two.
While you’re waiting, it’s a good idea to get the food processor cleaned up unless you want to see the stains from that food coloring for weeks to come. By the way, my food processor’s name “Princess P.” The P stands for what it can do: process, pulverize, pulse, puree. And, for how it sounds: it purrs. And, for Priscilla – because that also starts with P.
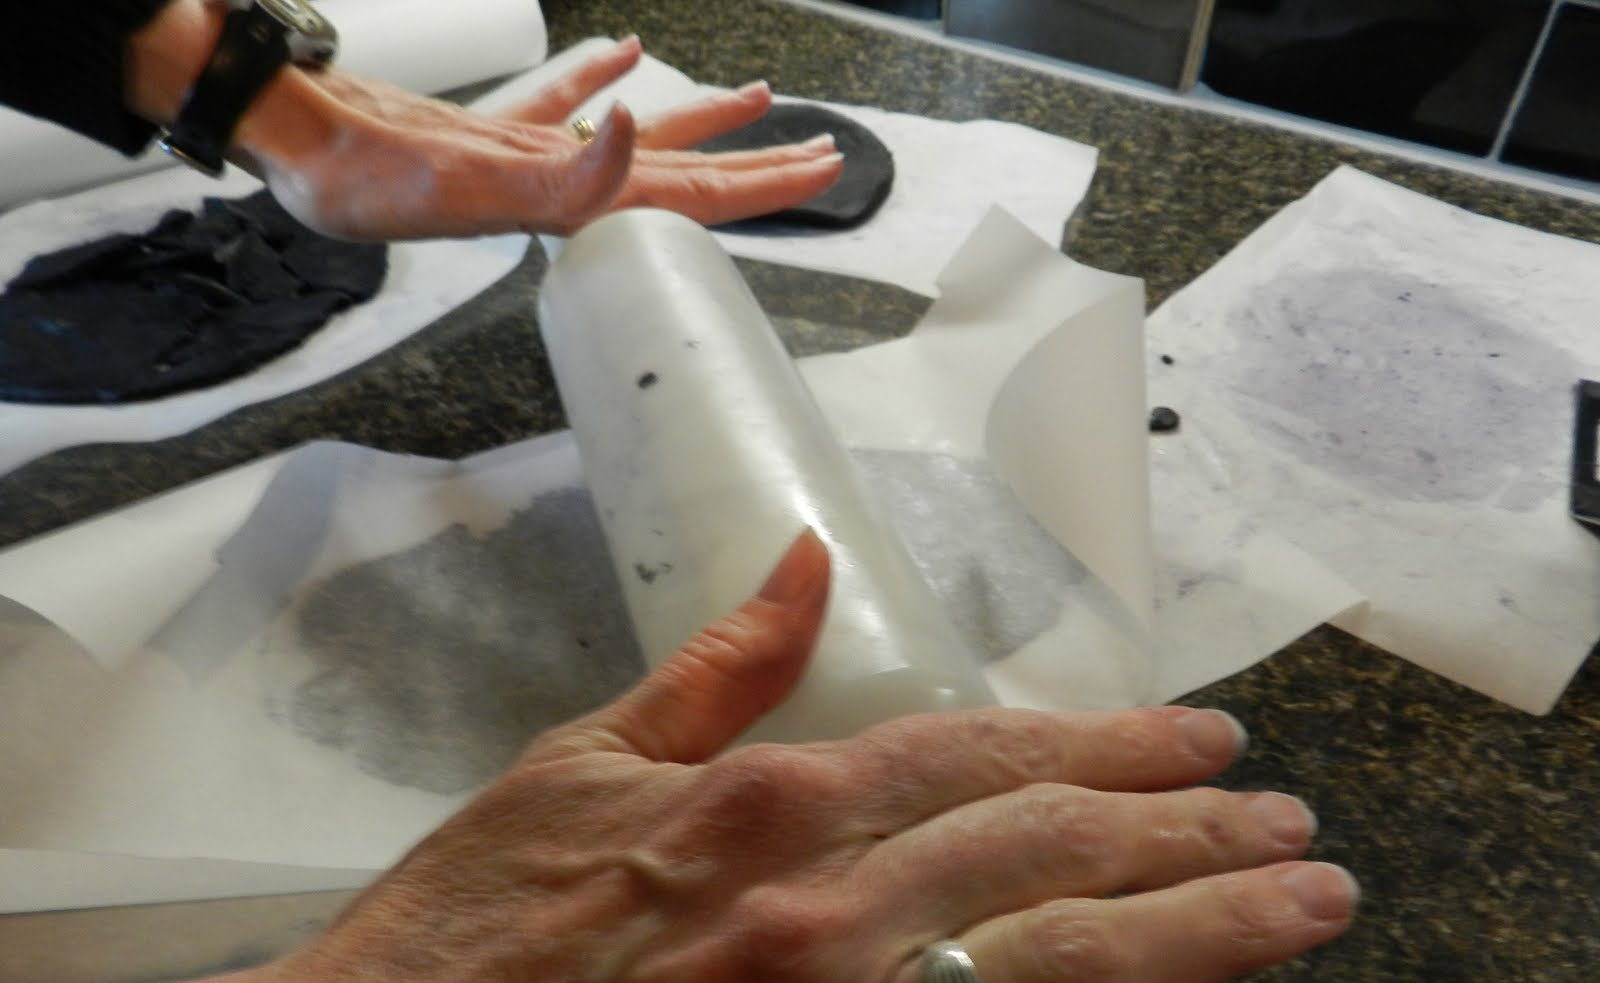
Okay, back to the dough. Usually by the time I pull the dough out of the fridge, I’ve overshot the target by a little and I need to actually let it warm back up slightly. When it is firm but pliable, place each pancake under a second piece of parchment paper. (So many P-s!) Then roll the dough to about 1/8 inch thickness between the sheets. (I now have a nice wooden rolling pin, thanks to my Uncle Pete’s suggestion, but it’s not getting anywhere near this much food coloring!)
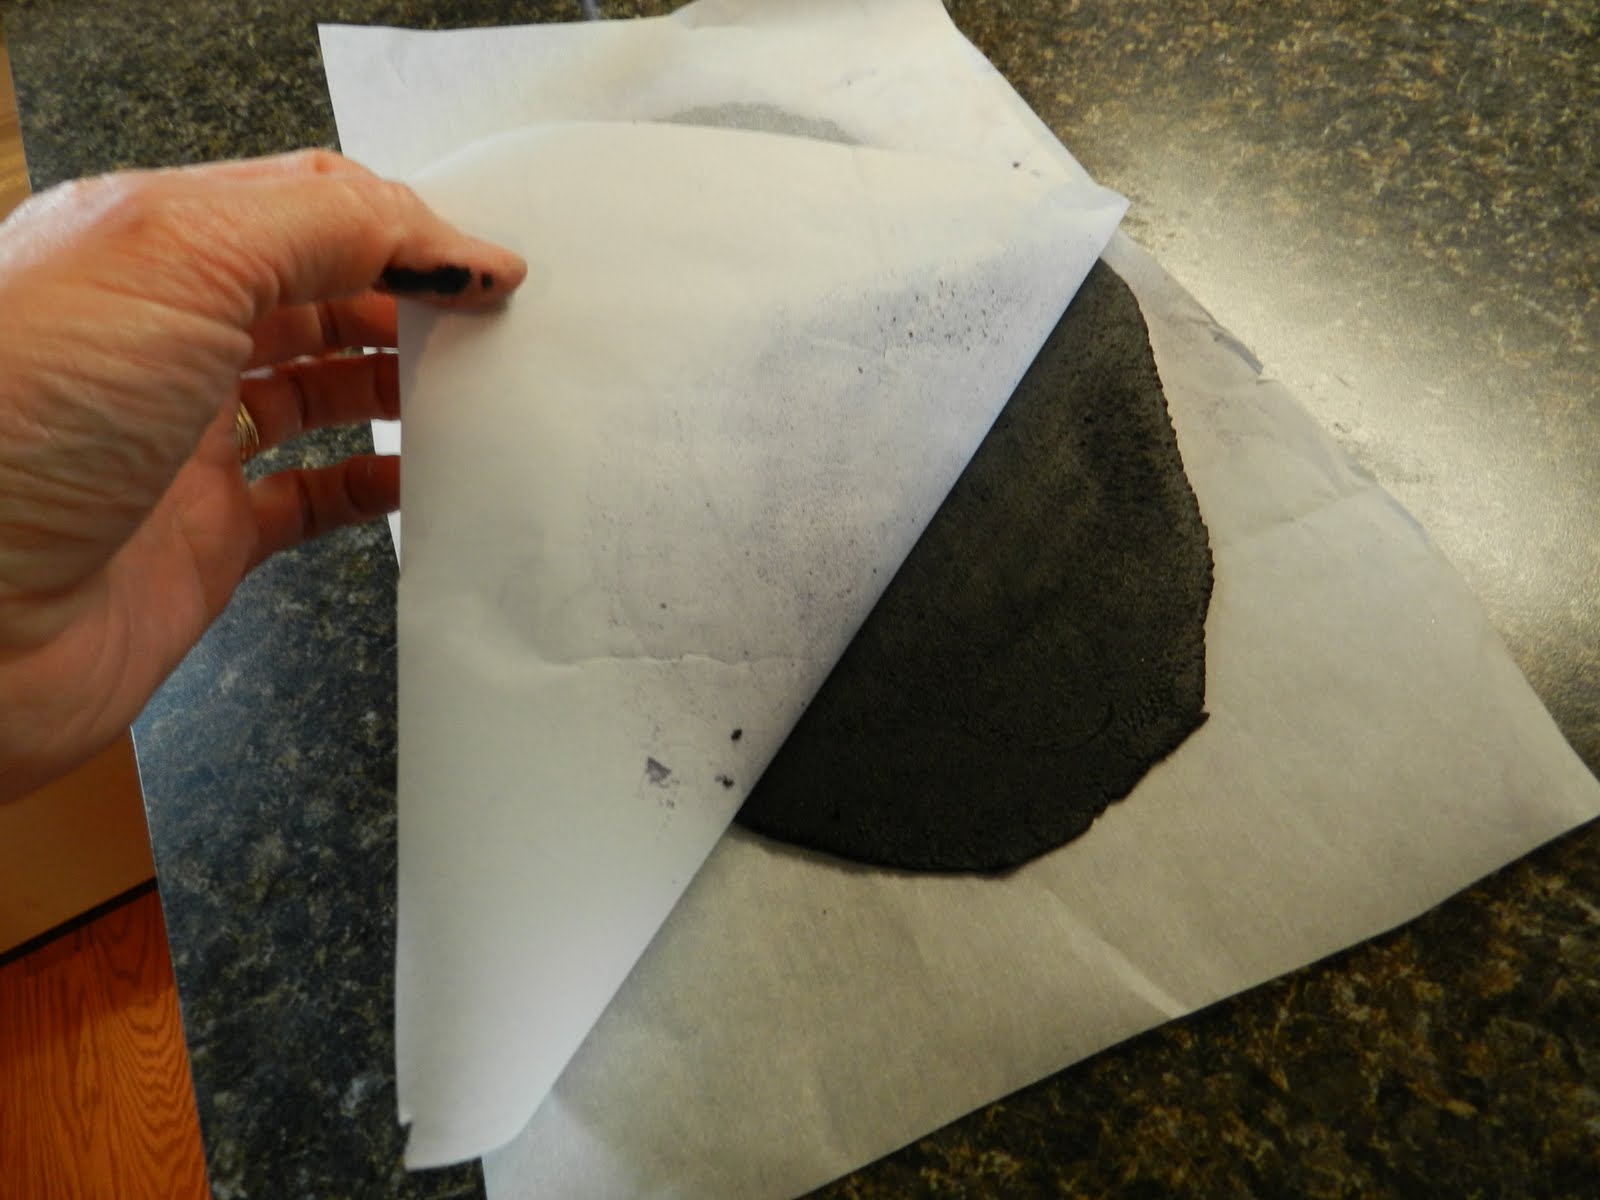
Peel away the top paper.
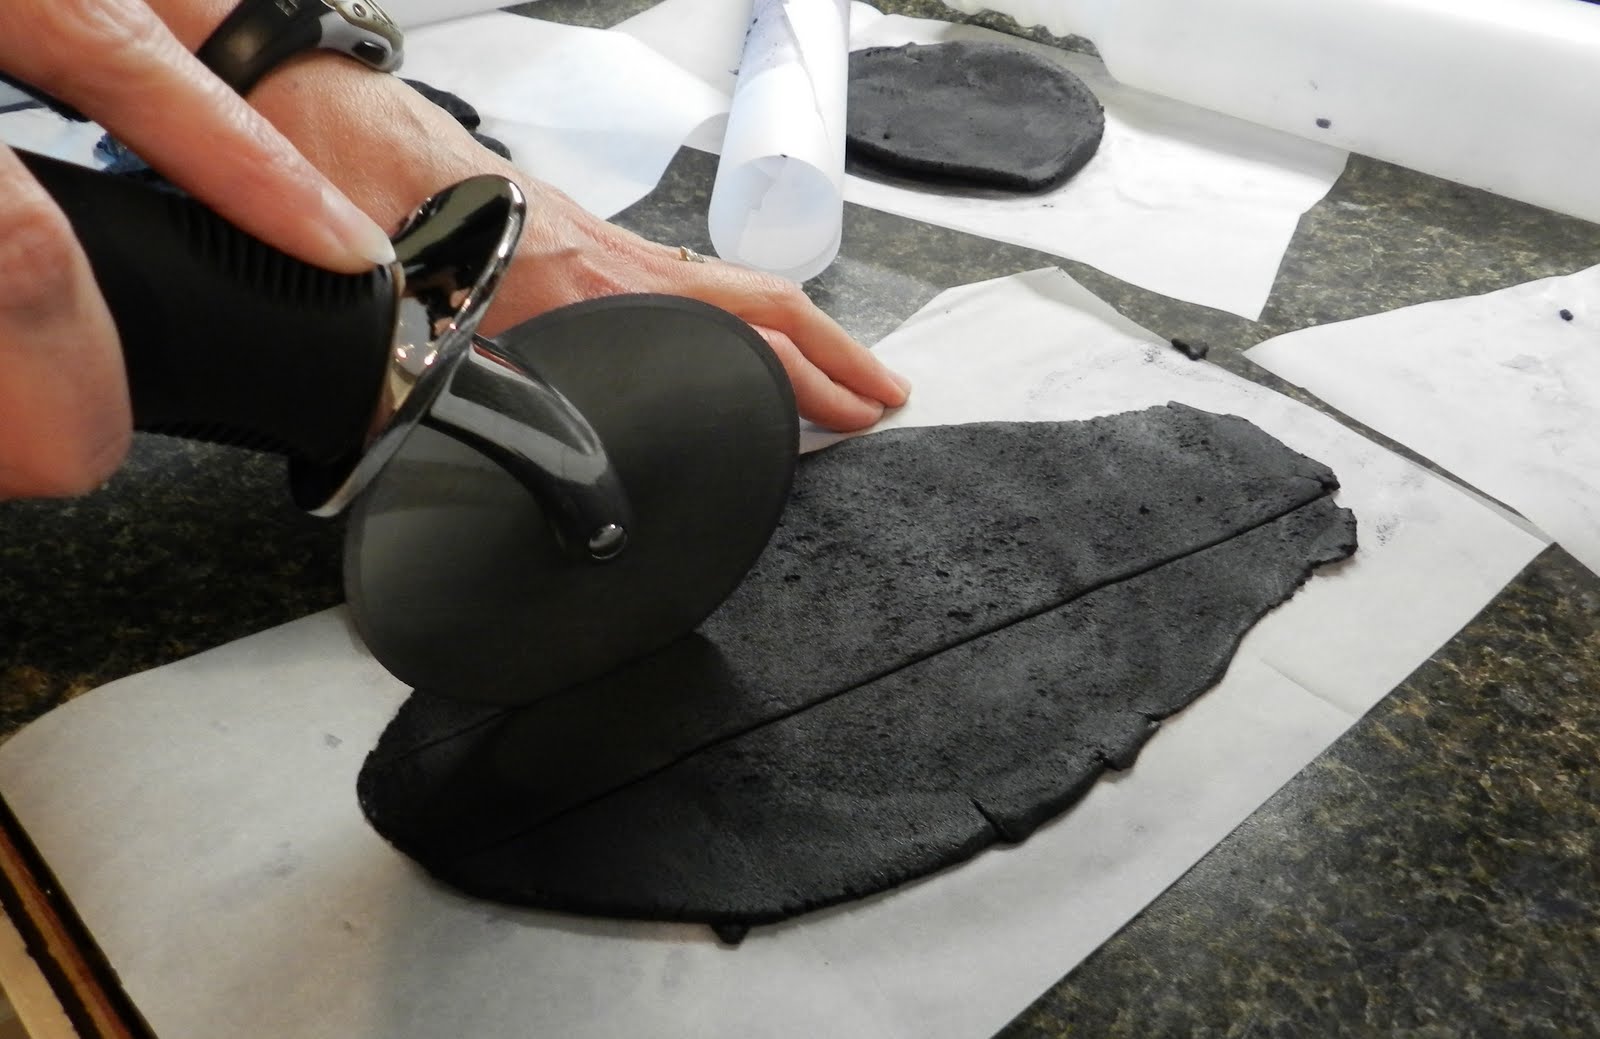
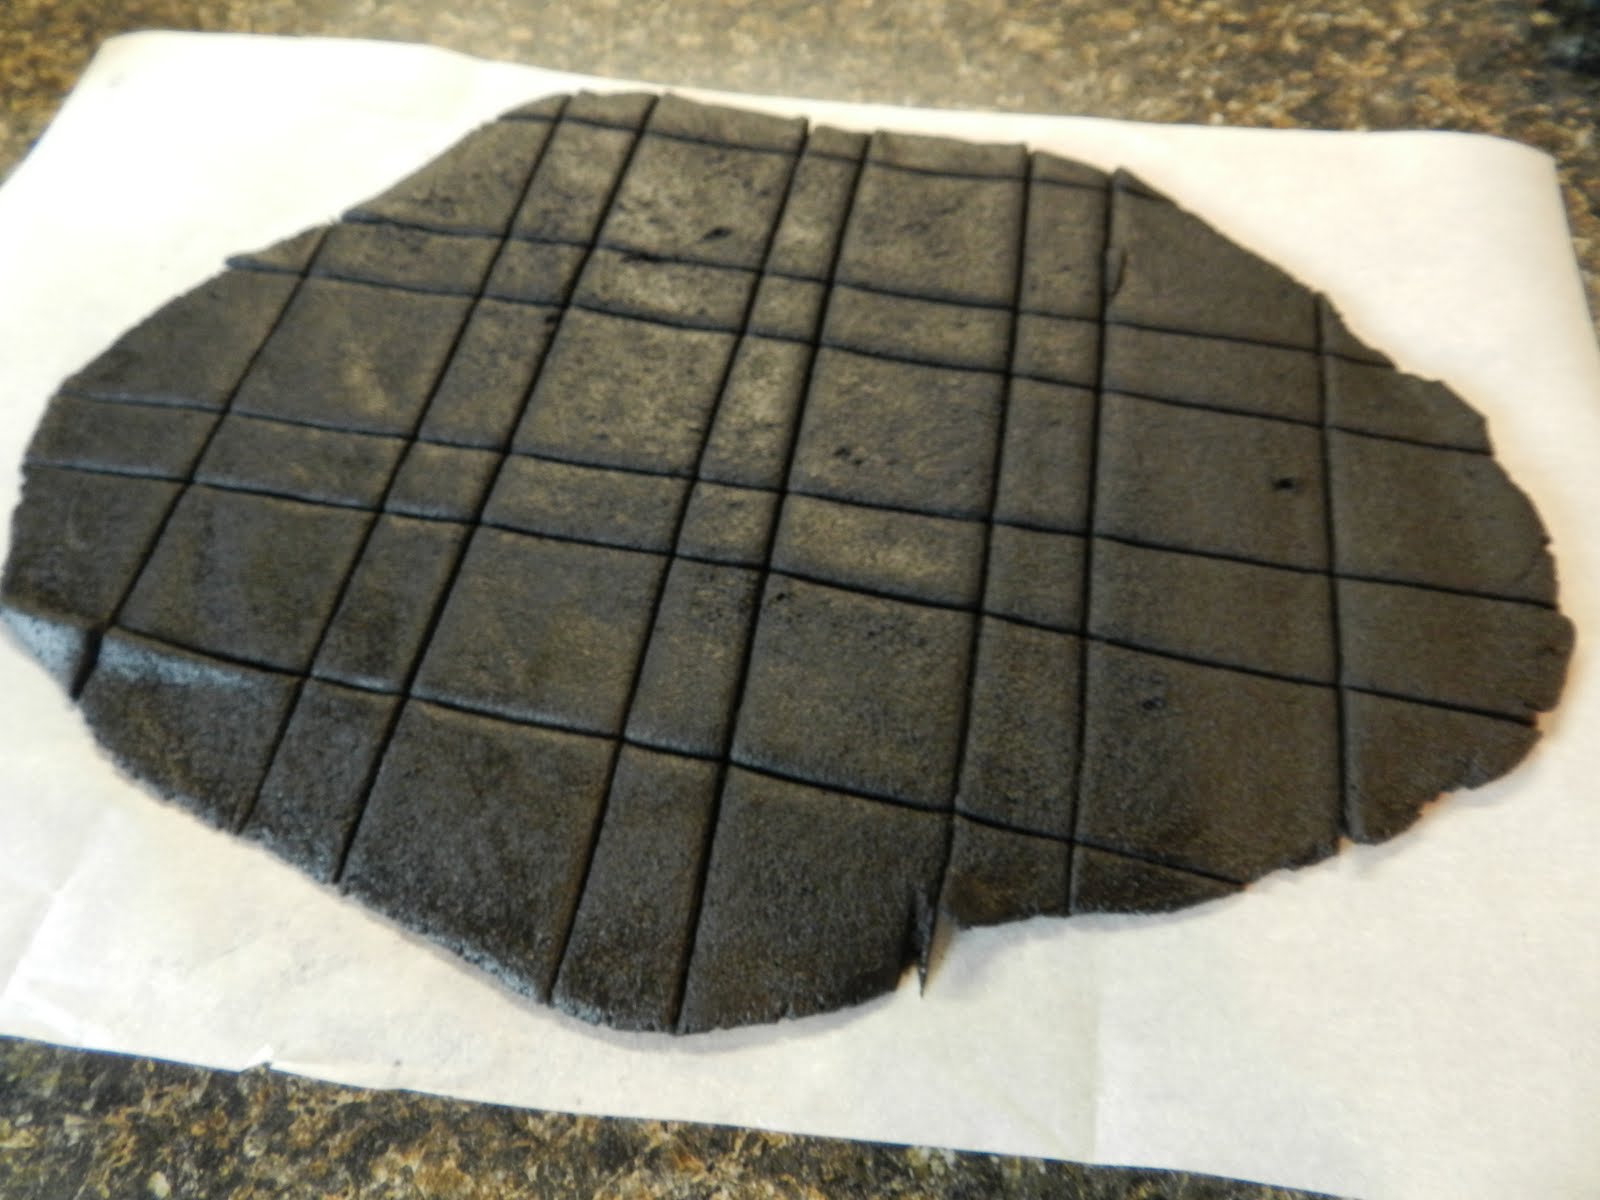
Use a pizza cutter to form a grid of one-inch squares for the caps, with smaller lines of buffer dough between each row of caps. The buffer will be peeled away from between them and the caps will not leave their place on the parchment paper until after they have been baked. With cookies this thin, it is almost impossible to move them without mutilating their shapes.
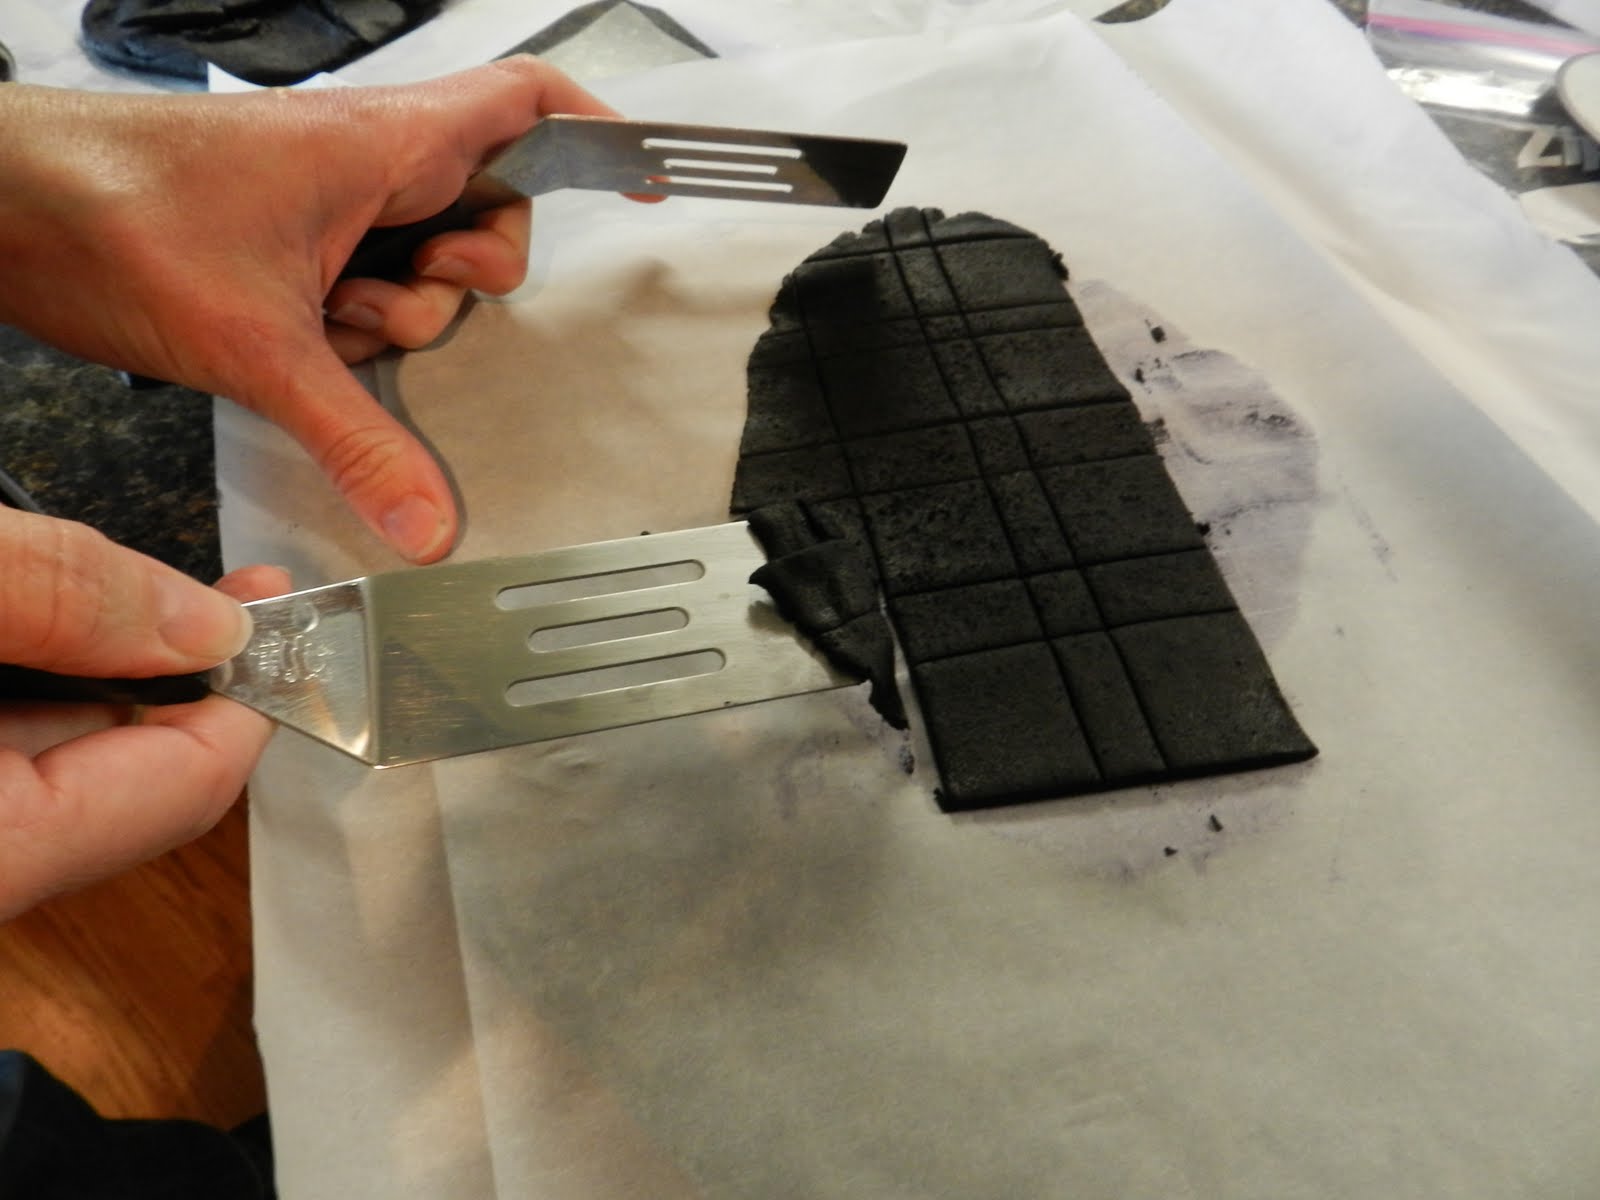
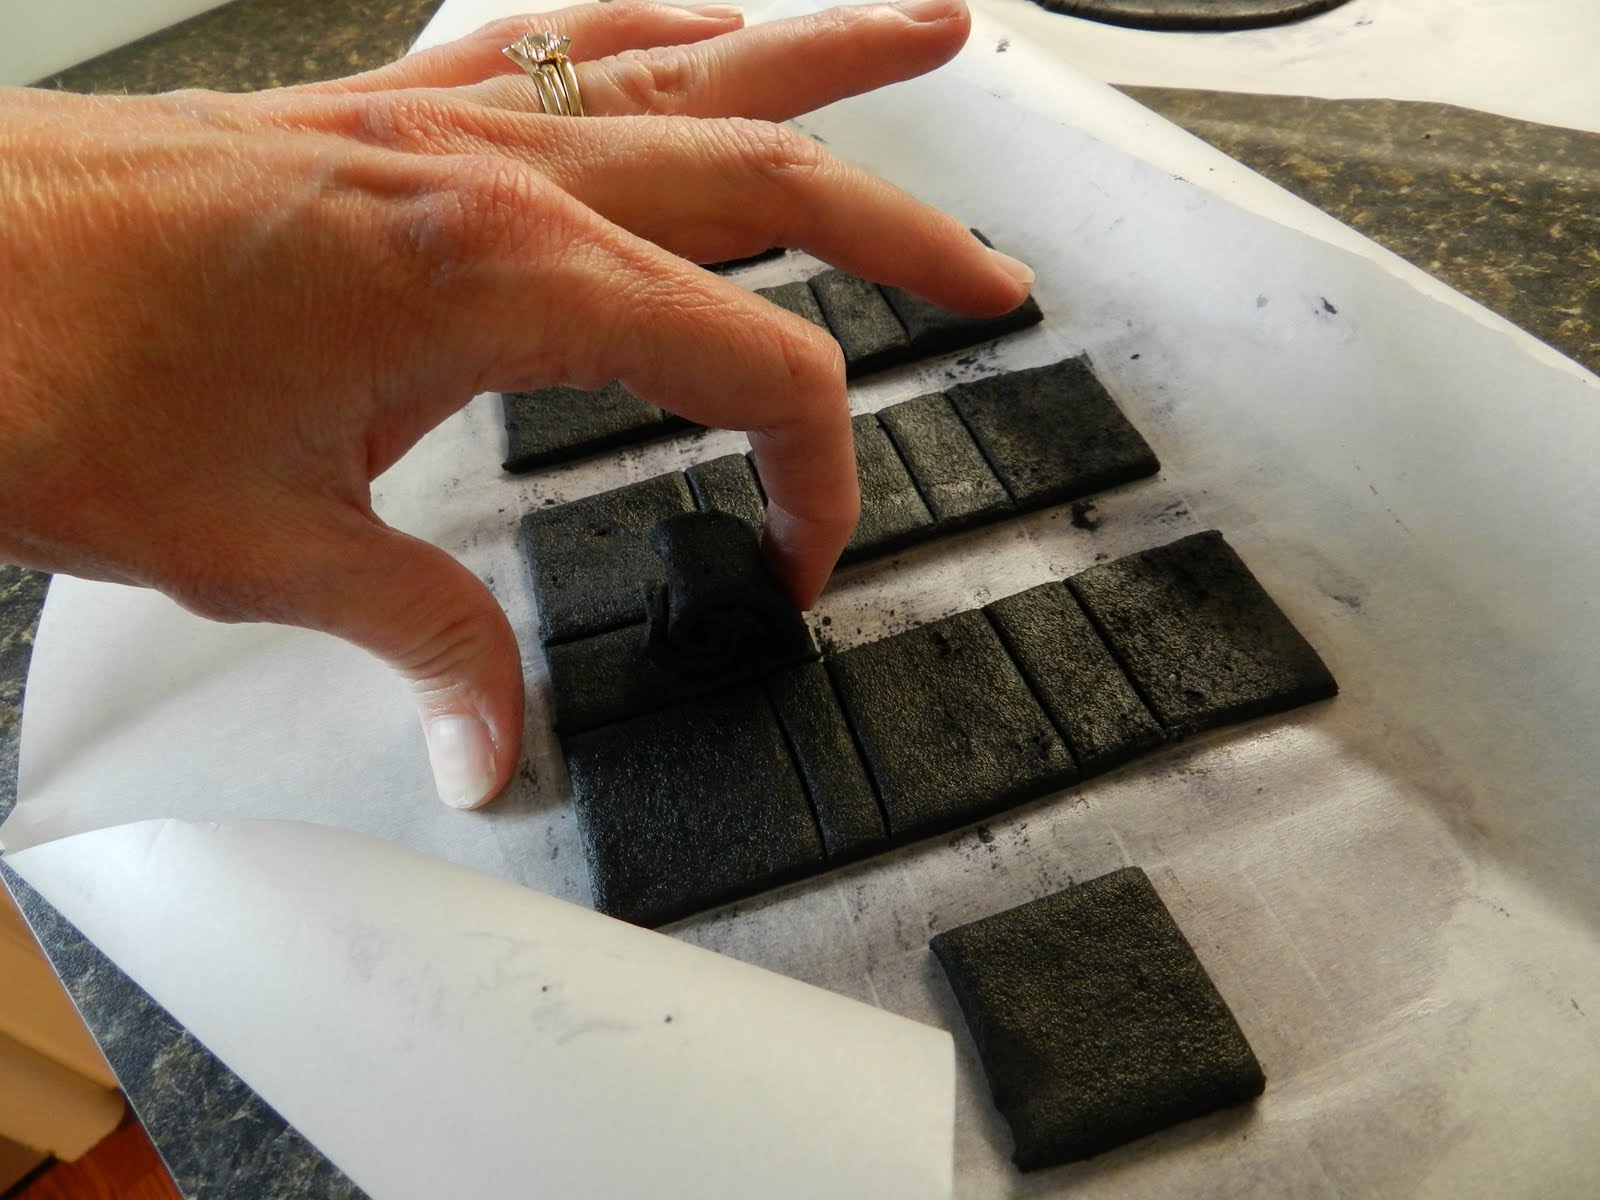
Lift and peel the dough from between the cookies.
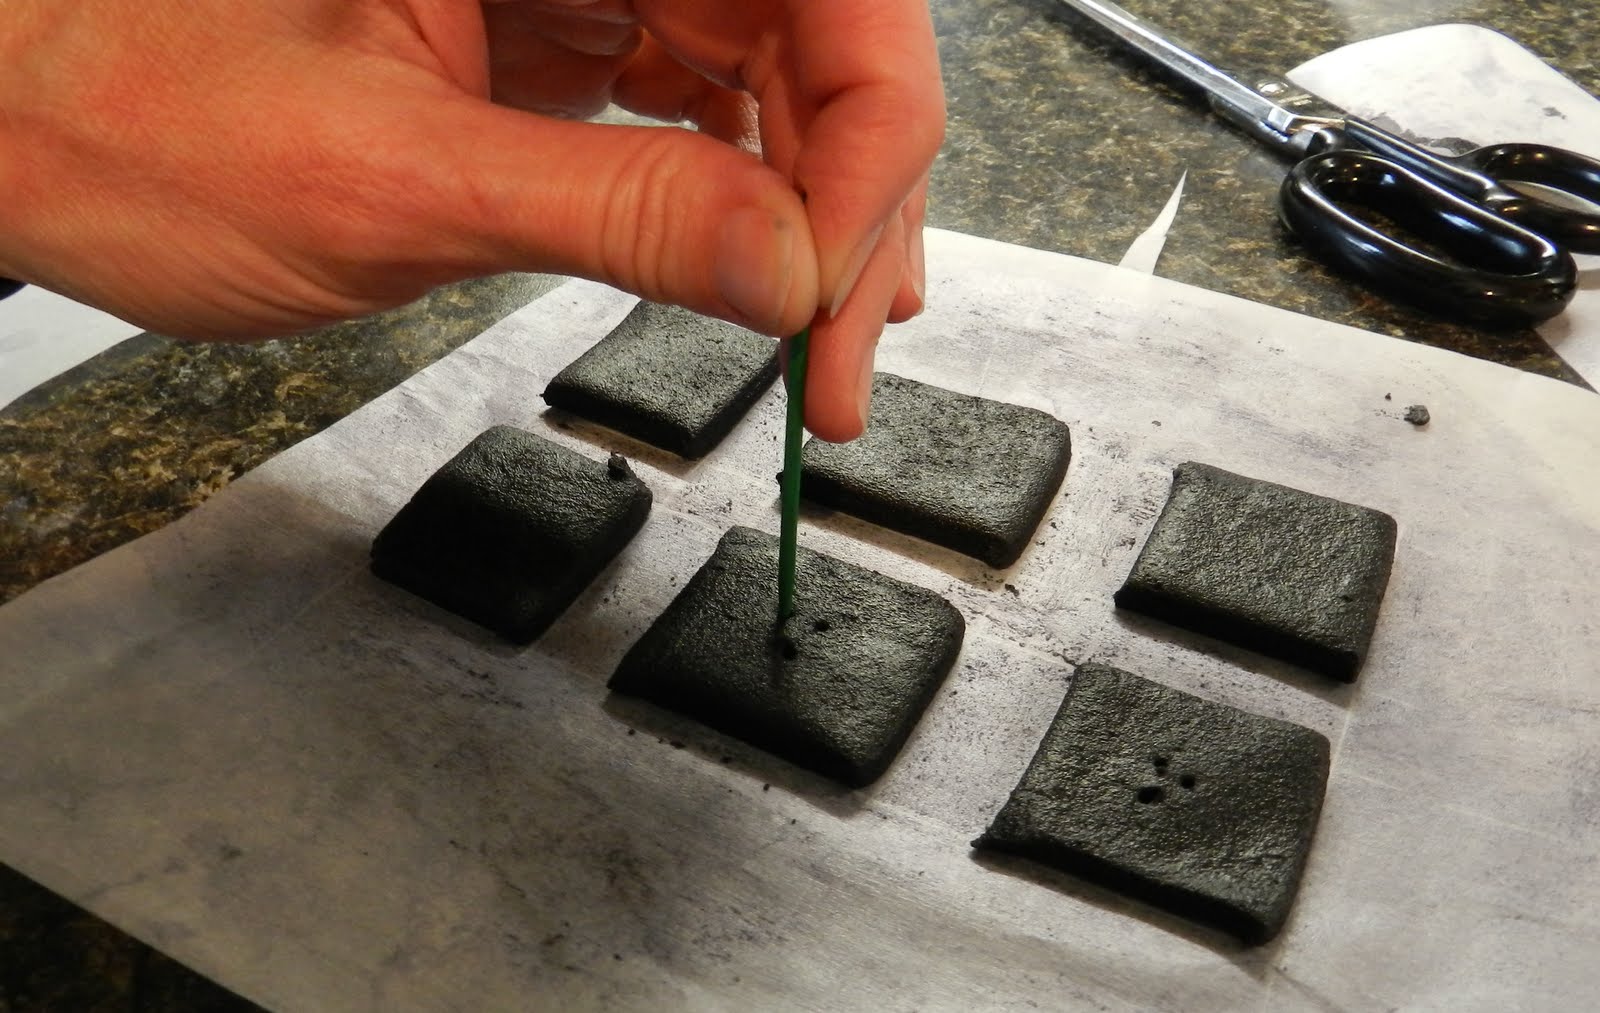
Poke little steam holes into the center of each cookie to avoid puffing. (I don’t know how critical this is but Julia Child says to do it with dough like this, so I do.)
Place the sheets of parchment onto a baking sheet and bake at 400 degrees for about 8 minutes.
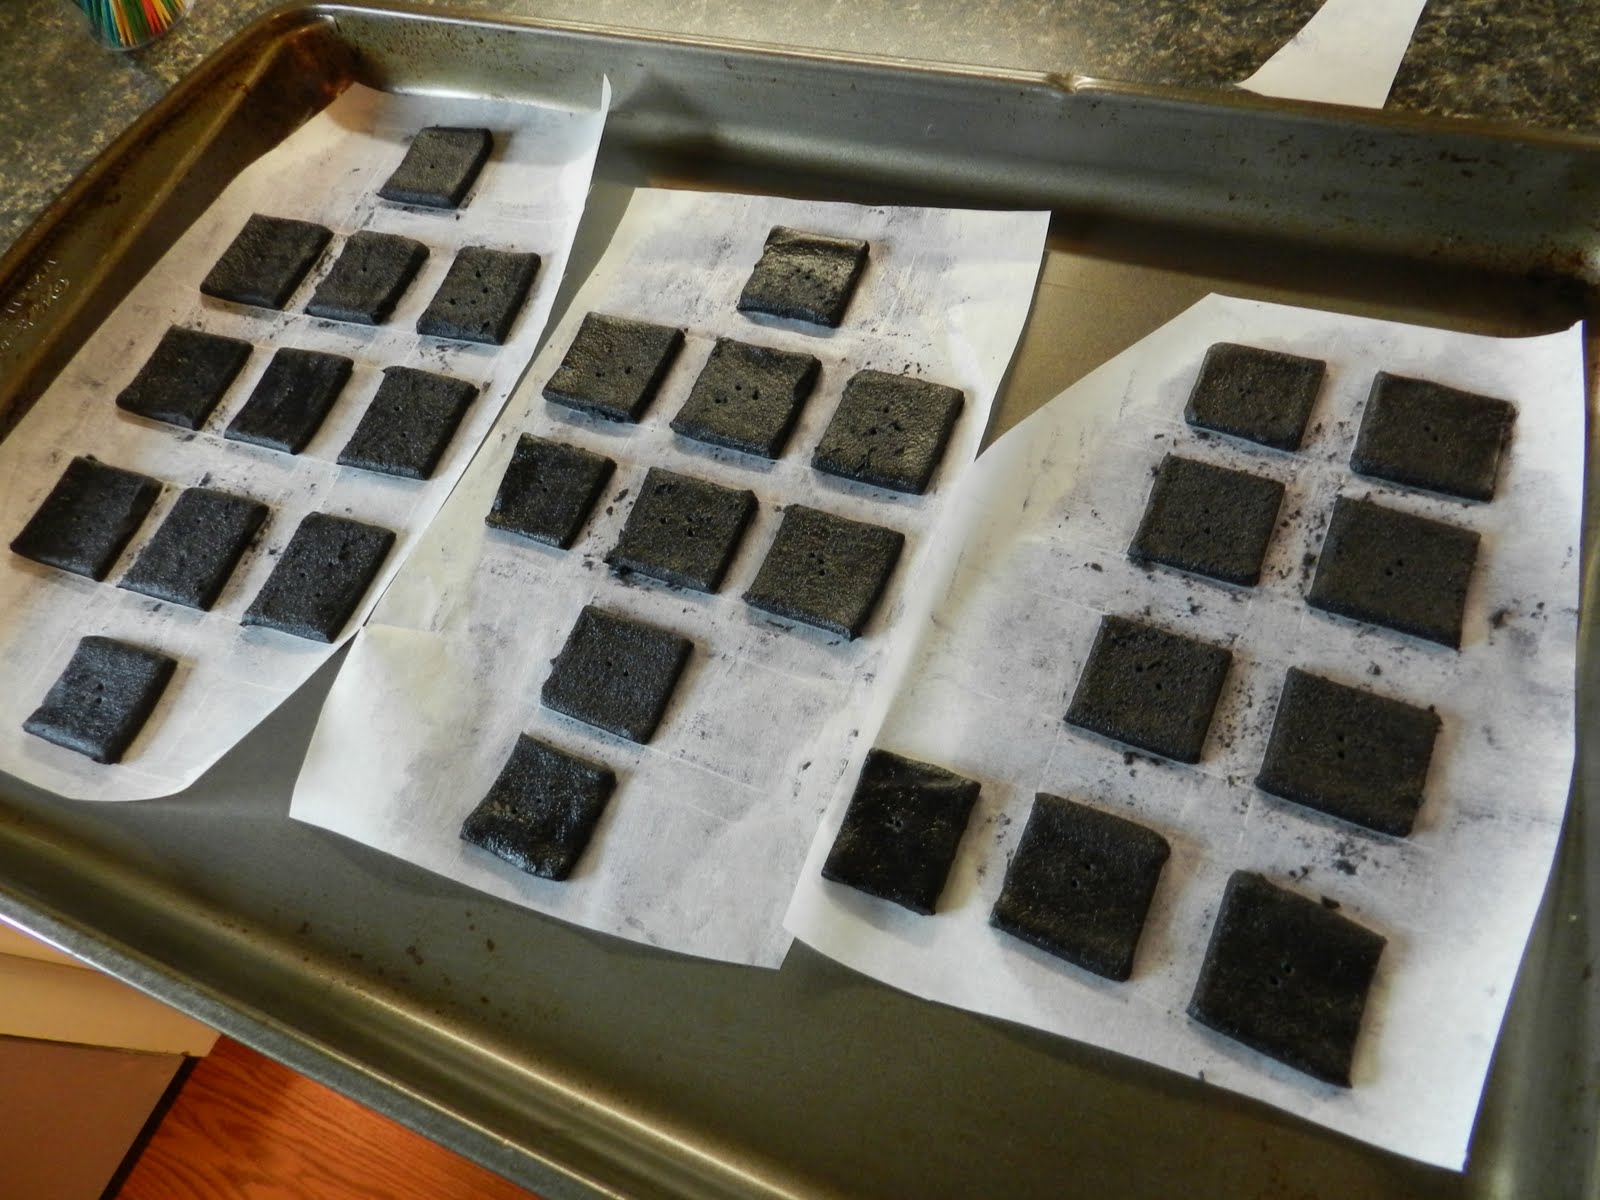
Remove them on their paper to cool on a rack.
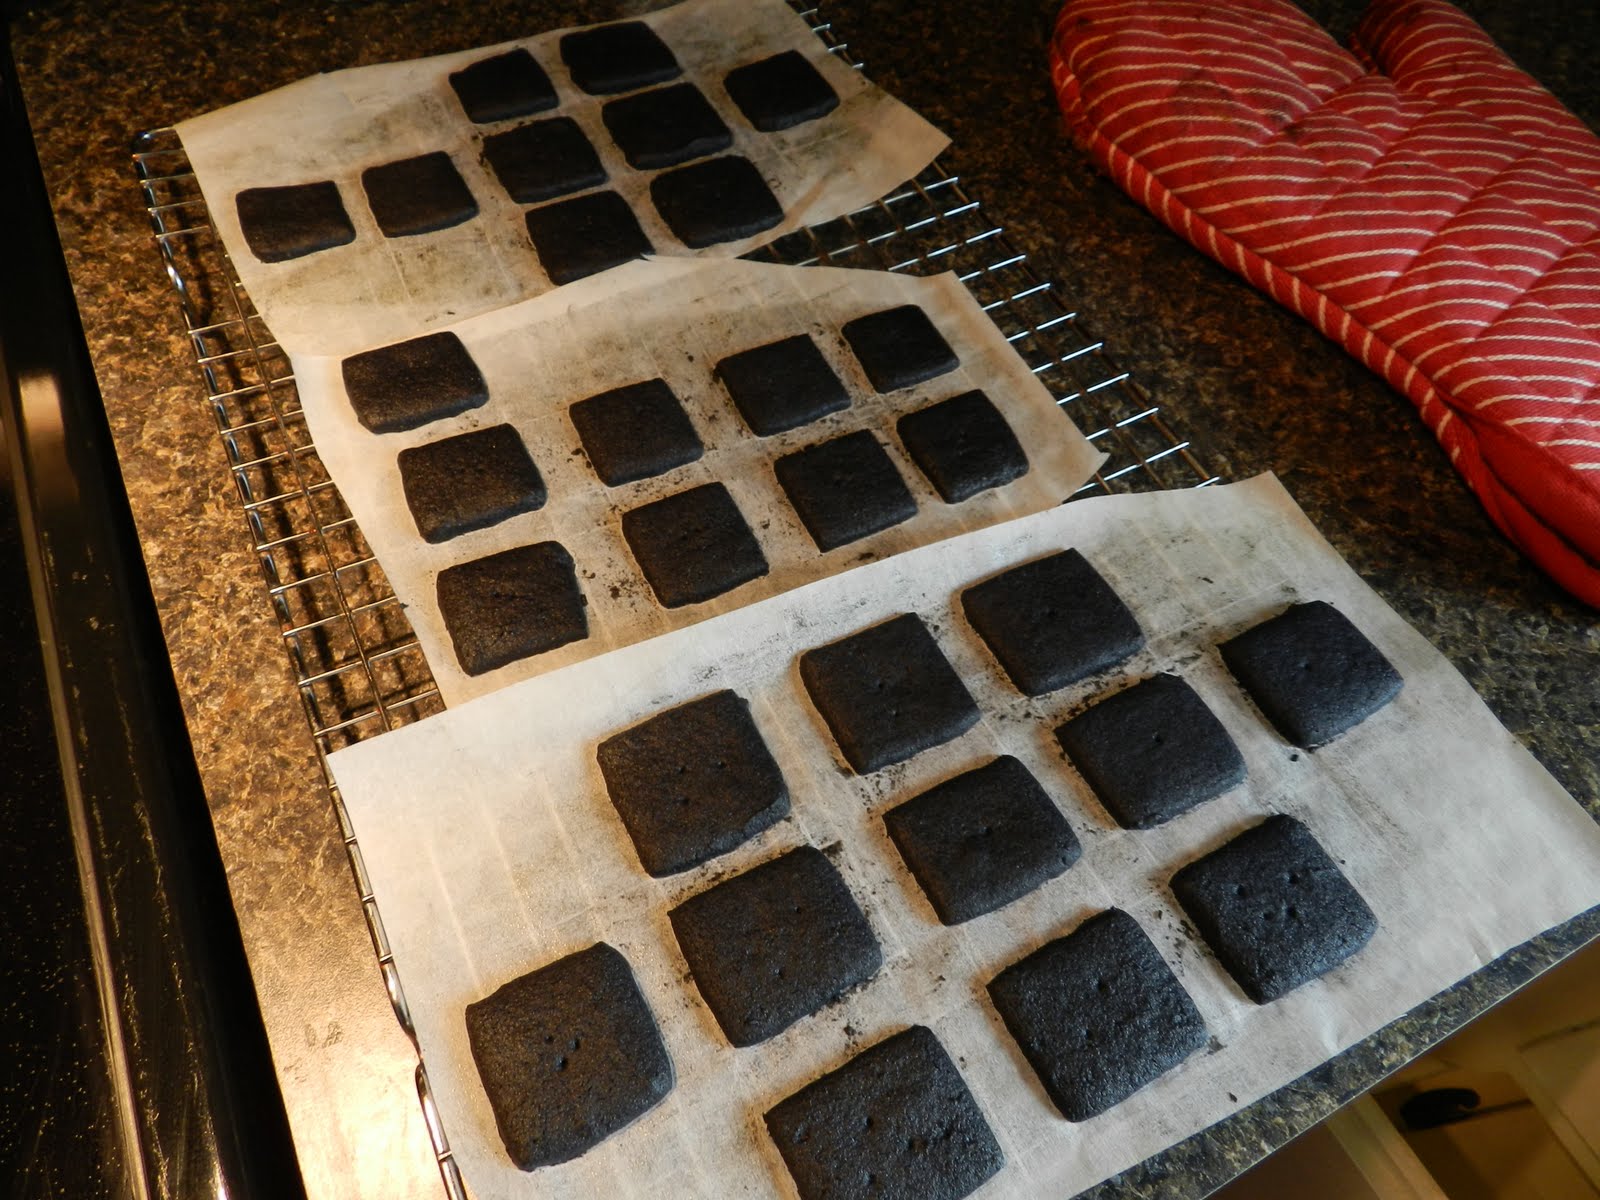
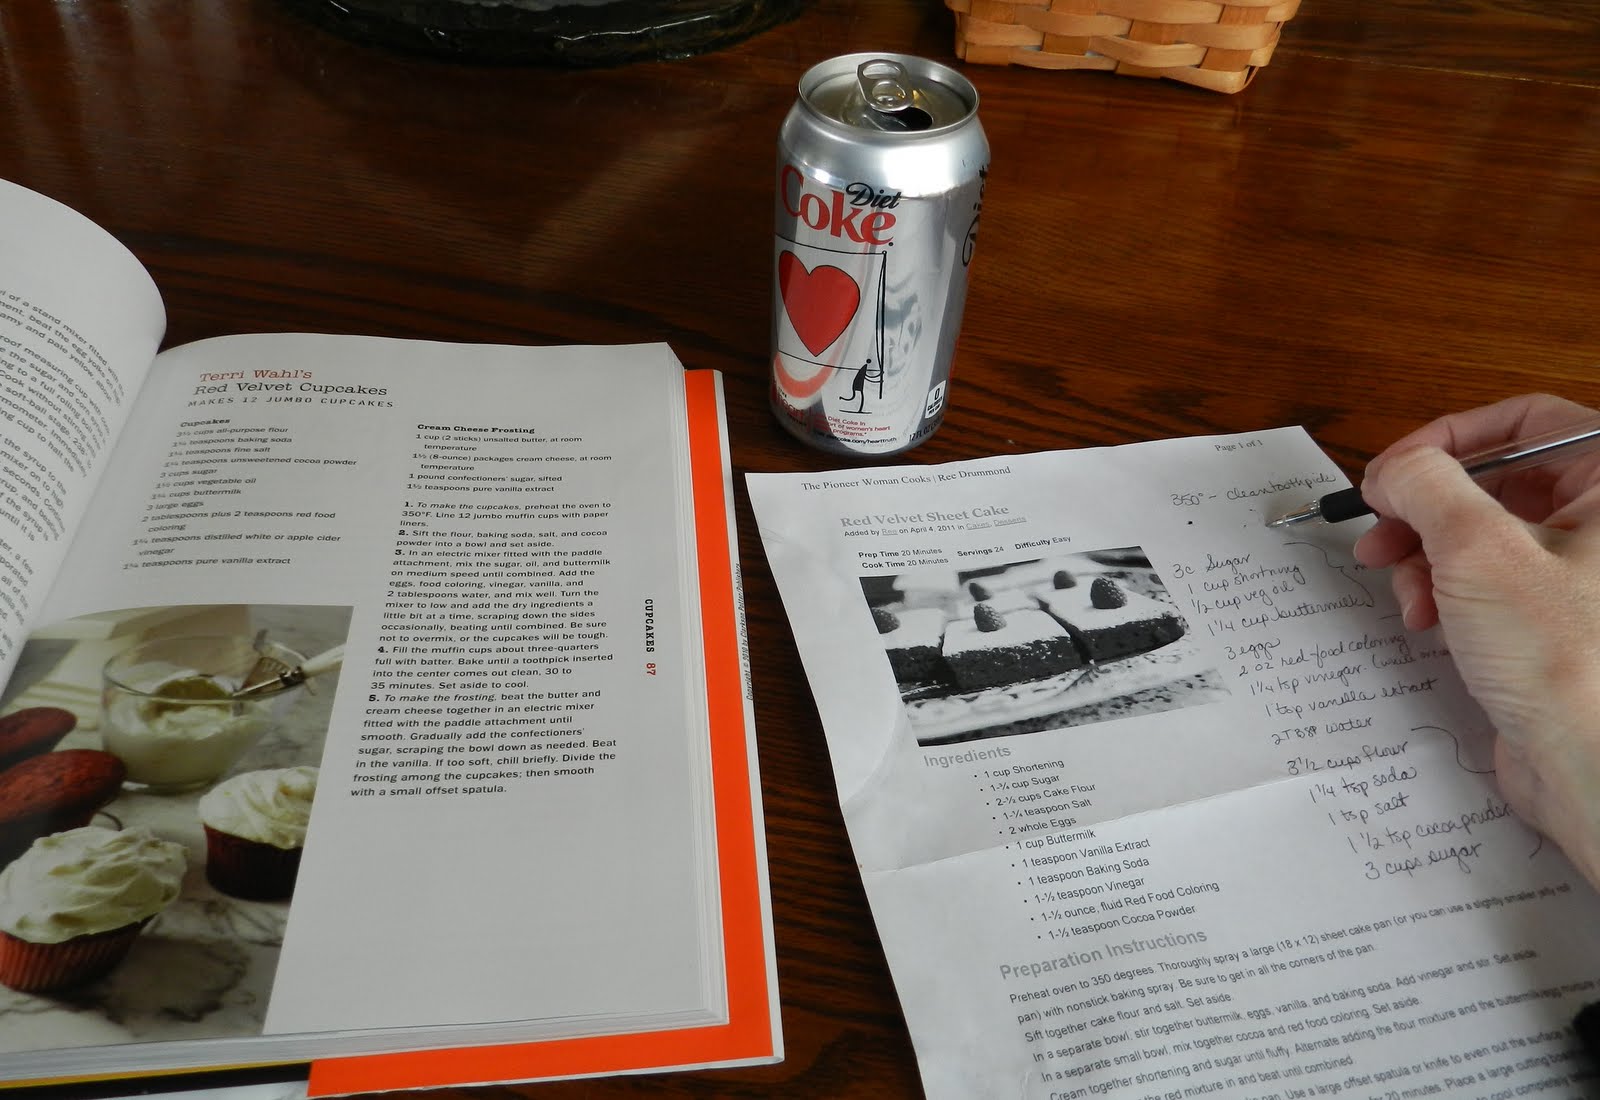
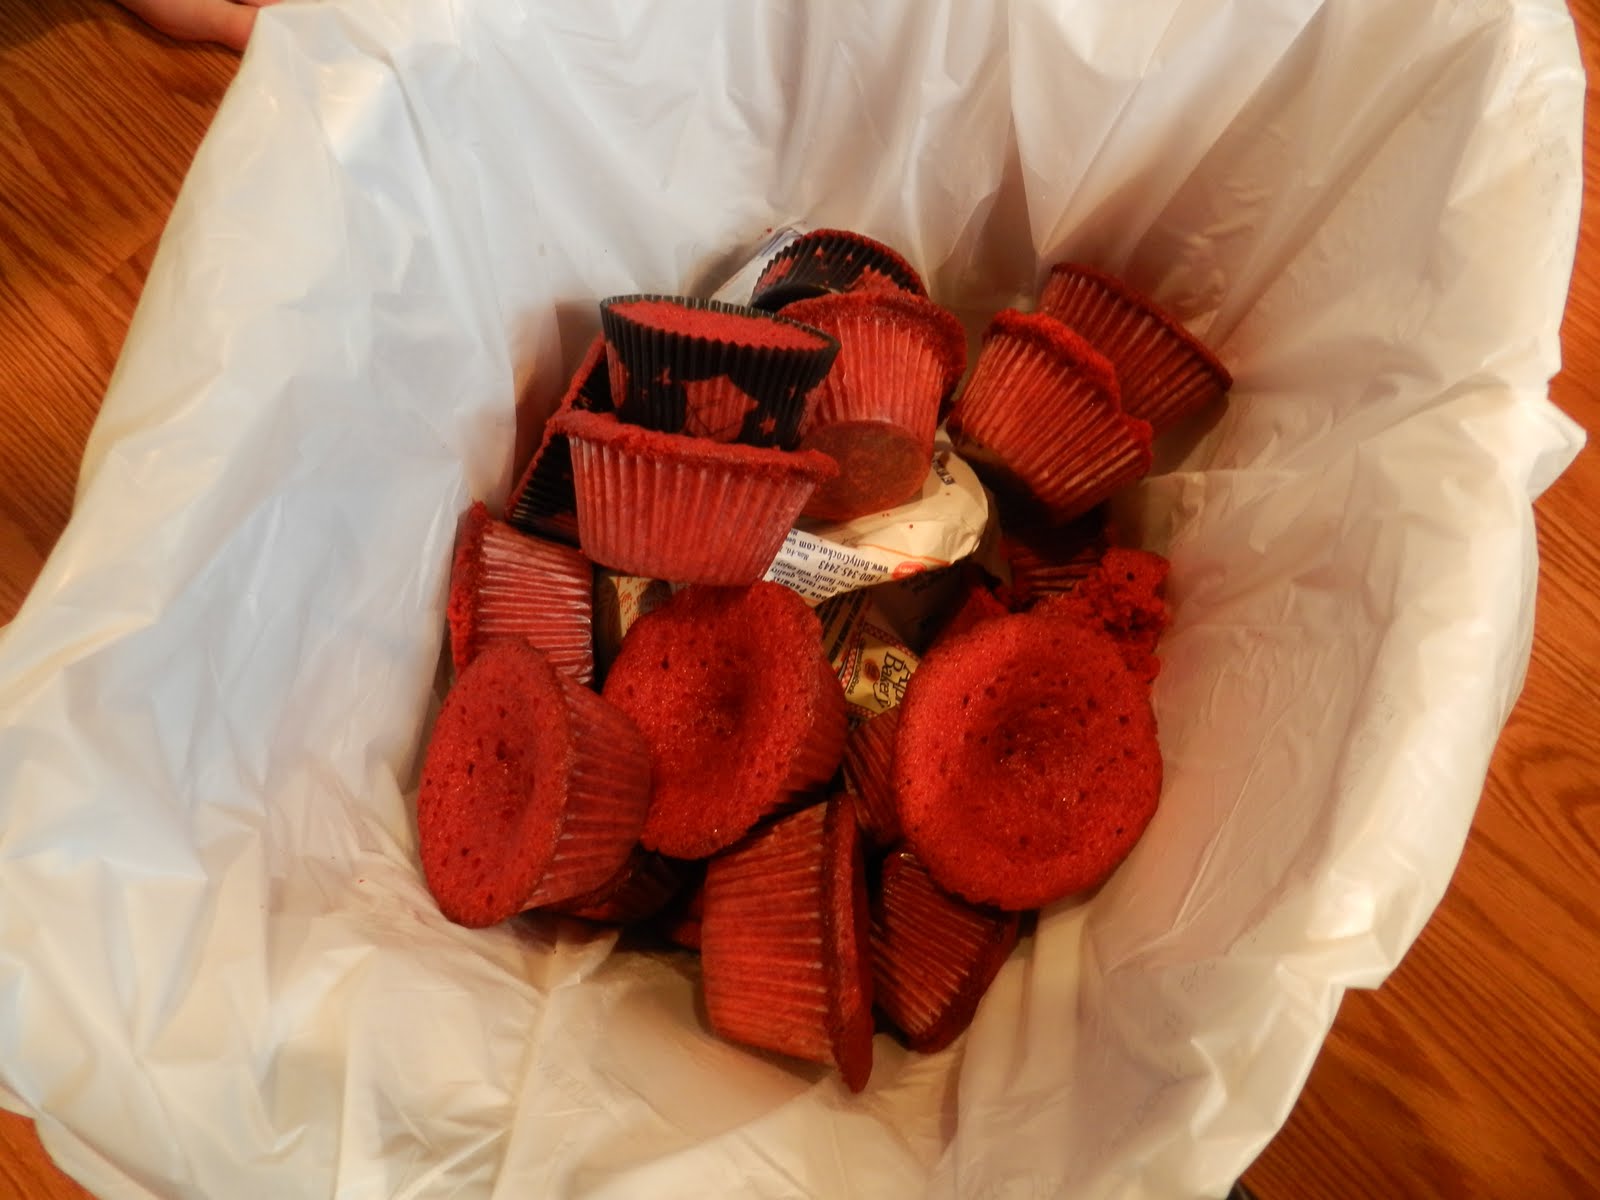
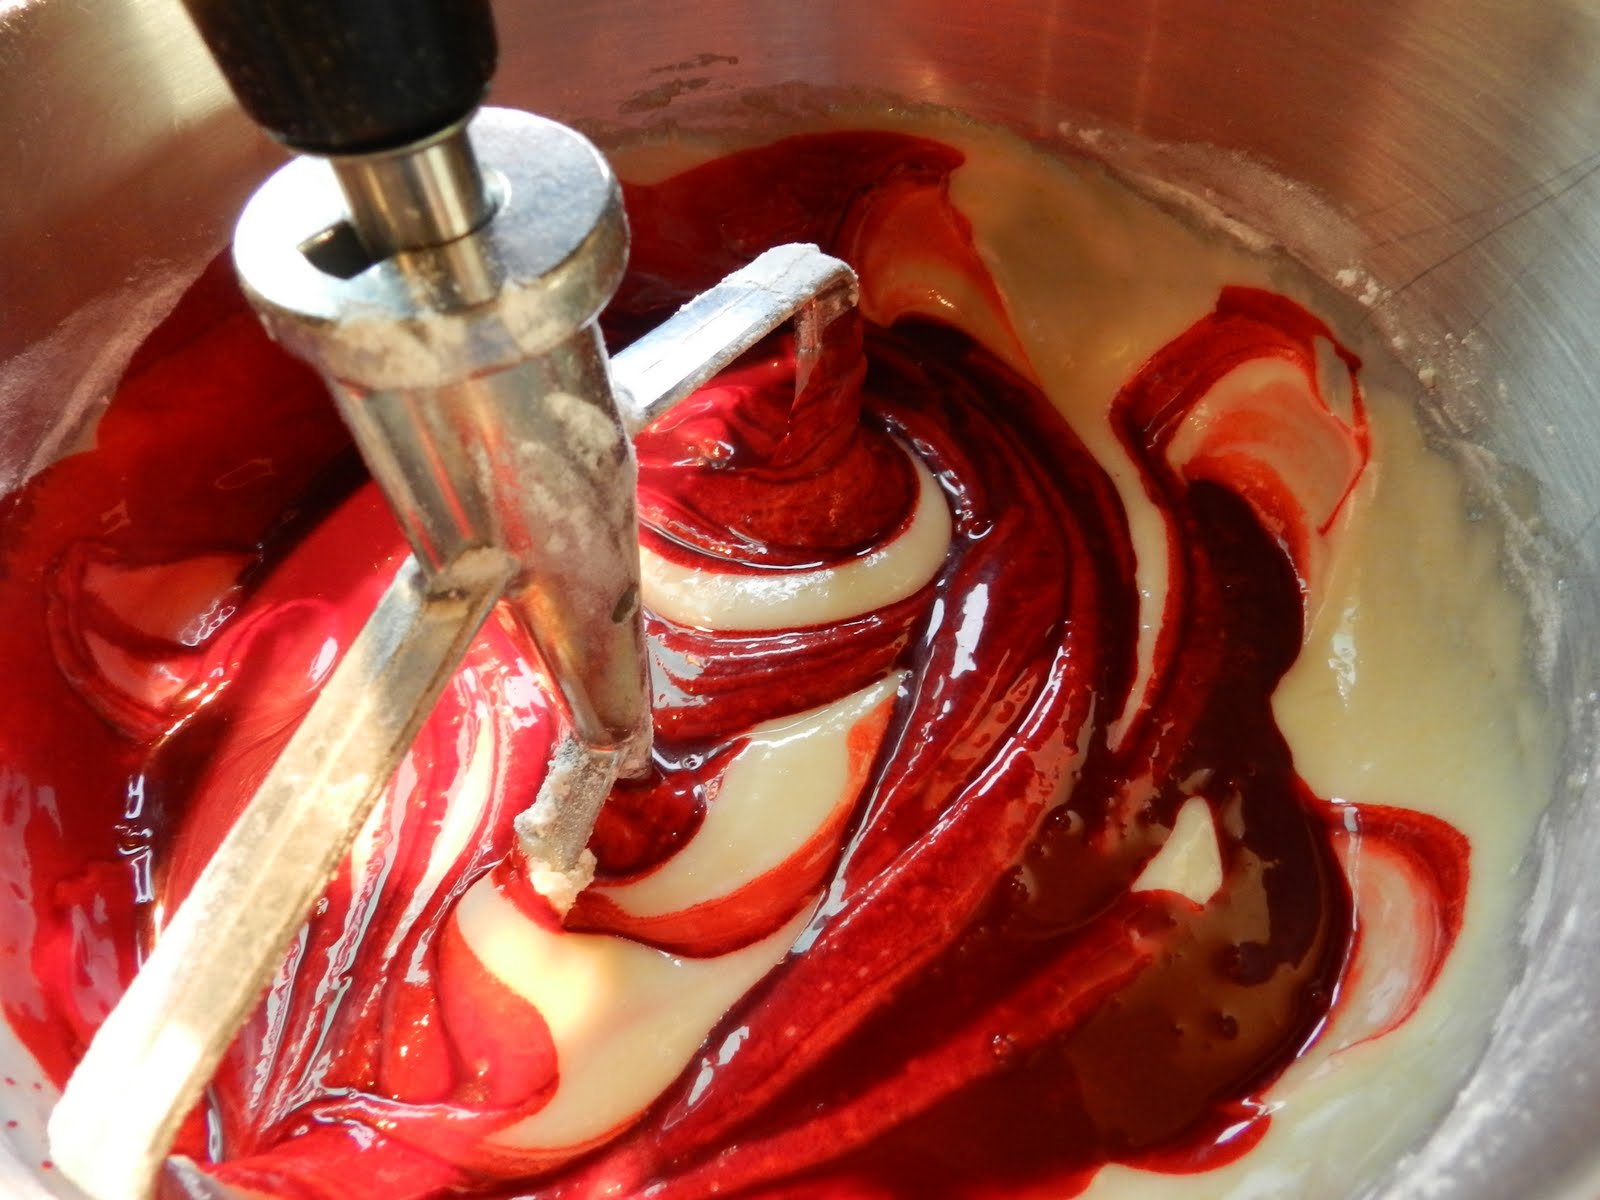
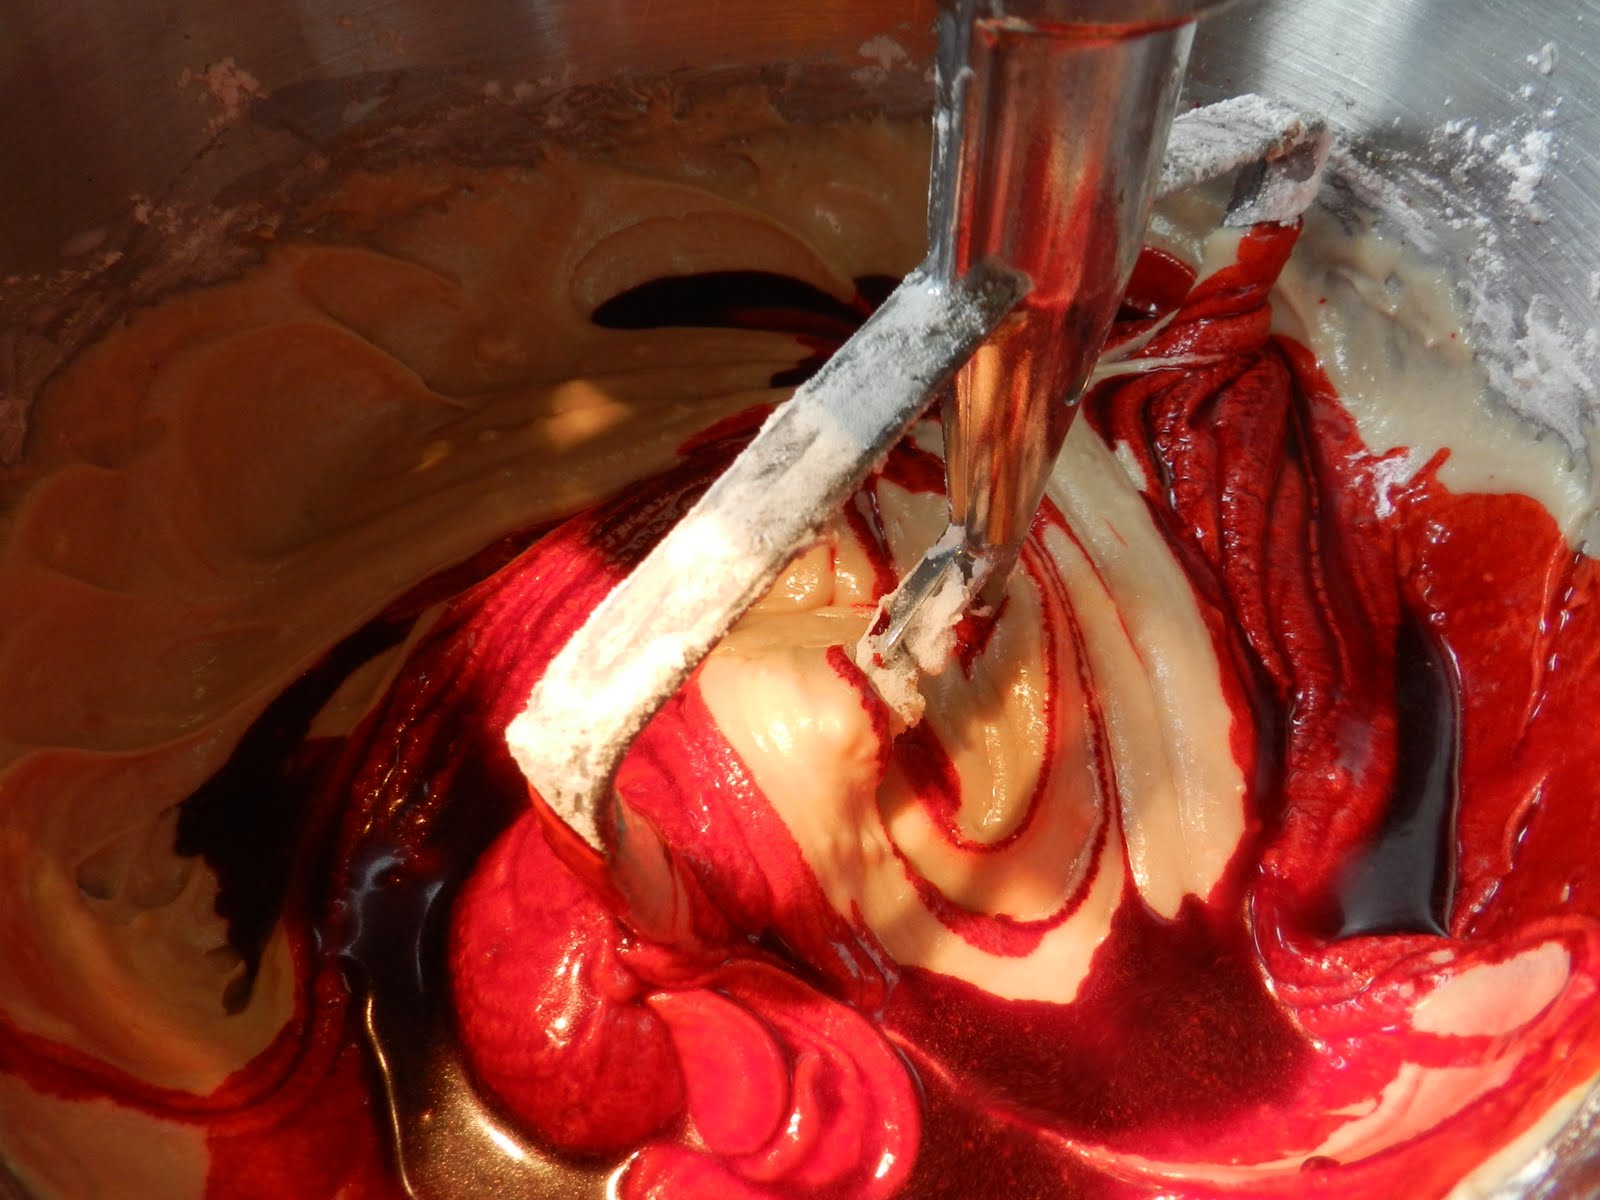
Once they are cool, use your clean fingers to rub off the inevitable crumbs that will be stuck around the edges. Set them aside to wait while you go on to the cupcakes. The cupcakes can be any kind you want to make. If you want to hear about the escapades involved in making mine, go to…. Lessons in Red Velvet.
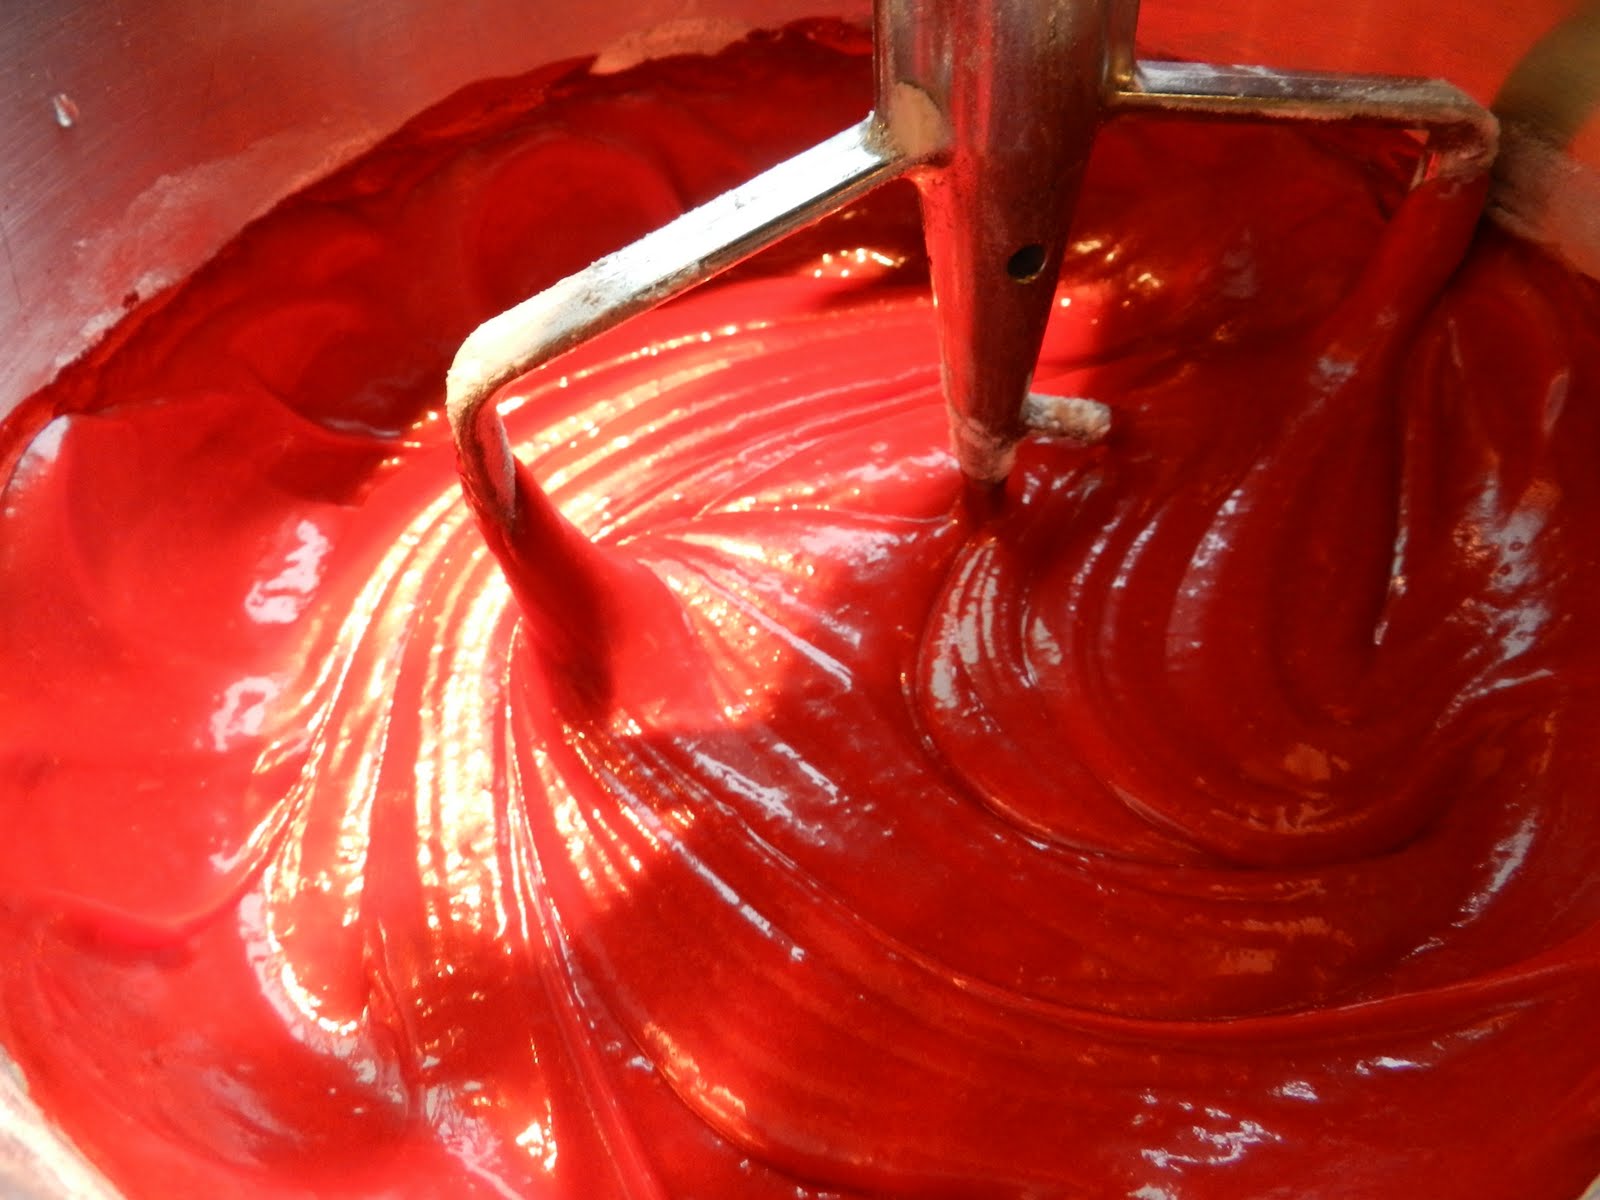
For this post we’ll go on to the dreamy cream-y cheese frosting.
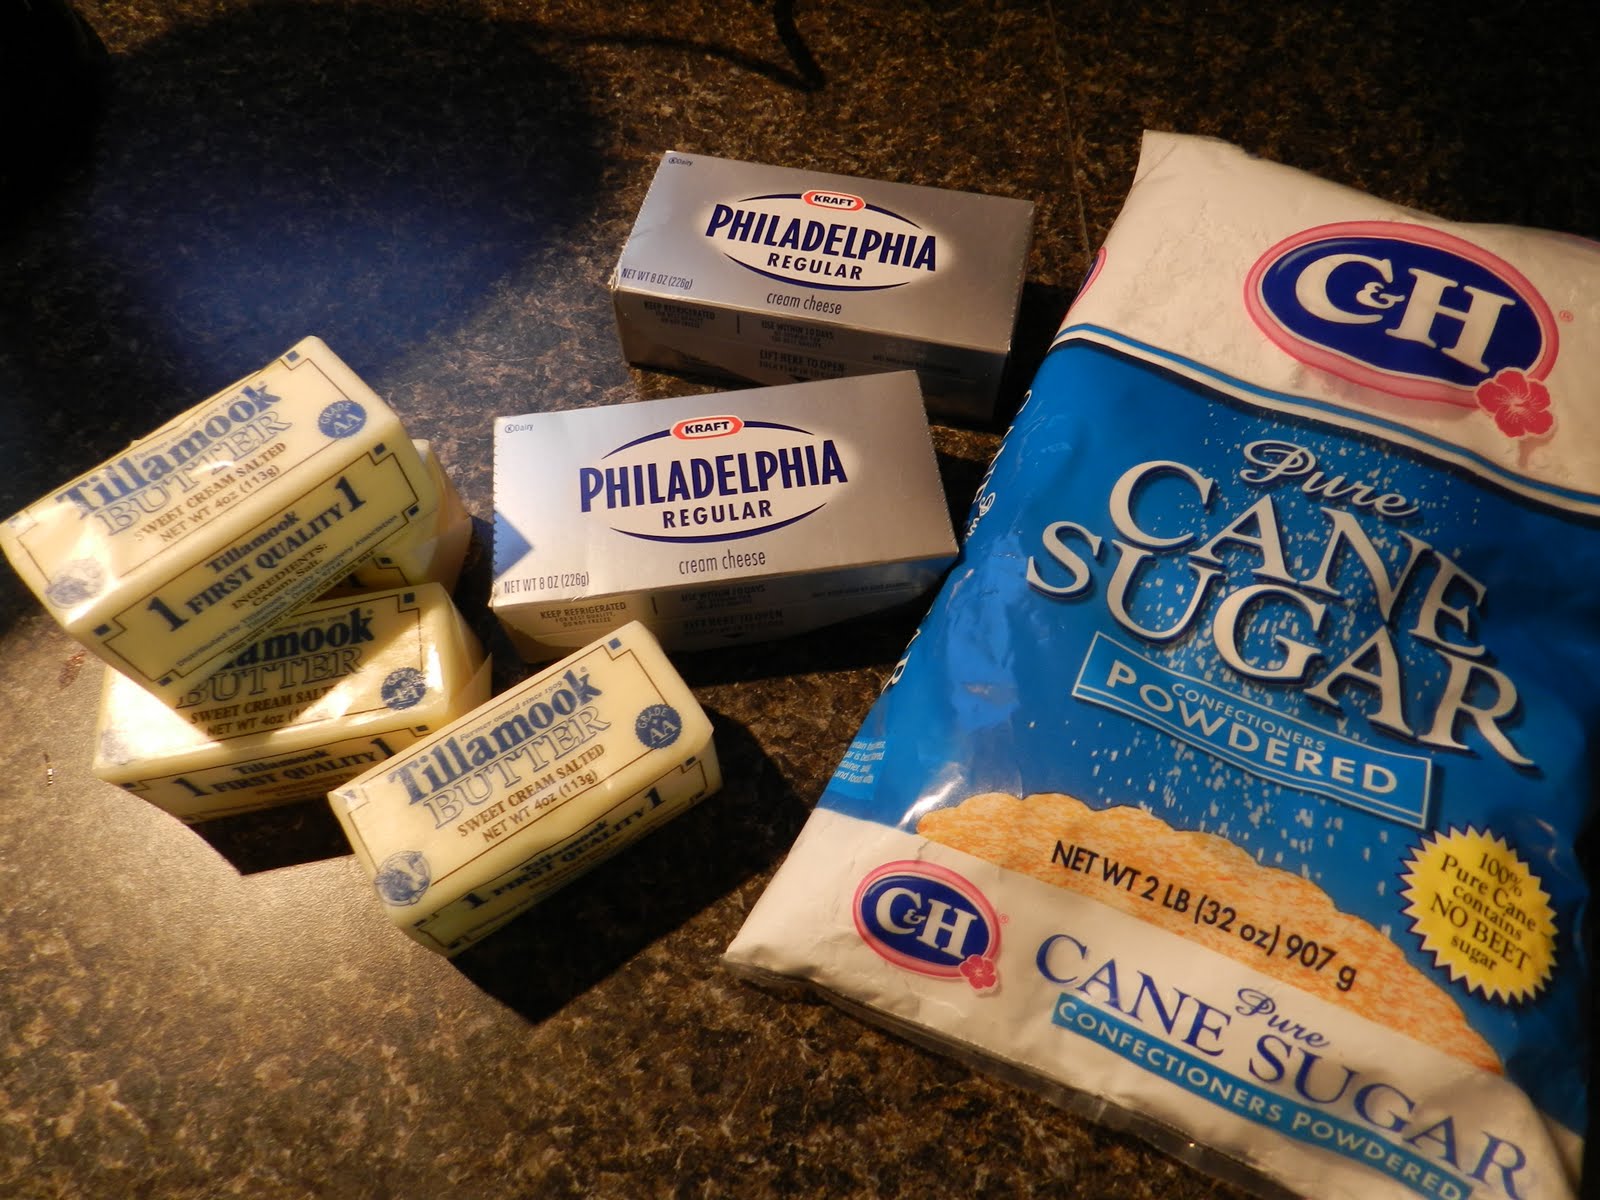
Frosting
2 boxes of cream cheese (at room temperature)
2 sticks of butter (at room temperature)
1 (2lb) bag of powdered sugar
Gel Food coloring
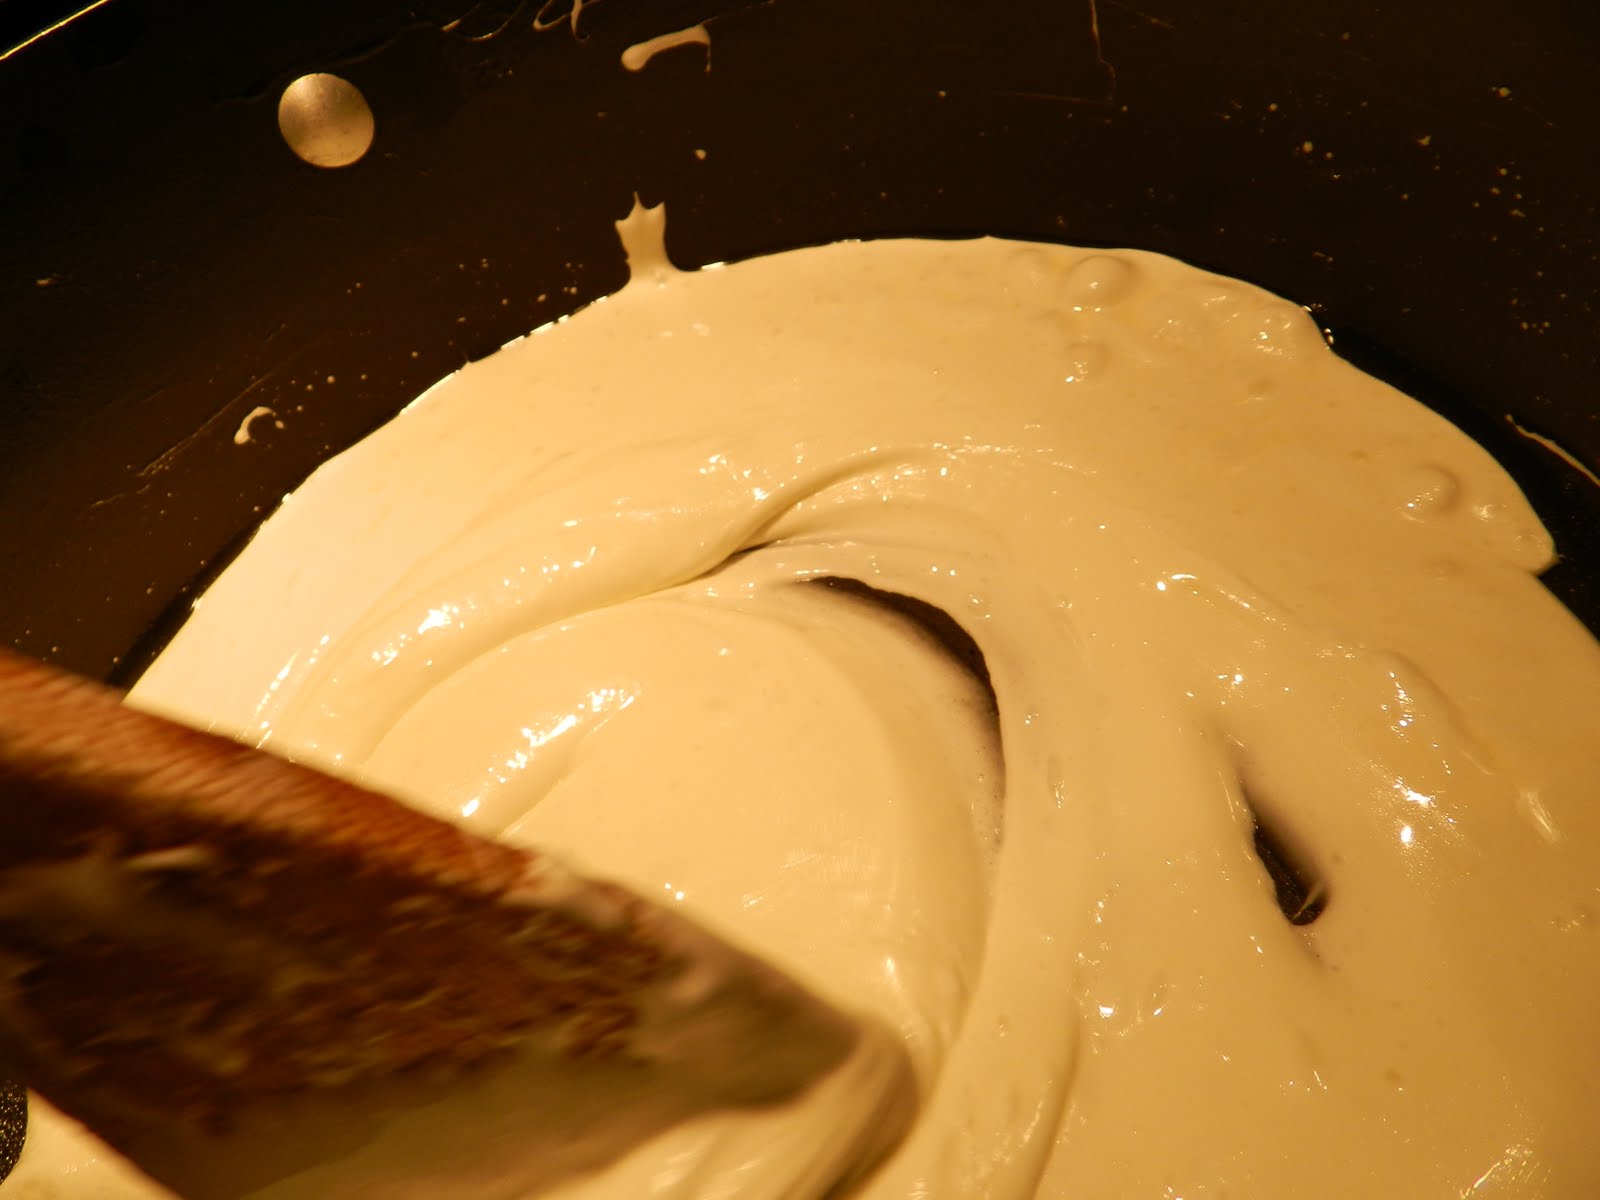
Drop the cream cheese and butter into the mixer and cream them
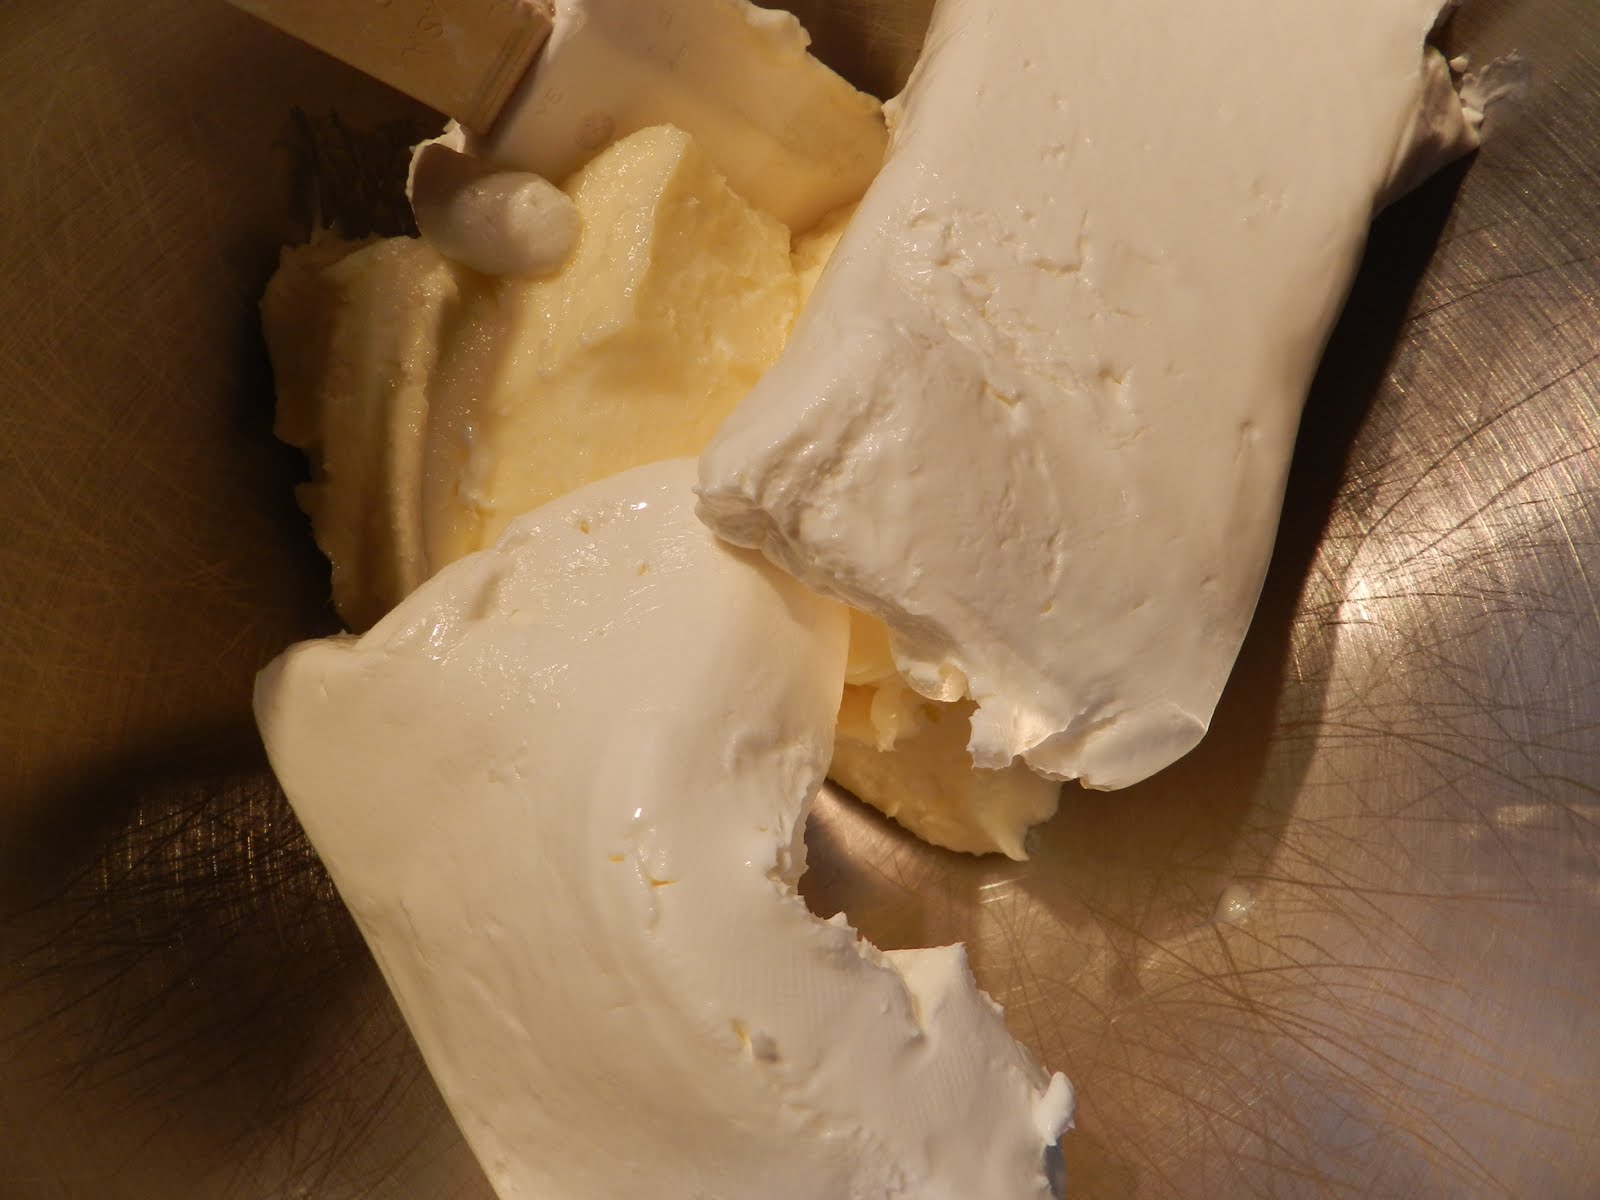
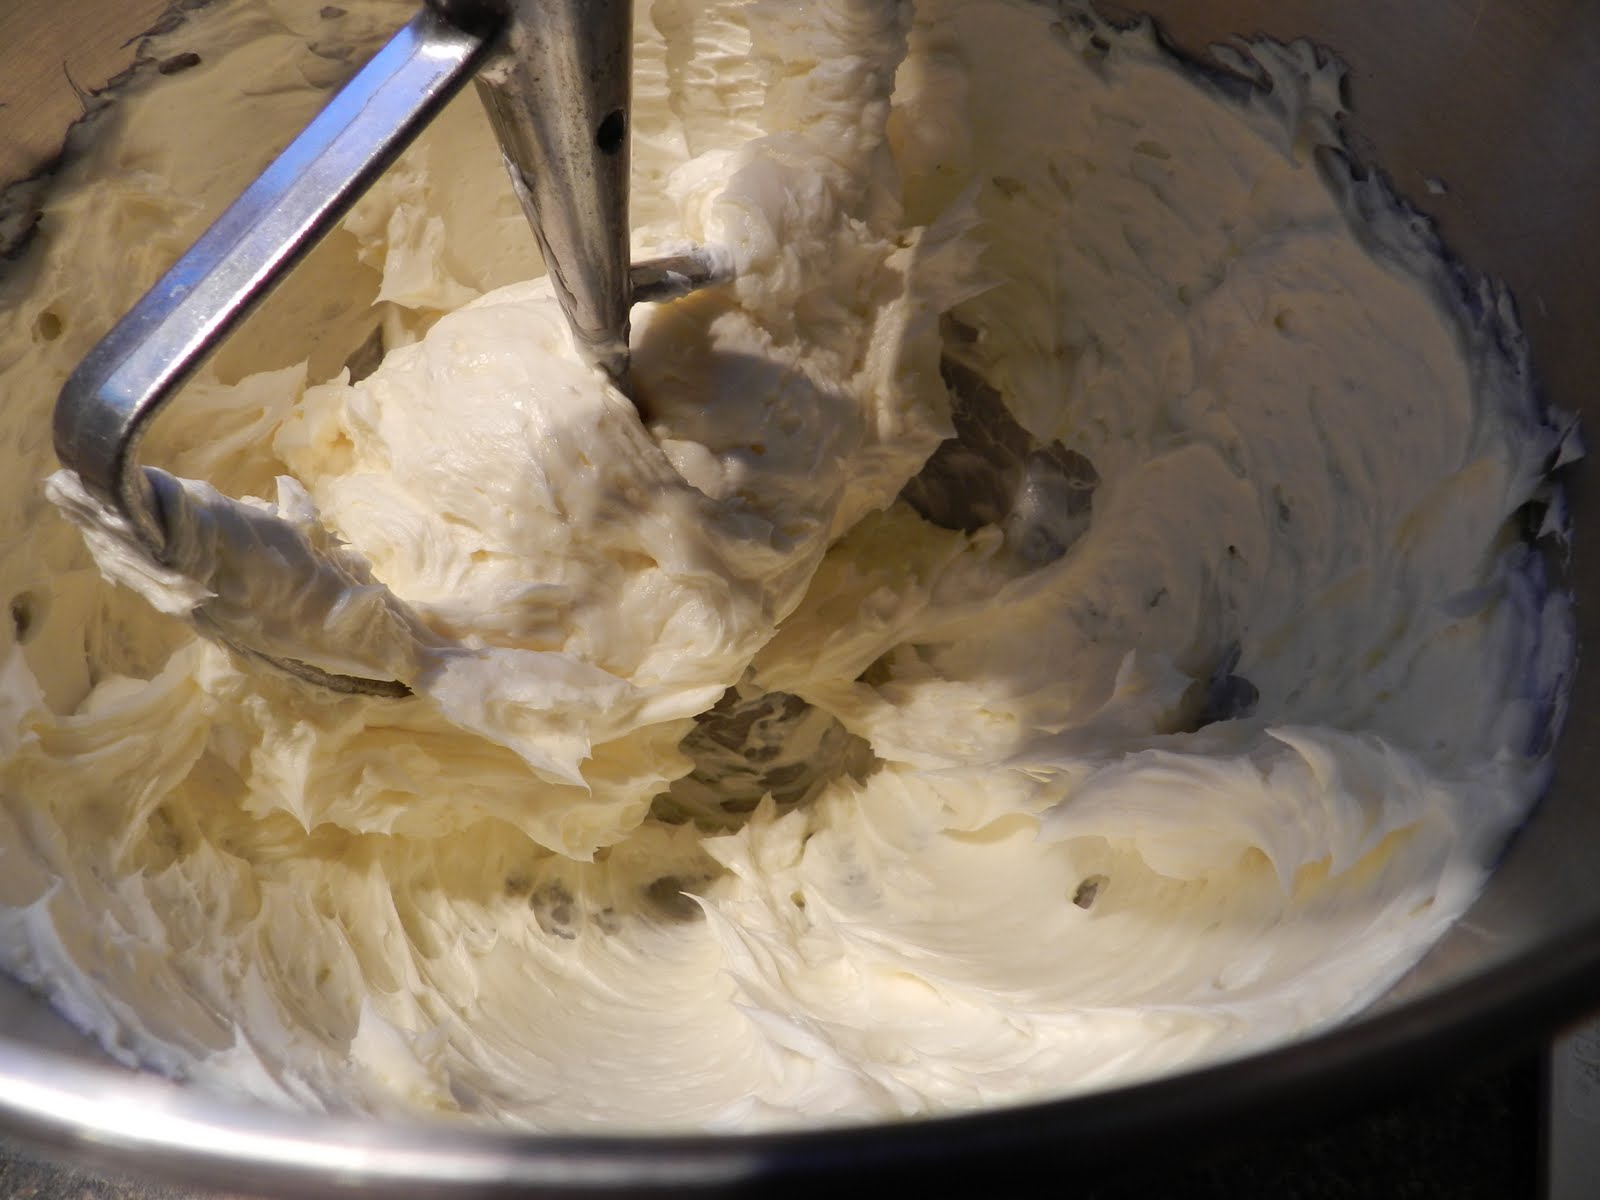
Add the powdered sugar. I don’t sift the sugar for frosting and the only time I’ve ever had trouble was when I used a cheap generic package. I also don’t add the sugar gradually…big surprise for those of you who’ve read my cookie recipes, I’m sure. Then, mix until it’s nice and creamy like this.

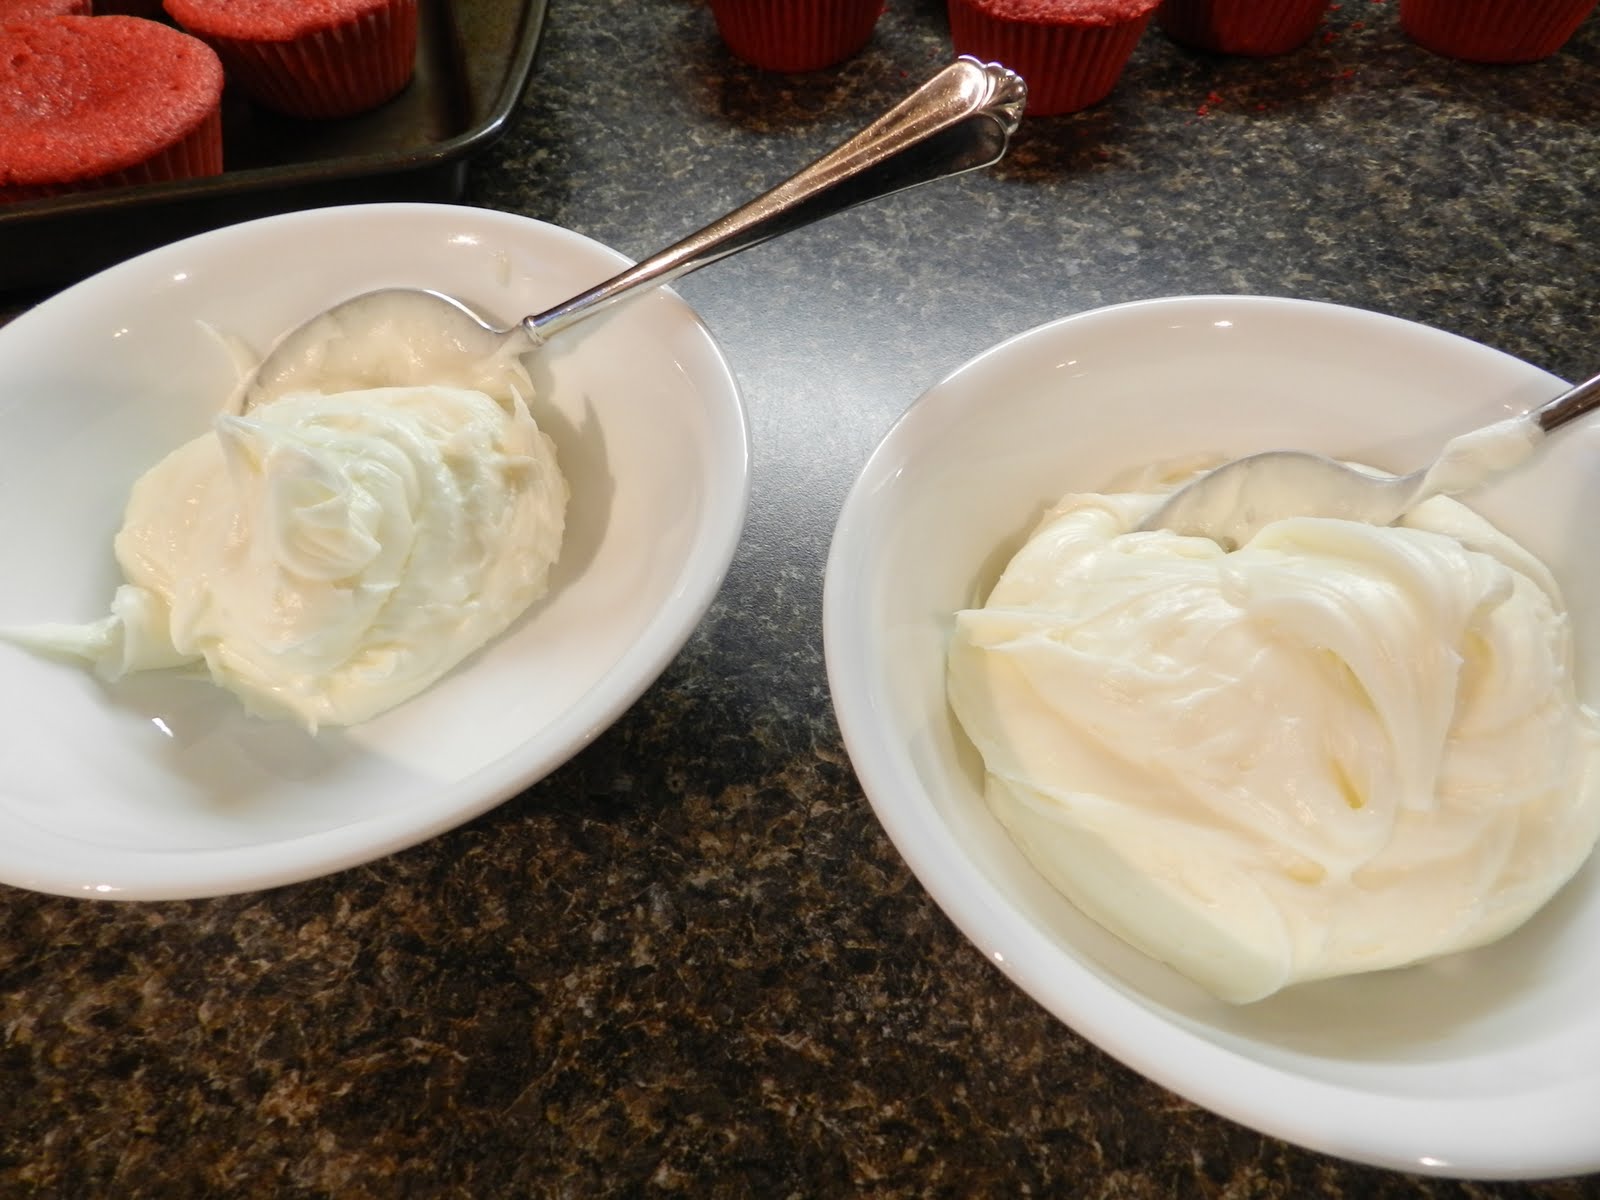
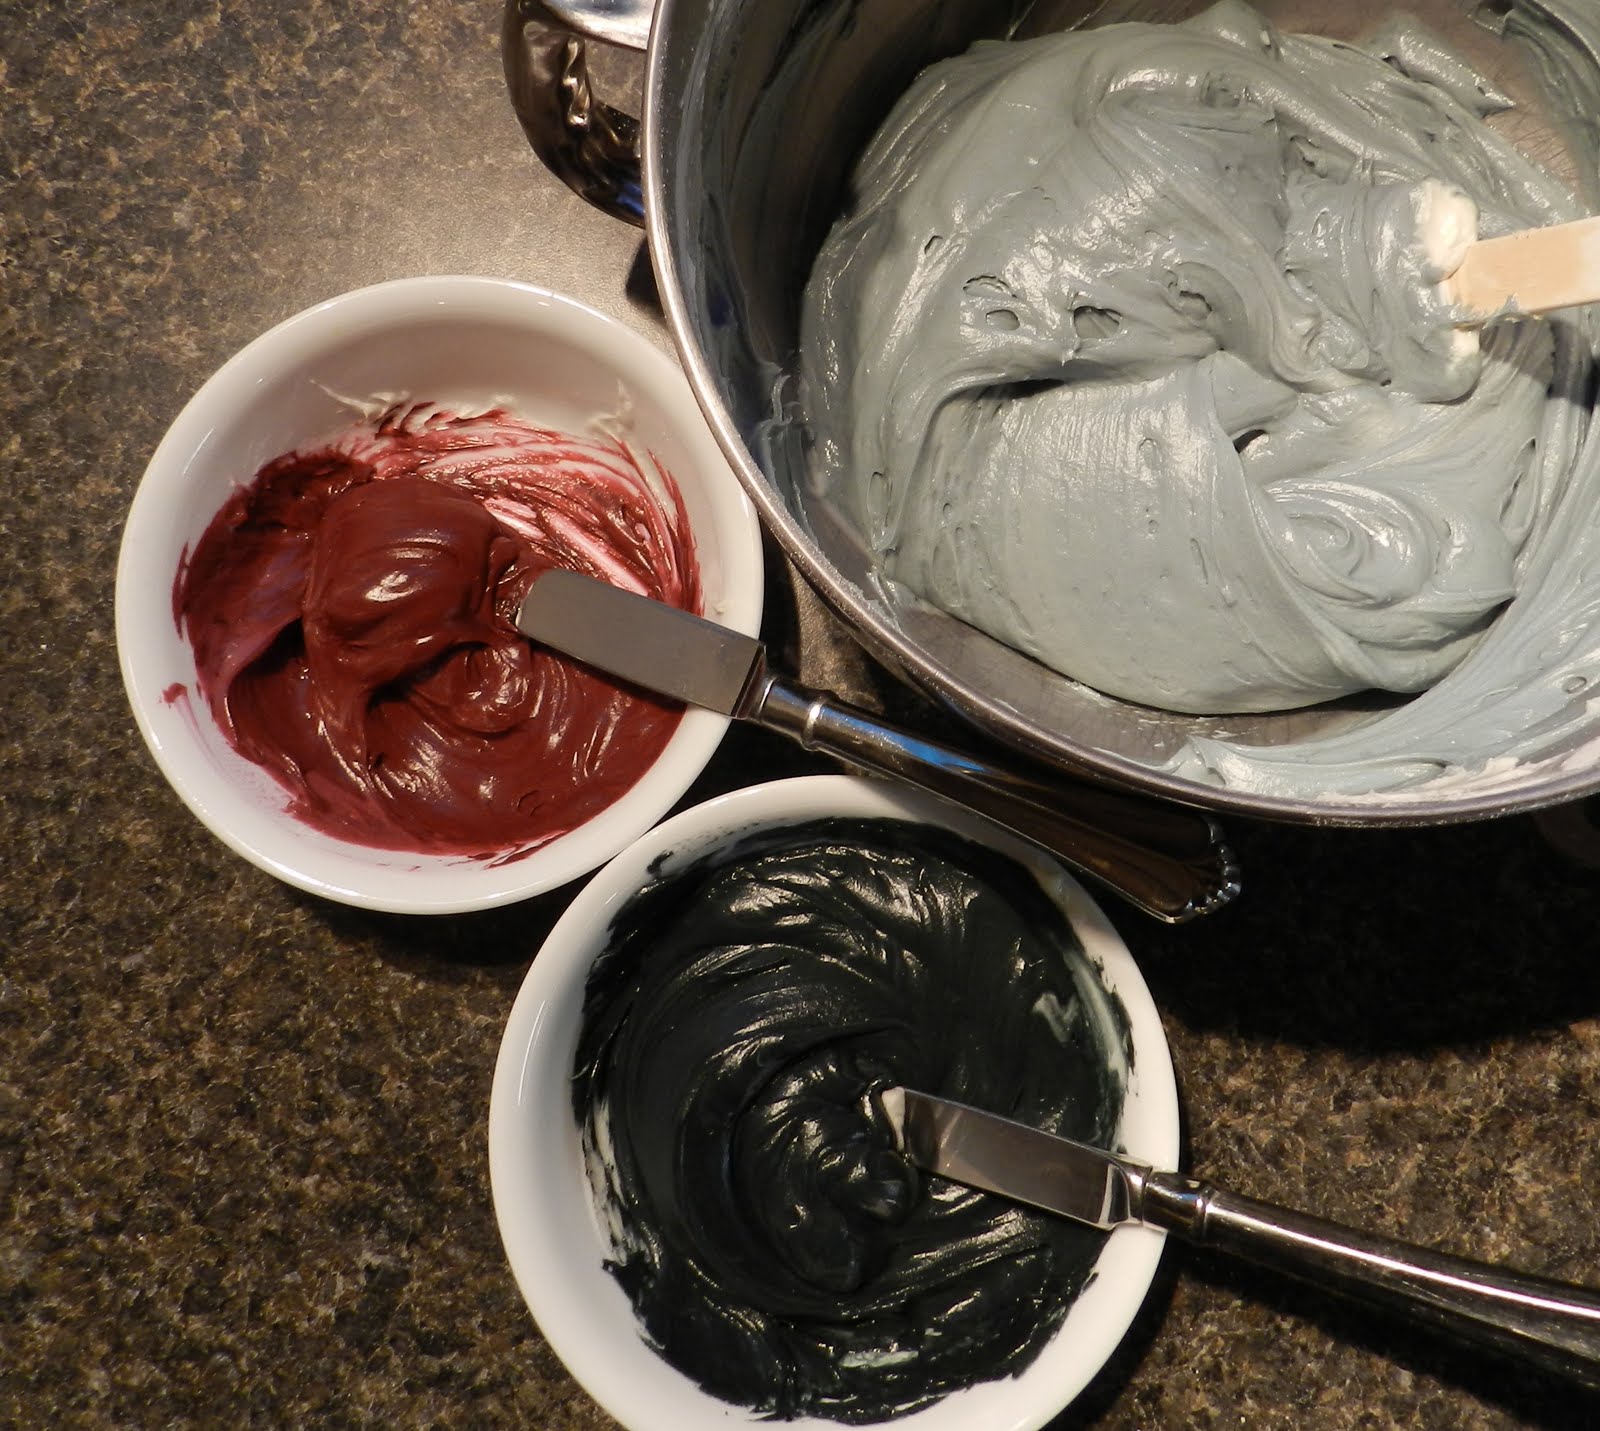
Pull out two small portions – one for the tassel color and one for the base of the caps.
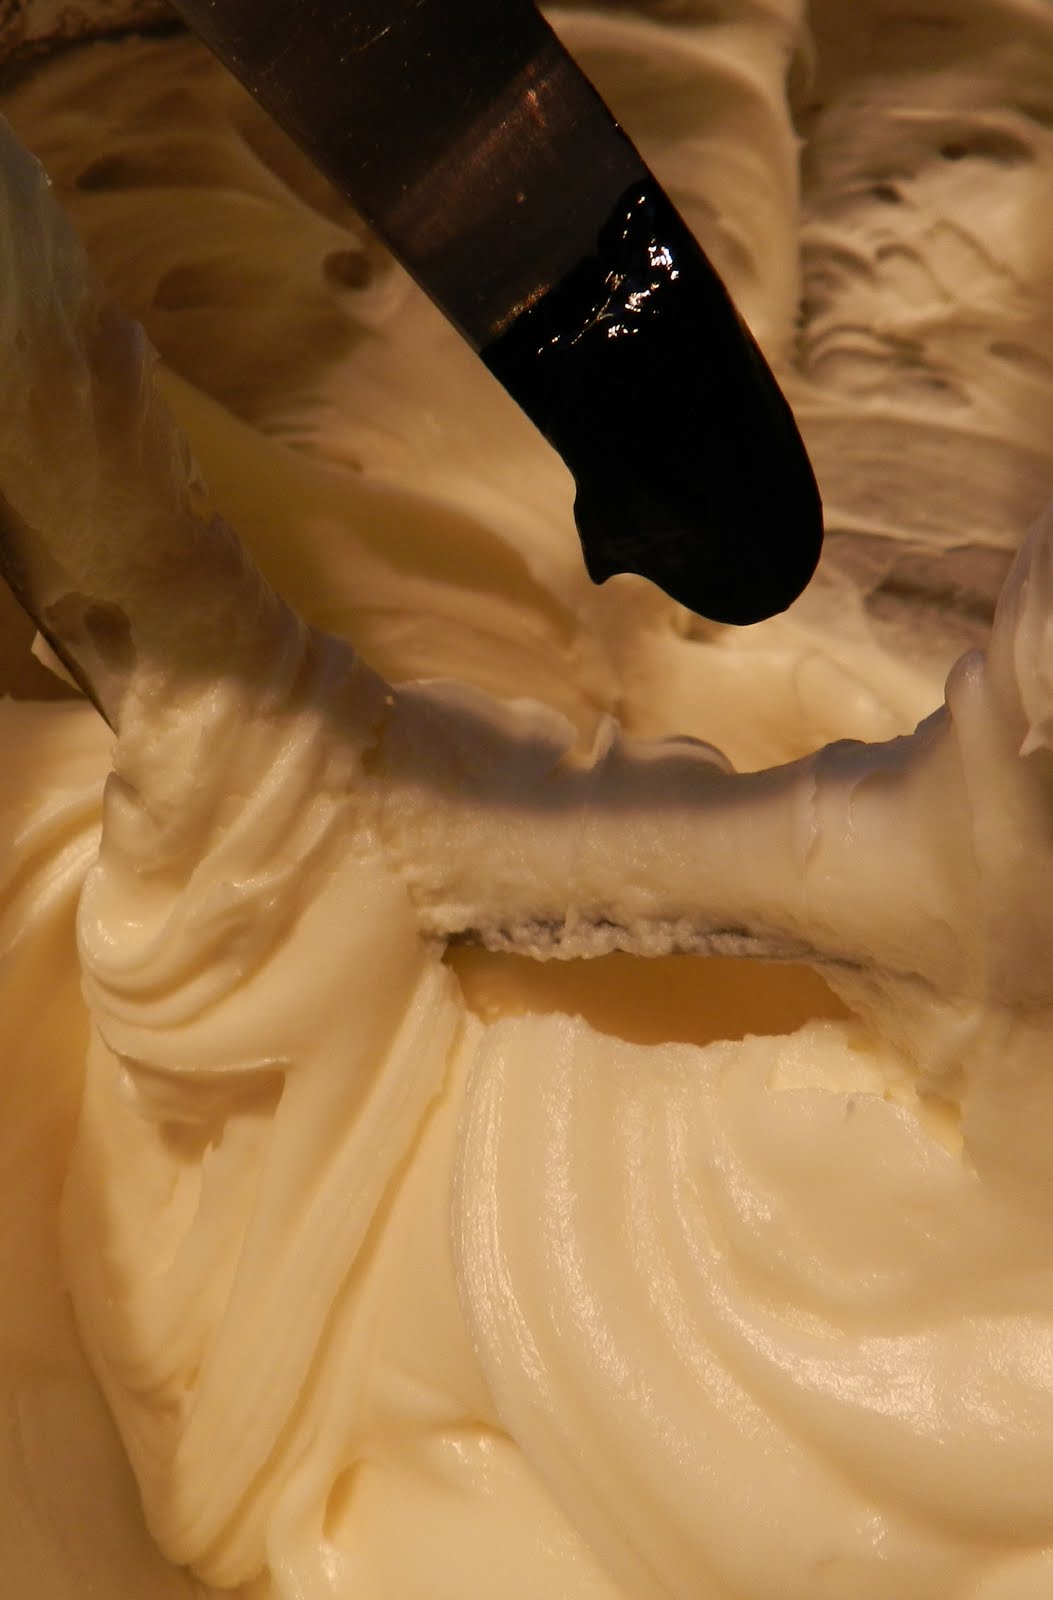
Color the remaining frosting to the main color you’ve chosen. I made gray by adding a small amount of black Wilton gel food coloring. Gel food coloring is critical for frosting because it doesn’t mess with the consistency like liquid.

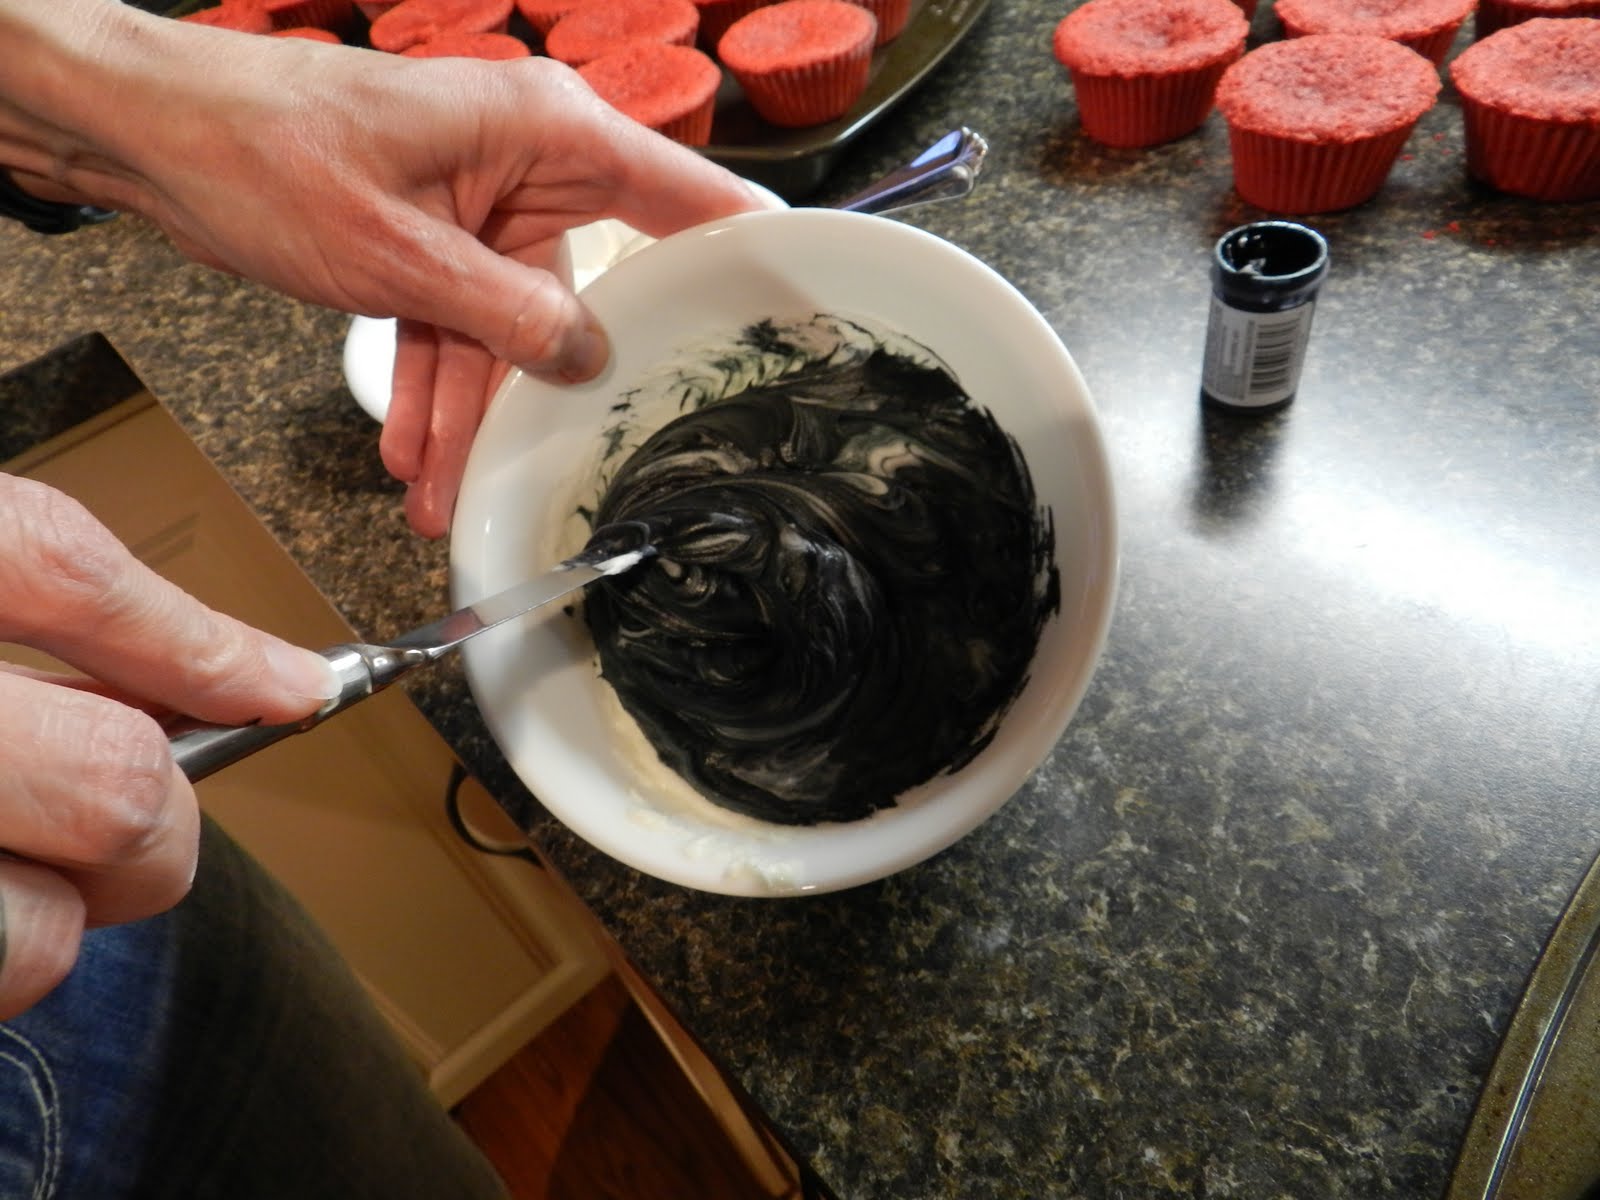
Don’t forget to color the other bowls of frosting. I use a table knife to get the color out of those tiny jars and then just use it to mix.

The final colors….Go Cougs!!
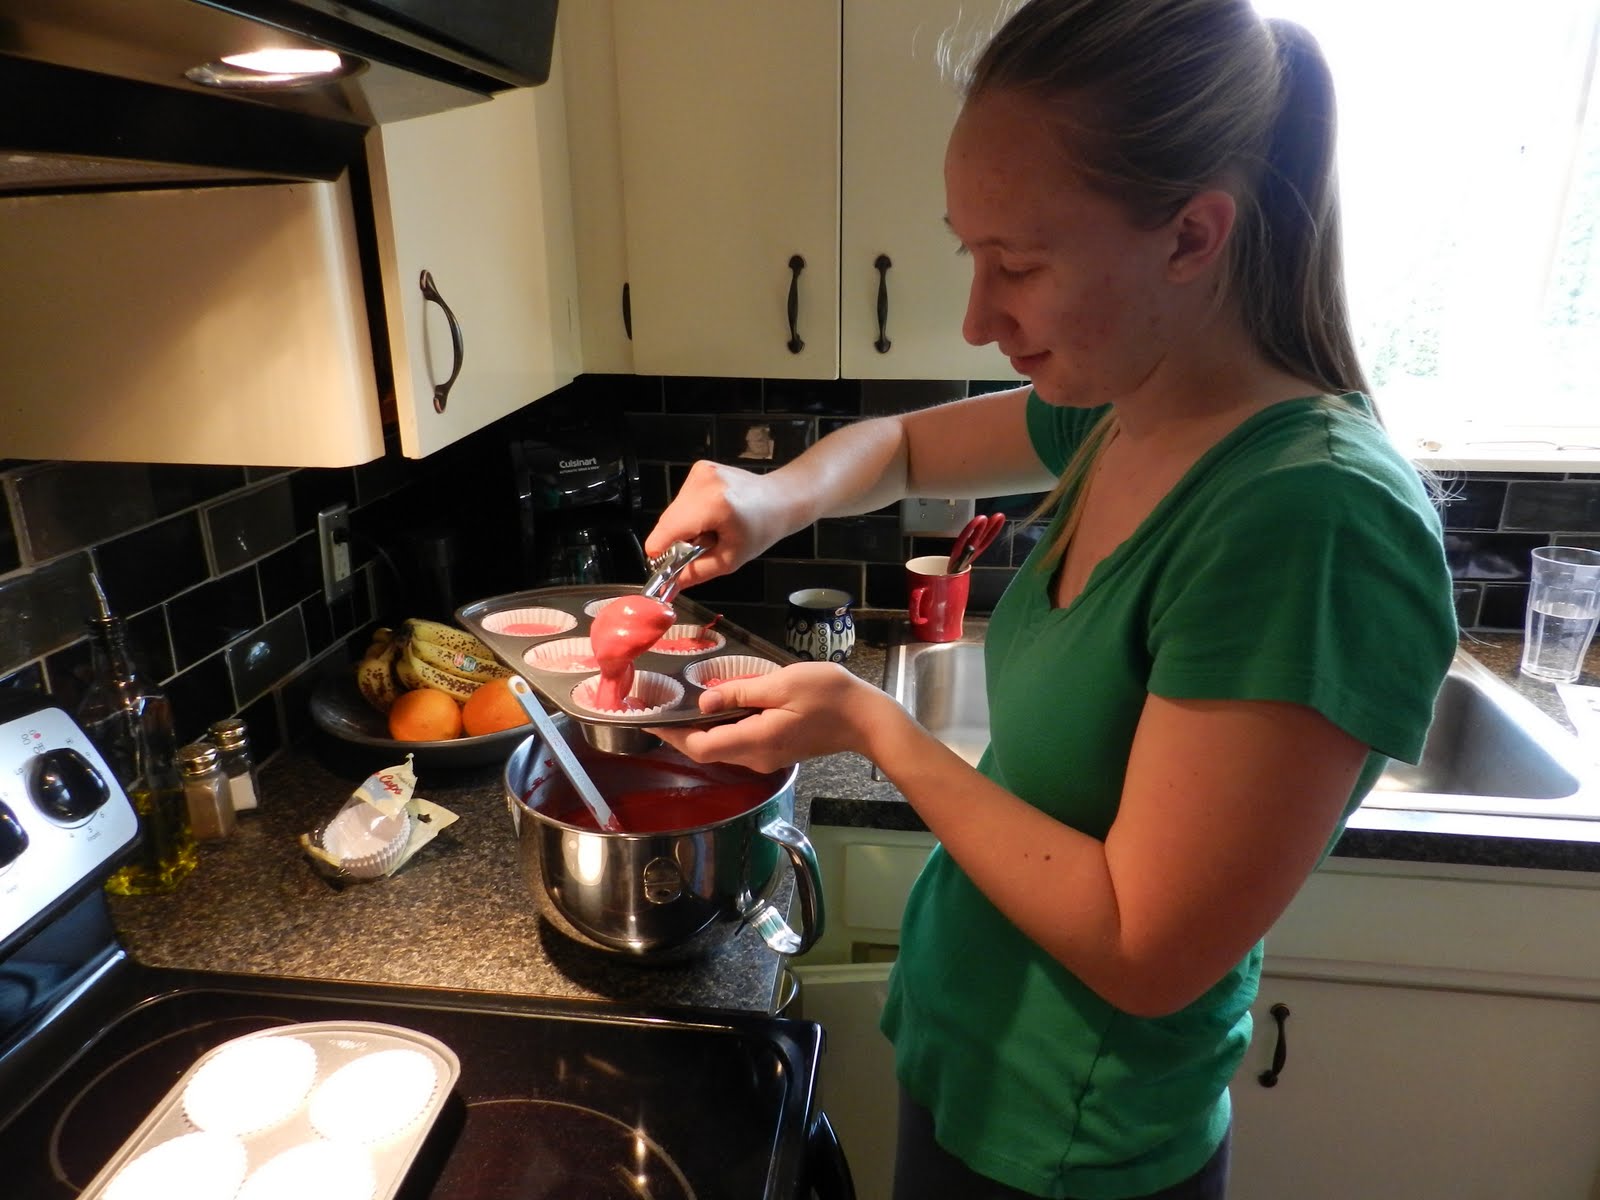
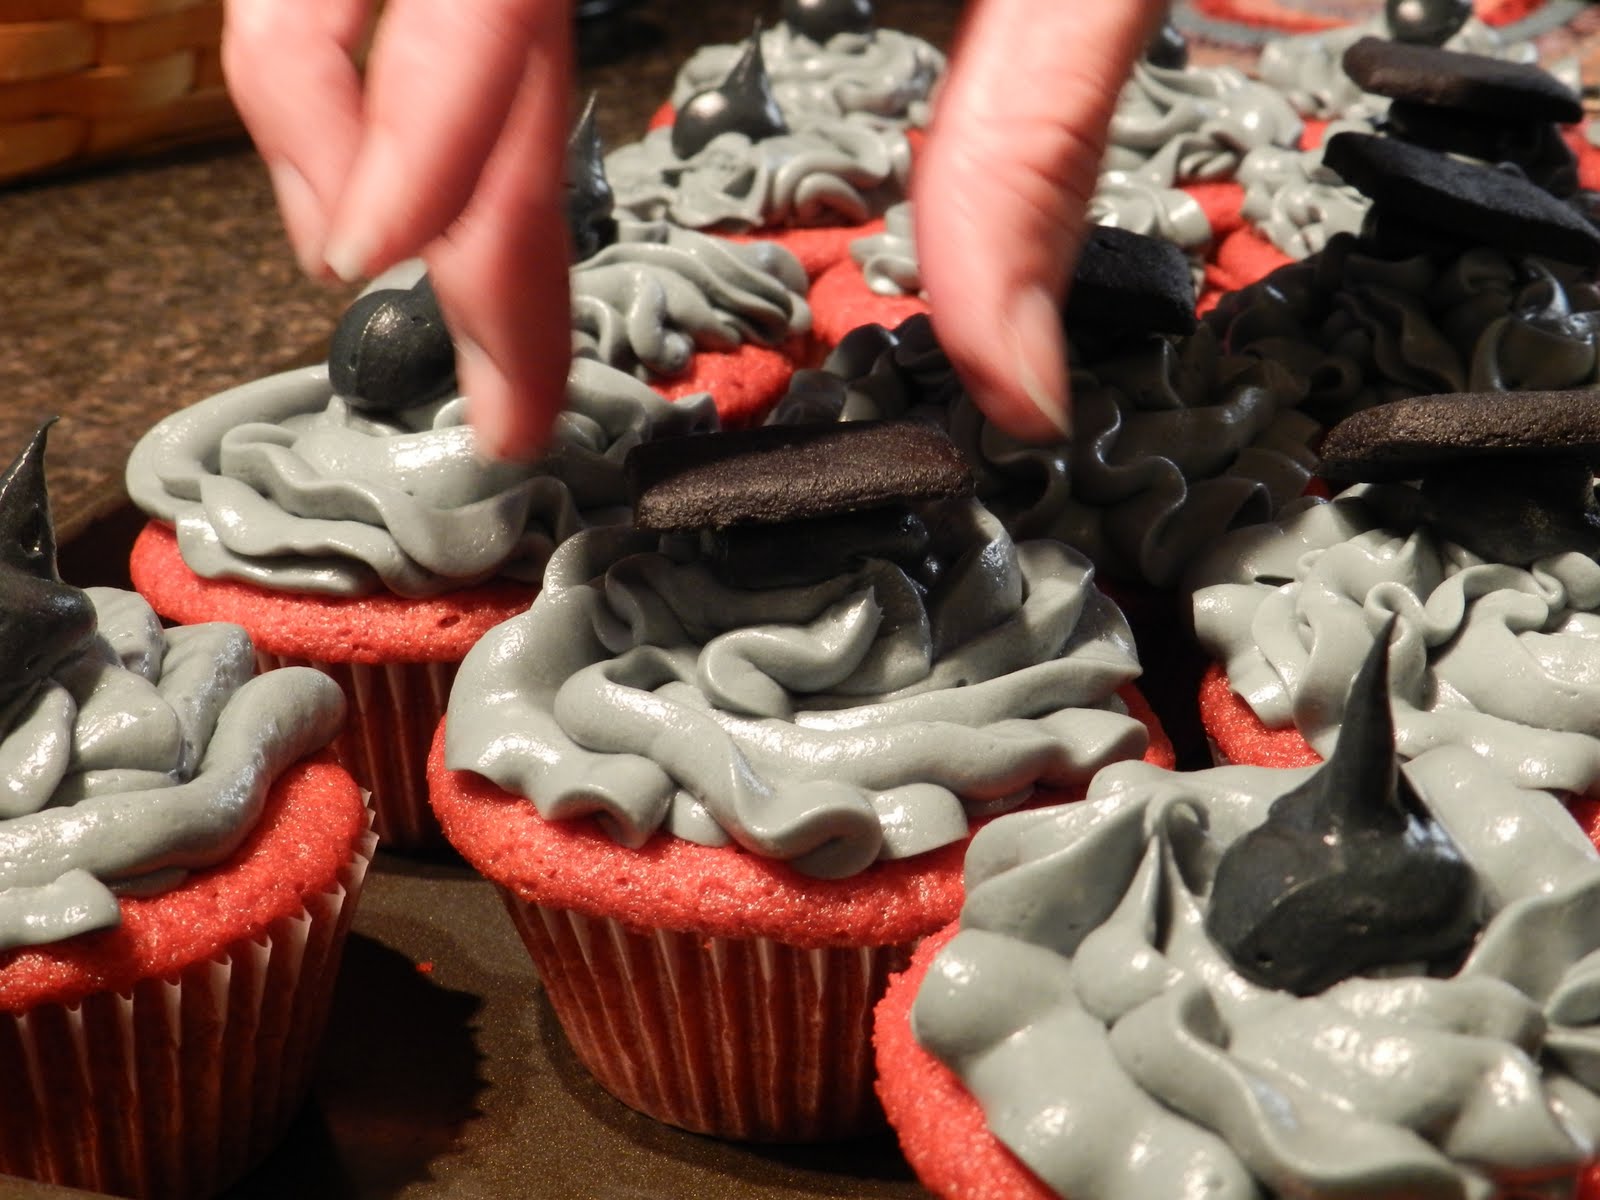
I pipe the frosting onto the cupcakes with a large frosting tip. I am only a perfectionist when I want to be and with frosting – I don’t want to be. As long as I come out with kind of cute layer on the cupcakes some way or another I’m happy.
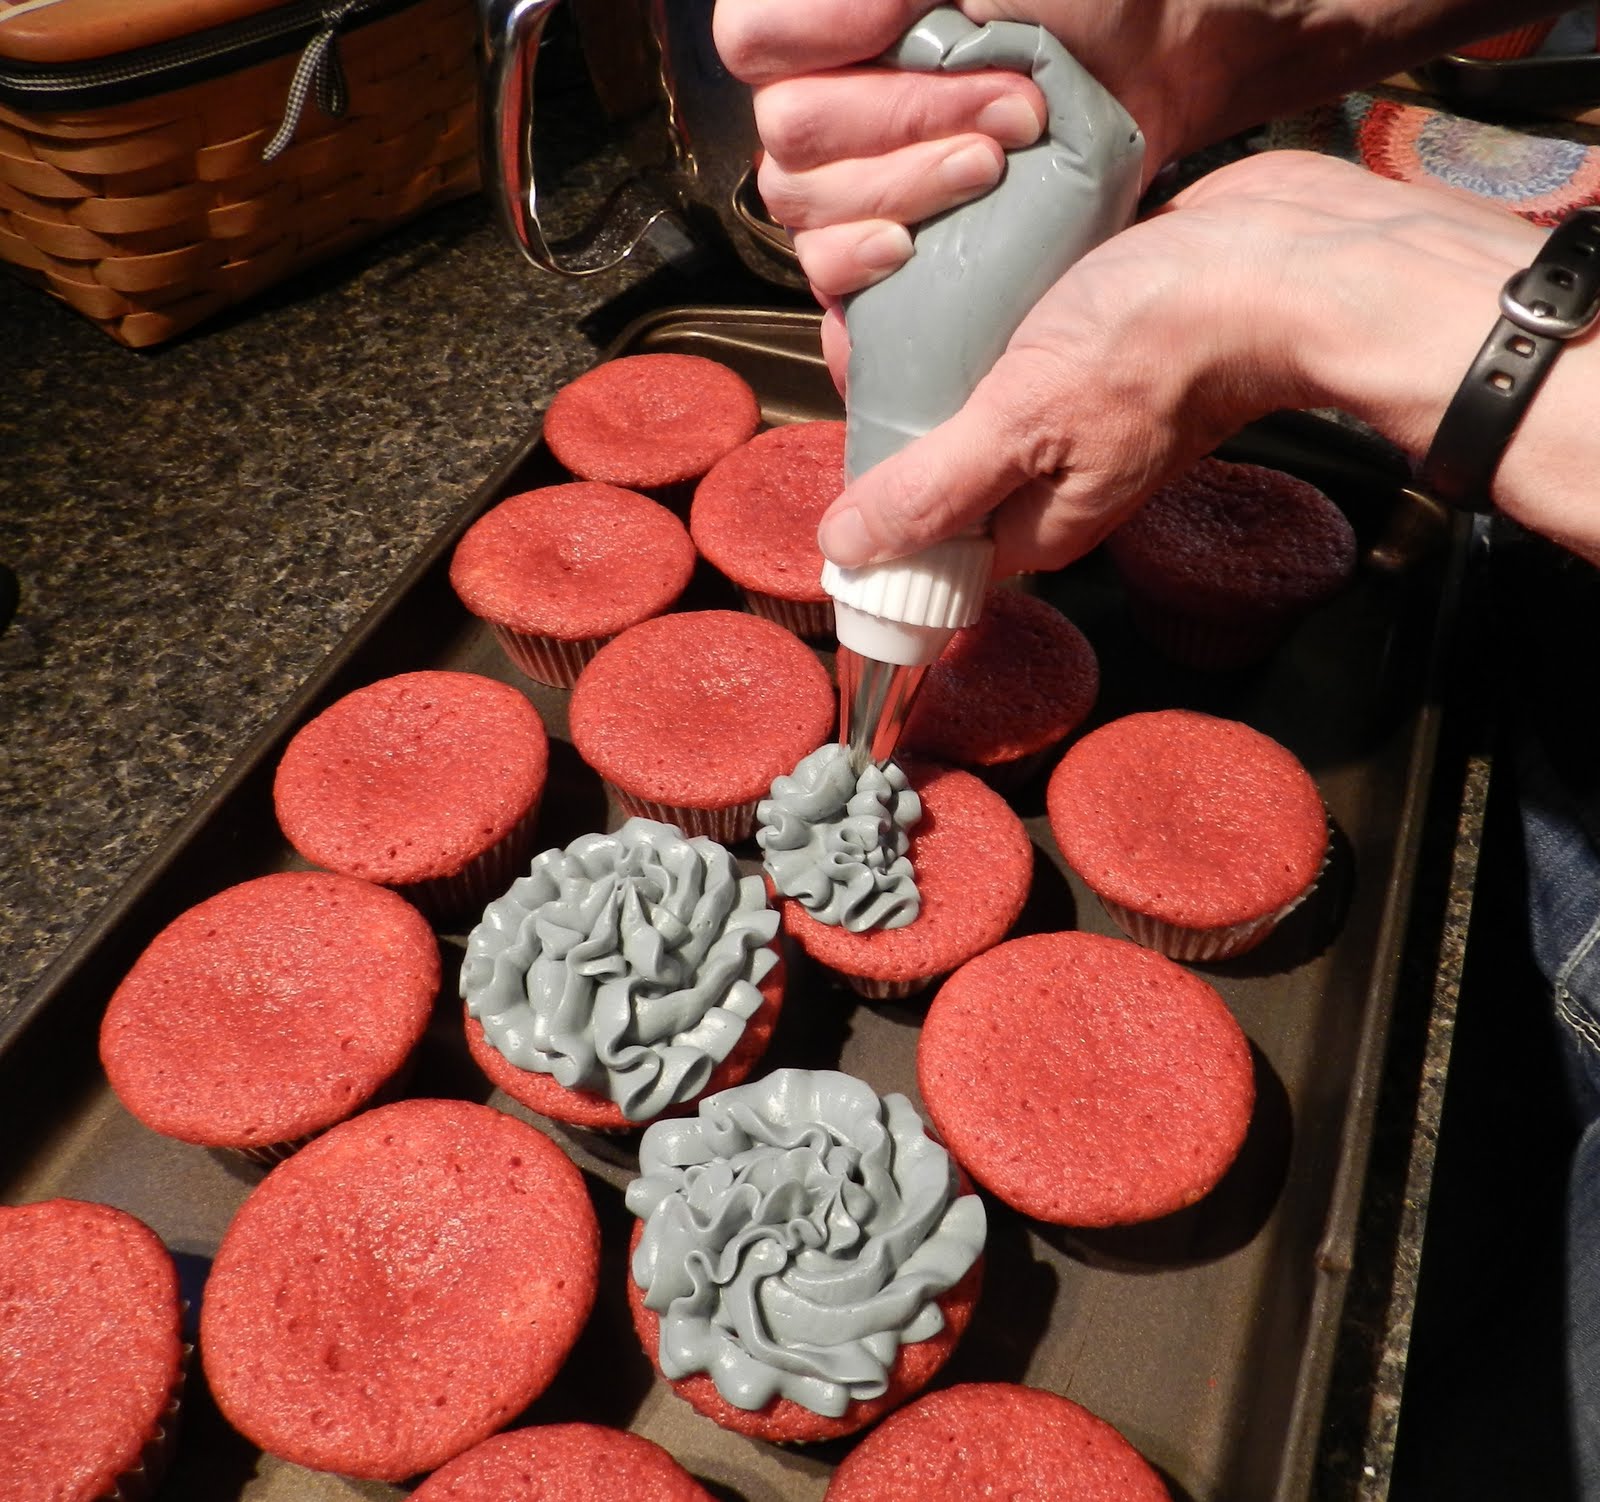
Next I put on the base of the cap with a pastry bag that just has the tip cut off. Sandy and Susie taught me this tip-less trick while we were working on the Victorian Tea together. You get the cutest little dollops.

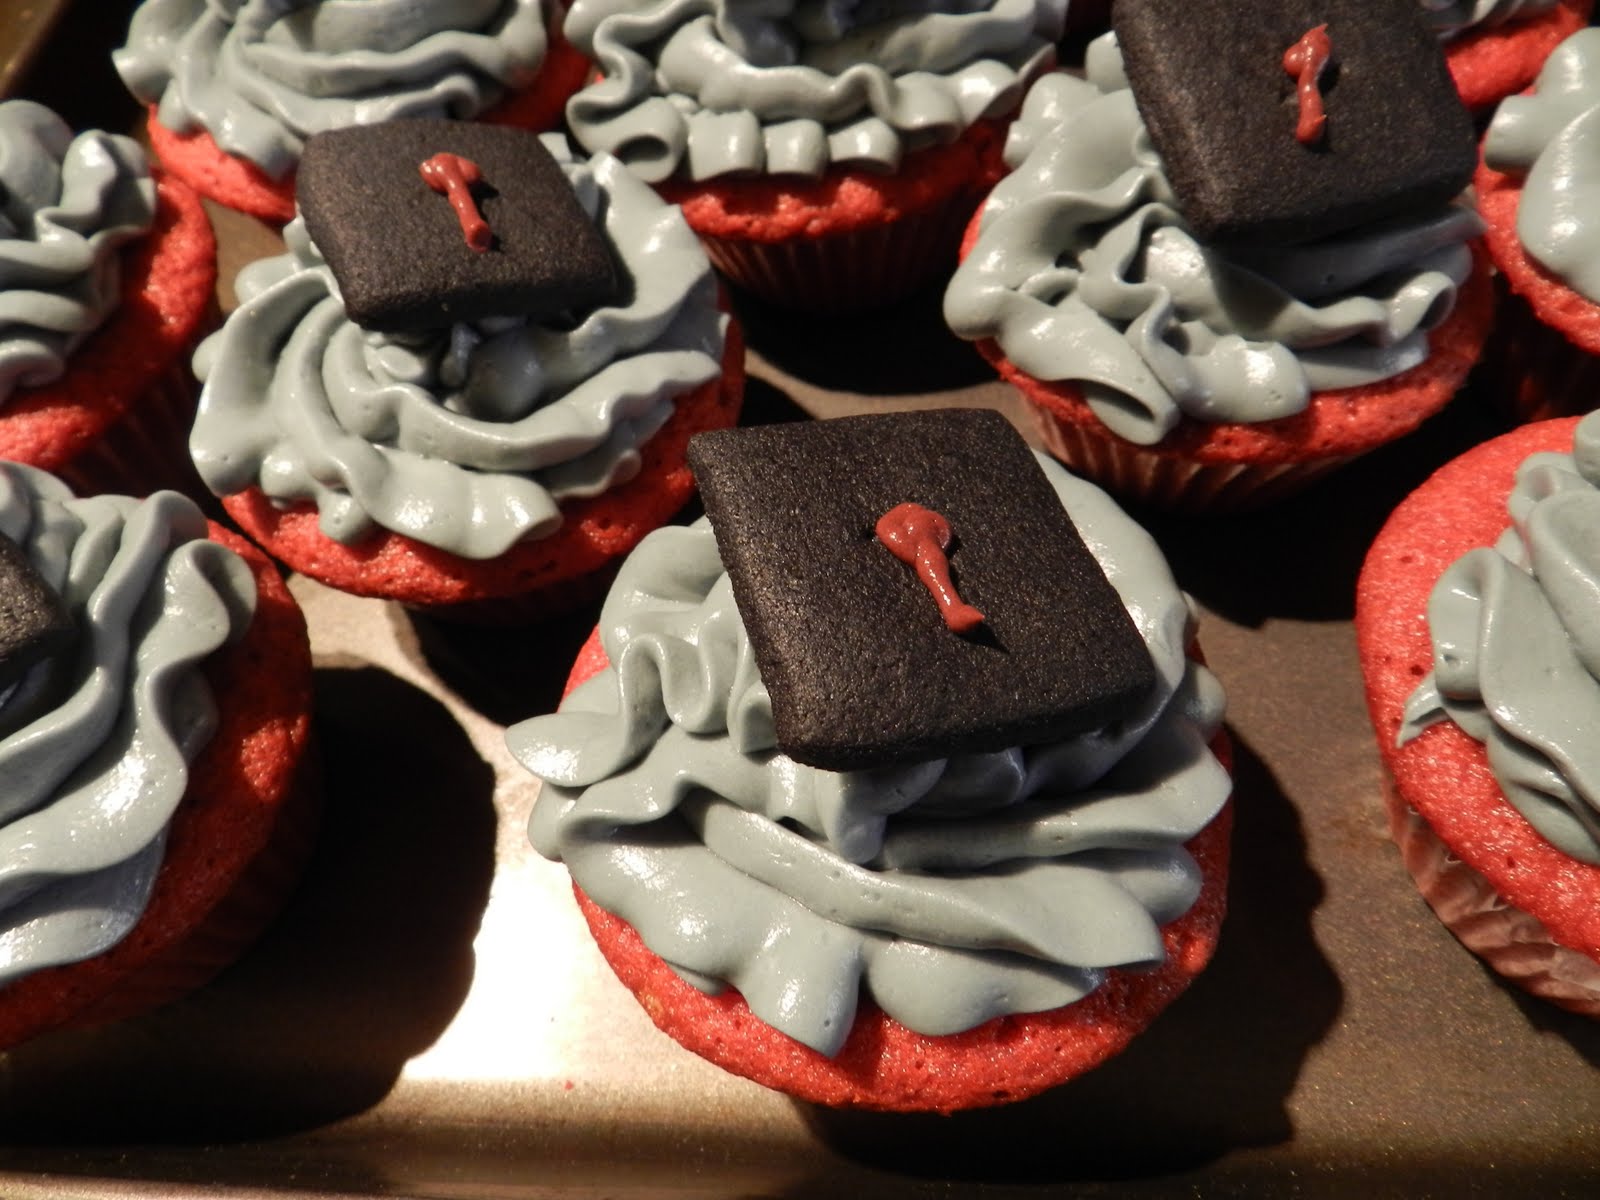
Press the cookies into place.
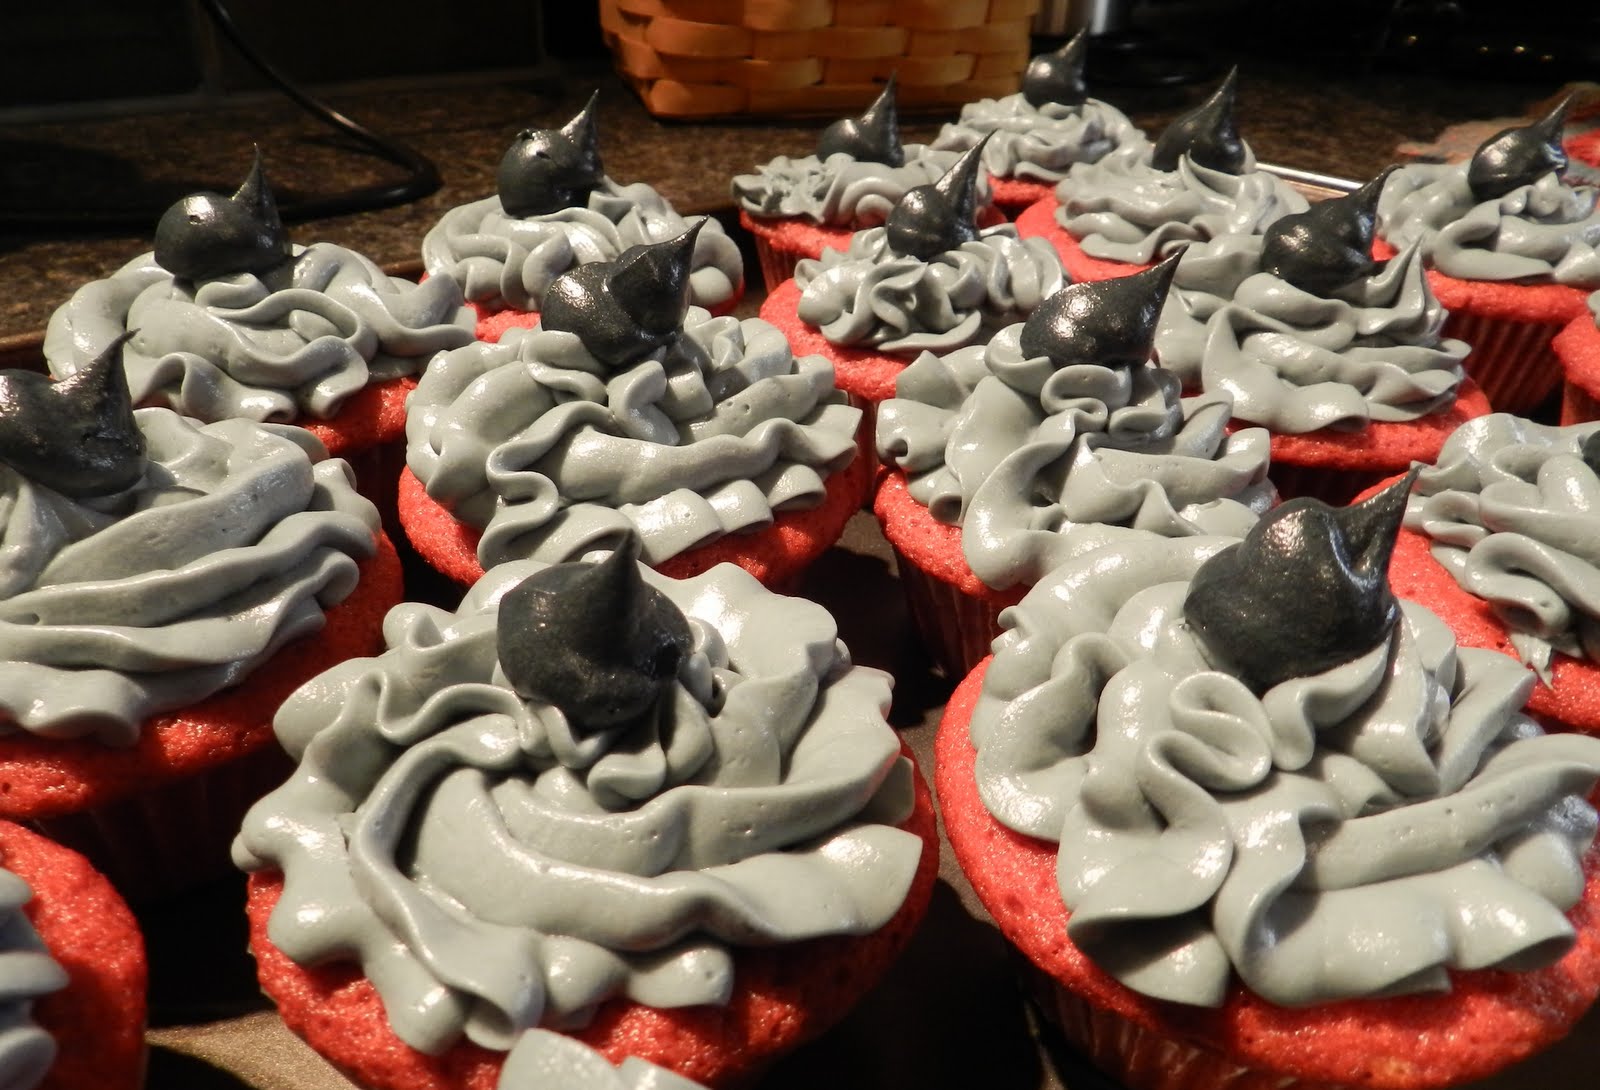
Then put the tassel-colored frosting into a piping bag with a fine line tip and make the top part of the tassel. (I am learning how to spell t-a-s-s-e-l by the way! Word is faithfully correcting me from “tassle”. I wish it would do so automatically and let me live in ignorance though.)
Then switch to a little frilly tip for the bottom part of the t-a-s-s-e-l.
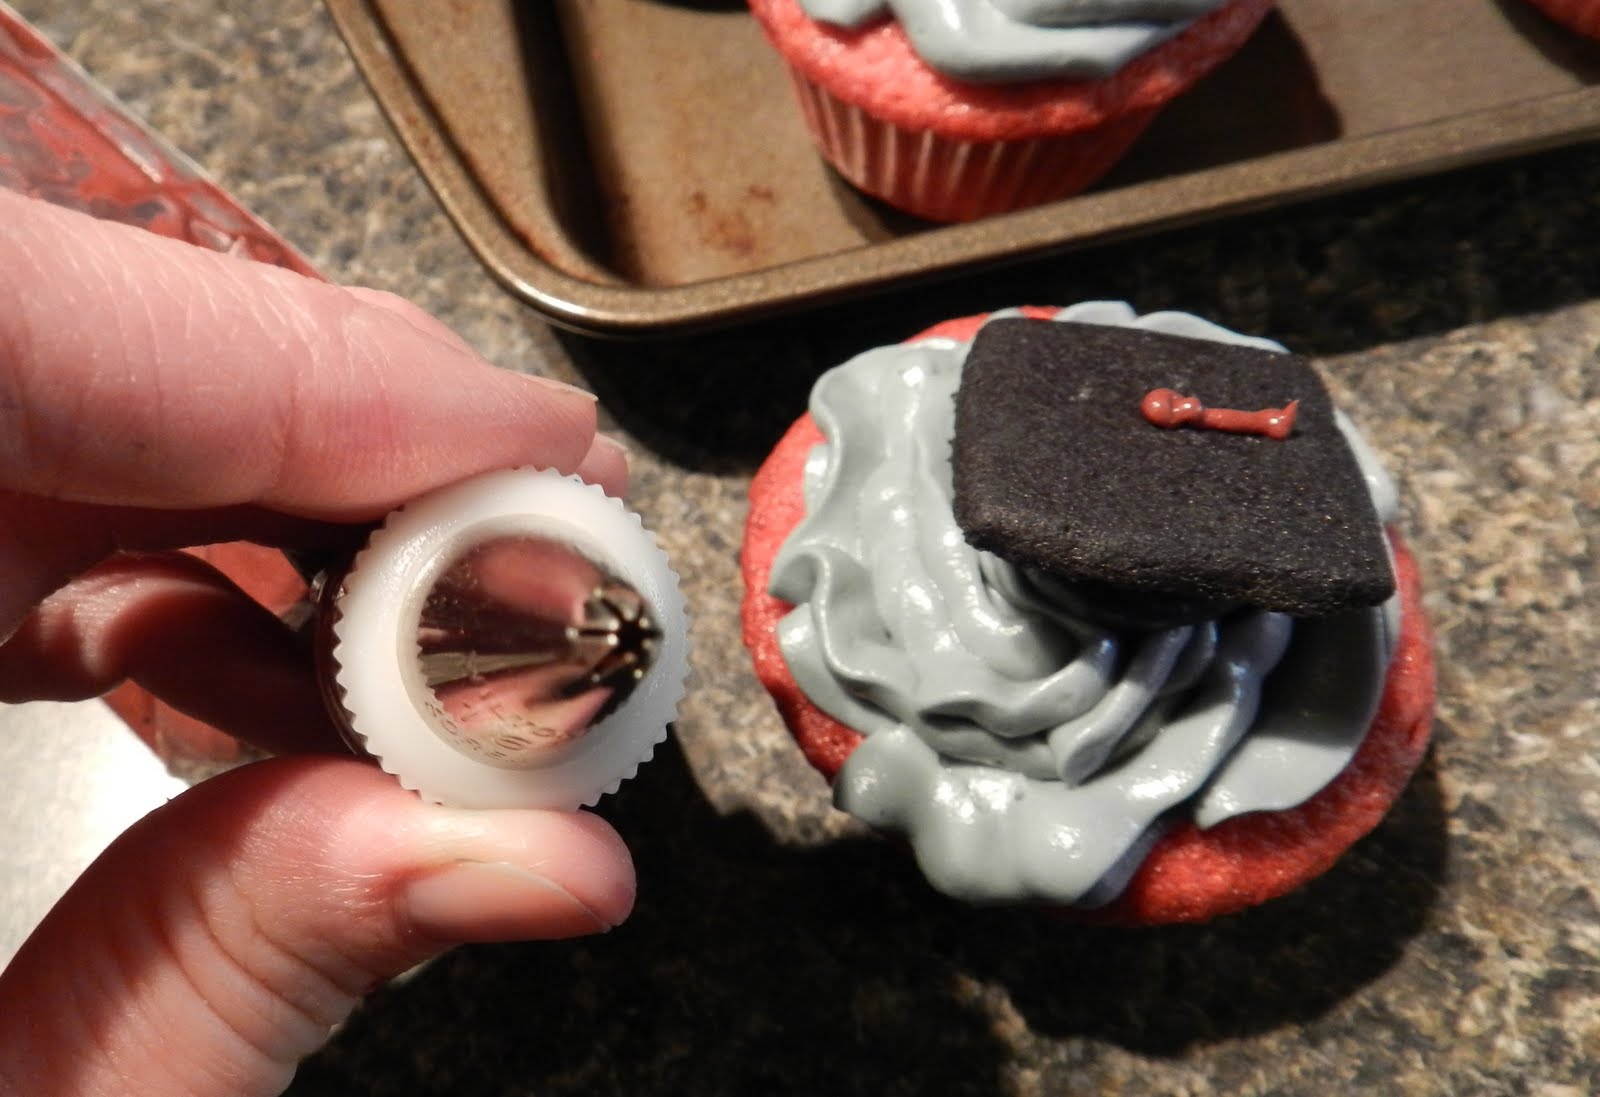

Keep a toothpick handy to help cut off the end of each one if needed because it goes through open space from the cookie to touch down on the cupcake and it can be hard to lift the tip away without pulling the t-a-s-s-e-l away too.
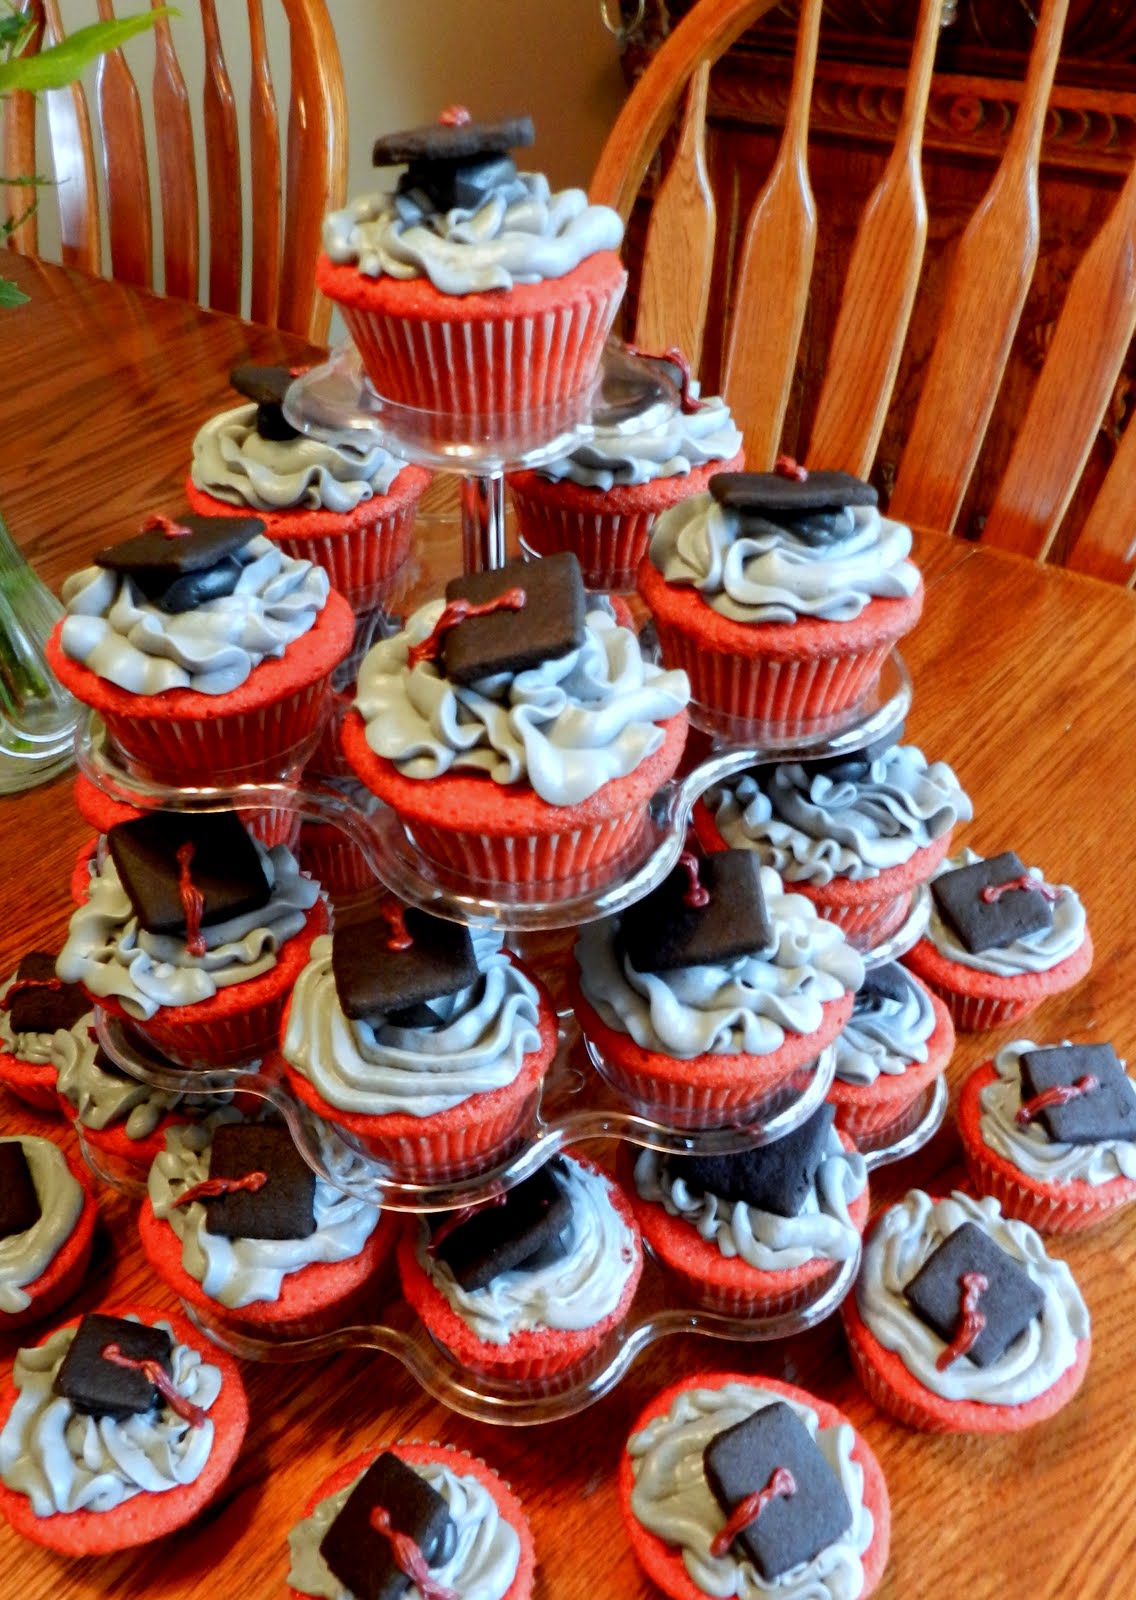
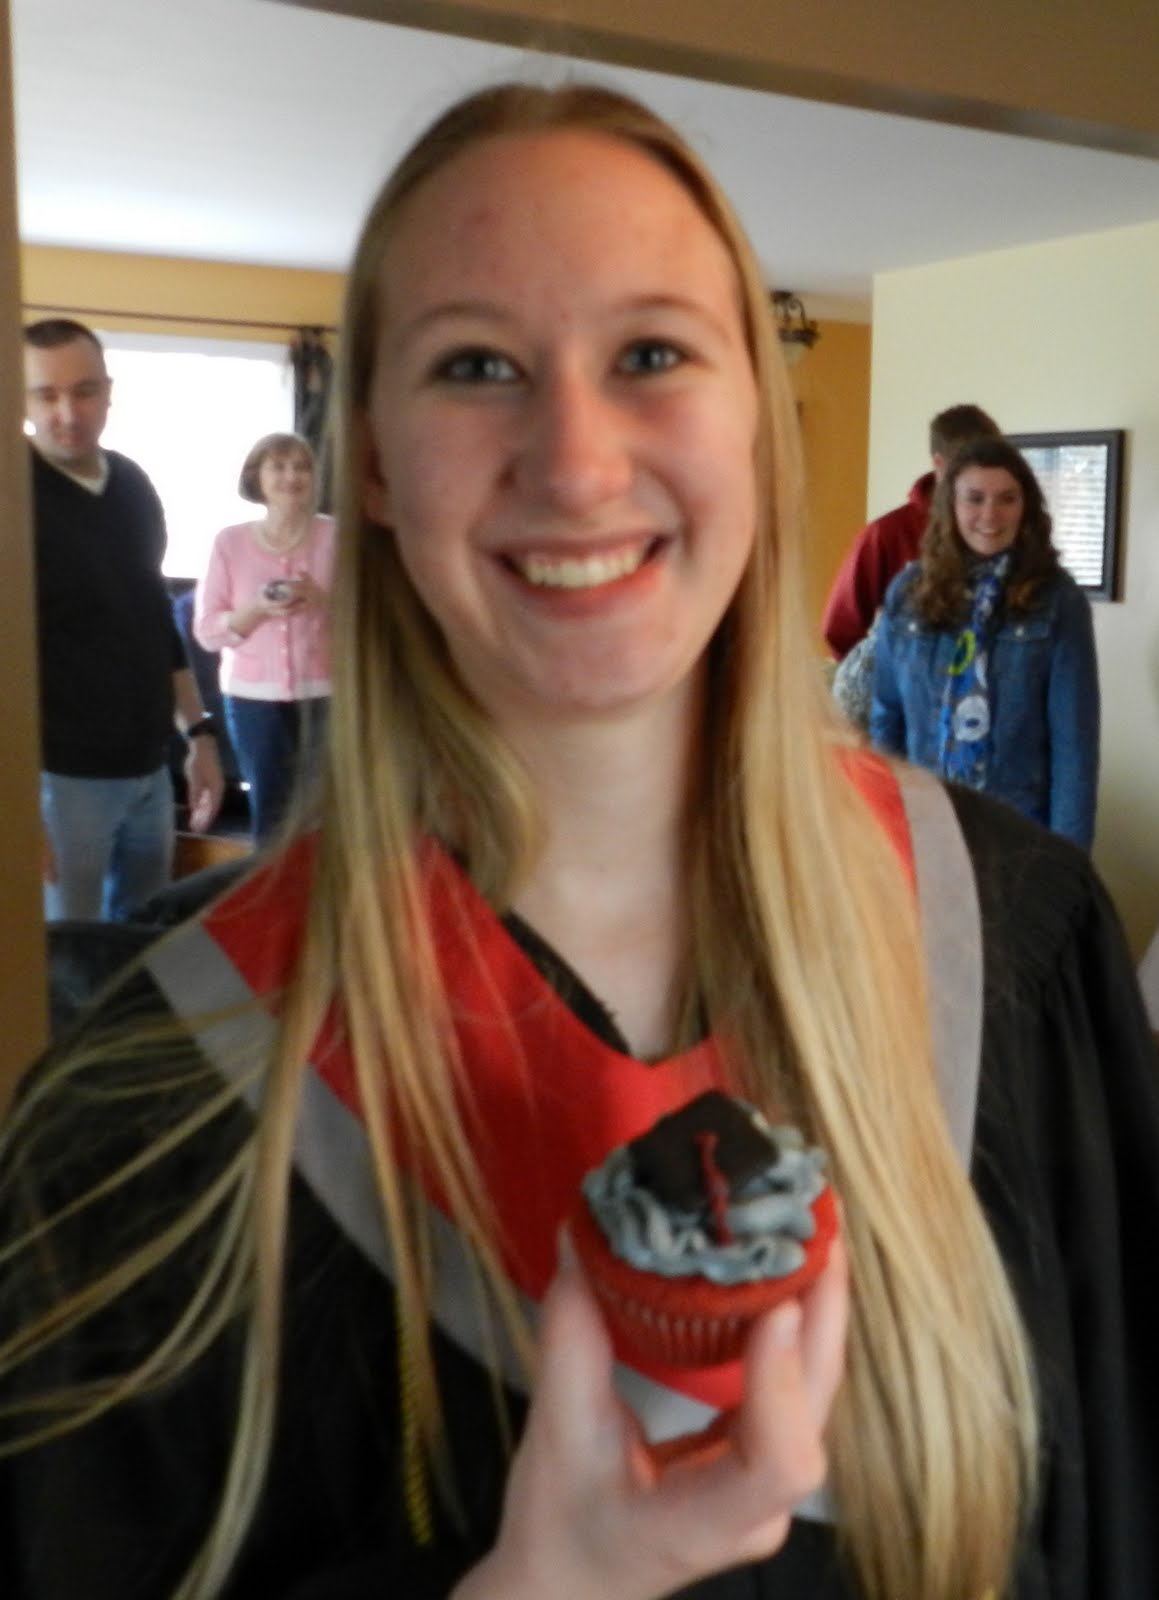
Voila!!! Not one cupcake is perfect, but they’re pretty cute, especially with the happy graduates:
Kimberly…
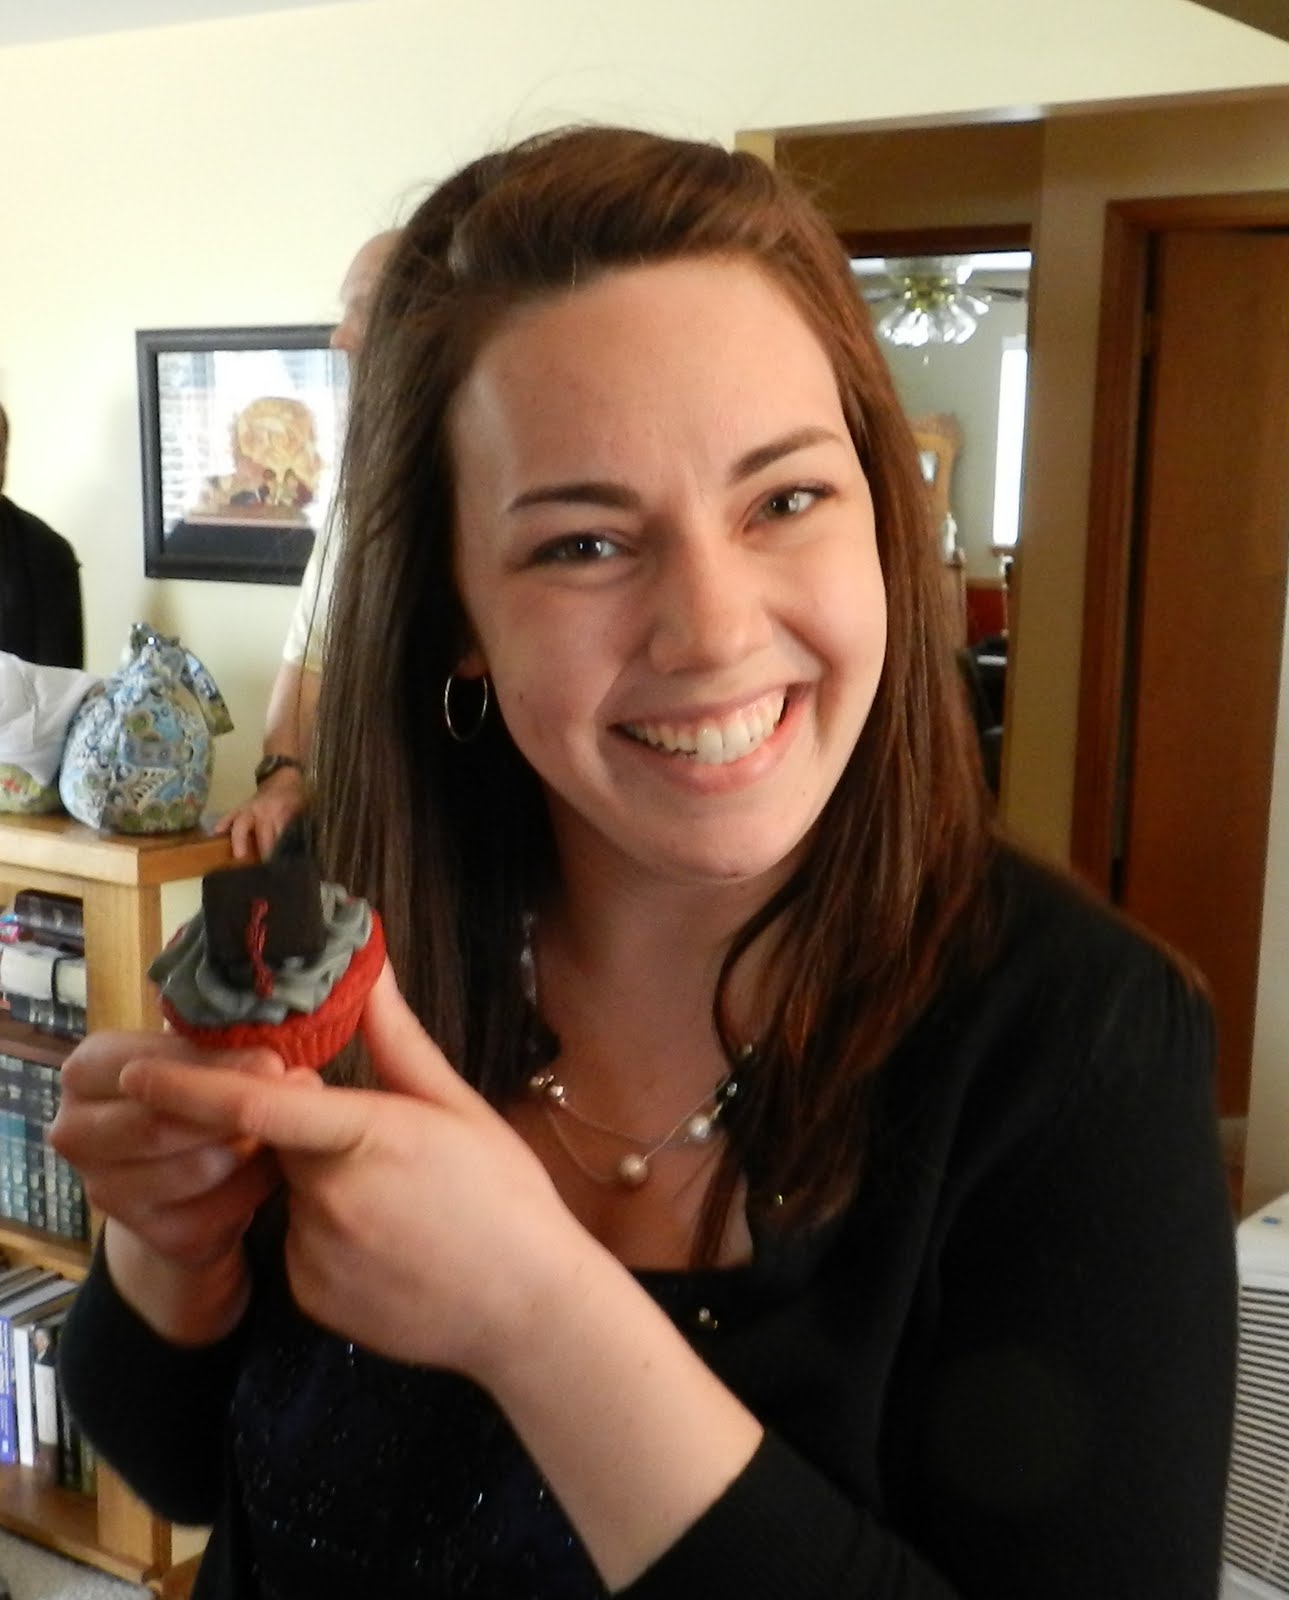
Megan…
And, my hubby, the Army’s newest if not only Ph.D in Radio (Nuclear) Chemistry. He’s great looking for such a brain!

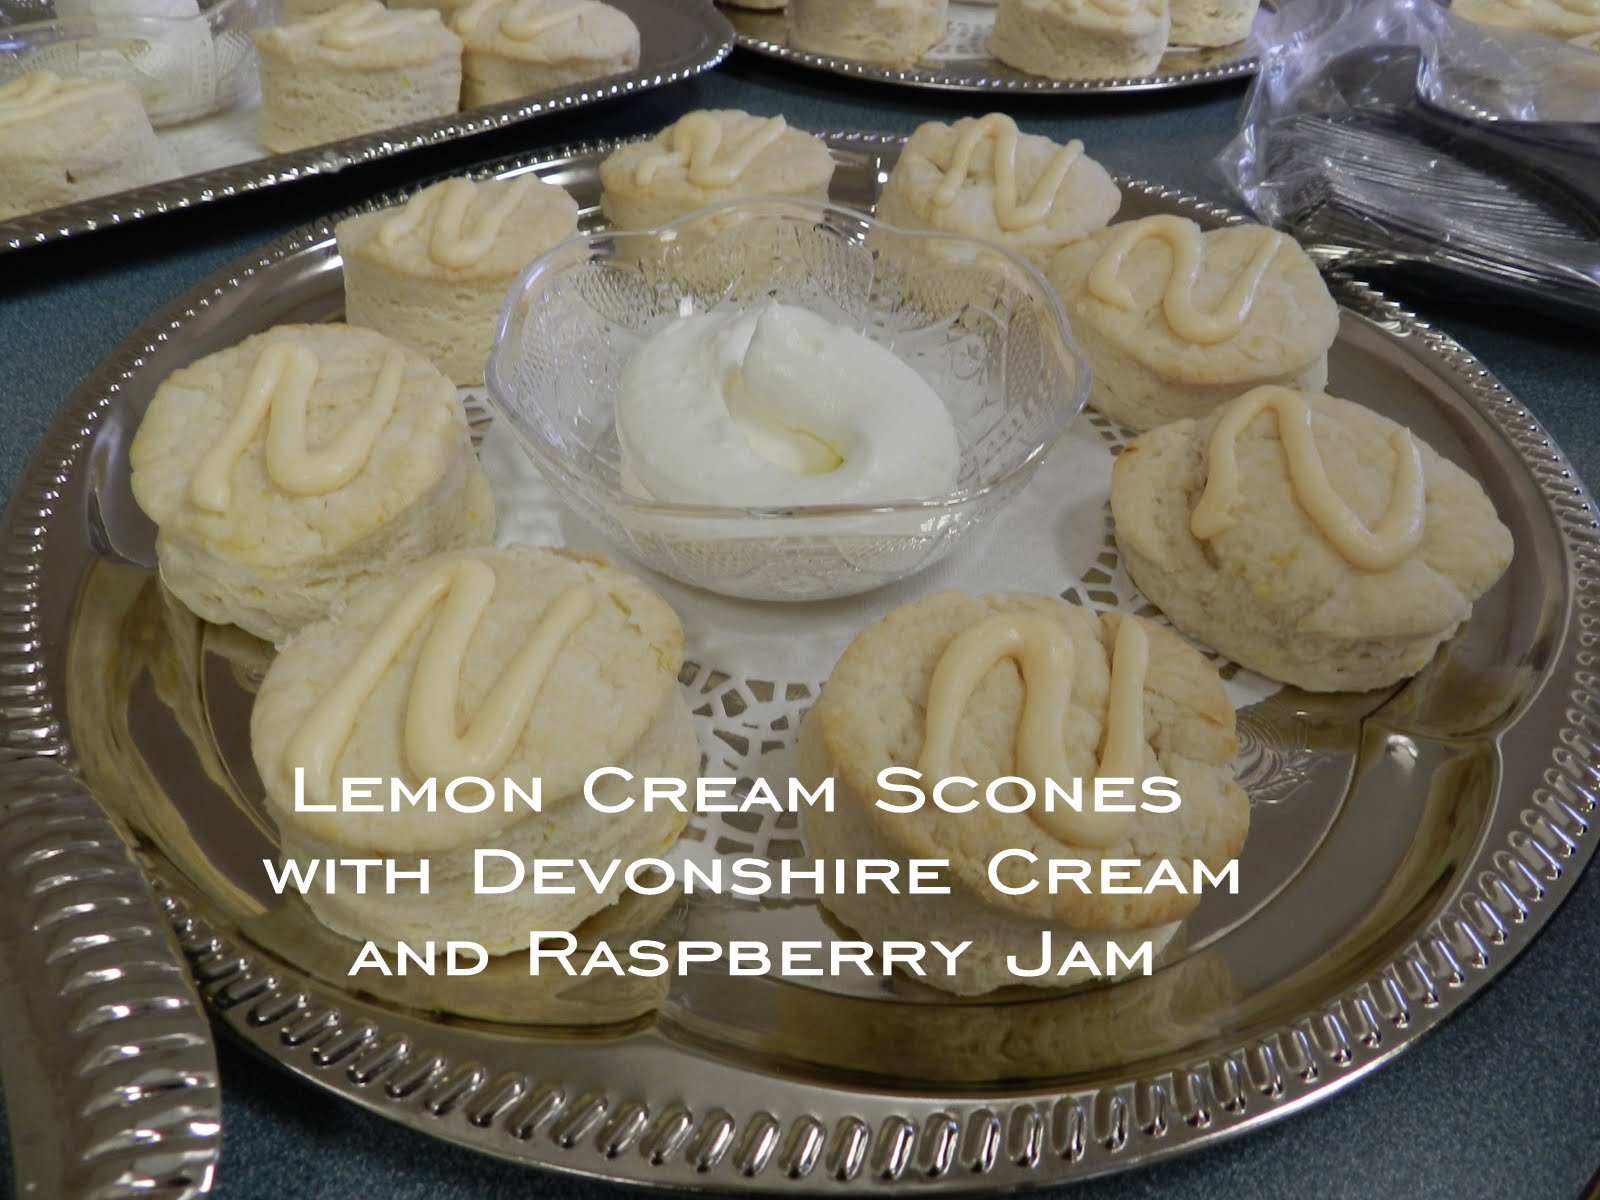
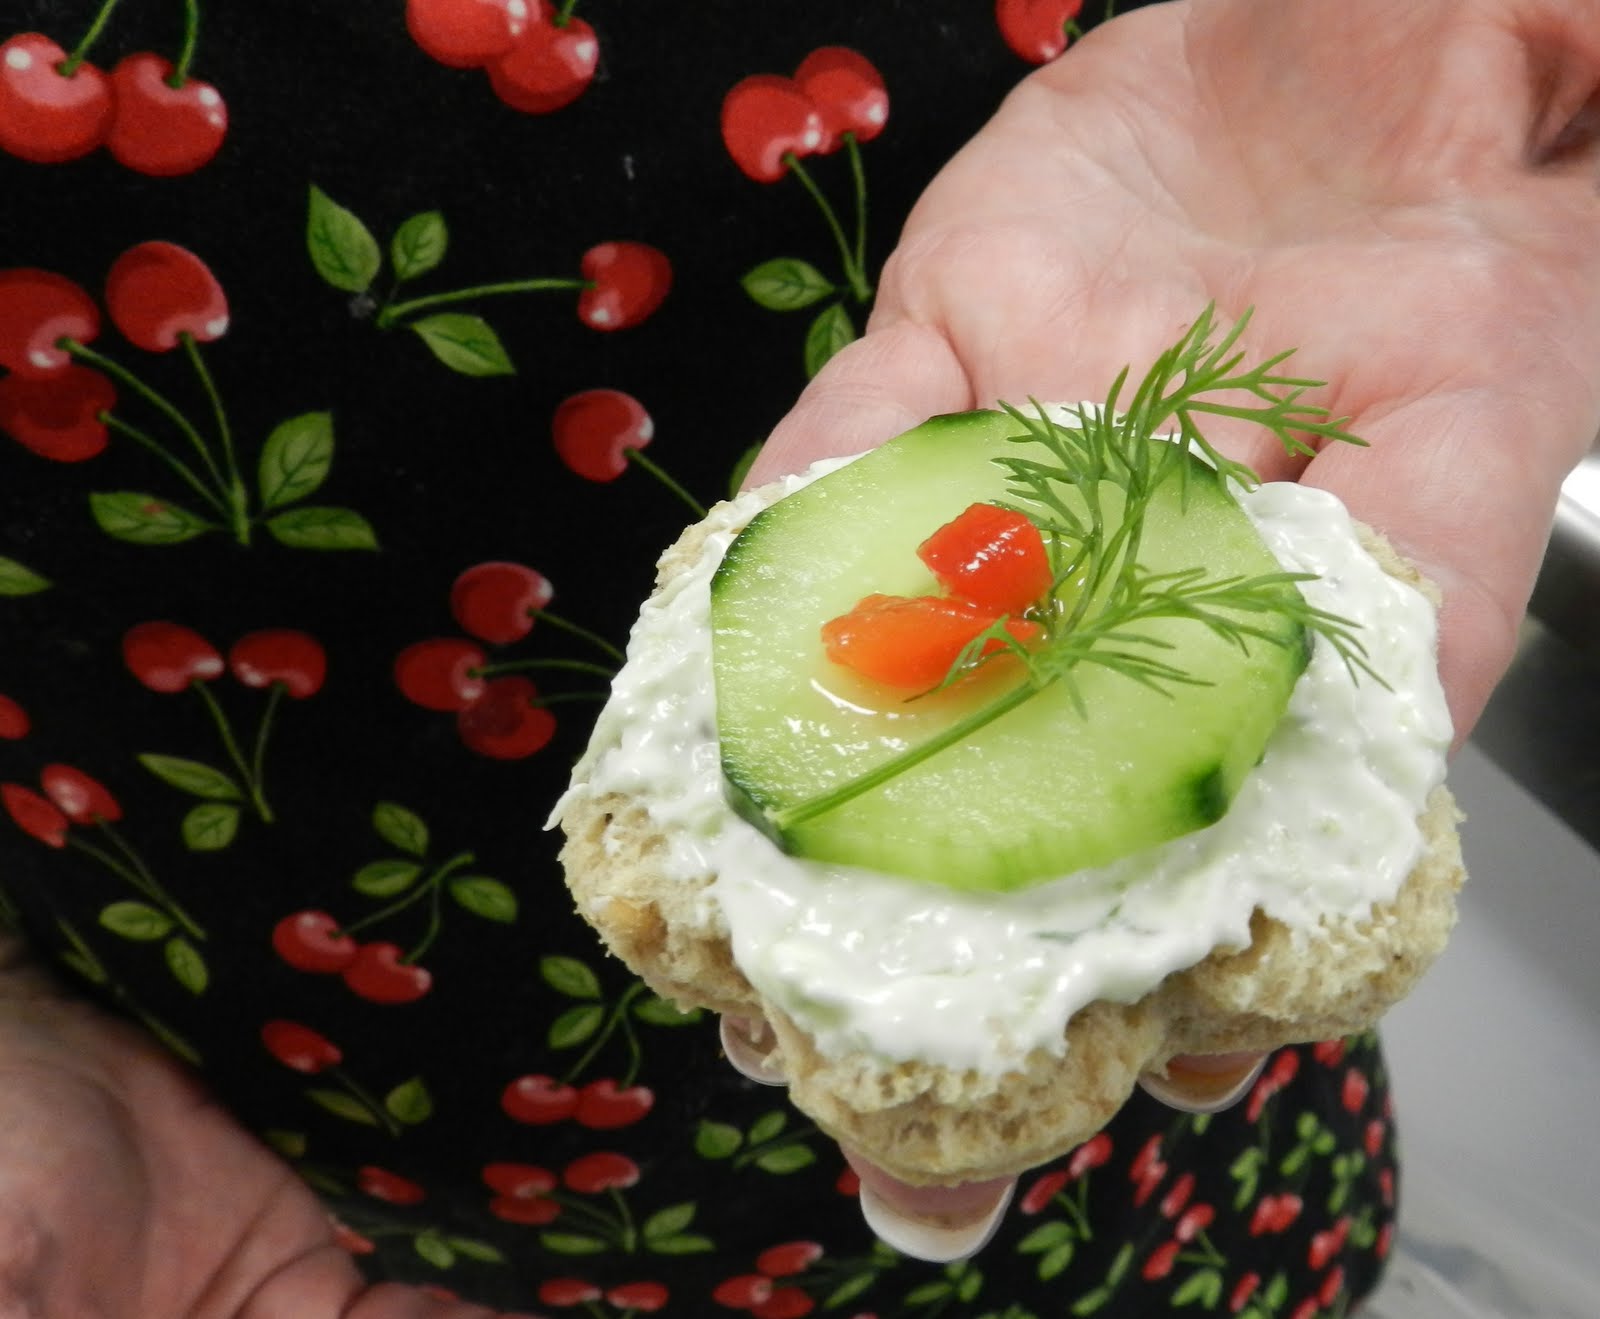
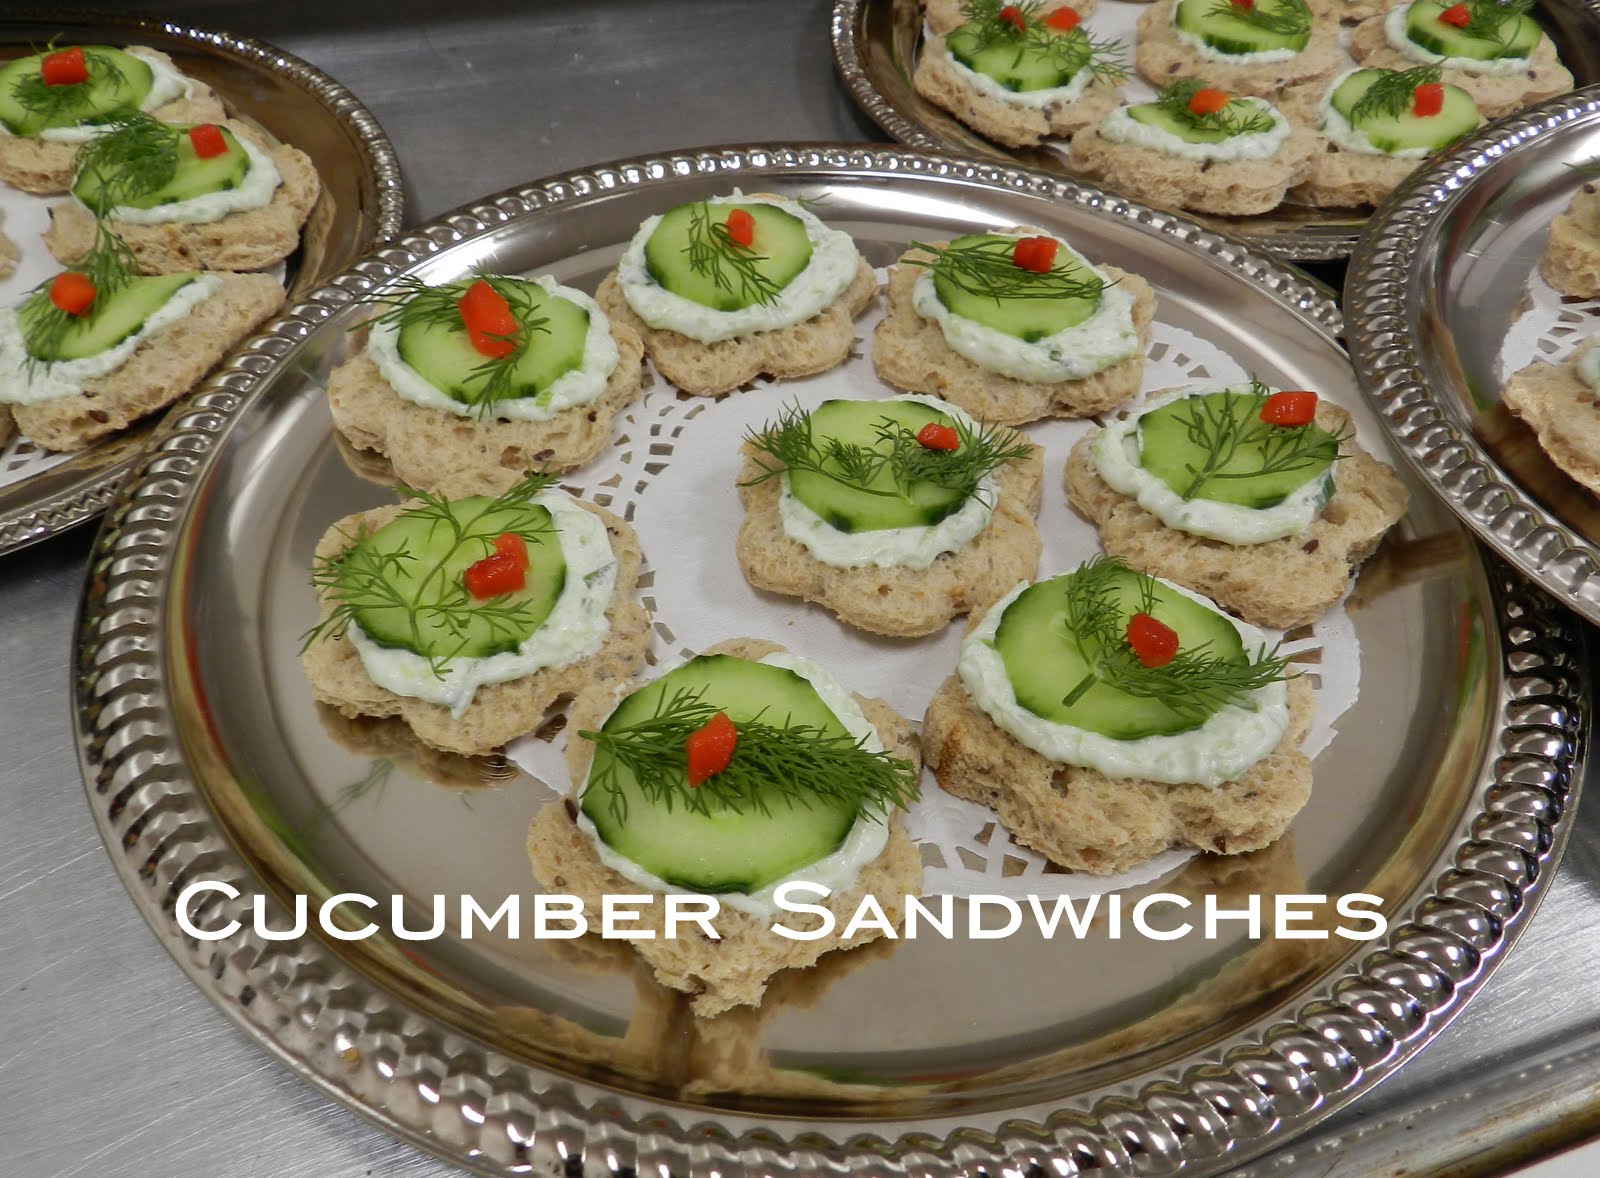
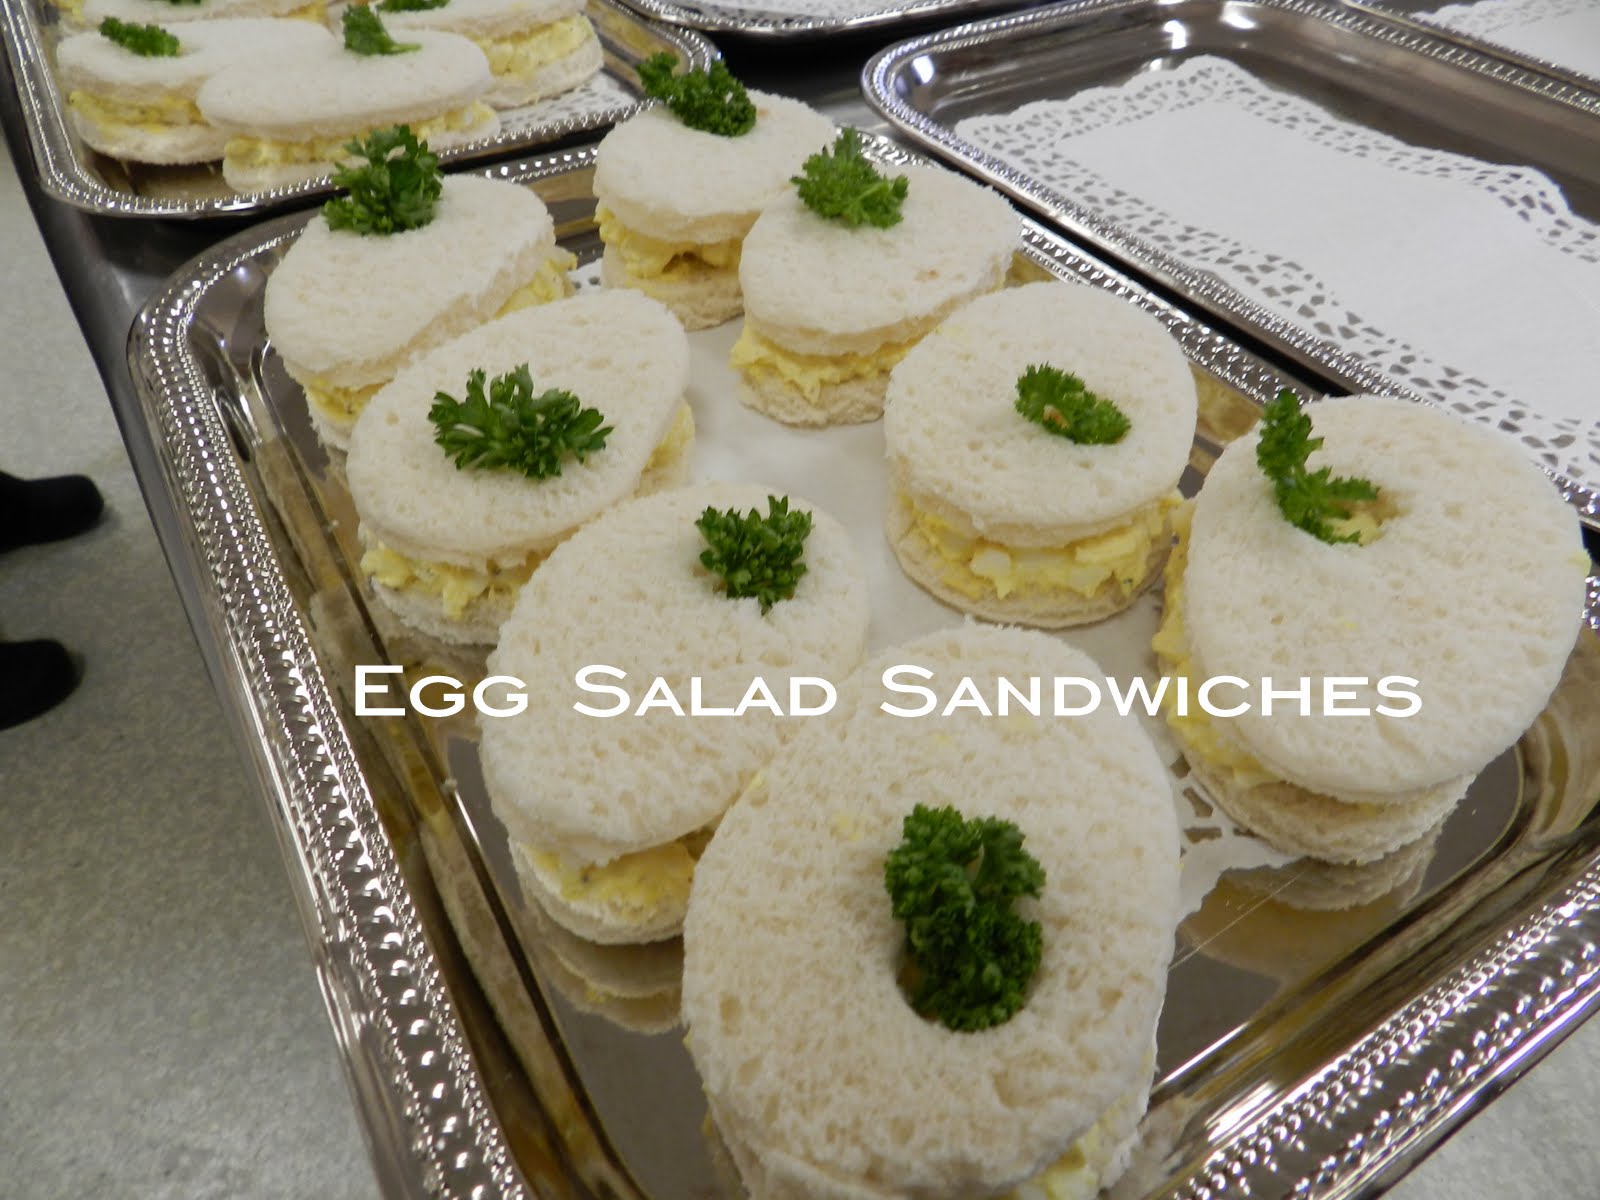
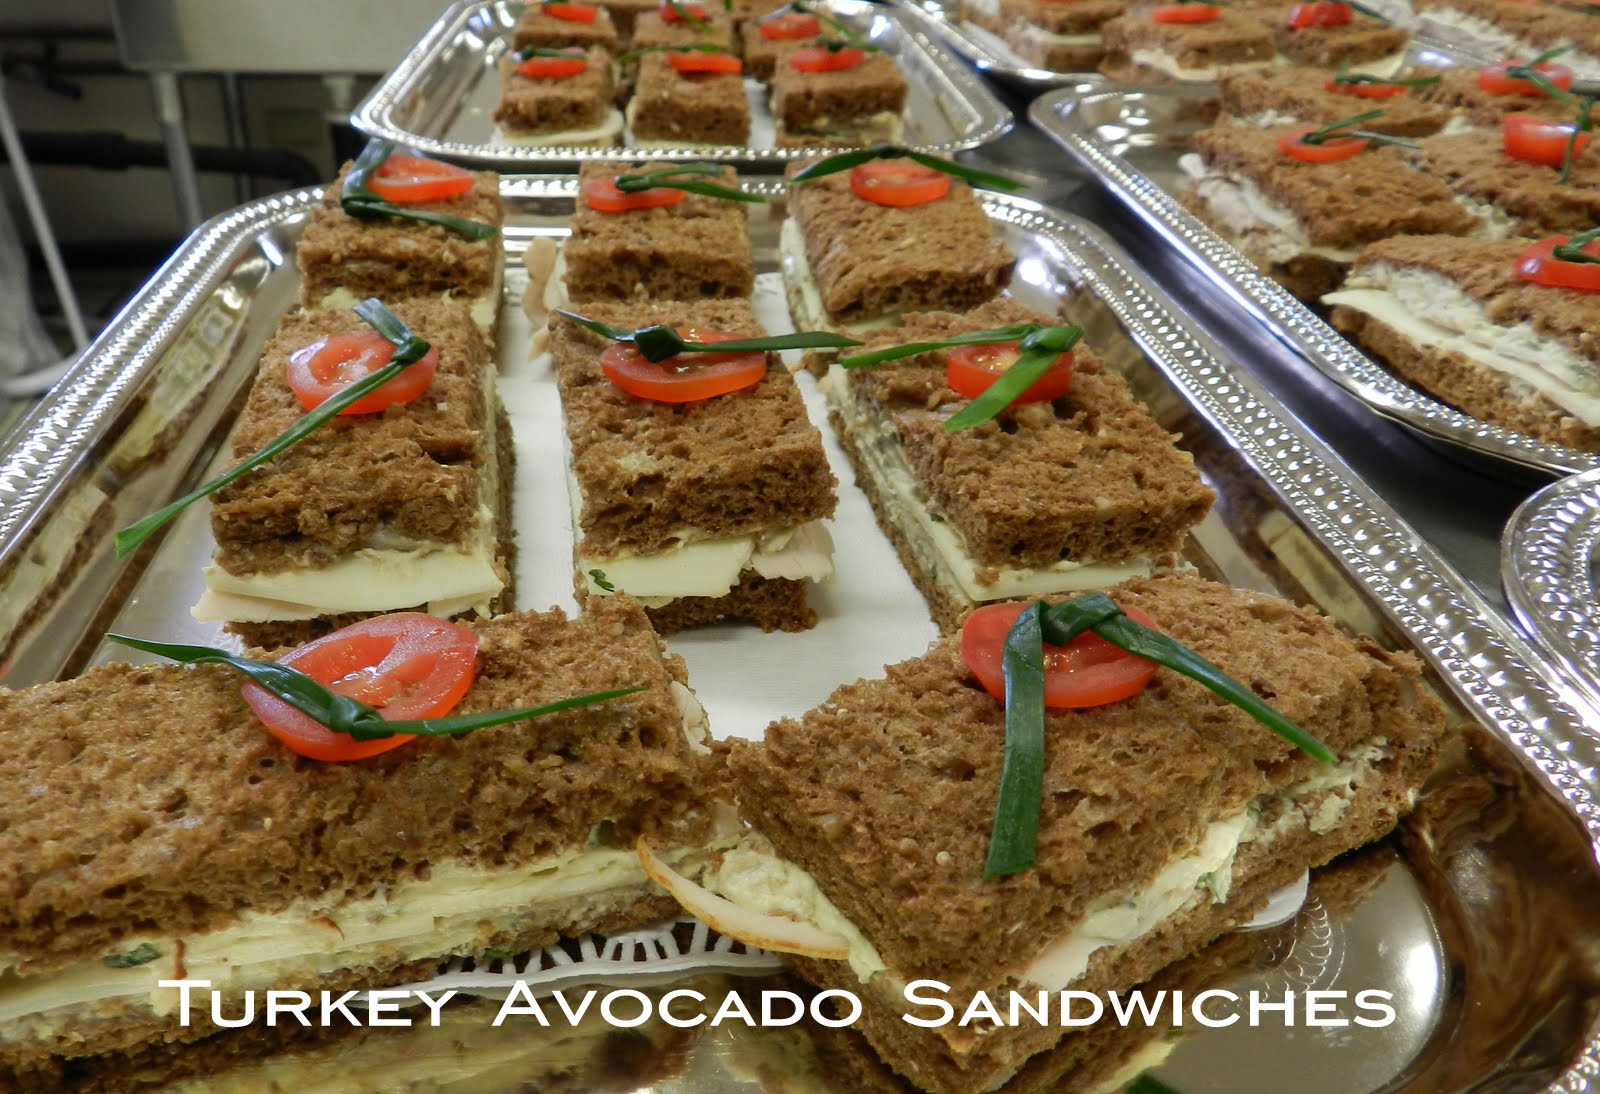
Last, but not least, a special thanks to Chris and Katie for making the sandwiches and setting everything up for the party while we were all at the graduation ceremony.