Chicken & Rice with Fruit Salsa
I’ve been on another peach eating binge. We bought some at a farm about 20 miles from here and they were very good, albeit not Georgia peaches. I used them to make one of my very favorite meals.

Here’s the recipe:
Grilled Chicken:
2 lbs Boneless, skinless chicken breasts
¼ cup lime juice
2 TBSP soy sauce
1/3 cup sugar
¼ cup apple cider vinegar
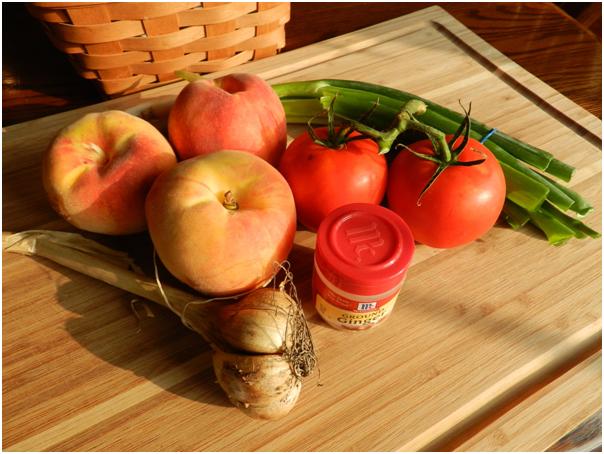
Fruit Salsa
2-3 medium peaches (plums, nectarines or grapes also work)
2 medium tomatoes
3-4 chopped green onions (be sure to get lots of the green part)
2 TBSP lime juice
½ tsp ground ginger
I clove of garlic crushed and finely chopped
¼ cup apple cider vinegar
1/3 cup sugar
This meat has to be started early in the afternoon which isn’t my strong suit, but fresh fruit sometimes inspires me to unusual feats!
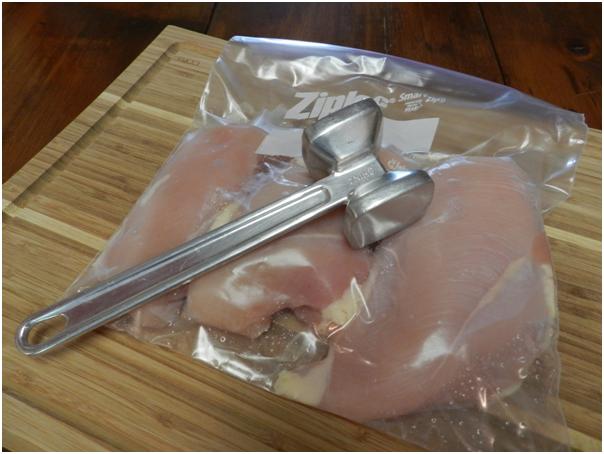
A few hours before you plan to eat, the chicken breasts need to be tenderized with a meat mallet or similar device. I like to zip them into a plastic bag so that raw chicken juice doesn’t fly around my kitchen.
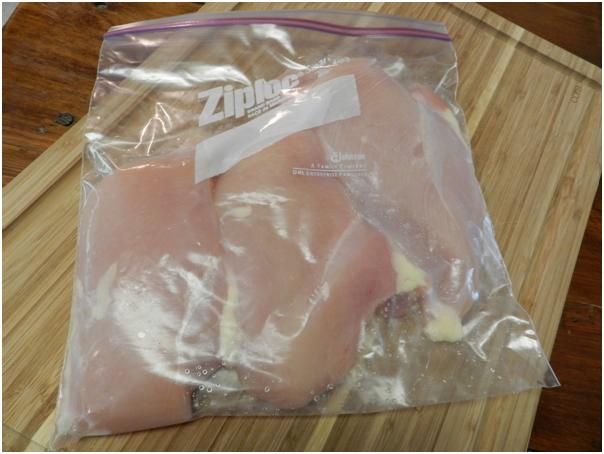
With a good pounding the breasts should flatten out considerably. Don’t skip this step. It really makes a difference in the tenderness of the meat.

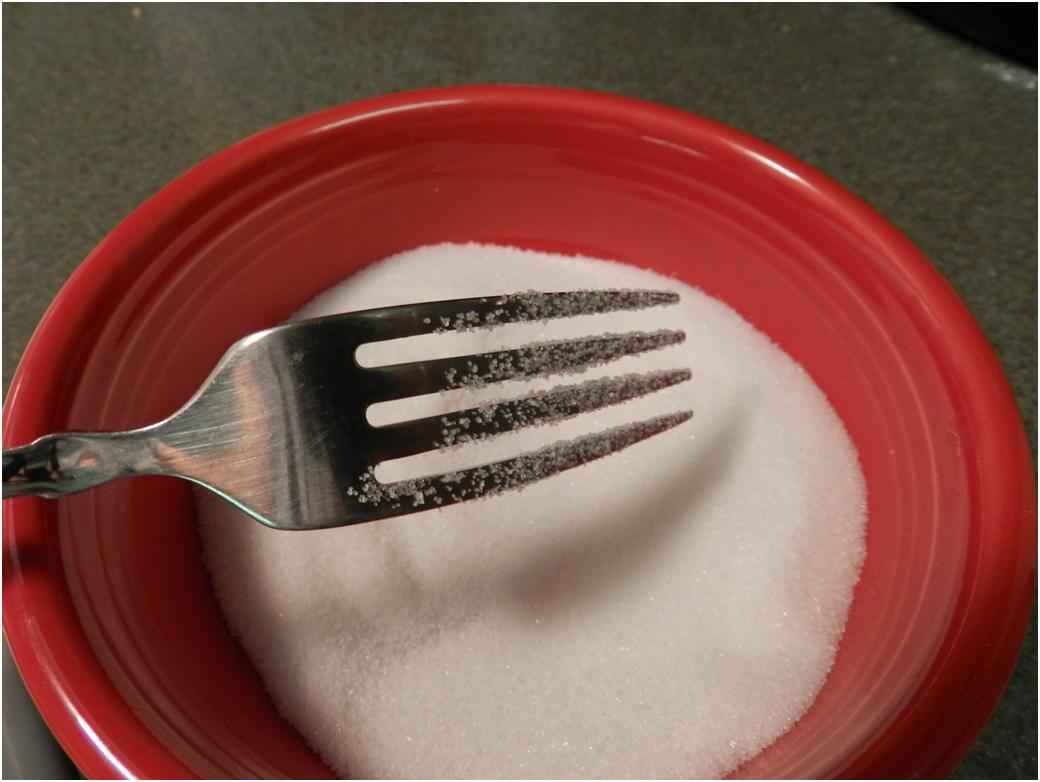
Assemble the sweet tangy marinade with sugar, vinegar, lime juice and some soy sauce. If you have fresh limes, that’s obviously better, but we’re back to that planning issue!

When the marinade is ready, drop in the beaten chicken and make sure that it gets entirely dredged.
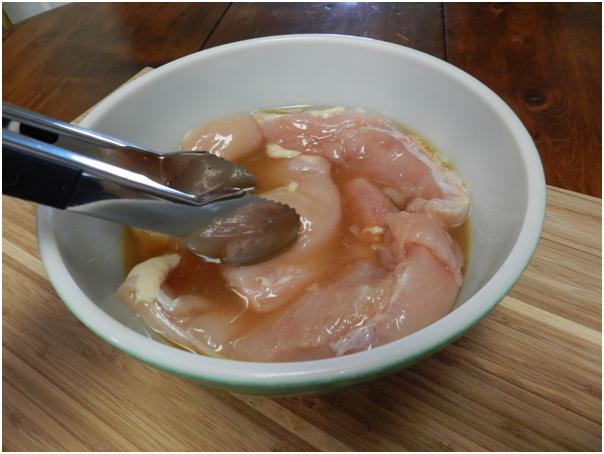
Cover the chicken and let it sit in the fridge for a few hours.
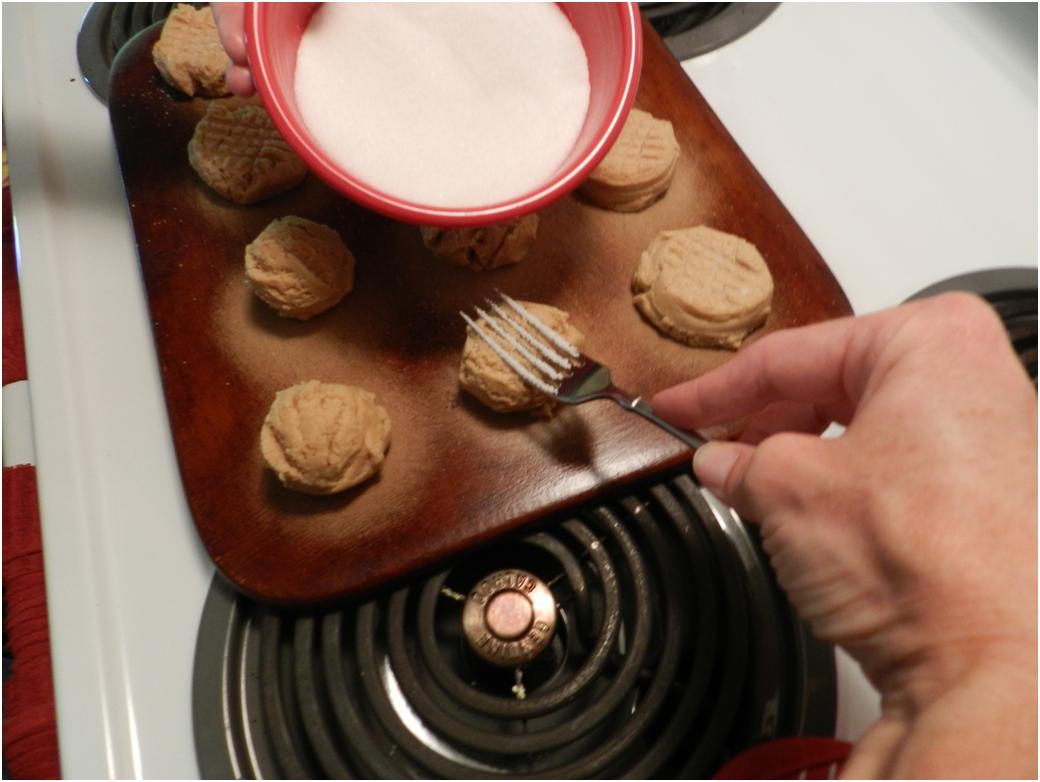
When the evening sun begins to cast a golden glow, it’s time to start on the salsa. (Perhaps that golden glow is just lousy photography, but I’ll go with it.)
The salsa gets almost the same marinade as the chicken, but without the soy sauce and it has some garlic and ginger thrown in.
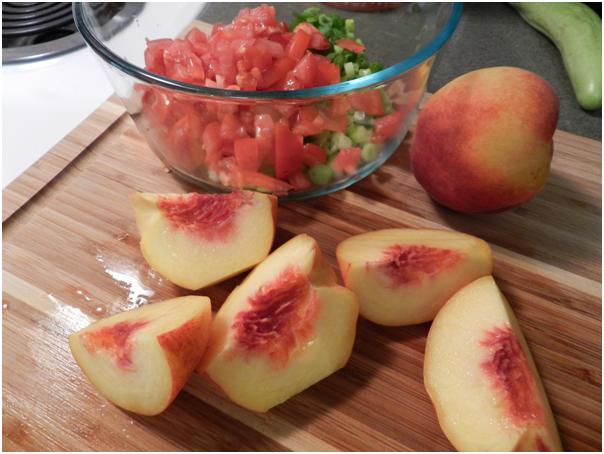
Peaches are my favorite centerpiece fruit for this dish, but I’ve also made it with plums and they are an excellent substitute. I bet it would even be good with halved grapes.
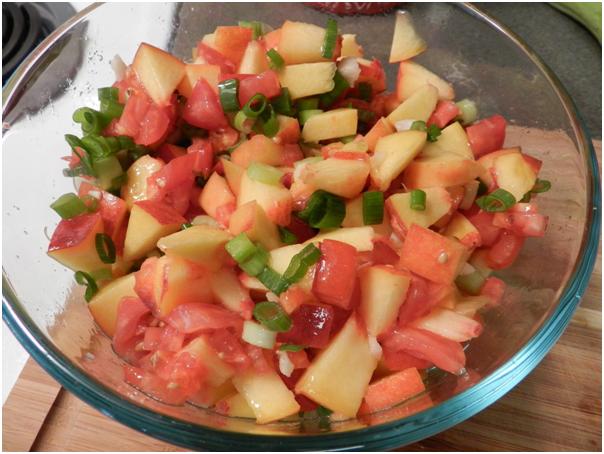
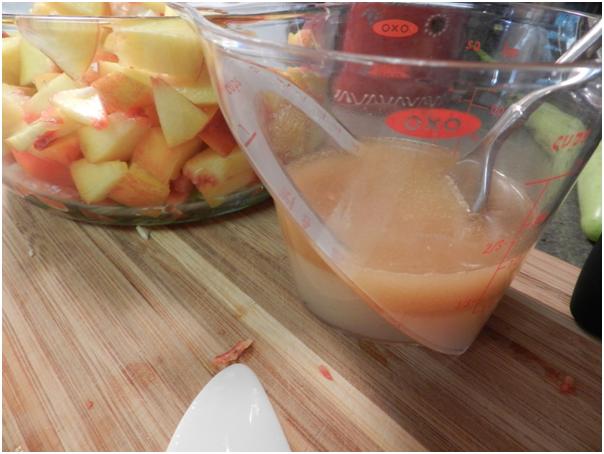
Toss the chopped fruits and veggies in their marinade and make sure it all has a chance to sit for about 30 minutes before serving. The timing is just about perfect to pull the chicken out and get it started.
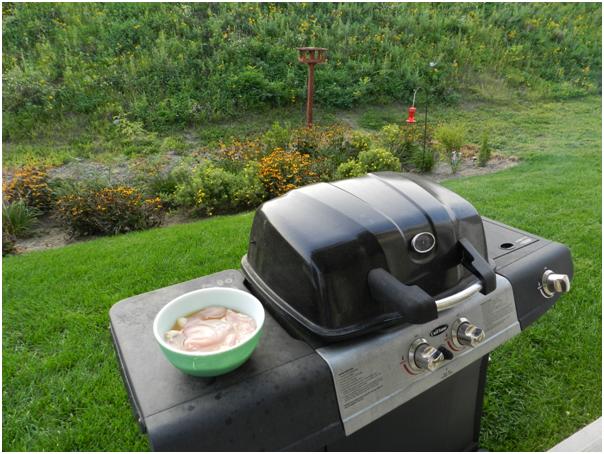
Grilling is not just for guys! My friend Kathy Madison taught me how to grill chicken breasts when we lived in Kansas and could see into each other’s kitchens for a year. She made it sound so simple that I had a hard time believing it would work, but it does – every time. Here’s how it goes: 1) Preheat the grill to medium high.
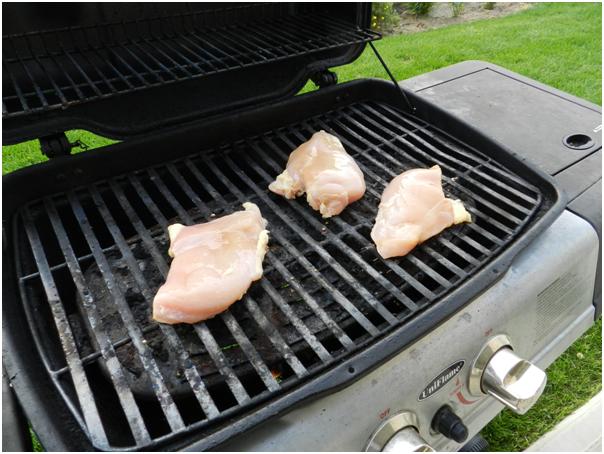
2) Throw on the chicken. Close the lid and wait seven minutes without opening it to poke, peek or prod. (Who wants to peek into an ugly grill like mine anyway!)

3) Open, turn the chicken over and quickly baste if desired. (I usually do drizzle on some of the remaining marinade.) Close and wait seven more minutes without opening the lid again. When the final seven minutes are up – it’s done. That simple.
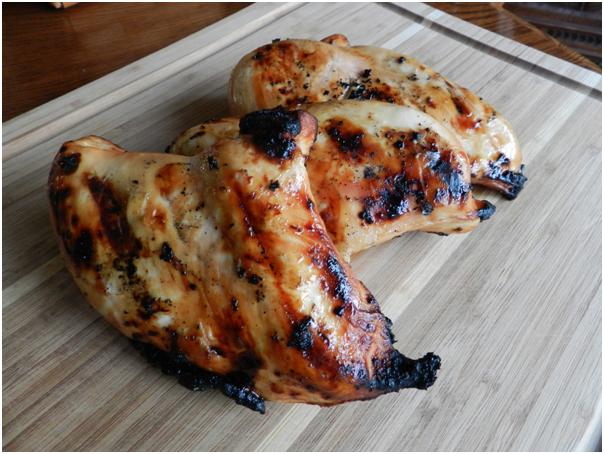
Let the meat rest for a few minutes.
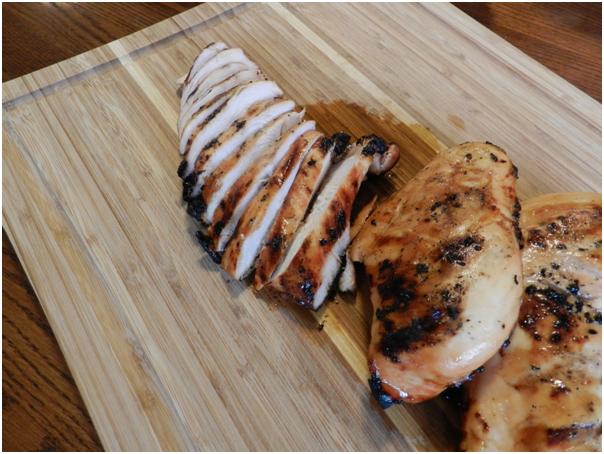
Then slice it into thin strips across the grain.

Pile the hot chicken on a bed of Jasmine rice and top it with the cool fresh salsa.
I’m sure that part of the reason I like this meal is that it’s very pretty, but it really is SO good!
Hope you enjoy!
Lisa