Skip to content

Slow Cooker Country Ribs with Cranberry & Apples

After one time too many of forgetting about dinner until 5:00, I pull out the crock pot. I despised loading and eating from the crock pot while I was growing up but I’ve been making my peace with the appliance recently. It has its place.

About a month ago I stumbled across a recipe on the internet under “Southern Foods” by Diana Rattray. I followed it loosely and the outcome was truly delicious, but not “Southern.” I’m sorry, but cranberries, apples and maple syrup add up to New England. Those ingredients make me think about my friend Lisa in Maine who is tapping maple trees this month and works the family farm with the help of draft horses.

Here’s my version of the recipe:

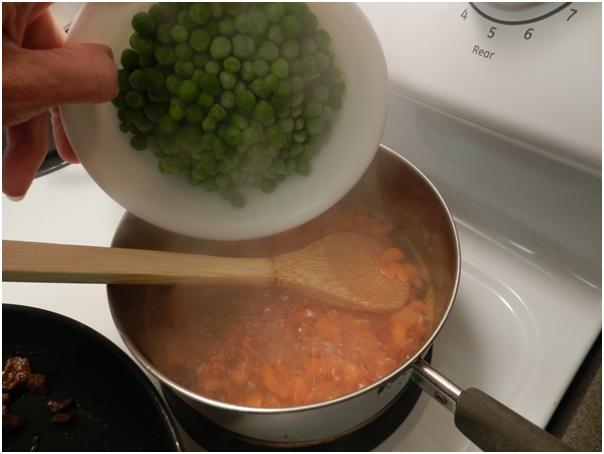
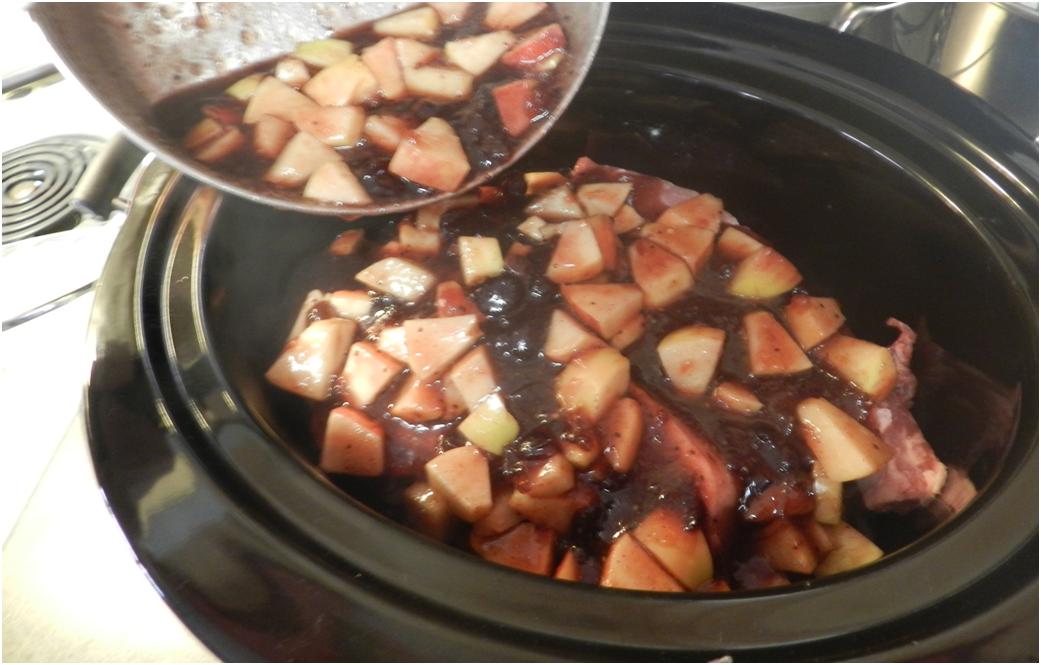
2 cans of whole-berry cranberry sauce
½ cup pure maple syrup
½ cup brown sugar
2-3 chopped apples that cook well (Fuji is my current favorite thanks to the Stein family!)
1 TBSP Dijon mustard
1-2 tsp. cinnamon
½ of a red onion sliced
3-4 lbs country style pork ribs (I’m sure beef would be good too.)

Put everything but the meat and the onion into a sauce pan and heat it until it’s simmering and the sugar is nicely dissolved.

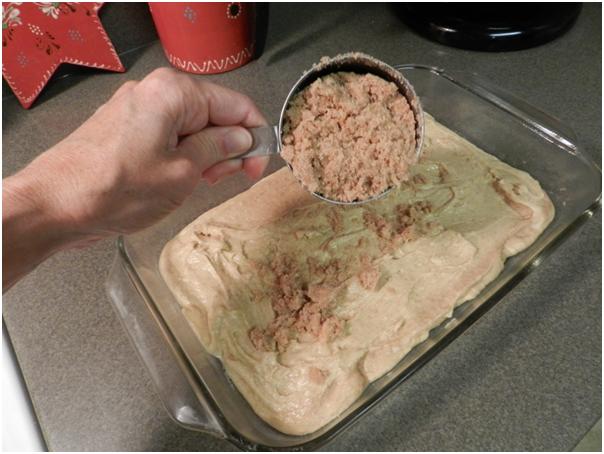
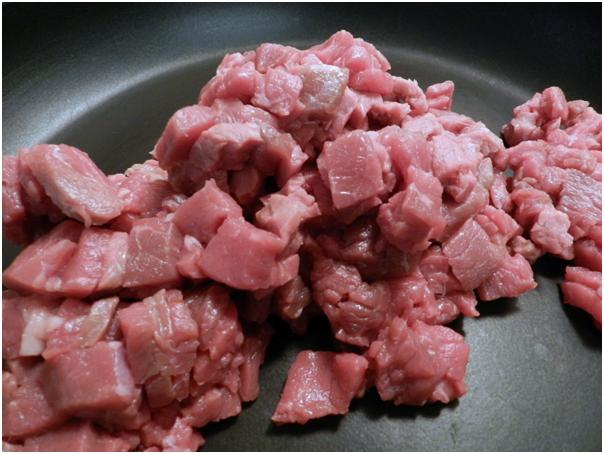
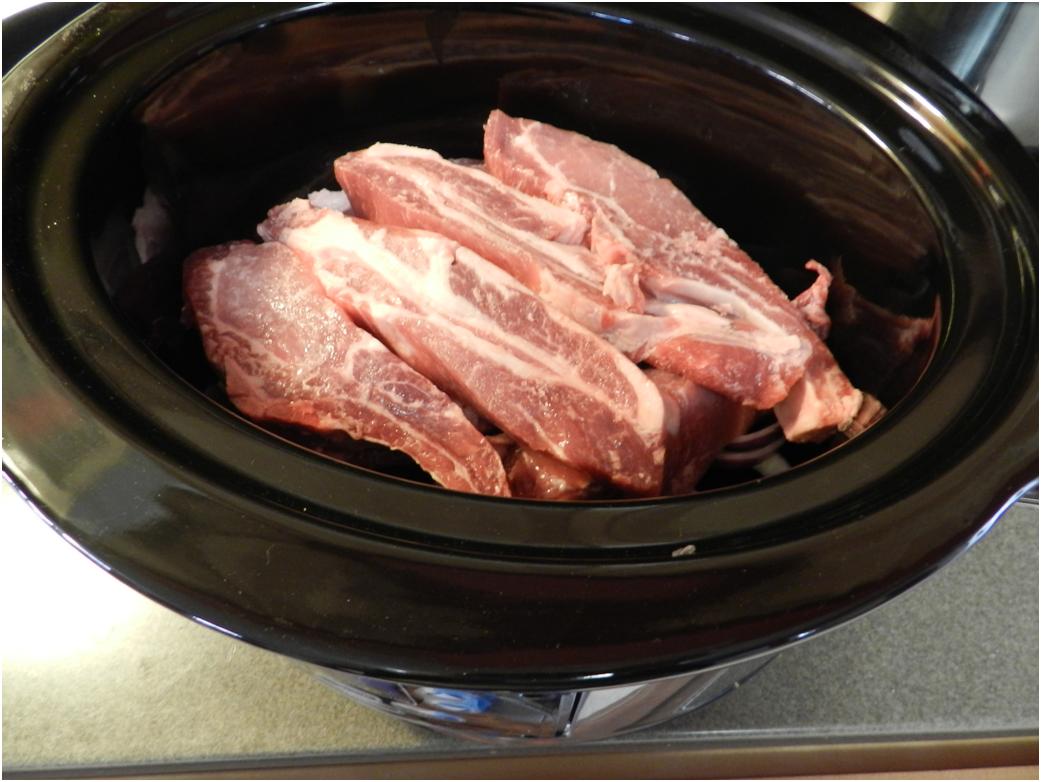
Meanwhile, toss the sliced onion and the ribs into the crock pot.

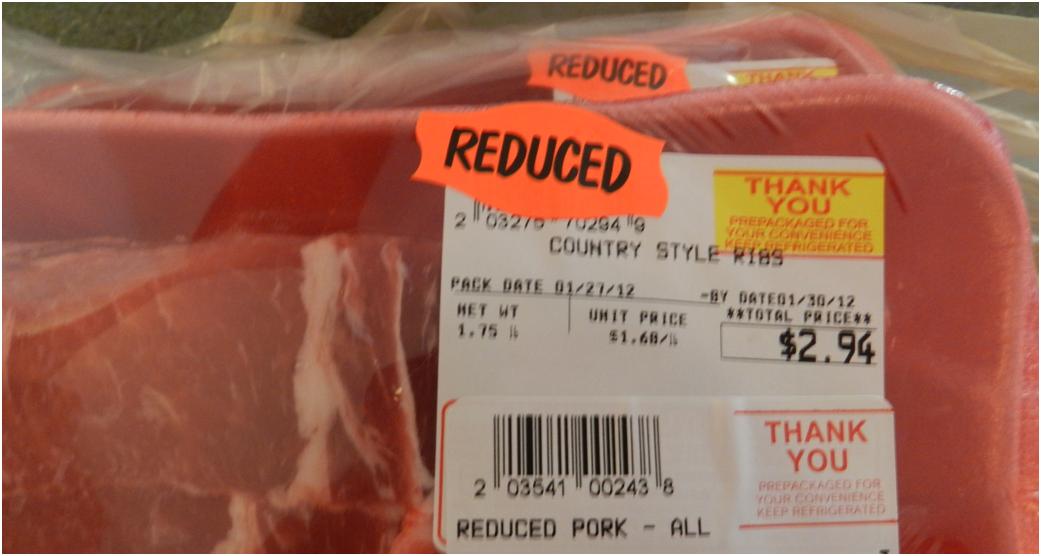
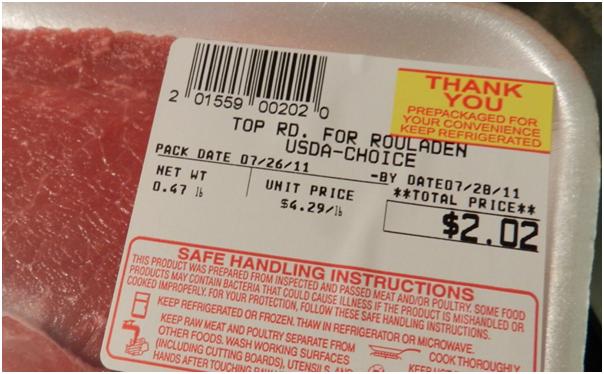
No,no, thank YOU! I love a bargain!

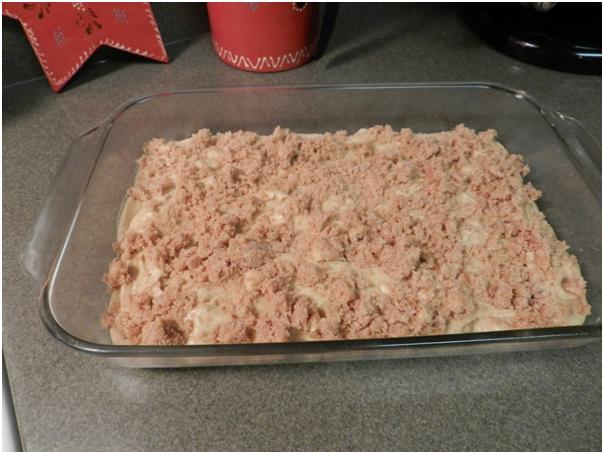
Pour the hot apple and cranberry mixture over the top.

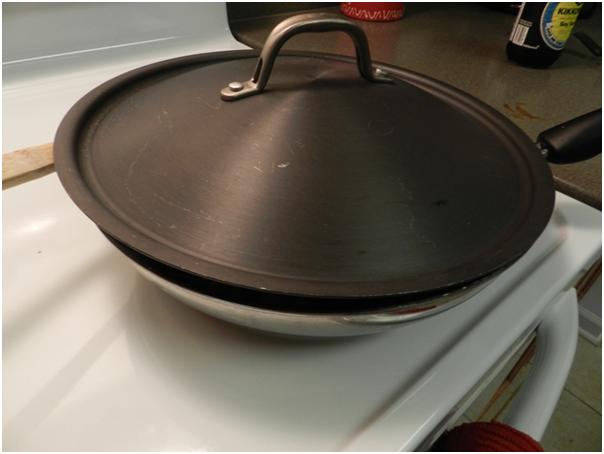
Let it cook all day (6-7 hours) on low.

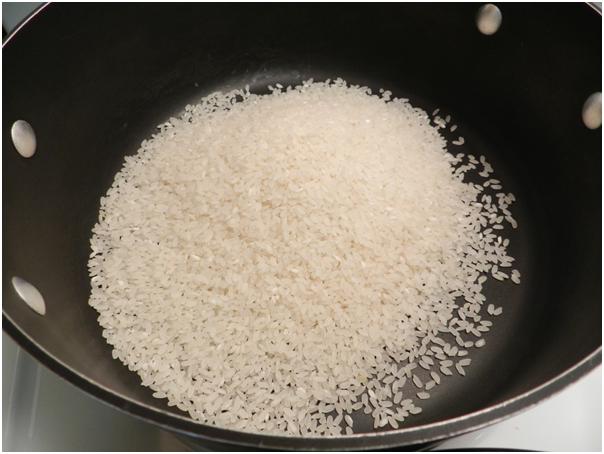
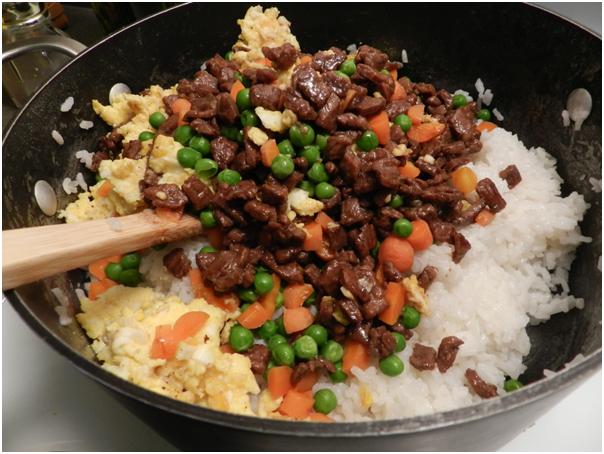
Serve with rice or whatever else suits your fancy. (I really stink at food staging…I could have at least gotten out the blue plates to take a picture of white rice. Oh, well.)

Last time I made this, I strained the left-over liquid, which has a wonderful sweetly cinnamon flavor and put in the refrigerator. A few days later I ladled off the fat which had risen to the top and mixed it with some sweet-n-sour sauce out of a jar to go with chicken. The result was an amazing version of sweet-n-sour chicken. Saving the cooking liquid is my attempt to turn over a new and more frugal (less lazy) culinary leaf at the inspiration of my sister-in-law. Then my friend Christa’s suggested that I read An Everlasting Meal by Tamar Adler, and I’m finally figuring it out. Waste not, want not! As I’m learning this art, I’m feeling even guiltier about dumping the liquid from a slow cooked organic chicken down the drain at Betsy’s house while helping with dishes during my last visit. She is seriously one of the sweetest and dearest people you could ever meet and the silent horror on her face as she watched the broth hit the drain was only surpassed by her immediate and gracious forgiveness. It got my attention though! I am reforming.

Piano Soup

Sometimes the evening meal hour takes me by surprise. You would think that after all these years the pattern of daily recurrence would be imprinted on my brain, but too often I find myself at 5:00 staring into the pantry wondering how I failed to remember that hungry boys would need to eat AGAIN!

One of my favorite standbys for this sort of predicament is Piano Soup. I learned the basic concept from my friend Christa in Germany when she served it for lunch one day. She used white beans, but when I needed a bigger batch one time and didn’t have enough white beans, I added black ones and re-named the soup to cover my lack of planning. Now I hum “Ebony and Ivory” and dance like Stevie Wonder while throwing it all together. It makes a delicious soup that college students and kids both love, and only takes about 10 minutes.

You’ll need some chopped cooked chicken, which I usually have on hand from periodically roasting rowing chickens….remember these guys? They get de-boned, chopped up and placed in quart-sized freezer bags to be used when I need “some chicken.”

Here are the ingredients you’ll need from the pantry.

Rinse the black and white beans – however many you need for the amount of soup you want. It takes four cans for my family.

Pour in some green chili enchilada sauce. The amount is a matter of taste. I only use half of a can this size and put the remainder in a freezer bag for next time.

And some chicken broth – however much it takes to cover the beans.

Drop in the thawed chicken.

Add a dash of sugar if you need to cut the heat. I throw in about ¼ cup for a batch this size.

Stir.

Heat.

Eat.

Meal time crisis averted!

Next I’ll post a slow cooker recipe…because after forgetting about an evening meal, the pendulum often swings the other direction and I start cooking in the morning.

Another Black Apron in Ku-Ki-Do

Megan’s was one of “our” college students in Pullman. You’ve seen her before on this blog, in my kitchen, and here she is holding her graduation cupcake.

Before starting pharmacy school, she decided to master Ku-Ki-Do – evidence that she already understands good medicine! She’s been texting me pictures of the learning process and I have to say this award is actually overdue. She’s probably given up by now!

Here’s a picture of the first really successful batch that emerged late last summer after some initial trouble shooting.  These were peanut butter chocolate chip. Yum.

Here’s a batch of straight-up chocolate chip.

A couple of weeks ago, she sent pictures of another perfect looking batch, I would show them to you, but the photo isn’t enlarging well from my phone. It made me hungry trying to work with it though!!

So, without further delay….here’s your black apron, Megan! Congratulations – and send the recipe for that peanut butter chocolate chip variation my way!

Pumpkin Bread in Disguise

I know that the more appropriate time to post a recipe for pumpkin bread would be in the fall, but the last time I mentioned pumpkin bread on this blog it was April, so I’m getting closer to the mark! You might also be thinking that what you see in the photo doesn’t look like “bread” but it is! It’s the wonderful kind of bread that allows you to live in denial about actually eating cake. I decided to embrace the “cake-ness” though and turn the recipe into cupcakes. With generous dollops of cream cheese frosting they were delicious!

I got this recipe from my dear friend Kelly the last time we lived at West Point. I love having a box full of recipe cards hand-written by old friends. I remember everyone I get a recipe from but it’s even better when they write it out themselves.

Start with the water, eggs, oil and pumpkin.

Add the sugar….

…and mix again.

Assemble the spices.

Dump in the dry ingredients and mix again.

Fill the cupcake papers half-way. (This batter tastes wonderful by the way.)

Bake the cupcakes in a pre-heated 350 degree oven for 19 minutes.

I had some scrumptious left-over cream cheese frosting from a recipe that my new friend Lisa C. gave me this fall. She makes delicious cupcakes, so you can expect to hear her credited again on this blog! I doubled the frosting recipe the first time I made it and I obviously shouldn’t have. However, that tub of excess frosting generated the bolt of inspiration to turn pumpkin bread into cupcakes, so it was a fortuitous mistake!

Lisa C.’s Cream Cheese Frosting
1 cup butter
16 oz cream cheese
3 1/2 cup of powder sugar
1/2 cup shortening
1 tablespoon of vanilla (I left this out because I’m just not a fan of vanilla in most recipes.)
1/2 tsp of salt

The recipe makes a lot. I usually get three loaves of bread. This time, I got 24 cupcakes and….

…had enough batter left over to make one loaf. The bread needs to bake for 50 minutes to an hour at 350, until a toothpick comes out clean.

My new position on baking with pumpkin is that the season should be extended until at least May, so go raise the eyebrows of the grocery clerk with a can of pumpkin next time you check out!

Molasses Sugar Cookies

I love cookies but these are my absolute favorites. I get asked for this recipe more than any other. So here it is…with pictures.  I hope you enjoy!

1 cup butter – very firm
½ cup butter flavor Crisco (…I’ll explain below.)
1 cup sugar
1 cup brown sugar packed
½ cup molasses (don’t skimp)
2 large eggs
4 ½ cups flour
4 tsp baking soda
1 tsp cloves
1 tsp cinnamon
1 tsp ginger
½ tsp salt

Preheat the oven to 350 degrees with the baking stone in it.

As you all know, I believe in butter alone for cookies, but in this – my favorite recipe no less – I have decided that a little Crisco really does improve the texture. I still waffle though. If the entire batch is going to be eaten almost immediately and I know I’m going to be on my A-game with the oven temperature and timer then I cut the Crisco and convince myself that I have improved flavor. You decide. Let me know what you think.

Start by creaming the sugar, with the yellow fatty combination of your choosing.

Then, add the eggs and the molasses and mix again.

Next come the dry ingredients.

First, the white load – flour, soda, salt.

Then pile on the delicious smelling spices.

And, mix again. Good Ku-Ki-Do should turn into a big firm lump and leave the sides of the bowl practically clean without a spatula. If your dough is sticky, add a little extra flour, unless it’s because your butter was too soft. If the butter was too soft, then you’ll just have to live with cookie flavored pancakes.

Form the beautiful dough into balls. I like to find coarse sugar for rolling if I can – and this brand of organic fits the bill. Somehow it also makes me feel better about the Crisco…a little bit.

Dressed and ready for 12-14 minutes in the oven, depending on size.

By the time I bite into one of these, I couldn’t care less about what’s in them. When baked perfectly they are soft in the center and crispy on the edges. Don’t over-bake or they turn into hockey pucks – especially if you decide to go with straight up butter.

As I’ve said before, cookies are meant to be shared. This batch was paired with snickerdoodles to feed a bunch of OCF cadets. I think snickerdoodles are boring next to molasses sugar cookies, but they have their fans and the combination is always a big hit.

Sugar Cookies – A Kitchen Catwalk Christmas Carol

Mixer blades, mixer blades

It’s Christmas time in the kitchen

Swish-n-whir, hear them purr

Soon it will be Christmas day!

Kitchen catwalks, busy catwalks

Dressed in holiday style

In the bowl

There’s a mixture of goodness

Butter whipping

Sugar creaming

Mixing egg after egg

And on ev’ry kitchen catwalk you’ll hear…


Mixer blades, Mixer blades

It’s Christmas time in the kitchen

Swish-n-whir, hear them purr

Soon it will be Christmas day!


Scoops of powder

Dreamy powder

Billow up from the cream

As the blades rumble on with their mixtures

Hear the big thump

See the dough clump

It’s a mixer’s big scene

And above all this bustle you’ll hear…

Mixer blades, mixer blades

It’s Christmas time in the kitchen

Swish-n-whir, hear them purr

Soon it will be Christmas day!


Creamy dough lumps, tasty dough lumps

Pressed in pat-a-cake style

On the counter

There’s a layer of flour

Pins are rolling

Dough is flat-ning

Meeting roll after roll

And on every catwalk you will see…

Ku-Ki-Do, Ku-Ki-Do

It’s Christmas time in the kitchen

Shapes-to-make, smell them bake

Soon it will be Christmas day!

Specks of sweet lights

Tiny star lights

Blink a bright red and white

As the bakers dress up all their treasures

Taste the frosting

Tint the frosting

This is sugar’s big scene

And after all of this bustle you’ll taste…

Sugar cookies, Sugar cookies

It’s Christmas time in the kitchen

Crunch-n-munch, eat a bunch

Soon it will be Christmas day!

Kitchen Catwalk Christmas Cookies
3 cups powdered sugar

2 cups butter

2 tsp vanilla

1 tsp almond extract

2 eggs

5 cups flour

1 tsp baking soda

3/4 tsp cream of tartar

Frosting
3 cups powdered sugar

1/3 cup butter

Vanilla if you like it in frosting

2 TBSP milk (or so…this is how you control consistency, so go slow.)

Follow the usual Ku-Ki-Do directions.  Bake at 350 degrees for 9 minutes on a regular cookie sheet…no stone for these guys.

If any of you bake and decorate sugar cookies, I’d love to see pictures!!! Sing while you work.

Wishing you all a love and joy-filled Christmas!

Lisa

Grandma Quantz’s Coffee Cake

This is the coffee cake that I grew up with. My mother’s mother got the recipe from her mother-in-law, my Great Grandmother Quantz. Here it is in my mom’s calligraphy, written in 1991 for a clueless bride.

I told my mom I was going to post this and she sent me a couple of photos taken of Grandma Quantz in the Rosalia, Washington farm house where Aunt Ruth Mary and Uncle Dave have lived throughout my lifetime. I don’t remember her very well, but I do recall thinking she was very dignified.

The kitchen has been remodeled but mom says that this is how she remembers it as a child. Maybe someone in the family can tell me who the man at the sink is, and I would like to know who made the lovely birthday cake in the picture. I’m guessing: Aunt Ruth Mary?

Here’s my rendition of this family hand-me-down recipe.

Start by making what will be the delicious crumble topping out of sugar, butter and cinnamon.

Pull out one cup to actually use as the topping and the rest will be left to go in the batter.

Odd process, but I just follow the directions. This is family tradition, not efficiency in the works.

I go with the wet ingredients next.

Then added the dry.

Stir into a nice batter.

I always taste some…and think of my mother groaning over the raw eggs…family bonding.

Pour into a 9×13 pan.

Spread it around,

Sprinkle on the reserved topping. The crumbles are the only part of the recipe that I actually remember from childhood.

The cake is fine, but I get pretty focused on those little baked chunks of butter and sugar that drop into its depths! They melt in your mouth like little candies and when I was a kid I used to sneak back into the kitchen and pick them out of the leftover pieces to whatever extent I could without arousing suspicion of rodents afoot.

It’s not the coffee cake I usually make these days, but it’s a yummy way to start the morning, especially when Ric makes me a nice mocha to go with it.

Wishing you many family joys this Holiday Season!

Lisa


New Black Aprons in Ku-Ki-Do!

Last summer I awarded Green Ku-Ki-Do Aprons to Nathan and Kara – in the form of online photos. Apparently Nathan found a real one. Here are some of the pictures I’ve gotten since…

That’s the Little Clone Trooper that I used for 14 years before Darth Mixer came to reside on my counter. It makes my heart glad that the little guy is still turning out great cookies!

I love rows of Ku-Ki-Do balls! These ones look like chocolate chip.

Here we have snickerdoodles.

Perfect size.

Perfect shape. These look delicious.

White chocolate chip…my favorite breakfast cookie!

And, these piles are the final proof that the Little Clone Trooper is still going strong and that Nathan and Kara deserve Black Aprons in Ku-Ki-Do!

Congratulations, Nathan – here’s yours…

…and Kara here’s yours. (I just can’t see Kara in canvas!) She is so put together and dignified that I can hardly imagine her needing an apron at all, but she can sure bake…and not just cookies. Take a look at these apple pies!

And speaking of great cooks…that’s Xiao on the left. Trying to keep up with her cooking got this whole blogging idea started.

We miss you guys. Thanks for keeping our Pullman kids healthy with great cookies!

My Favorite Broccoli Salad

There is no mystery about why I like this salad – sweetness, saltiness, crunchiness, chewiness, and even cheese! What’s not to love? The mystery is in how the combination is so much greater than the sum of the parts! My friend Katherine Dunn made if for a welcome picnic while we lived in Germany and I fell in love. Thankfully, she is the type of person who promptly follows through when she promises you a recipe. I imagine she is often asked for them because I happen to have more than one in my own collection. Here are the directions exactly as given – and I actually follow them that way!

Once the bacon is going, get to chopping.

Keep in mind that the broccoli needs to be torn into tiny pieces that actually work with a picnic fork and a flimsy paper plate.

Blot as much grease as possible from the bacon before chopping it. If you’re not a pork person then substitute with turkey bacon, but don’t leave it out altogether. The saltiness is part of the magic.

Mix the dressing and give it a couple of minutes for the sugar to fully dissolve.

Pile all of the “dry” ingredients into a big bowl.

Toss them together.

Pour on the dressing and stir it again.

Move the salad to a pretty bowl. This step is important, especially when you are working with one of Katherine’s recipes. She is one of the most dignified women I have ever met and she wouldn’t dream of bringing an ugly bowl to a picnic.

I decided to use pottery from my favorite shop in France. I may have even purchased it the day Katherine and I went together. This particular bowl wasn’t crafted with broccoli salad in mind, I’m sure, but I liked the way it looked.

Let it chill for a couple of hours.

Enjoy! (And, share.)

Lisa

Un-Sil’s Rice

When we first got married and lived at Fort Lewis, Ric was known as “the tall skinny guy” because he was 6’2″ and 135lbs. Our next door neighbor was a lovely Korean woman named Un-Sil who apparently took note of his physique and decided she would do her part to save him from starvation. She fed us for the better part of three years every time she was cooking enough to share, which was at least one-a-week. The meal that I think was basically her version of my propensity to serve spaghetti or tacos when I’m feeling lazy or uninspired was a rice dish that she always apologized for as “just some rice”. We loved it, craved it, and celebrated every time it showed up on our doorstep with her sweet shy smile! She offered vague directions on how to make it back then, but since I didn’t actually get serious about learning to cook until a few years later it took me a while to figure out how to make something pretty close. I hope you’ll enjoy what has re-emerged as a favorite in our family – even though it does result in a lot of pot washing.

You’ll need rice, eggs, fresh carrots, frozen peas, rouladen beef, soy sauce and sugar. Notice that I’m following the vague recipe tradition…but I’m offering pictures.

The key to this being a quick meal is getting set up correctly before you start the rice. Then, it’s an intense project over the stove, but it only takes about 30 minutes.

Start by dicing some fresh carrots.

Toss them into a sauce pan and cover them with plenty of water because you’re going to eventually throw the peas in with them at the end. Bring the pot to a boil and then let it simmer while everything else is cooking.

Rouladen beef is cut in very thin flat pieces.

Cut it some more…into half-inch strips….

…then some more… into half-inch cubes. Toss those into a large frying pan on medium-high. Non-stick works best if you have that option. If not, spray the pan with non-stick spray but don’t use oil.

START both the beef and the carrots before you start the rice!

I use two cups for our family, cooked in four cups of water.

Crack eggs into a skillet coated with non-stick spray and turn it on medium-low.

Pour about ¼ cup of soy sauce into a dish.

Add an equal amount of sugar and stir it together. I usually have to microwave it to get the soy sauce warm enough to dissolve the sugar. Set it aside.

The meat needs to be “browned”, but as it starts to cook it ends up “boiling” in its own juice, which is not what you want.

When about this much juice has built up, remove it from the heat and drain the liquid.

Return the dry meat to the pan and keep going. I usually have to do this twice during the process.

Once it stops oozing its own juice and you’ve drained it one final time, give it a few minutes to do some actual browning- maybe two minutes on medium high. Then, it’s time to start adding the juice you’ve prepared.

Start by pouring in about half of the soy sauce and sugar mixture.

Stir to coat the meat.

Lower the heat to straight-up medium and keep stirring while the first portion of sauce reduces and gets absorbed.

By about this time, the eggs need a stir to start them scrambling.

Continue to gradually add sauce to the meat…

…until it’s all been poured in and mostly absorbed.

Add some salt and pepper to the eggs and turn them off before they over-cook.

The carrots should be tender at this point. Drop the peas in and bring the water back to a boil.

Drain the meat one more time and clean the pan up a bit with paper towel so that you don’t end up with brown goo in the rice at the end.

This was the absolute final outing for my strainer. I can’t remember how long I’ve had it, but I need a new one now. Look how the handle tore away from the metal. Sad.

I like to pile all of the other ingredients in together so that they keep each other warm and I can start the plethora of pans soaking.

The vegetables are ready to be drained as soon as the peas have had a minute or two of boiling.

A lid will help retain heat while the goodies wait for the rice.

When it’s finally done and fluffed,

toss in the waiting goodness and stir gently.

Ring the dinner bell, break out the chopsticks and dig in!