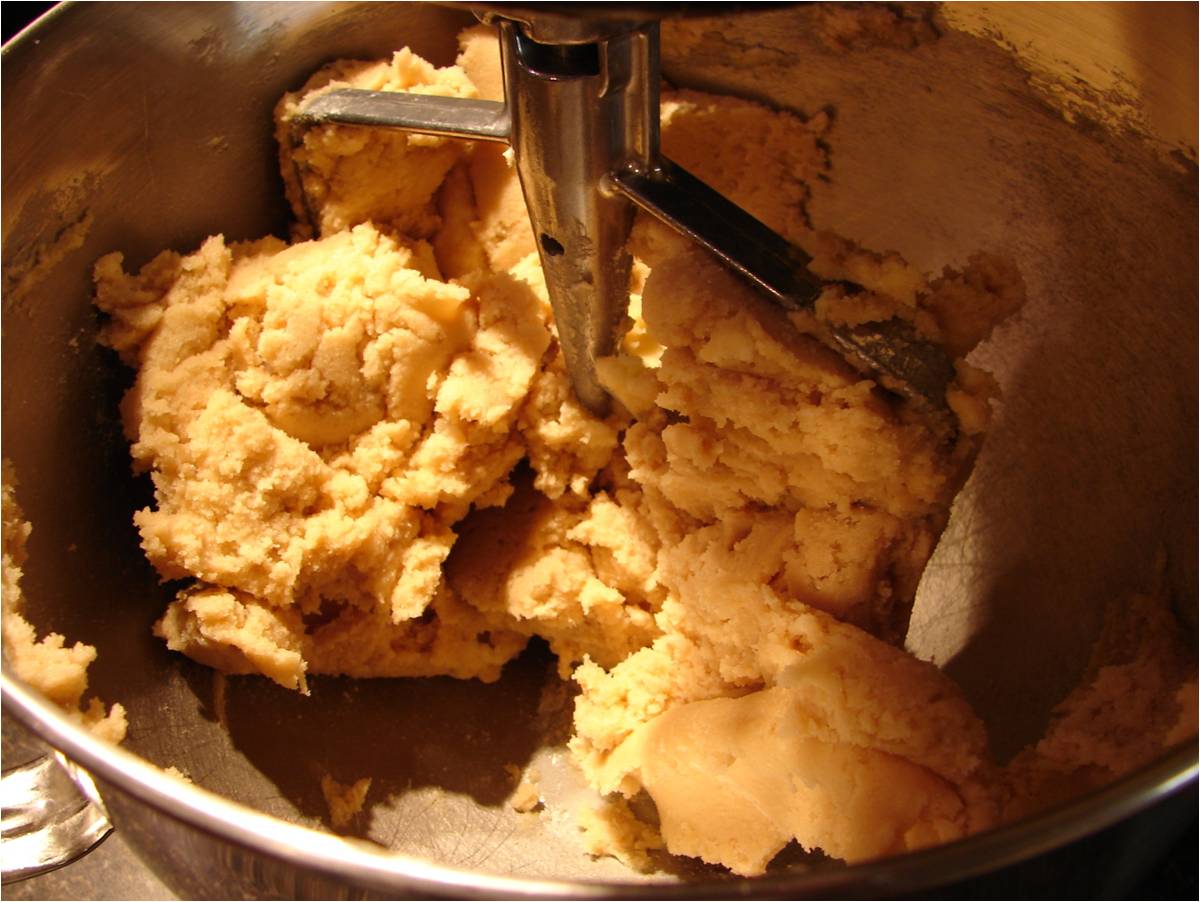
From cookies to carne! (My first non-cookie post.) – originally posted 3/14/2011
This weekend, we were CELEBRATING! Ric finished his Ph.D. in Nuclear (Radiological) Chemistry! Instead of commemorative pocket protectors we went with Prime Rib. My Aunt Angela, Uncle Pete, Cousin Melissa and all the kids were in the kitchen at some point.
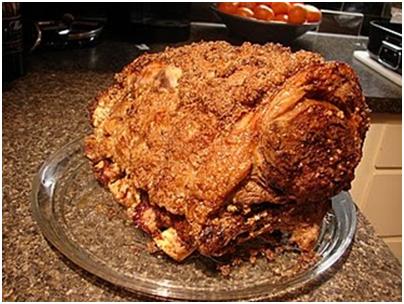
Just after we took the photo we realized we needed to re-platter.
The first time I tried roasting prime rib was after watching one of our students, (who is determined not to be a chef, except when he’s in the kitchen), pull it off for a crowd at a Christmas party. It was delicious. I came home and studied my Julia Child cookbook for a few days, and finally plunged in on Christmas day 2009 for my family, mom, dad and grandma. The results were spectacular with twice-baked potatoes, steamed artichokes and luscious white rolls.
Here’s the basic recipe:

Details are lacking, but it jogs my memory.
Directions:
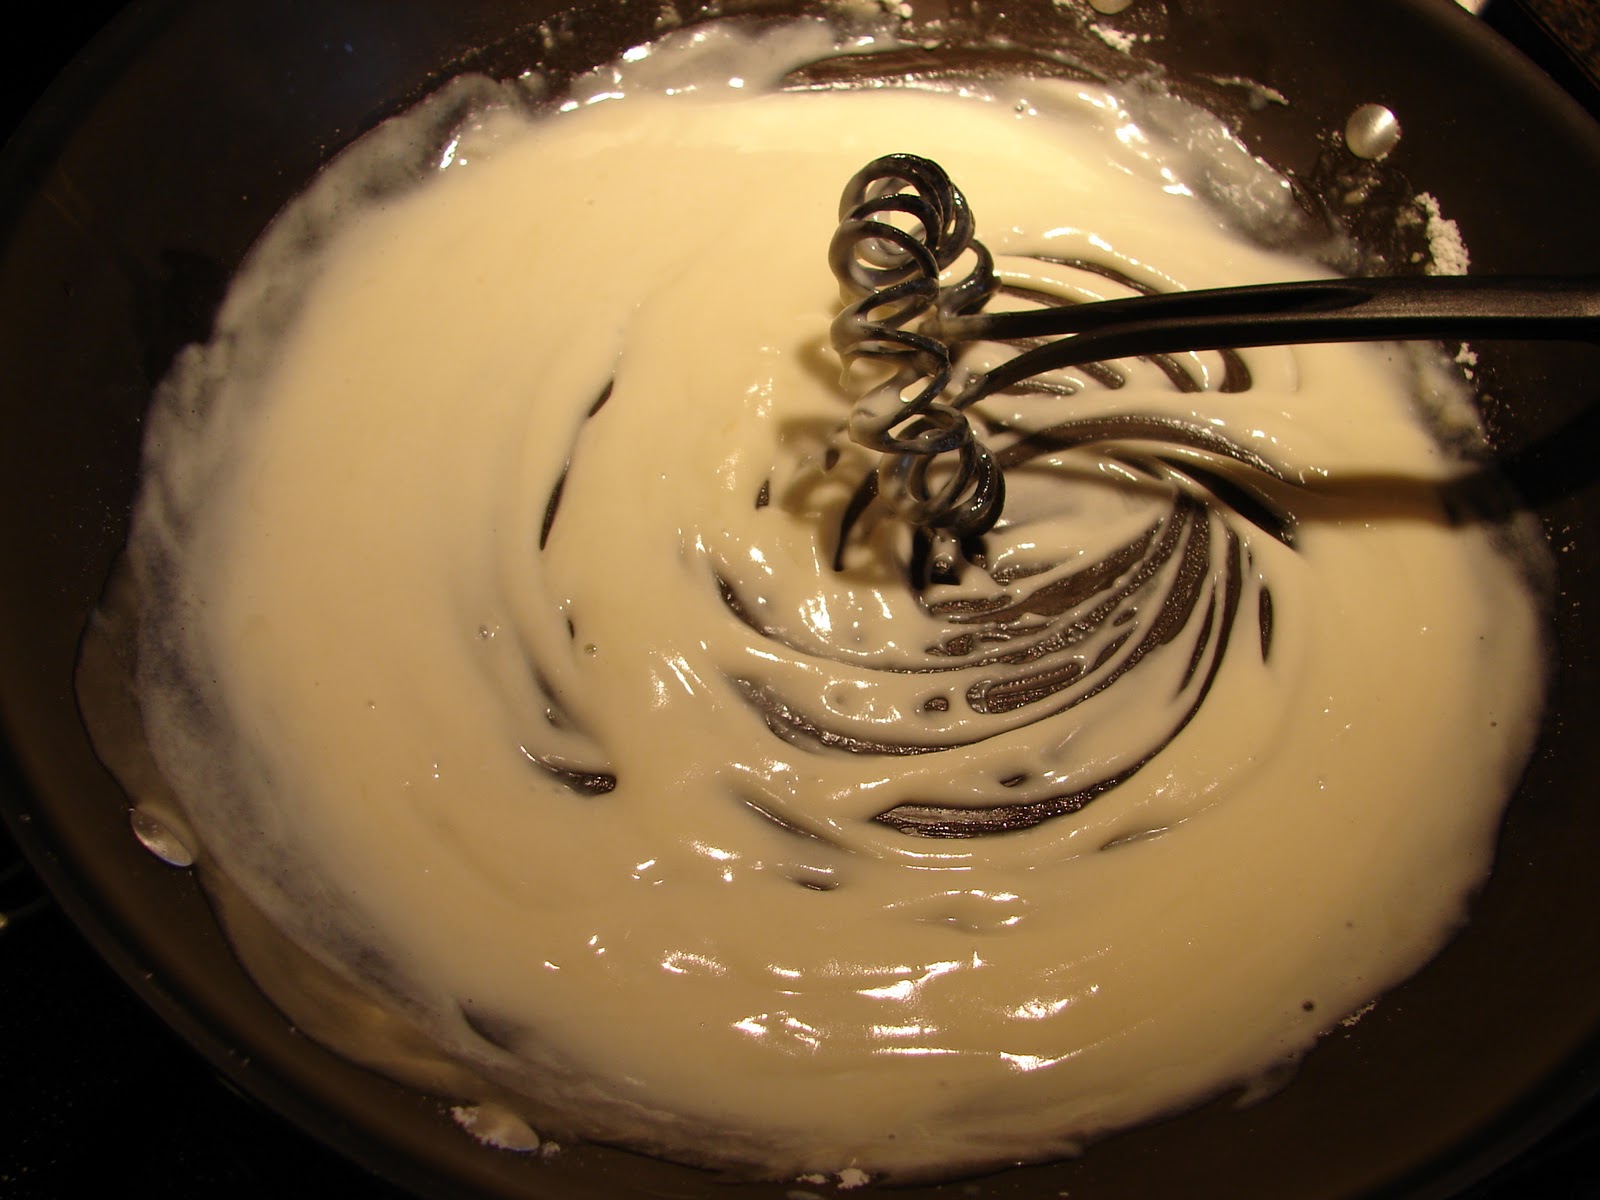
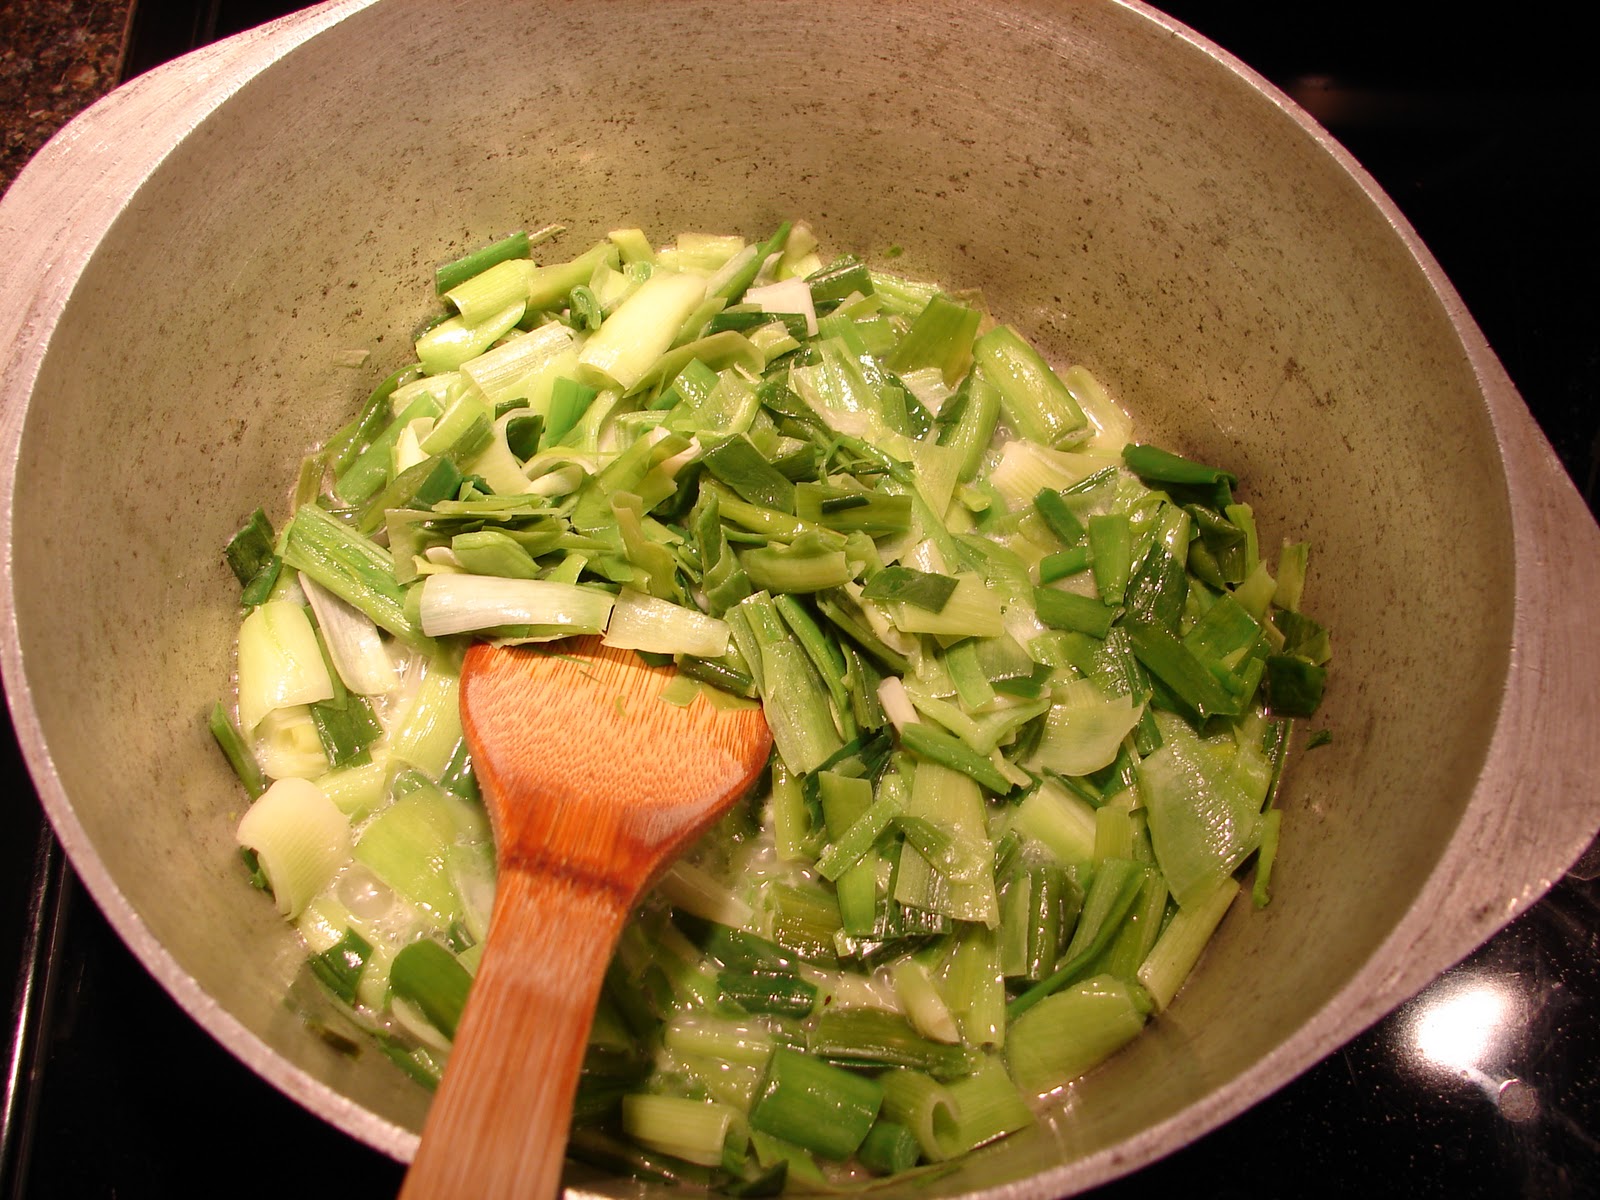
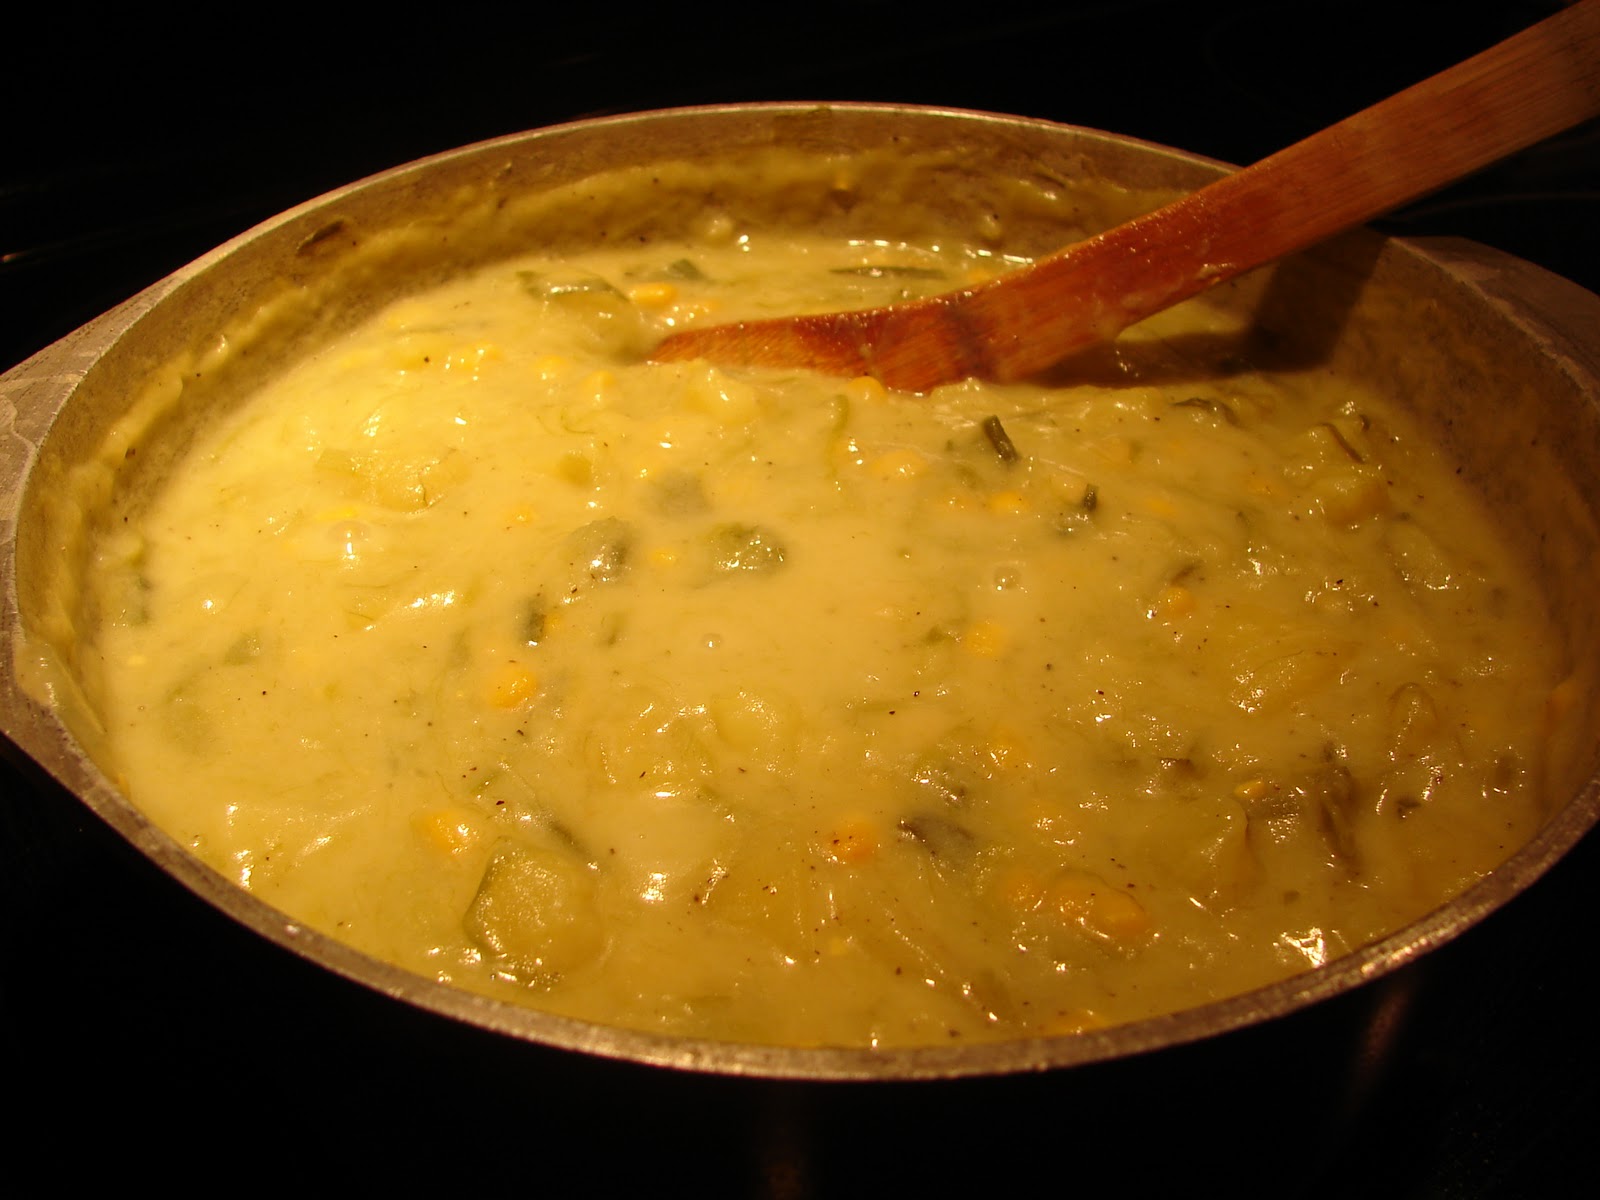
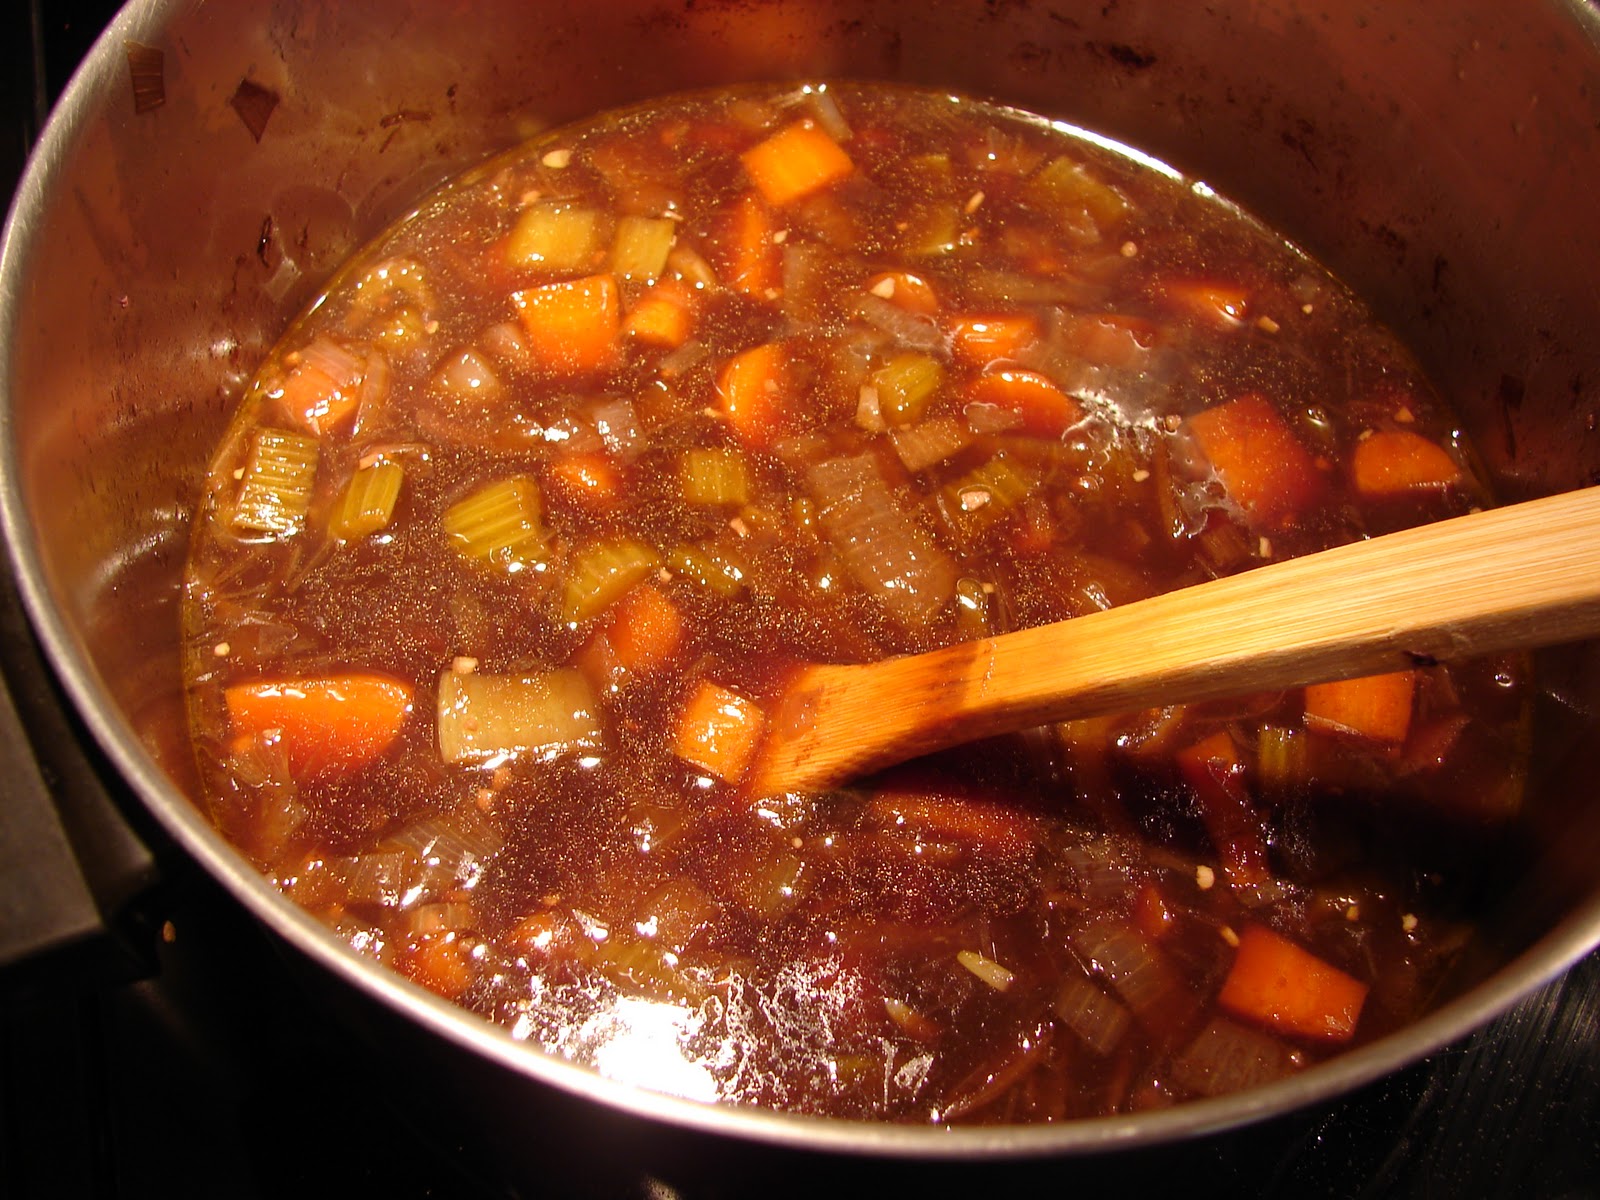
About six hours before you want to eat, Start the Sauce with Veggies and Broth – Coarsely chop two onions, a few stocks of celery and several carrots. Toss them into a sauté pan with olive oil and garlic. When the vegetables are soft, and just beginning to brown at the edges, pour a cup or so of red wine into the pan to “deglaze”. Then dump it all into the bottom of a large stock pot and pour a couple of quarts of beef broth over the top. Add a bay leaf, thyme, rosemary and black pepper to taste. Let it steam on low while the vegetables give up their essence and the sauce reduces.
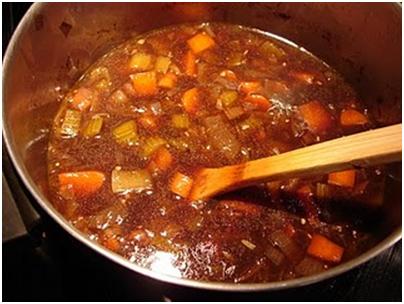
The sauce, off to a good start.
Decide on Go Time for the Meat: Divide the weight of the prime rib by 3 to figure out approximately how many hours to allow – for example: 12lbs needs about 4 hours. Just before you need to start, preheat the oven to 400, and prepare the salt crust for the meat. Mix the salt, oil, peppers and mustard in a small dish until you get a coarse paste. Rub it all over the outside of the roast.
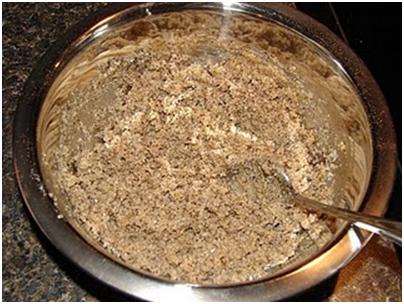
The salt-crust paste.
Place the salt encrusted meat on a roasting rack and put in the oven at 400 degrees for the first 30 minutes. Then reduce the temperature to 325 degrees for the duration. It takes 15-20 minutes per pound to get the meat to an internal temperature of 135 degrees – medium rare in the center and a little more done at the edges.
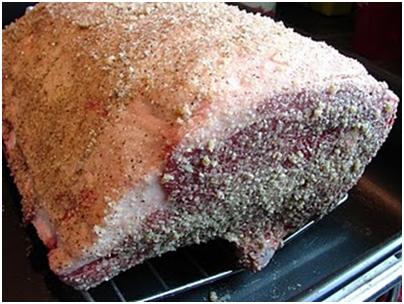
A coat to wear in the oven.
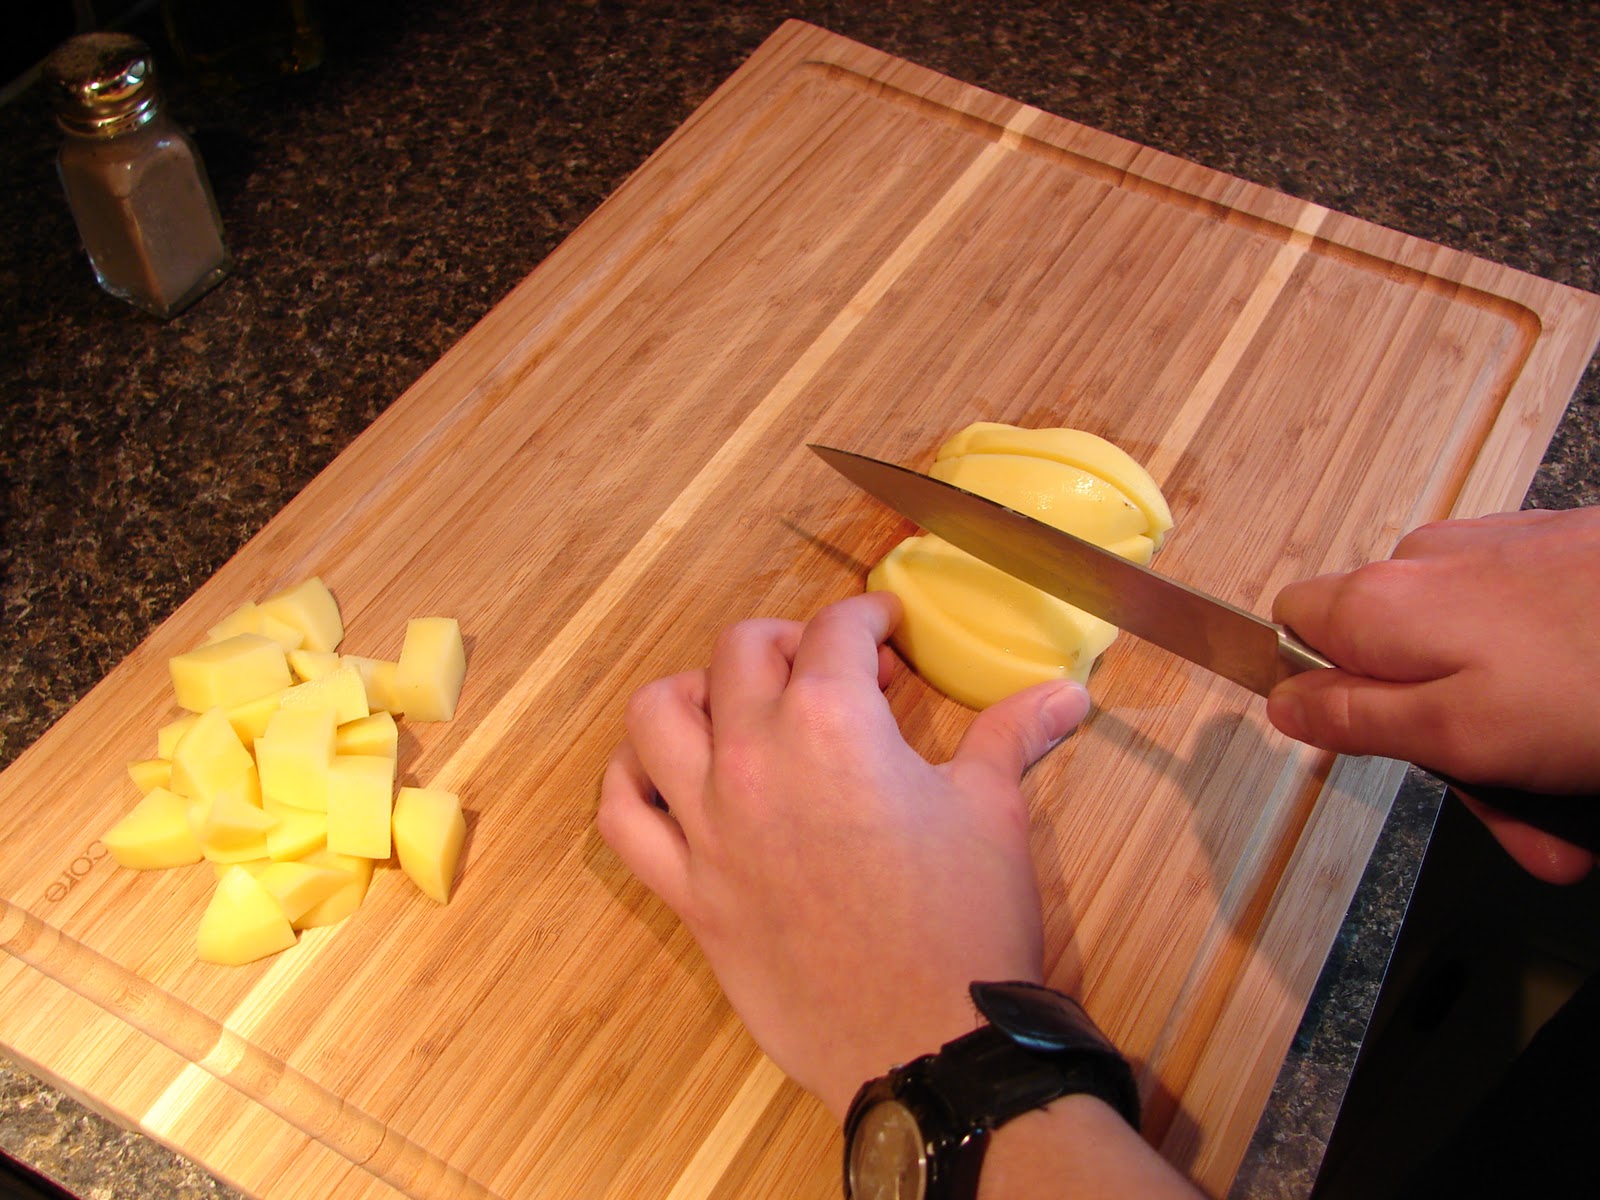
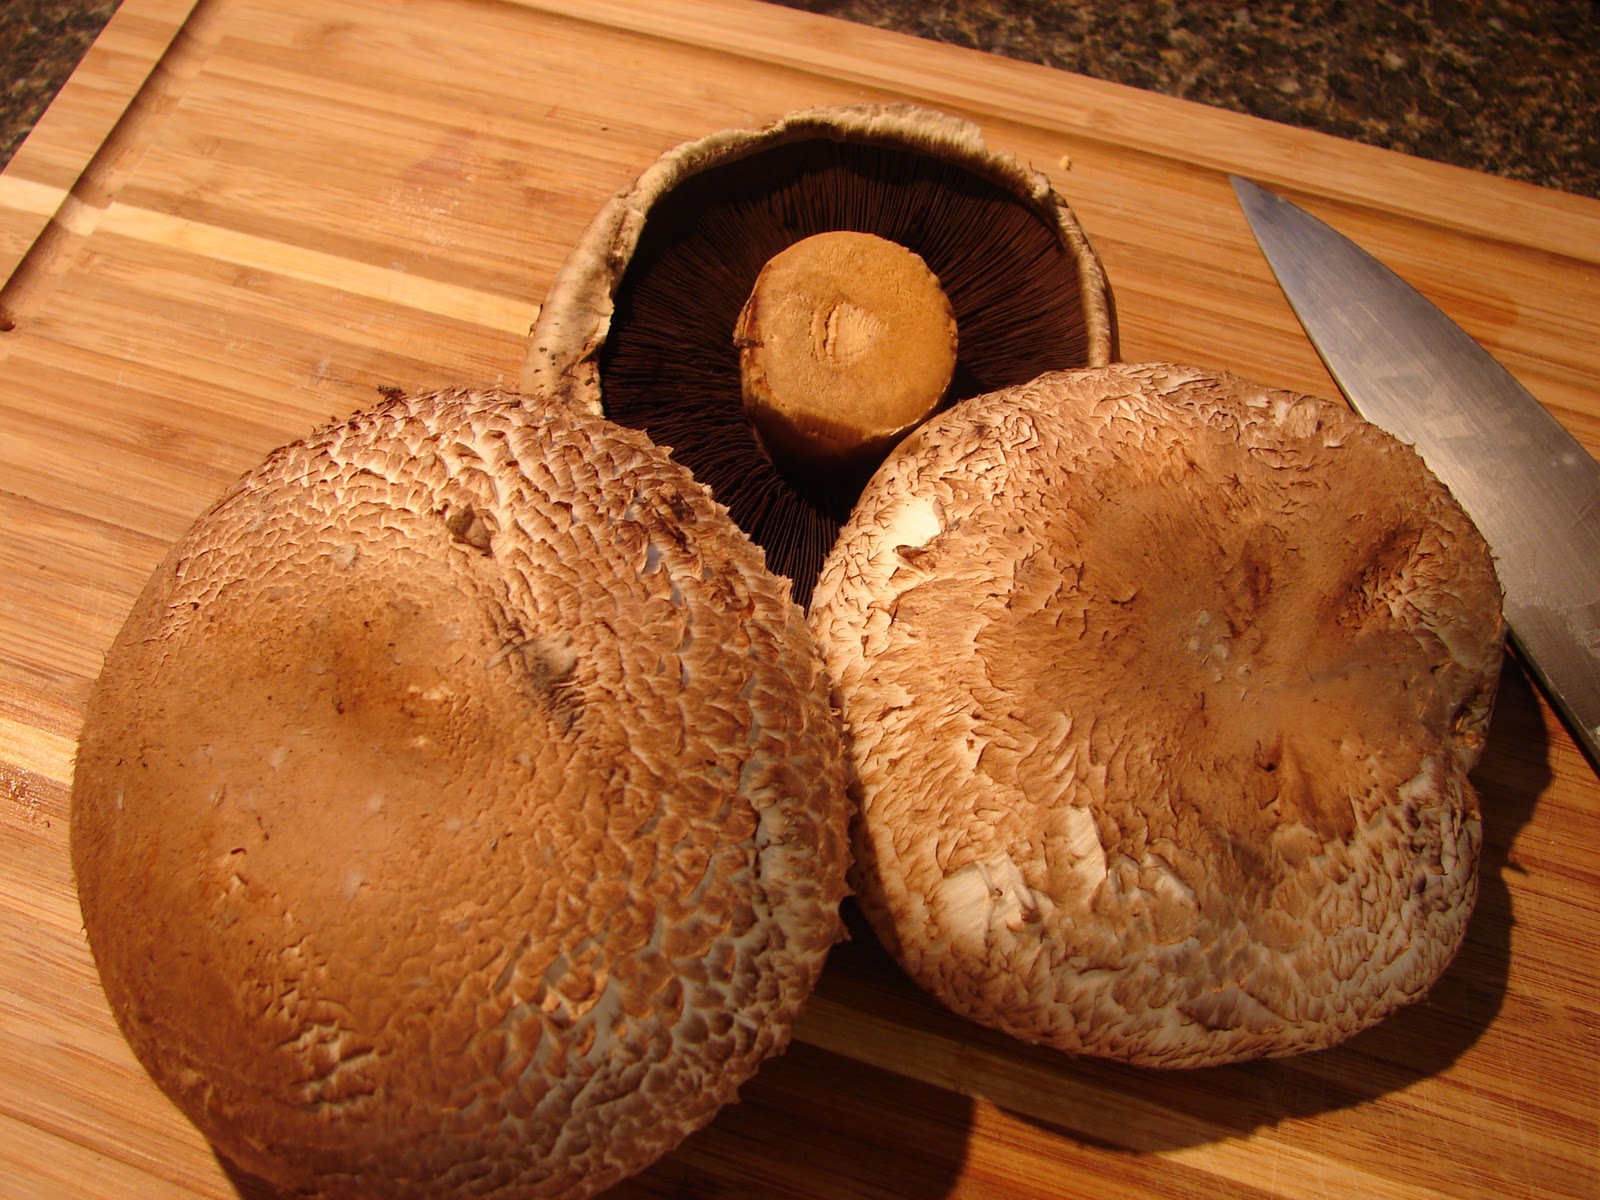
About 1.5 hours before the meal: Chop the Portobello – The earthy flavor of the final sauce comes from these flavorful mushrooms. Chop 3-4 of them – coarsely if you want children to be able to pick them out at the end, or more finely if you want a sophisticated looking version with tiny bits of mushroom. They will shrink a lot in the broth so there’s no need to mince at the start.

I actually don’t care for mushrooms, but these are so good!
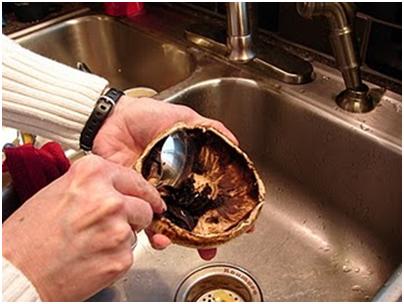
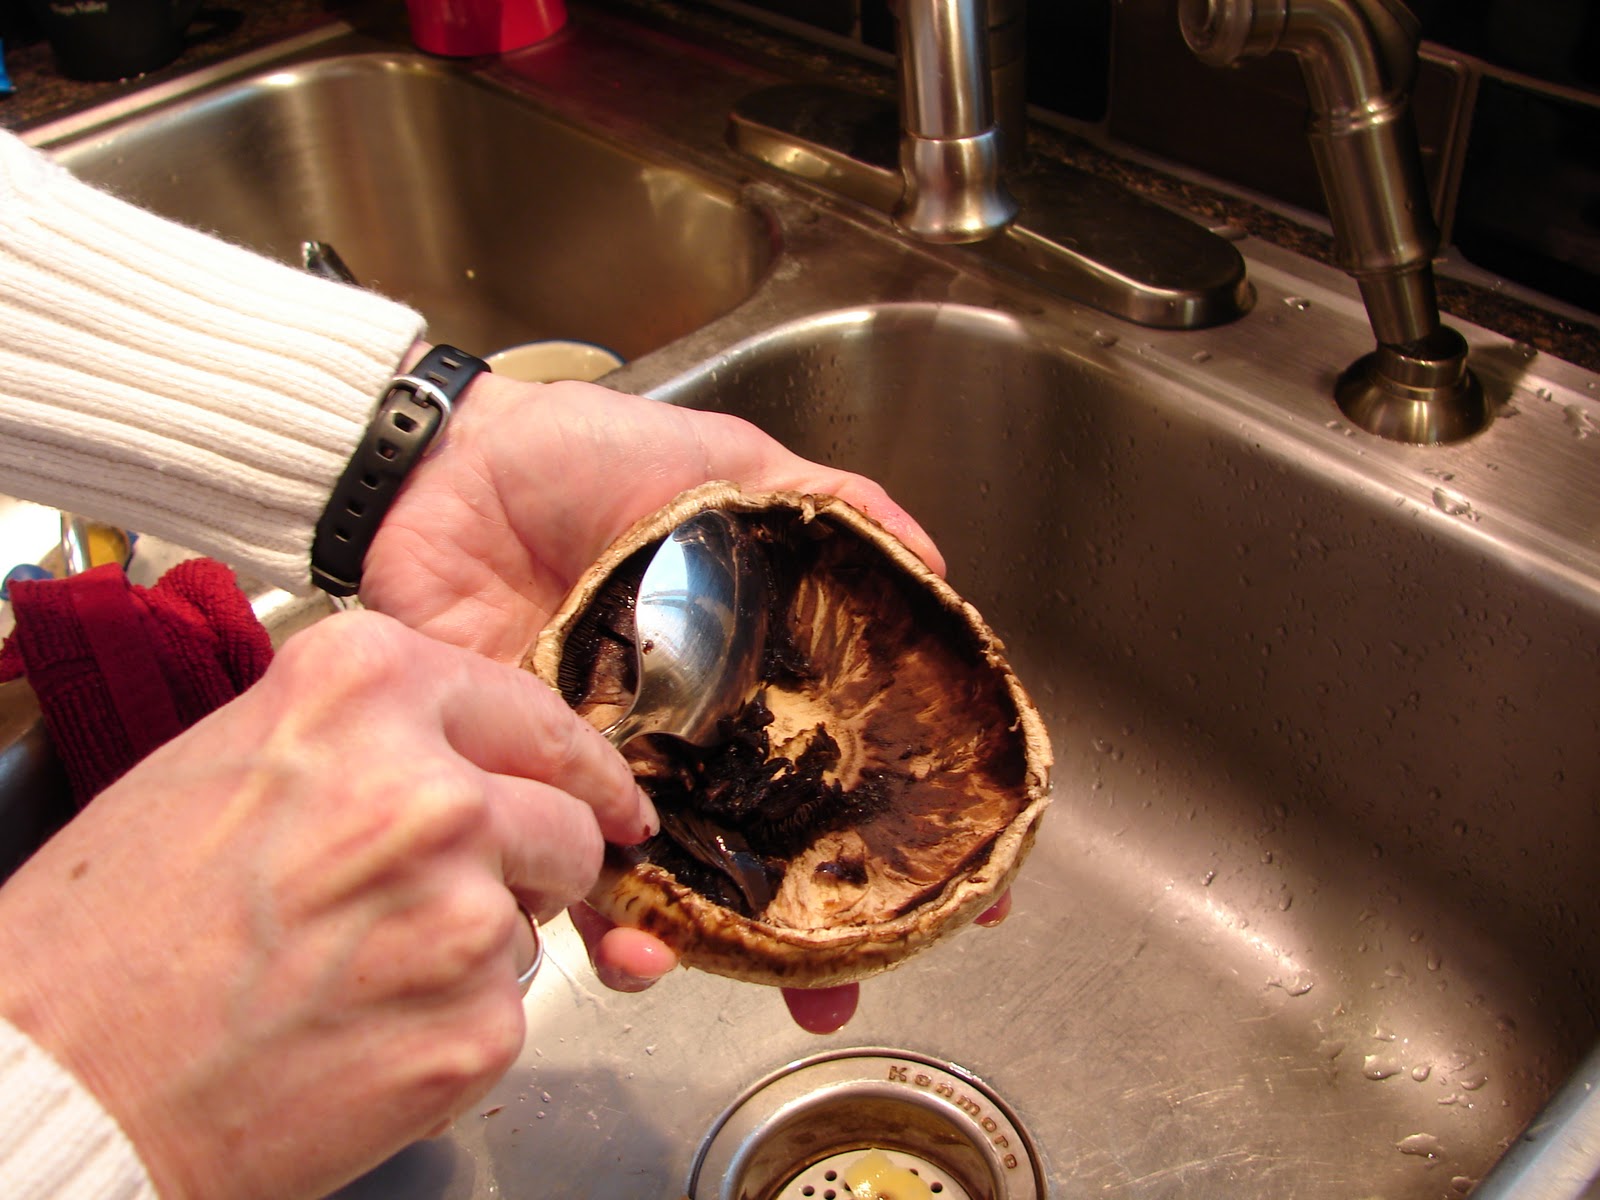
Gutting mushrooms.
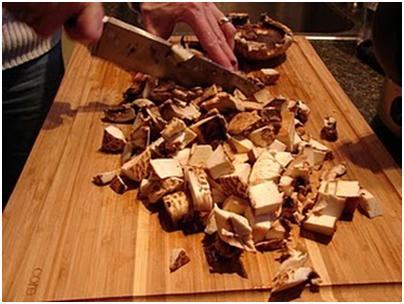
Cutting mushrooms.
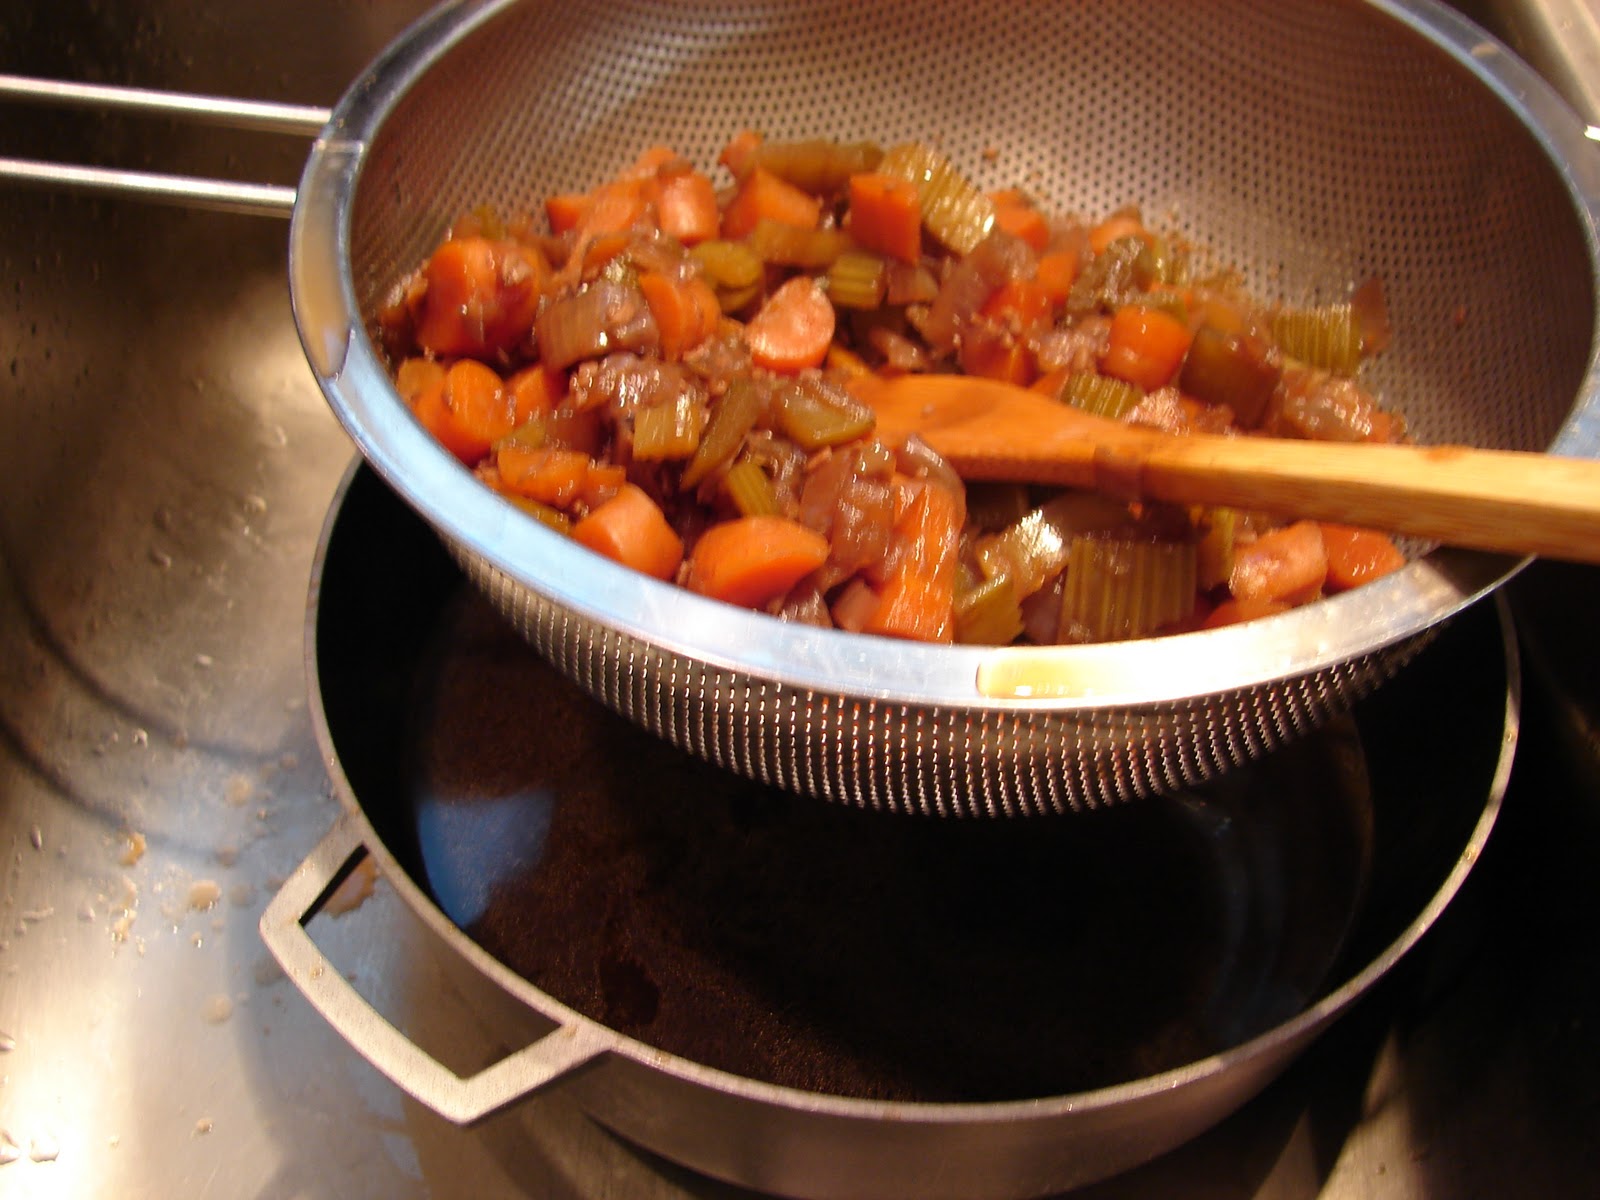
Once you have the mushrooms chopped: Ditch the Veggies – About an hour before you want to serve the meat, it’s time to remove the vegetable carcasses – their flavor is gone and they have nothing left to offer except making what would otherwise be a beautifully smooth sauce full of slimy chunks. Pour the contents of the stock pot through a strainer into another pot. Press the final juices from the vegetables in the strainer and discard them. Oops…I wasn’t going to use text-bookish words like “discard” so, how about – “plop ’em in the trash”.

The vegetables are spent. It’s time to dump them.
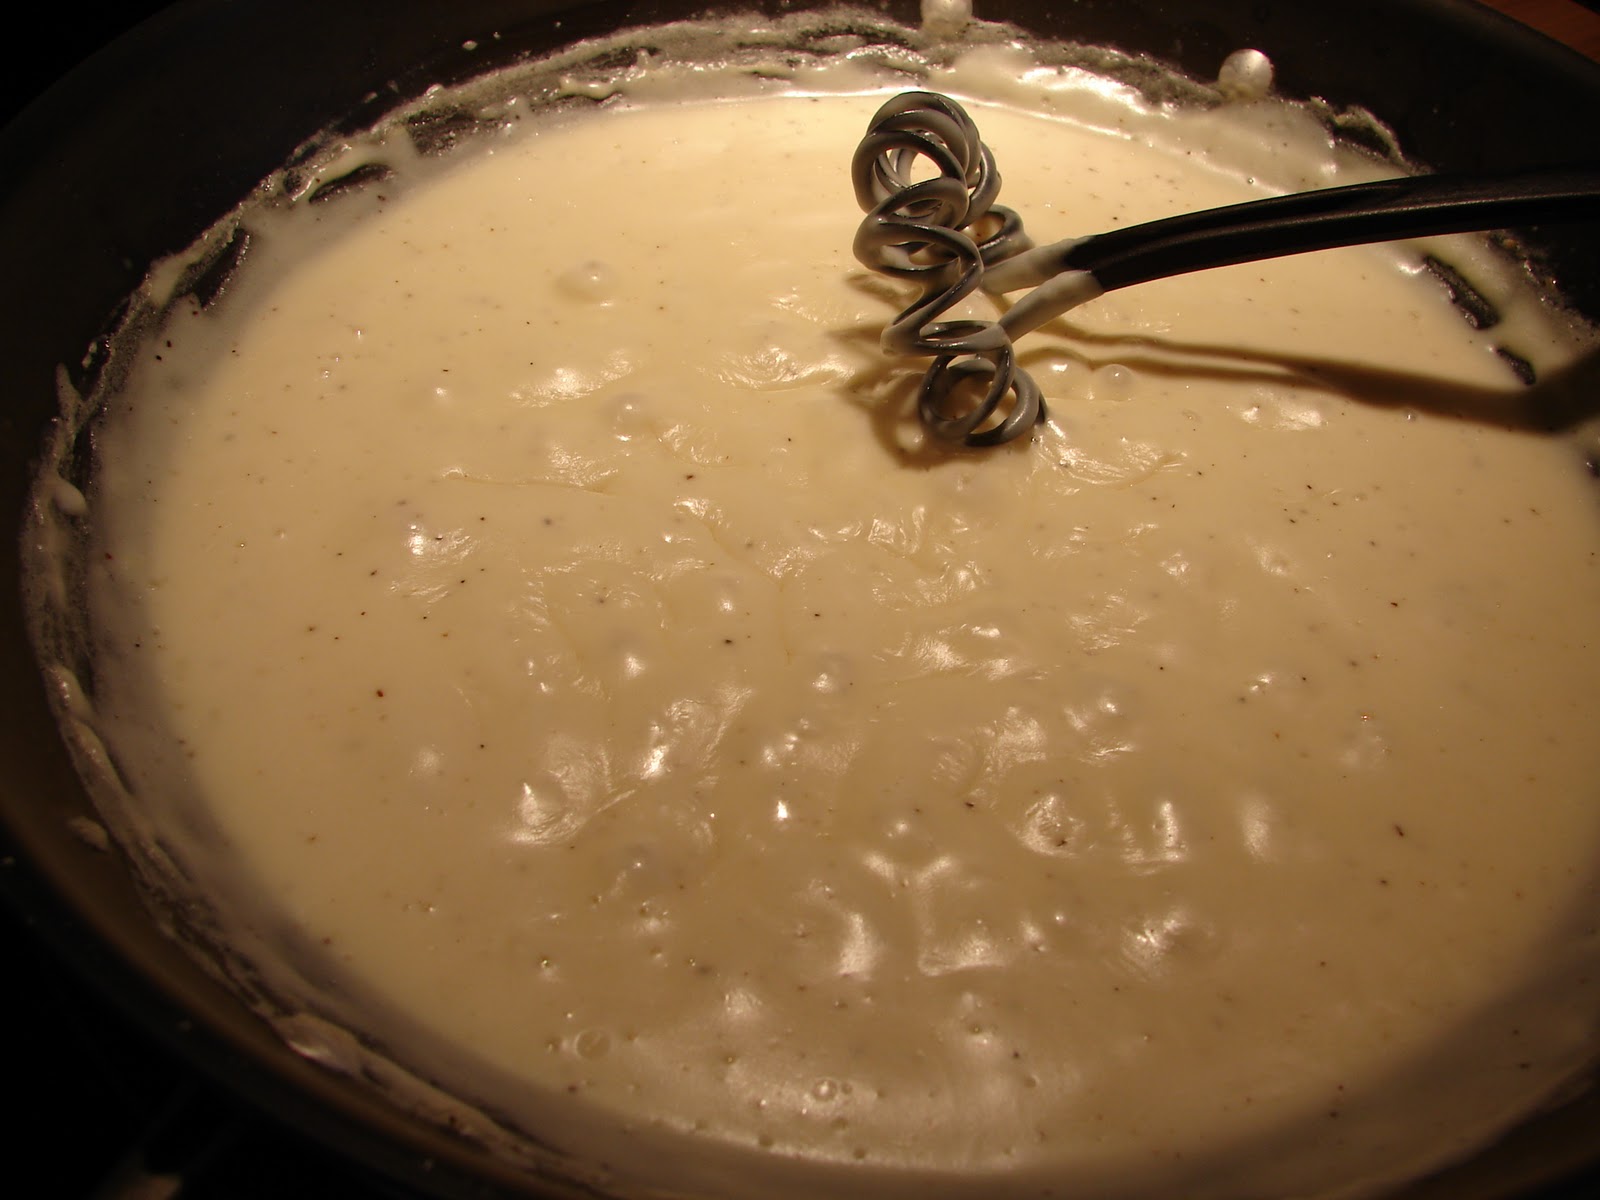
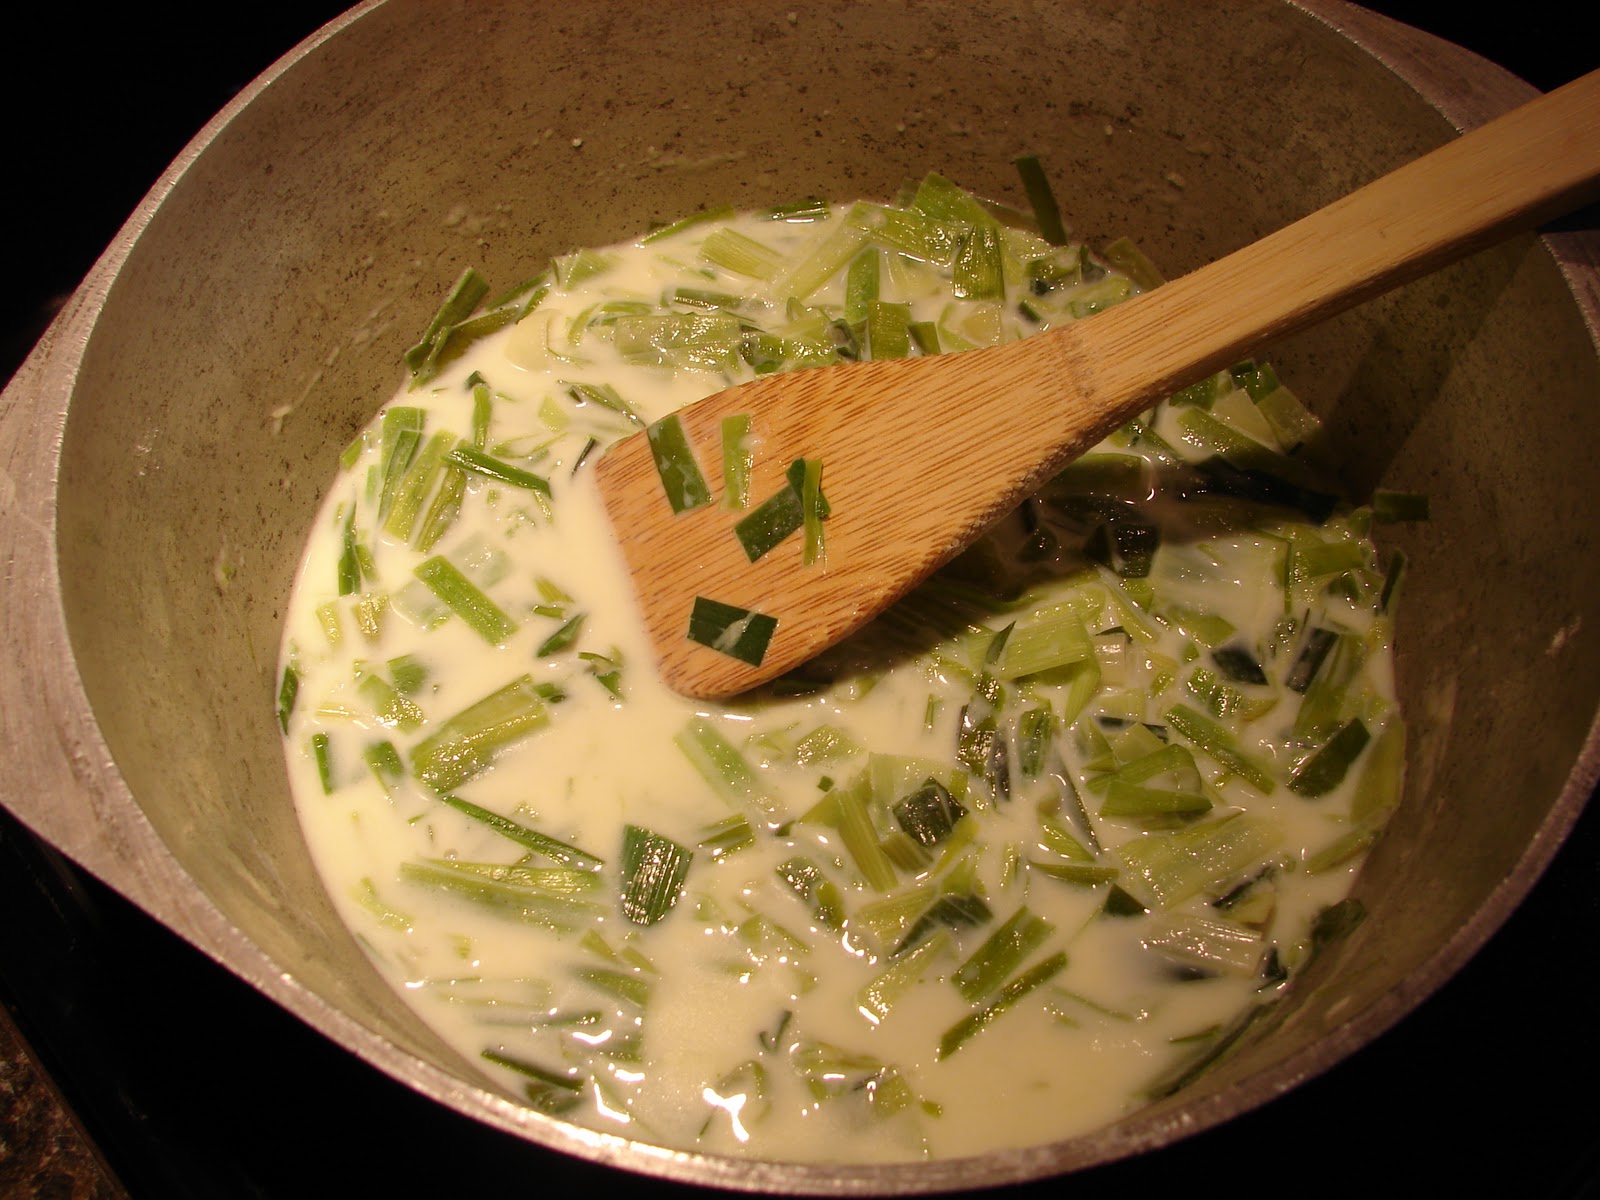
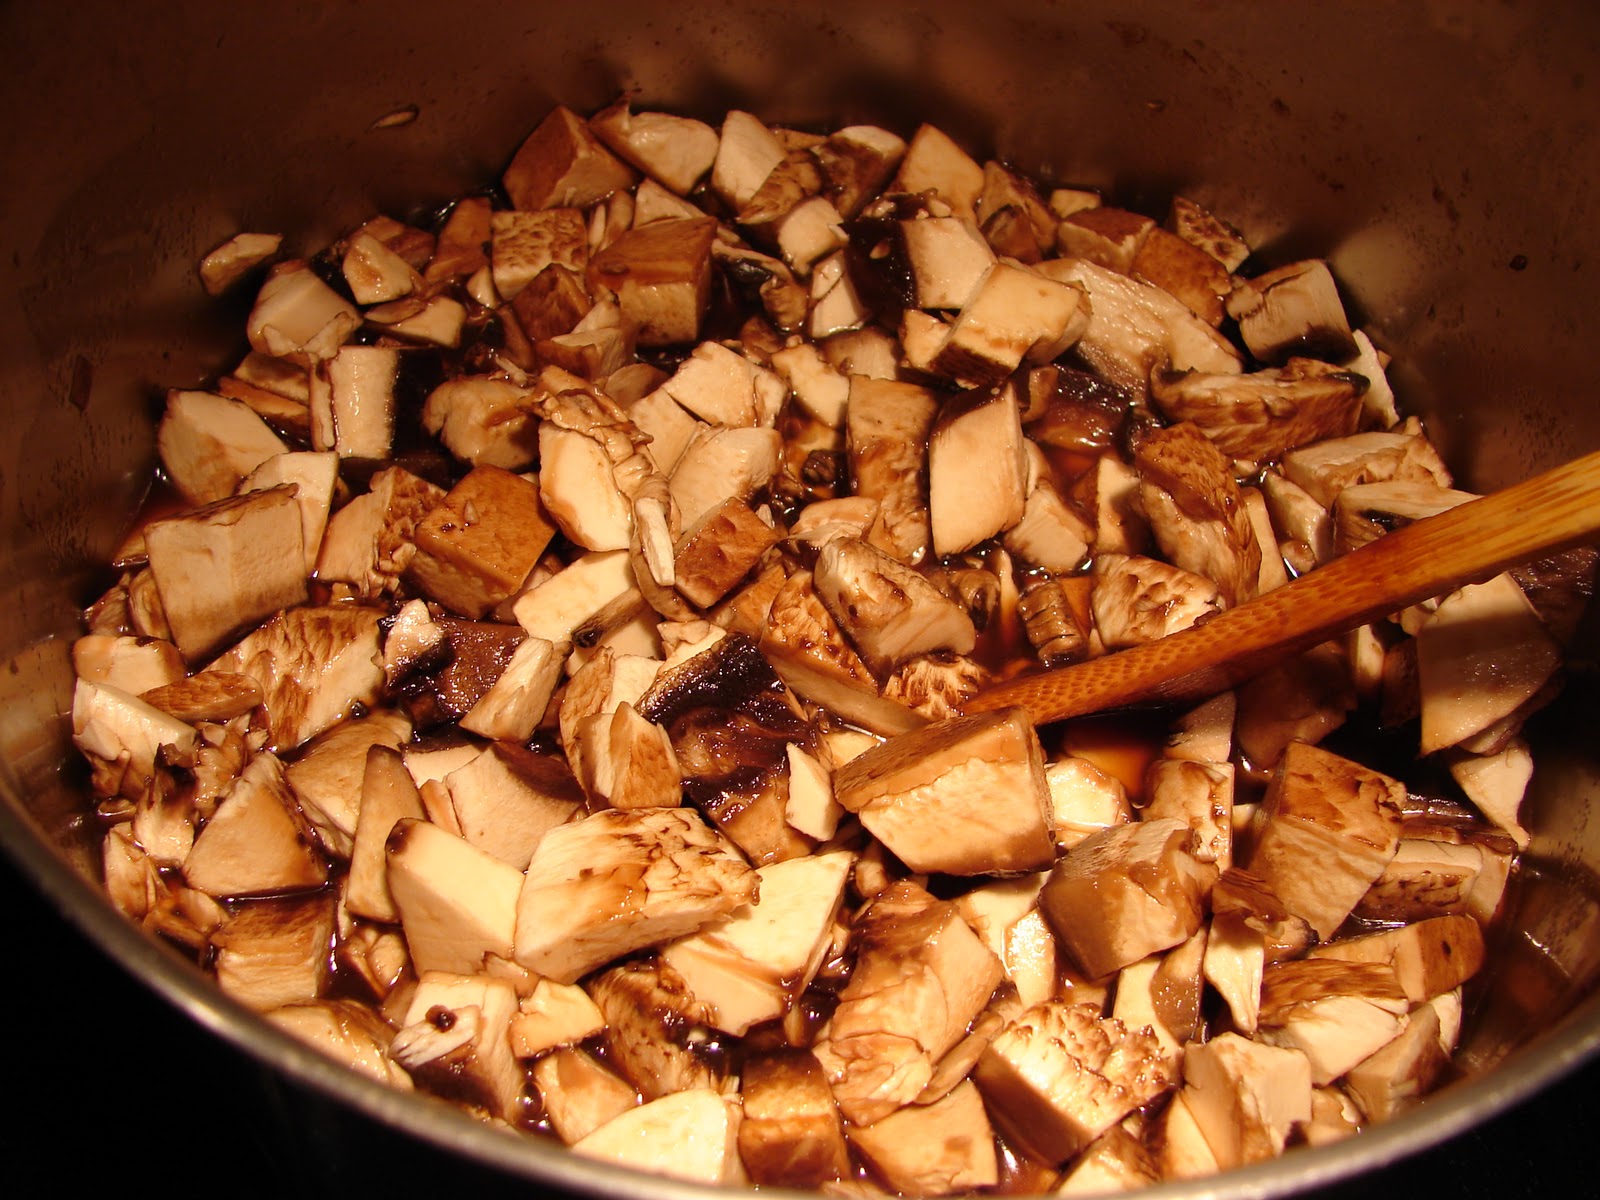
Once the veggies are out: Dump in the mushrooms and let them do their work.

There’s broth under there somewhere…the mushrooms will shrink.
Watch the Temperature. It’s really important to have a thermometer in the meat in order to keep from wasting a very expensive cut by over or under cooking. The Javin says 130, but that’s pretty rare for the home environment where it won’t continue to warm in a chafing dish. I think that waiting until it hits 135 works a little better.
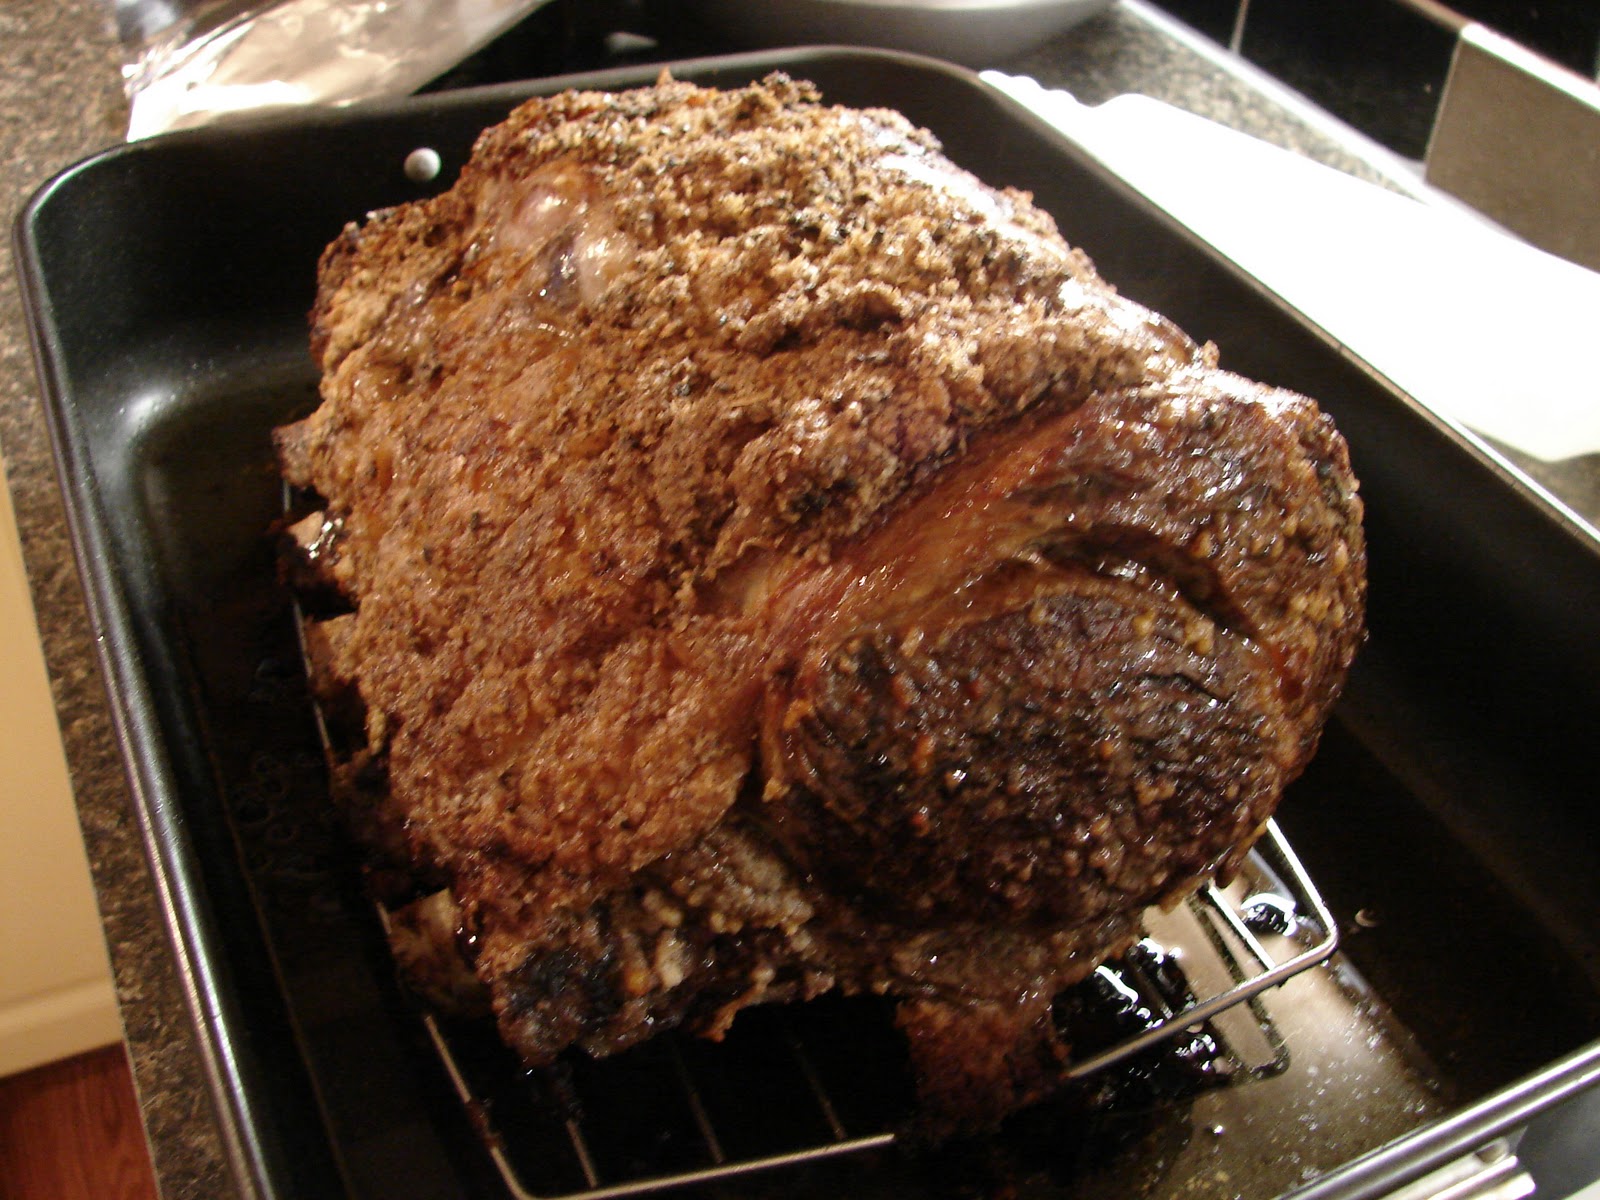
When the temperature reaches 135: Take it out! Admire it. Then put it under a loose blankie of foil and let it rest for 10-15 minutes before carving.
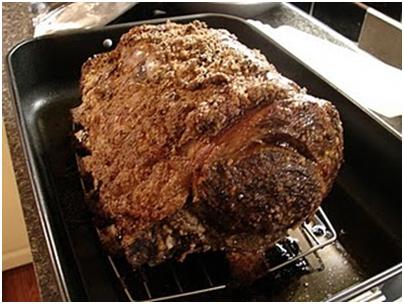
Right out of the oven.
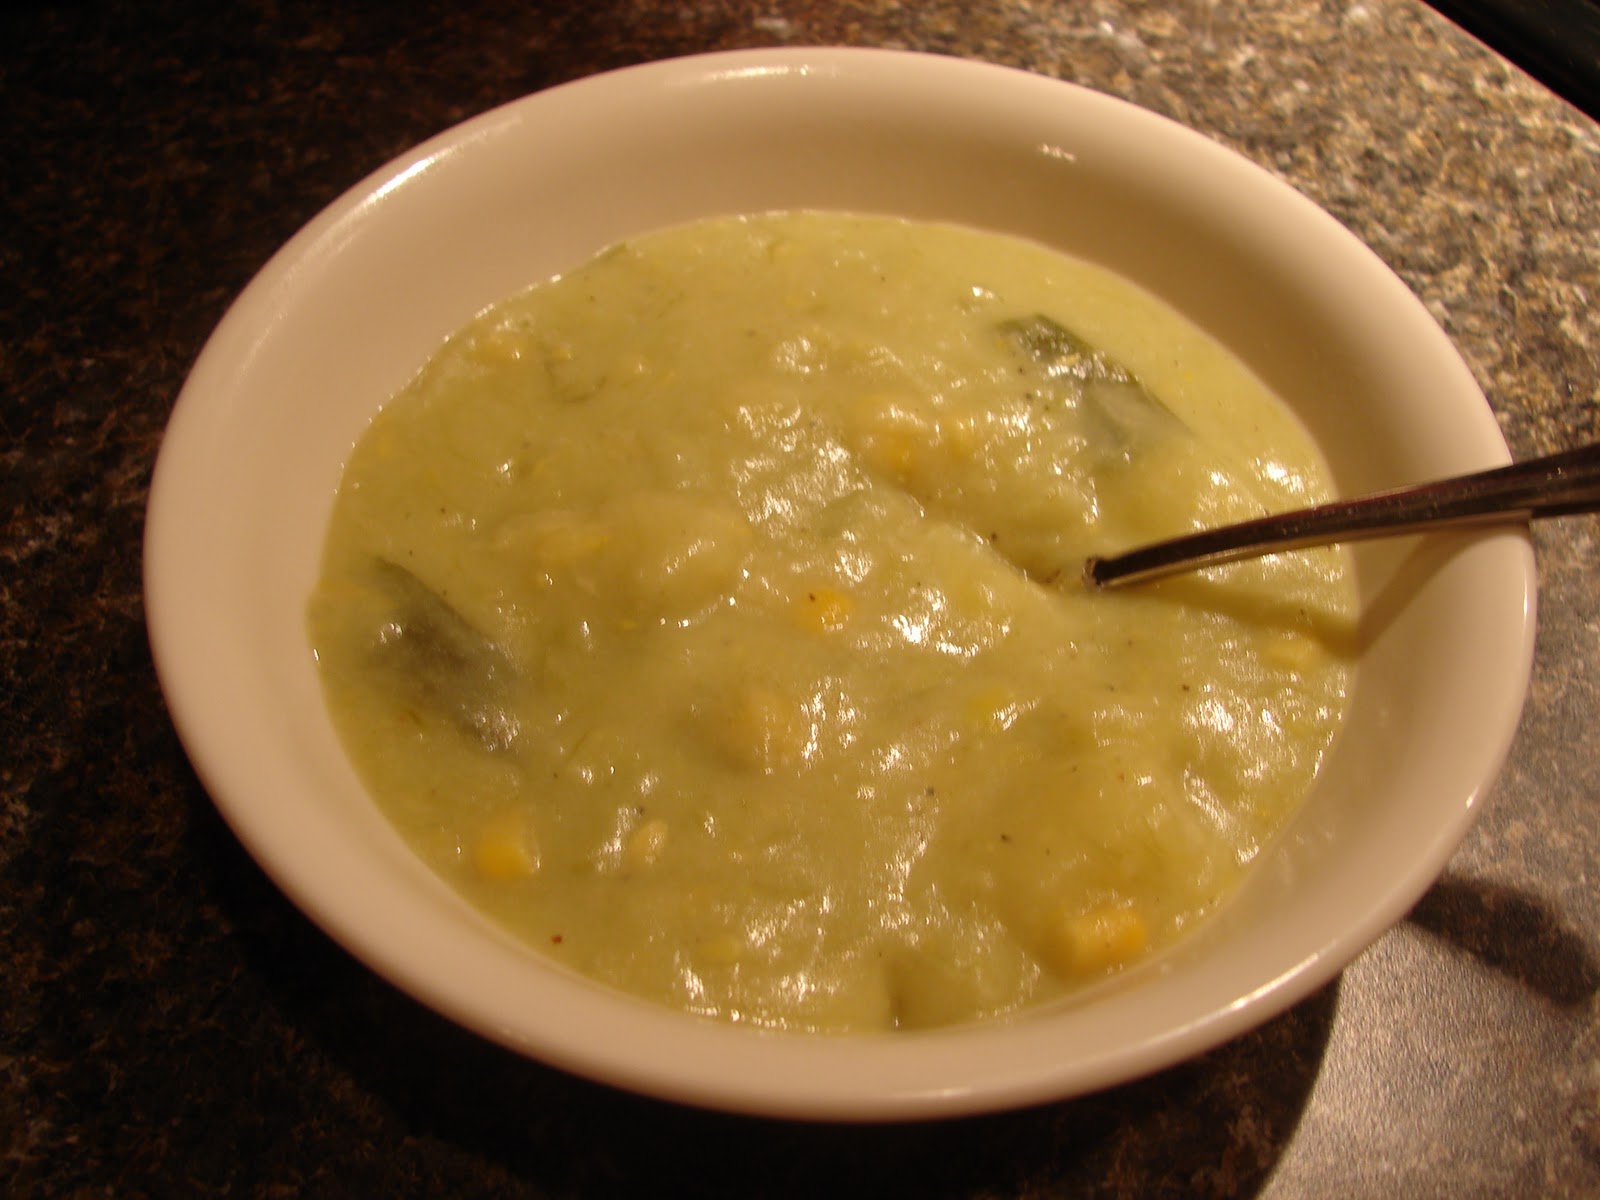
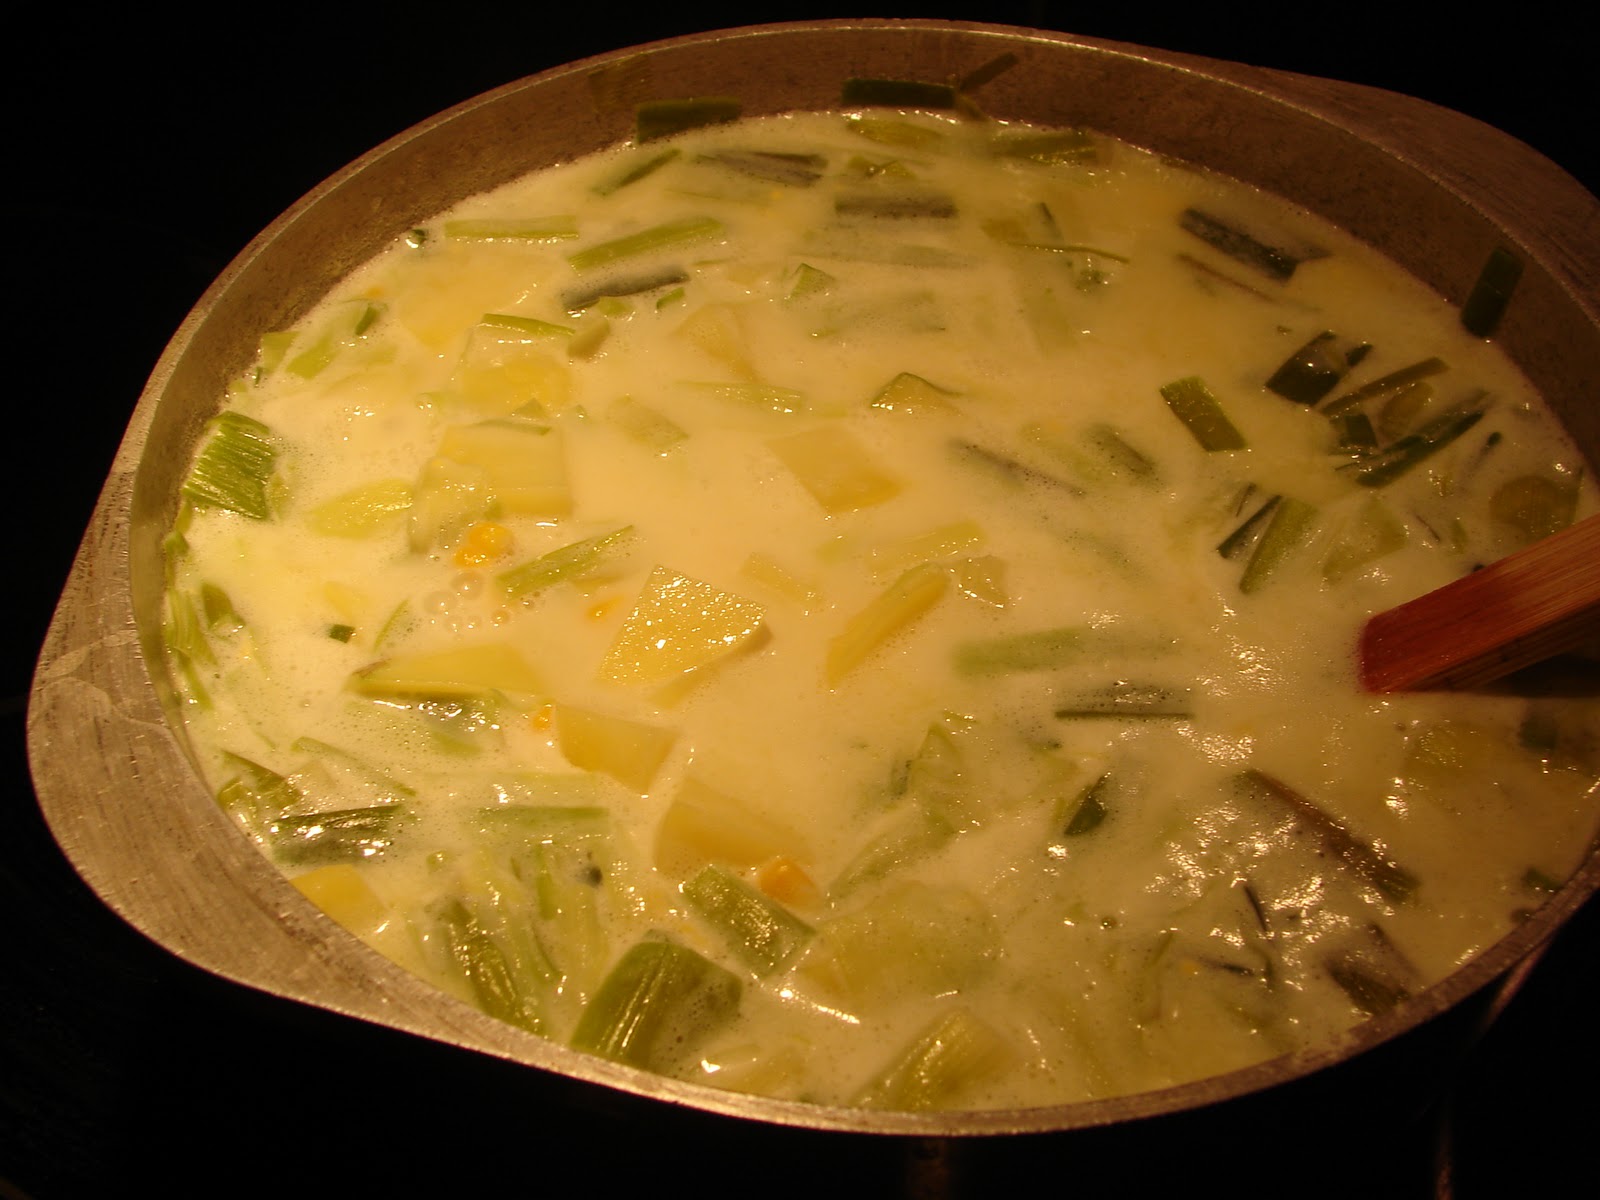
Shhh…while the meat is resting…thicken the Sauce. Quietly, dissolve 1-2 TBSP of cornstarch in ½ cup of cold water and pour it into the fortified broth mixture. This will help thicken the sauce slightly.

Sauce almost ready – the mushrooms did shrink!
When everything is ready, uncover the roast. Carve. Cover in sauce. Eat.
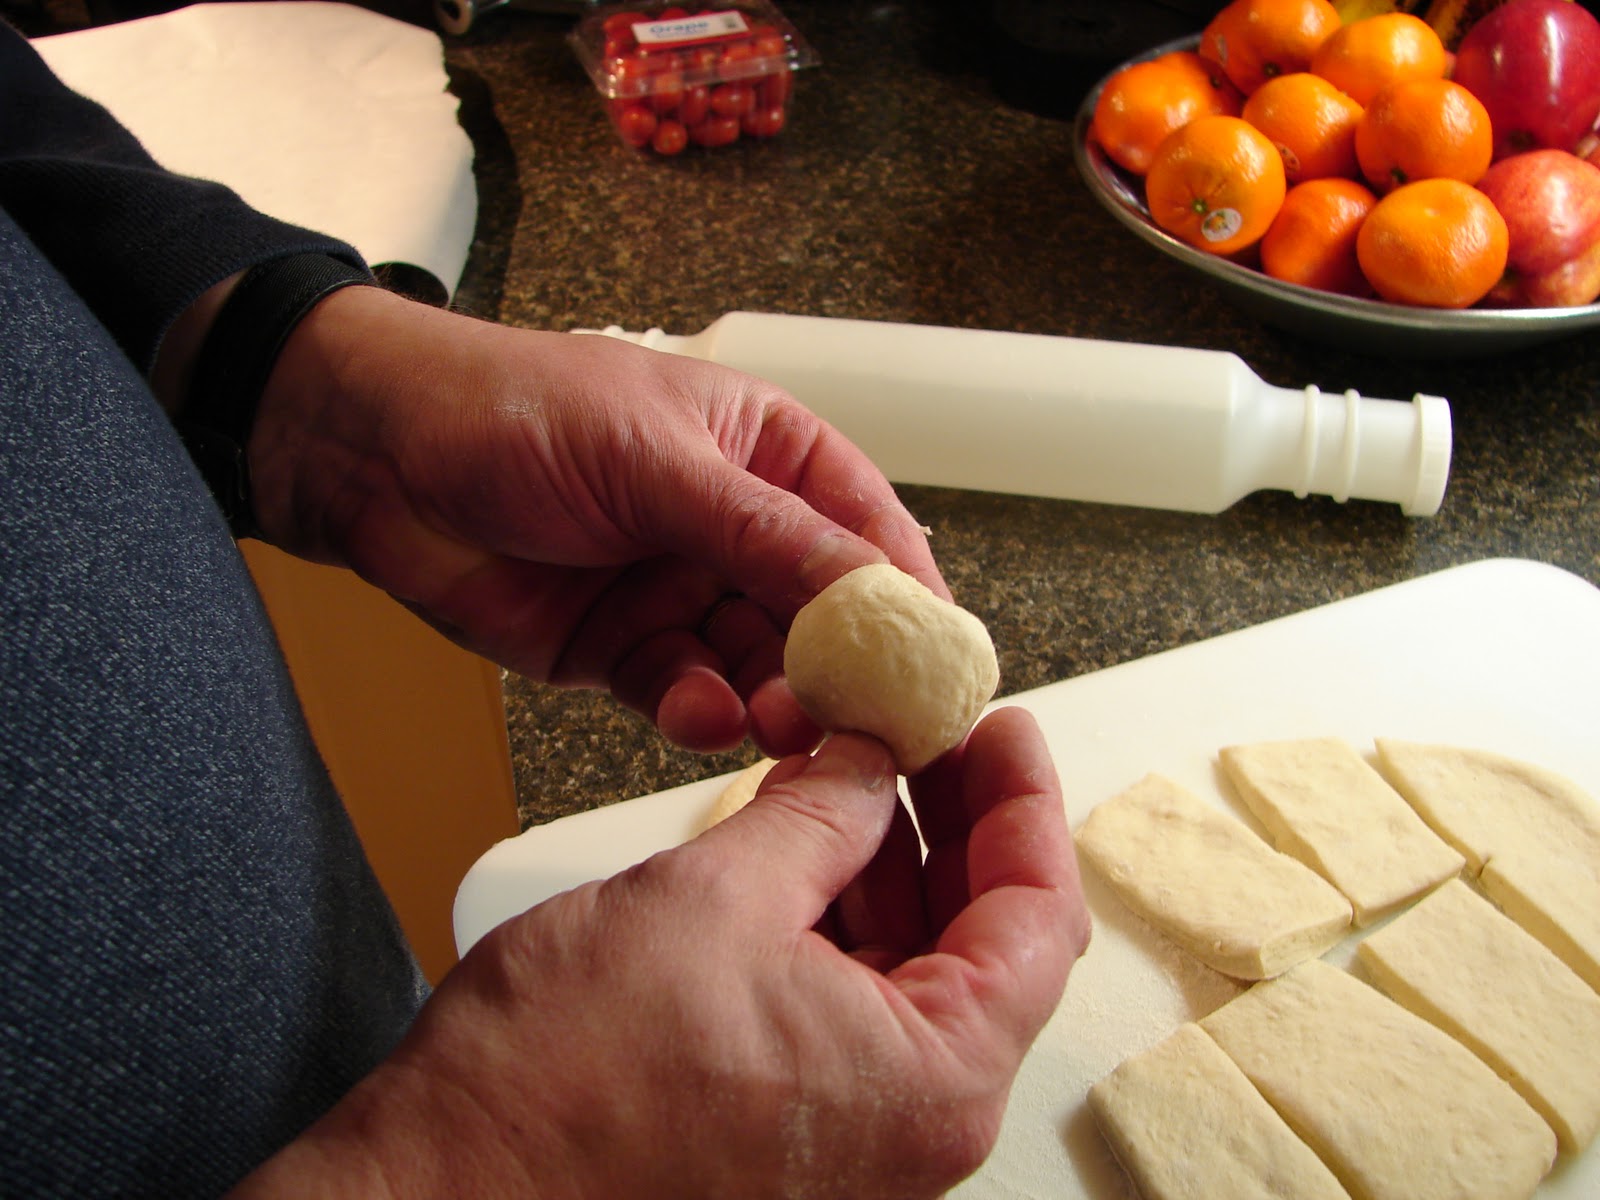
A Sprinkle of Reality: That part about quietness while the meat rests…that was a joke! All of the above would be simple and calm if we ate prime rib without any sides. But, in those gaps between steps, you have to fit the potatoes, any veggies that don’t get dumped, bread, salad and perhaps even plans for dessert. On this particular occasion we kept it pretty simple with a green salad, mashed potatoes, Uncle Pete’s homemade rolls and apple crisp with freshly whipped cream for dessert.

Uncle Pete forming rolls.

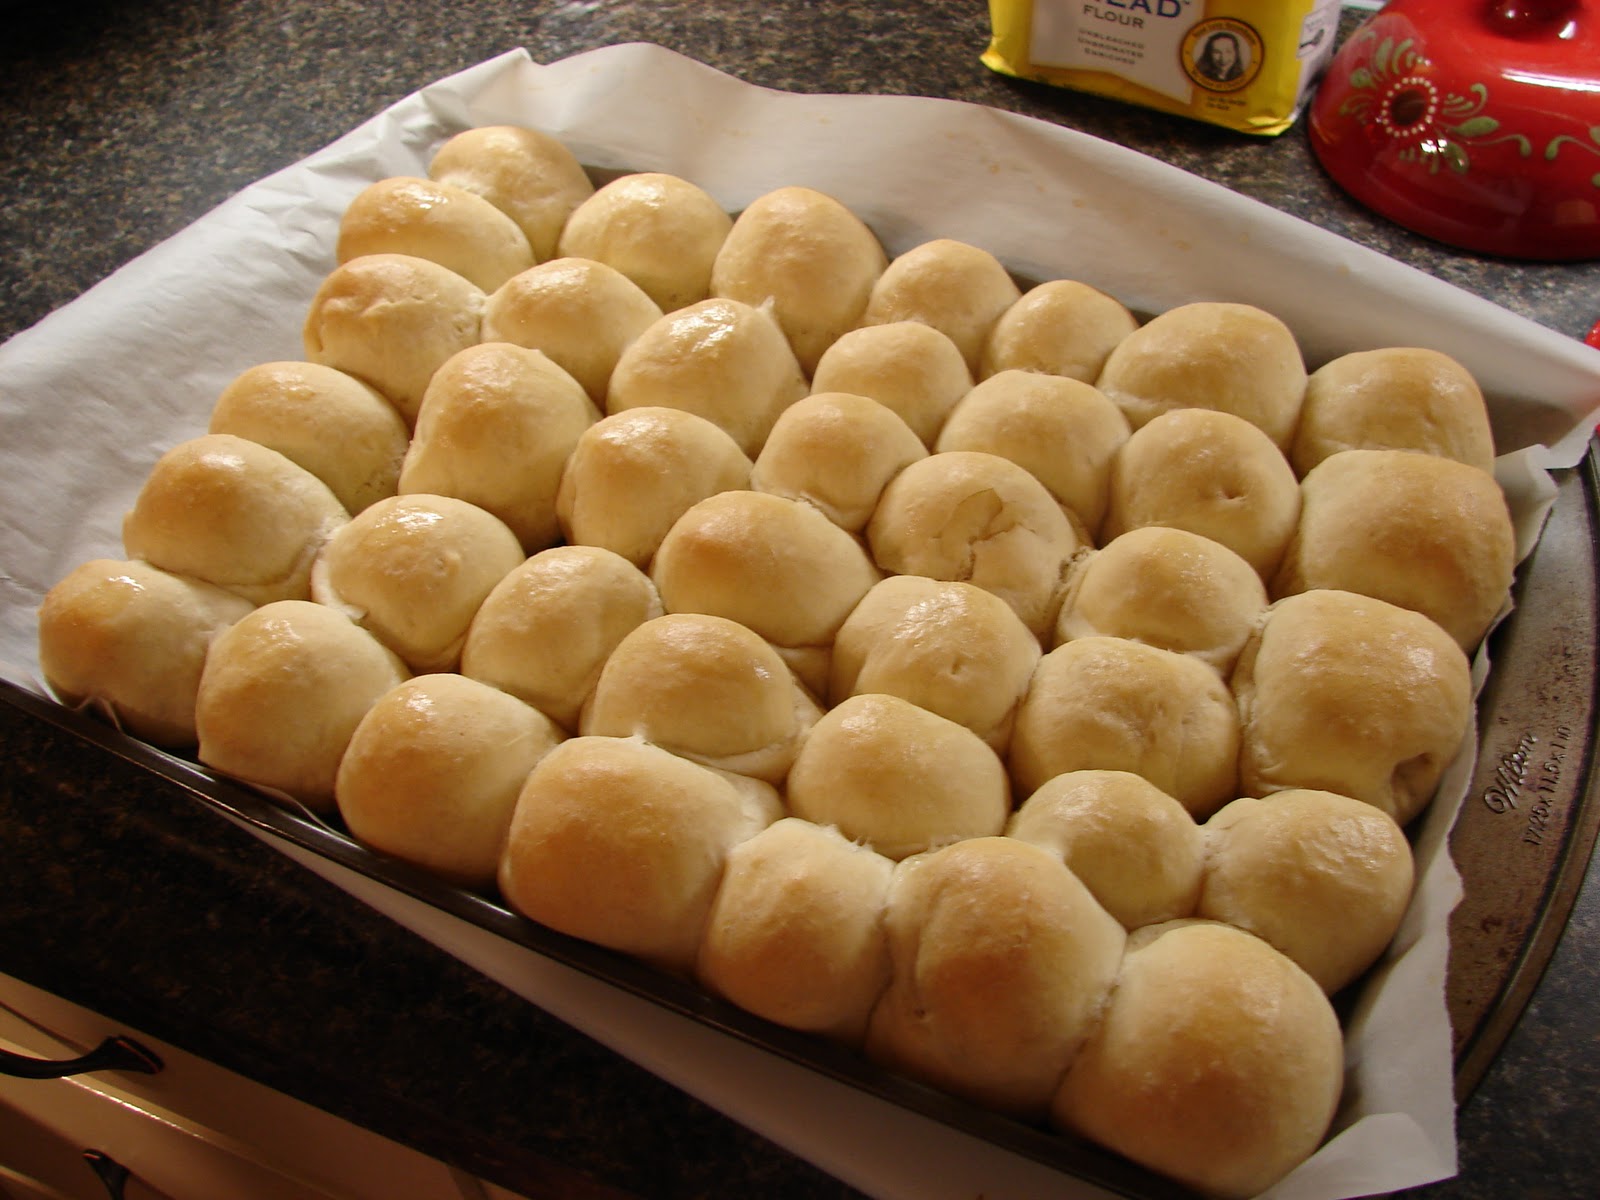
Ready to eat.

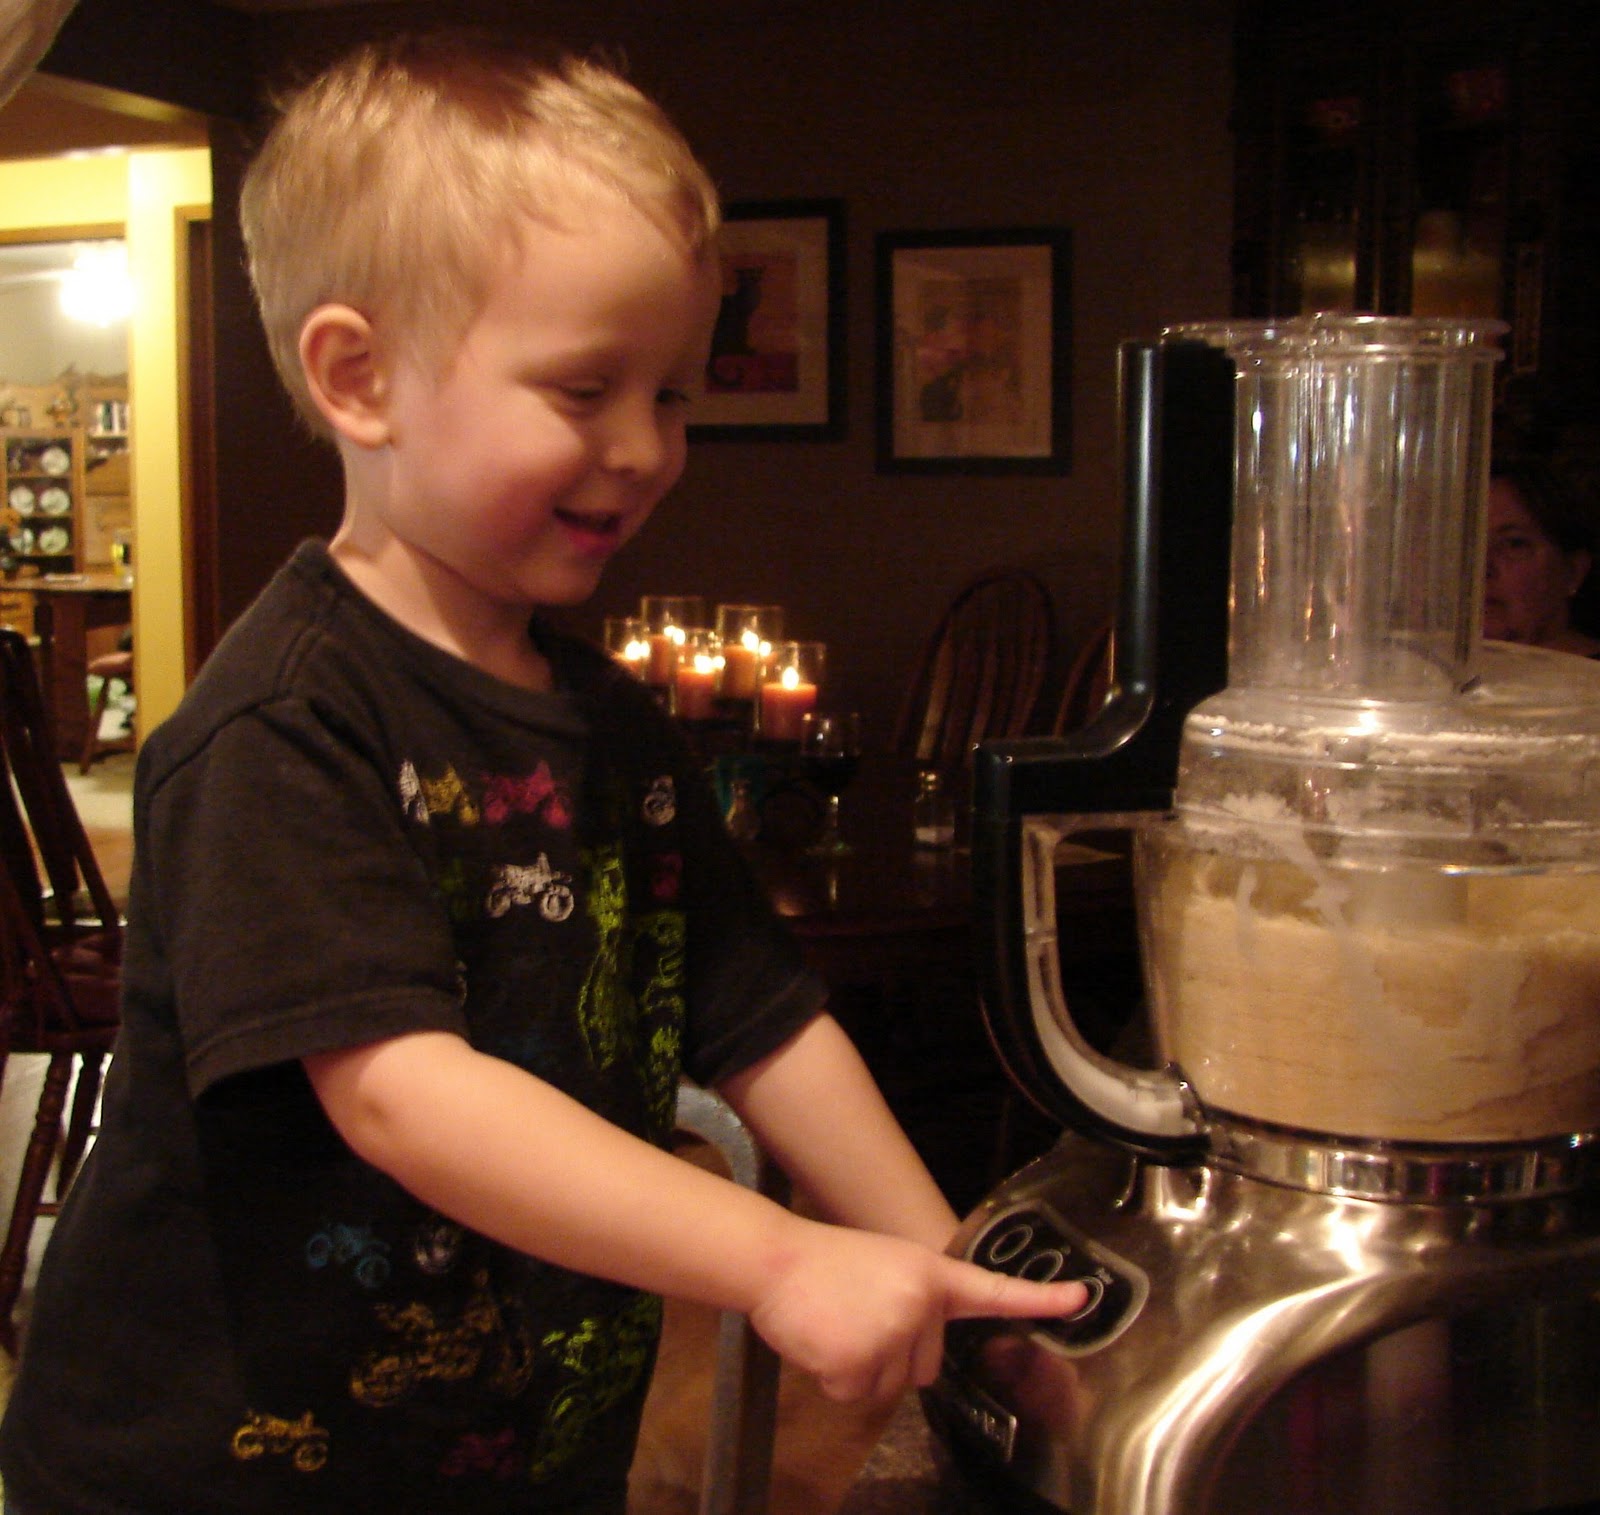
Liam working on Apple Crisp Crust. Isn’t he cute!!