Skip to content

Archive for

The Classic Chocolate Chip Cookie


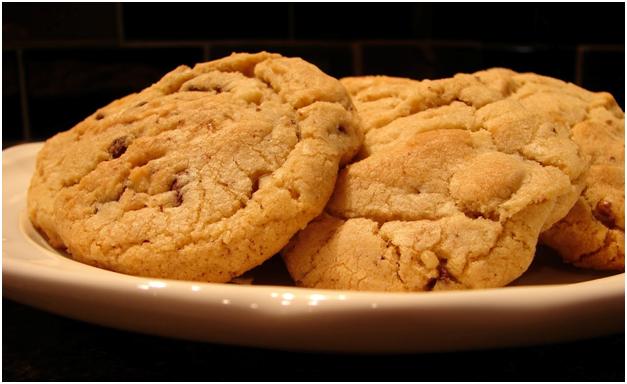
This is my blue-chip recipe; the one that filtered through the weeks on end of trying to figure out the nuances of great texture and taste for the sake of hungry cadets. It turns out cookies that hold their shape nicely and stay soft in the center with a crispy exterior.


All of the Basic Ingredients

The Pure Smooth & Chewy Version 
2 cups of real Butter (VERY FIRM)
1 ½ cups granulated sugar
1 ½ cups light brown sugar
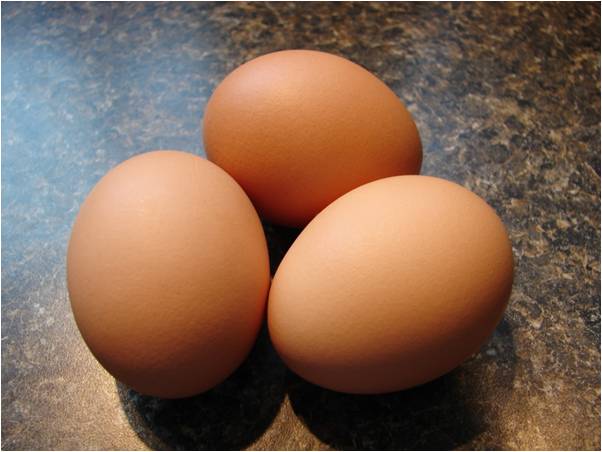
2 Large eggs (add the white from a third if you don’t have L or XL eggs)
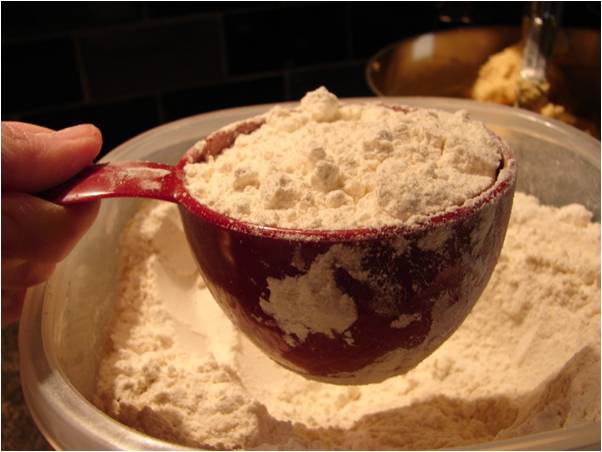
4 ½ cups all purpose flour 
2 tsp baking soda
1 tsp salt
12 oz Chocolate chips (or less)

If smooth and dreamy is what you consider ideal in a chocolate chip cookie, then stick to the above and you’ll be pleased. I happen to like a little bit more texture, so over the objections of my children, I often make one of the adjustments below.

For Extra Texture:

Add 1 cup of very finely chopped walnuts – these provide a nice little bit of crunch without overwhelming the chewiness. AND, as I tell my children, nuts are good for you! So are cookies, but in a different kind of way.


Finely Chopped Walnuts.

Or

Back off by about ¼ cup on the flour and add ½ cup of quick oats. Don’t overdo. You don’t want to turn this into an oatmeal cookie, but a handful will give the texture some greater complexity if the basic recipe is too smooth for you taste.

A Note about the Chips: Less is more! The cookie should be the star. Chocolate is a powerful accessory and needs to be used with decorum. You’ll notice that my master recipe is twice the size of the little boutique batches you see from real recipe sources, but the amount of chocolate is not doubled with the rest of the recipe. This allows you to enjoy the actual cookie with the appropriate accent of chocolate.

Directions

Before you start, take a look at the post on  Ku-Ki-Do Methodology  for step-by-step instructions with photos. If you want really good results, the process is critical.

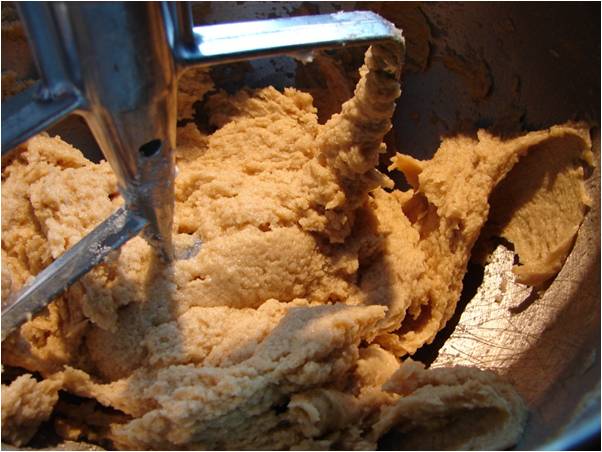
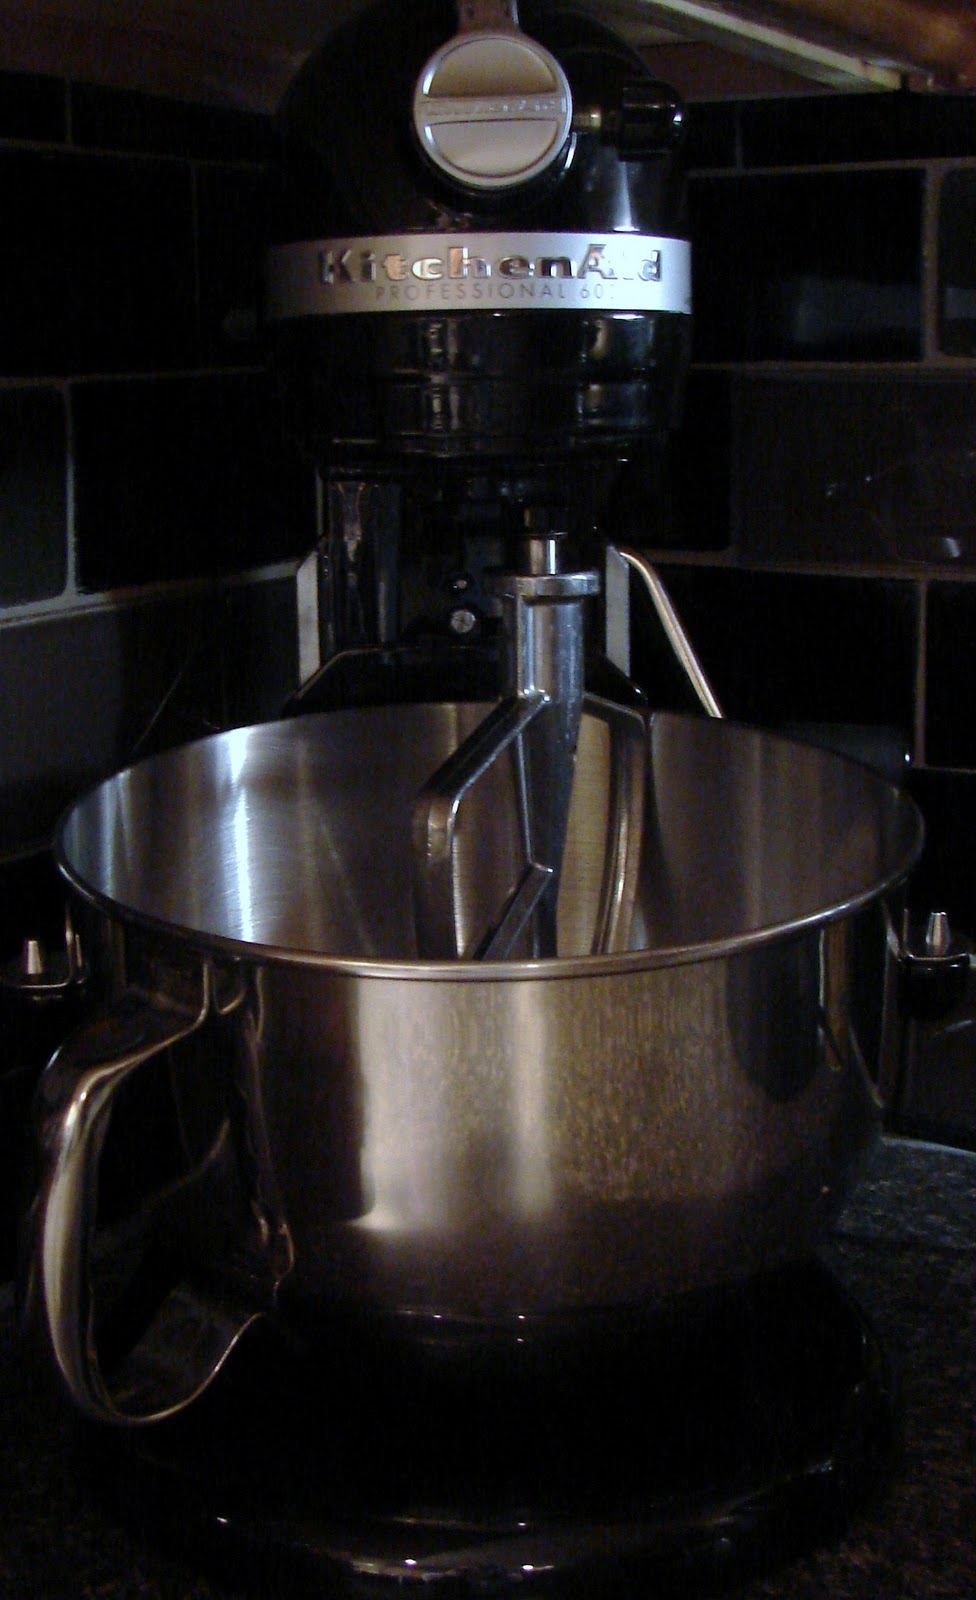
  • Mix the very firm butter and the sugar – it should turn into a stiff but very tasty lump.
  • Add the eggs and mix again – now it’s creamy.
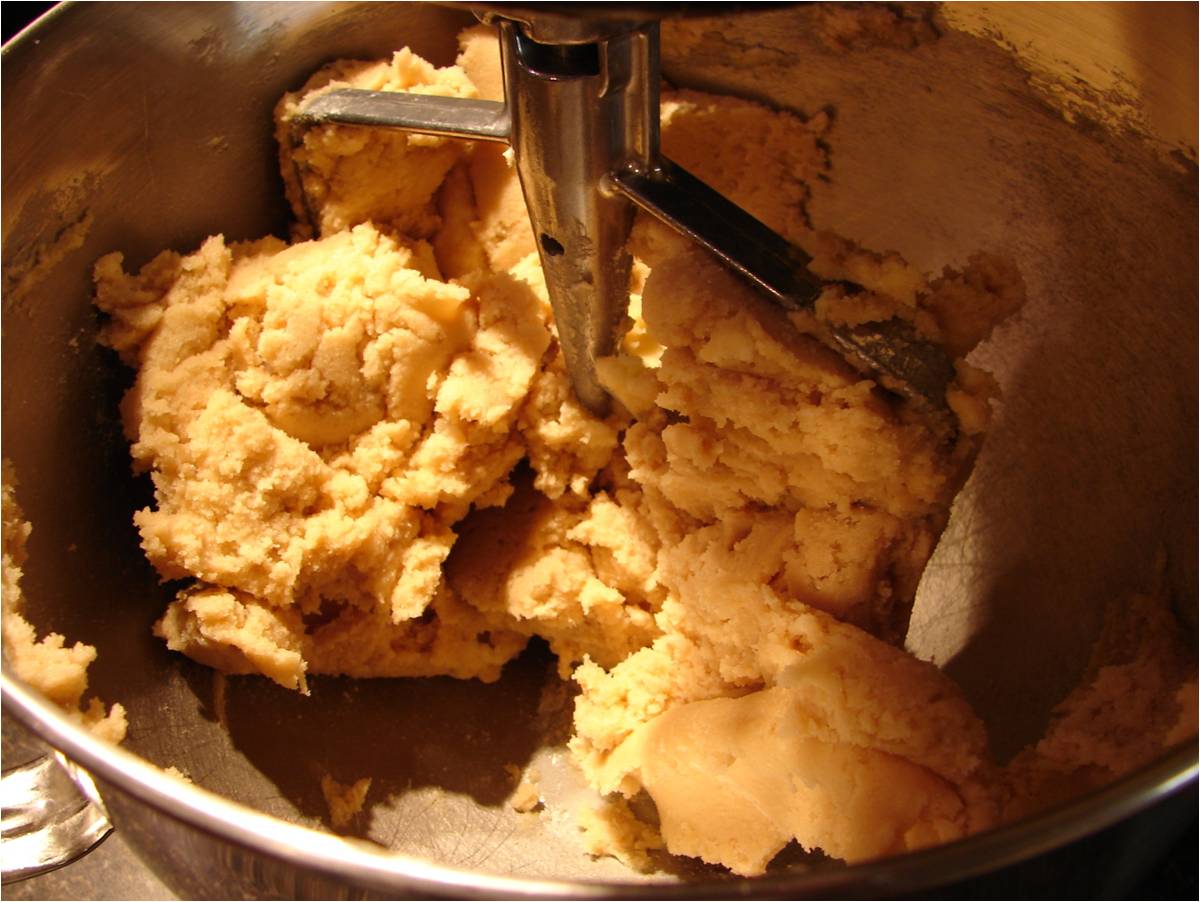
  • Pile in the four, soda and salt. Then mix again until a stiff dough forms and pulls itself away from the sides of the mixer bowl.
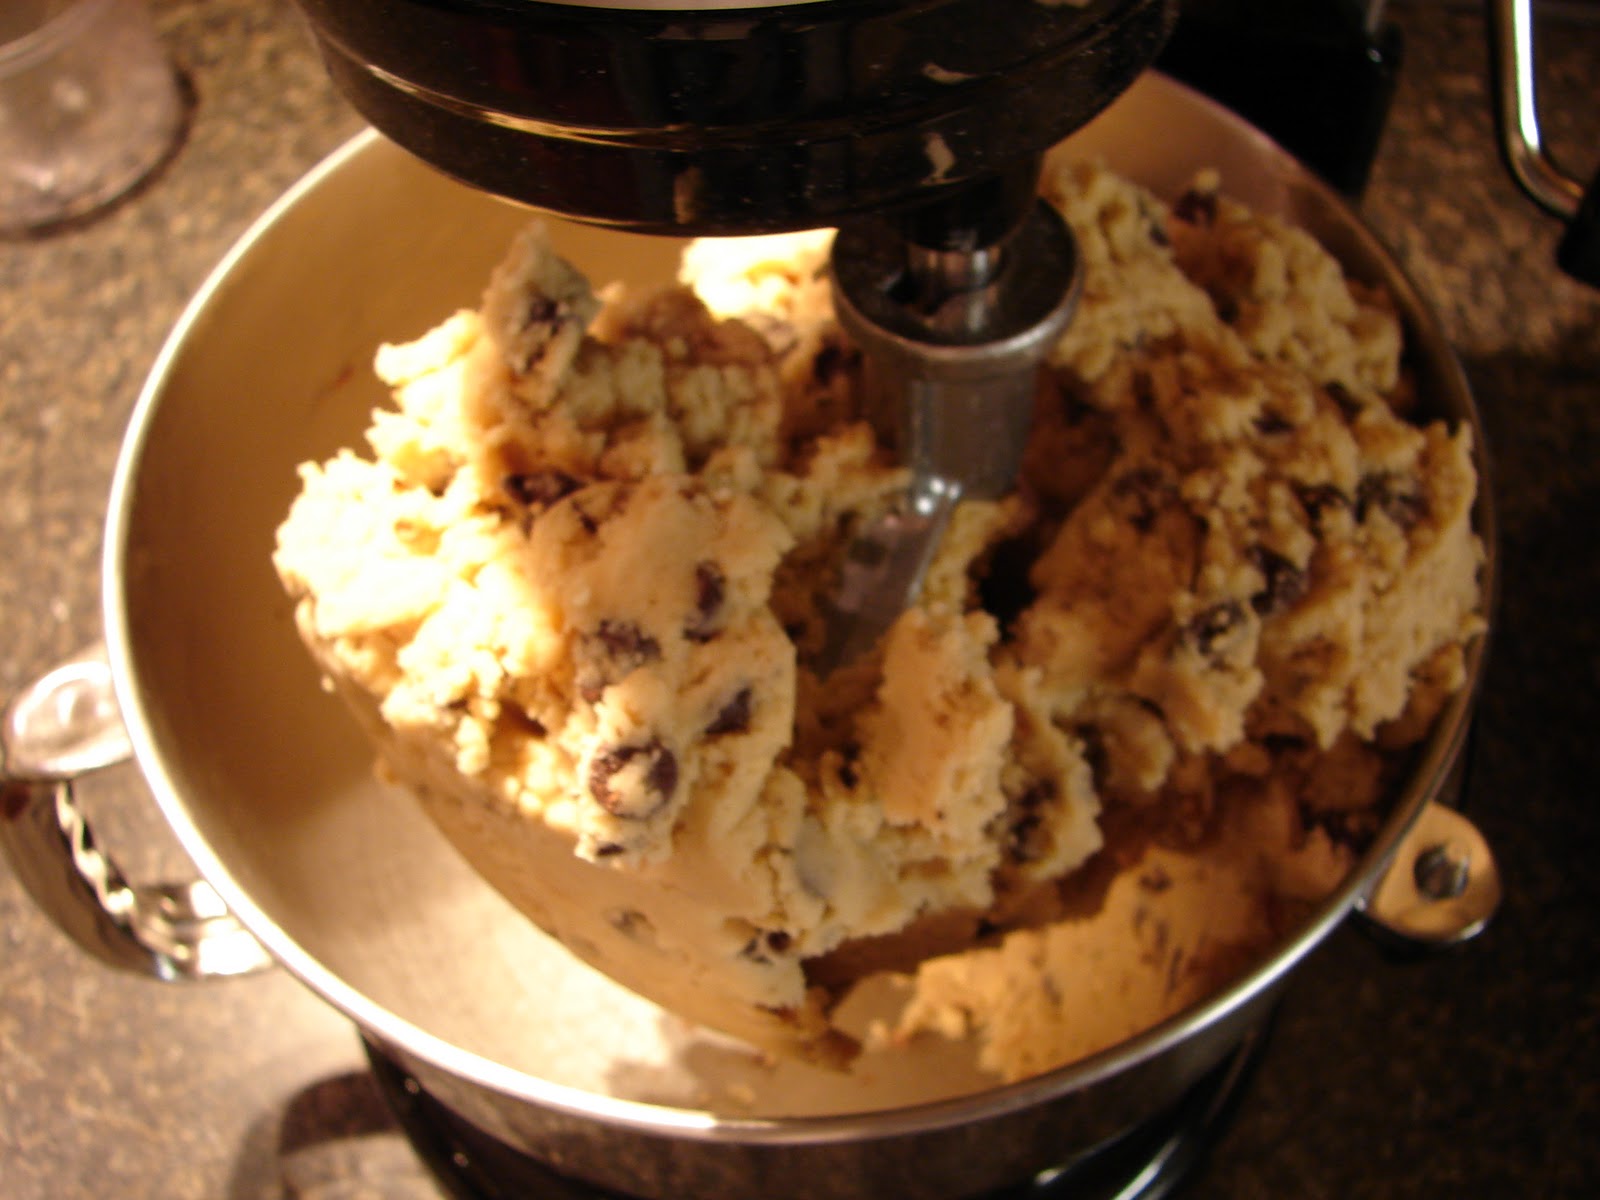
  • Add the chocolate chips, and nuts if you please, and mix until they’re evenly distributed.


No spatula was used in the shooting of this photo!

Eat some dough! My mother feints at the thought of this, and I know the eggs haven’t cooked themselves since step two, but what’s life without a little risk?

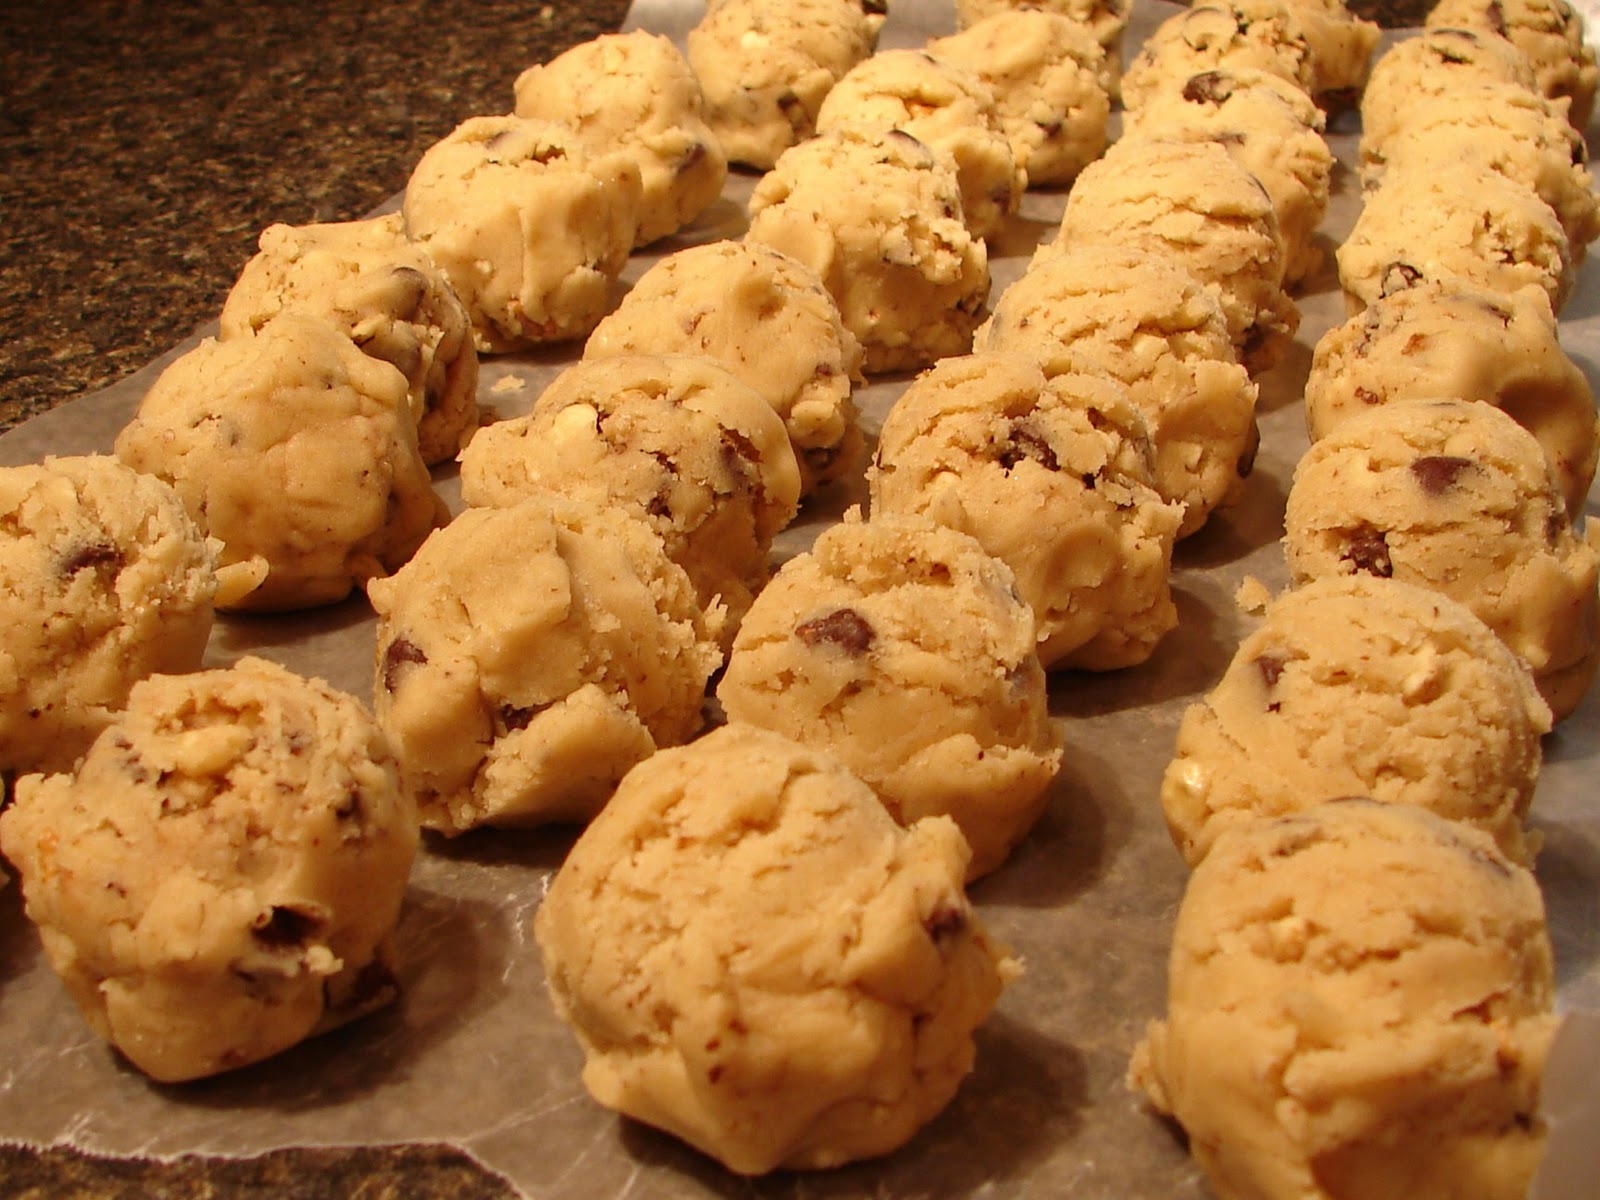
Form what’s left into golf ball sized lumps. Don’t mash and smash – just spoon up enough dough for the cookie and get it shaped into a rough ball. Smashing messes things up…in cookies and in life.


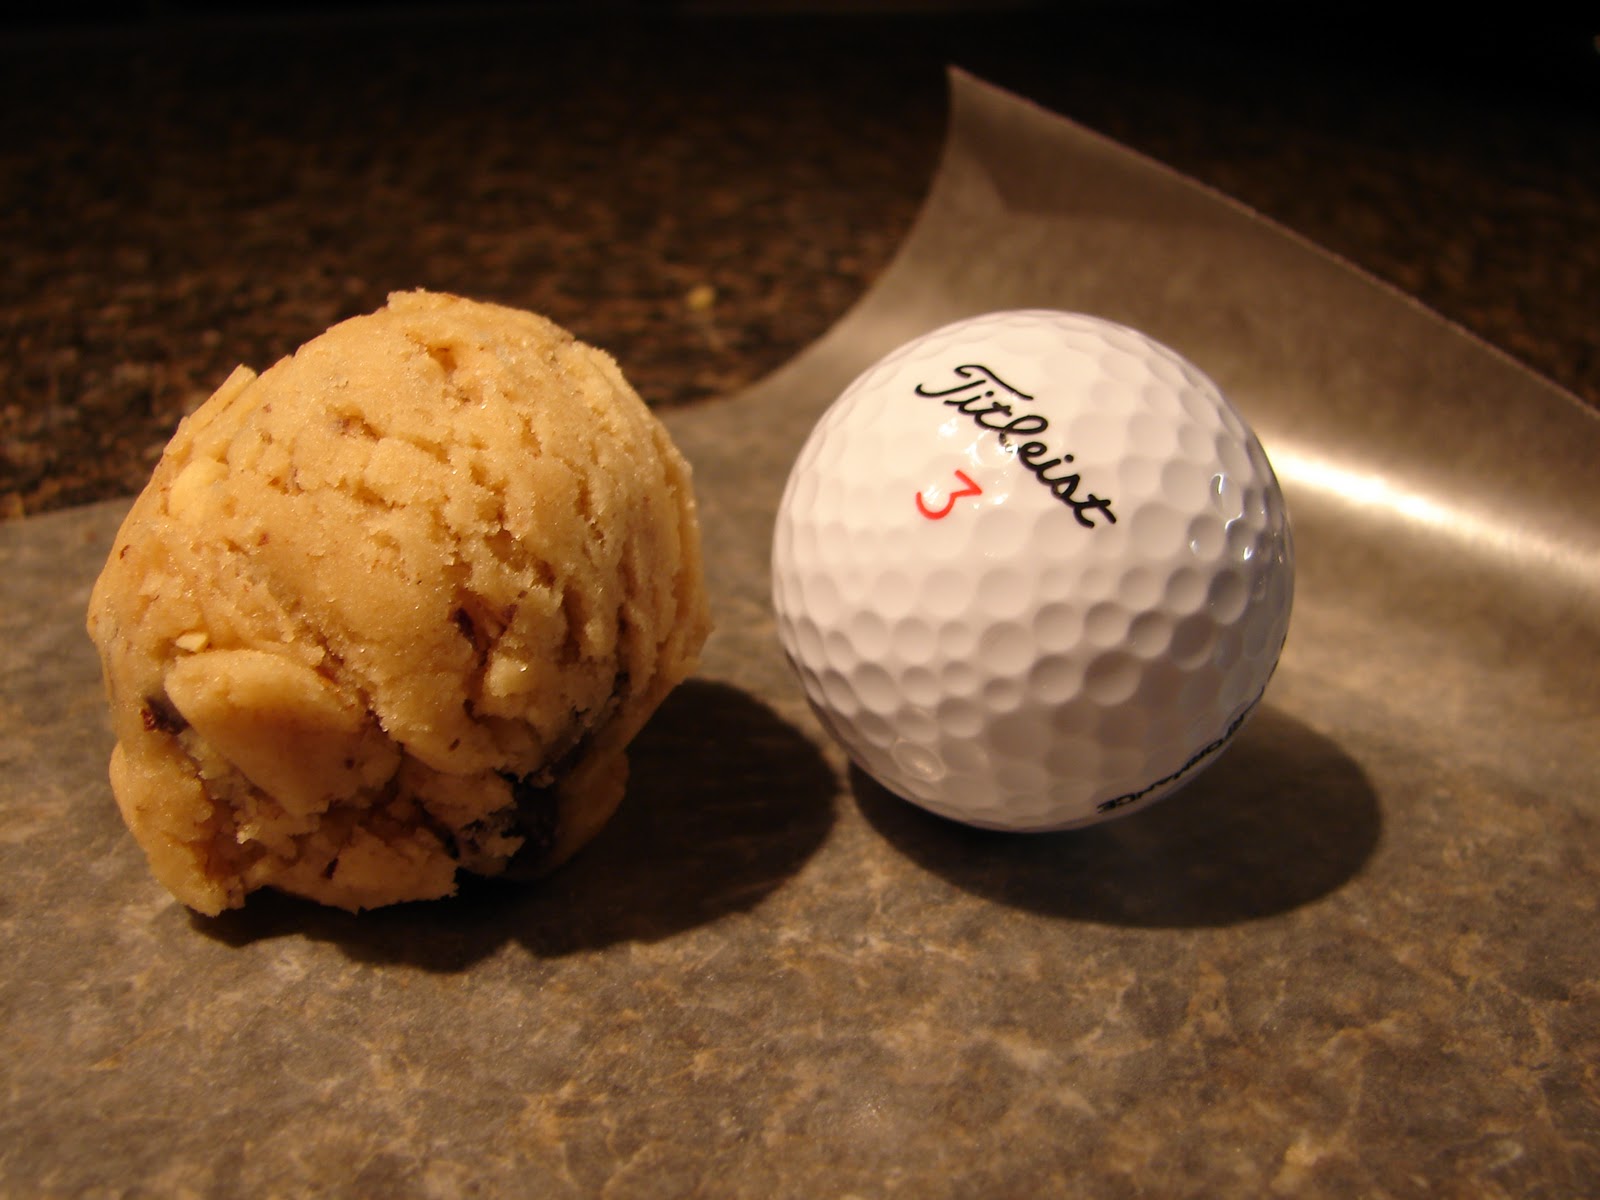
So, maybe they’re a little bigger than golf balls.


I love the rounded cookies, In gold battalions drilled…(Free cookie recipes if you can name the misquoted poet!)

Bake at 365 on a baking stone for 13-15 minutes. (I know the temperature is odd but trust me. Maybe one of these days I’ll sacrifice a few cookies at the end of a batch to show you the difference 10 degrees makes.)

Place on a cooling rack for the time it takes the next dozen to bake.

Enjoy and Share! You’ll end up with about 3 dozen large cookies so generosity is a necessity.

Thanks to my neighbors Karen, Sue, Tricia, Kate and their families for helping to eat the batch in the pictures! 🙂

Cookie Methodology 1 – Great Ku-Ki-Do


Ingredients vary by recipe but the procedure for cookie dough is basically the same whether you’re making chocolate chip, snicker doodles or even roll-out sugar cookies.

The first step is to cream the butter and sugar – which just means mixing them together. However, the state of the butter makes a big difference in outcome.

The Butter: It has to be the real thing and FIRM! I think that stiff butter is one of the biggest factors in avoiding flabby cookies that resemble pancakes. Butter in the proper state for cookies should barely give when you press it with your finger and should try hard to hold its shape, even when it meets with the blade of your real mixer. I pull sticks straight out of the fridge and microwave them in their wrappers at 50% power for approximately 10 seconds per stick. Obviously, microwaves differ but it’s better to error with butter that’s too cold. It may hold out for a few extra seconds but the mixer will eventually win.

(Note: If you’re harboring traitorous thoughts of substitutions at this point, it’s time for you to find a new Ku-Ki-Do master. Margarine is an atrocity. Butter flavored Crisco can fill a gap if you’re a little short on butter, but only in extreme emergencies and you’ll have to live with the waxy consequences. Don’t even talk to me about applesauce unless it’s September or we’re discussing muffins.)

Balanced Sugars: Don’t skimp! These are cookies after all. Try to use the right kind and amount of brown sugar. It’s been my experience that there’s a texture difference based on the combination of sugars. The absence of brown sugar when it’s called for seems to lead to a brittle texture. I’m okay with the texture difference in some cookies, but in others, you need to stay on the chewy end of the spectrum and leaving out that hint of molasses that comes with the brown sugar zaps the chewiness.


When the butter is stiff enough, the mixture of butter and sugar should turn into a big lump that doesn’t really look “creamy” at all. (I recommend a little taste at this point! You never know when the simple mixture of butter and sugar will take on new complexities and you wouldn’t want to miss it.)

Add the Eggs: The bigger the better! If you don’t have large or extra large eggs, then add an extra white from a third egg for every two of a smaller size. Eggs have a big impact on texture and density – they help with fluff. (BTW: cage-free organic works best for the chickens involved.)


Once the eggs are mixed in with the butter and sugar, you finally achieve a texture that I would consider “creamy”.

Time for the Dry Ingredient Dump: I know this is where I’m supposed to say something about sifting, and leveling and gradually adding as you go, but those of you who know me know better! I plunge the measuring cup down into the flour bin, scoop out a heaping pile then jiggle the contents until it levels itself (more or less). Then I dump it in the bowl, and go for the next cup. Half-cups are totally eyeballed and it all goes into the bowl in one big pile. I just drop the salt, baking soda, etc… in on top.


Hint: Here’s where the kitchen can get really messy. Real mixers have an impressive dust flinging radius so I usually use a technique that I picked up from my “bread
sewing machine”, which is to pull the start lever forward for a second, then quickly turn it back off so that the blade only makes about half a turn. I do this several times until the flour is starting to work into the cream, then I go to longer bursts and eventually, when the flour shower danger has passed, let it run. Another method that works equally well is to drape a towel over the whole project and let the dust billow under the makeshift tent until it all settles down.

Perfect Dough Consistency: Once you mix in the dry ingredients, the dough should pull itself into a chunk of its own and give up clinging to the security of the bowl. If all of the ingredients are mixed and it’s still sticky, then gradually add more flour until it’s right… UNLESS… you didn’t follow the directions about keeping the butter stiff. If your butter started out too soft, then get ready for cookie flavored pancakes.

Cookie Hardware – Meet Darth Mixer & Friends

Here is a list of the necessary equipment for cookies in my very arbitrary order of importance.

The Mixer: You need a REAL mixer.

If you can mix your cookie dough by hand; you’re either a heck of a woman (with a wooden spoon that would strike fear into the hearts of small children) or you’re not getting the dough stiff enough.

I happen to love Kitchen Aids. When we first got married, about 20 years ago, I got a Stuff-Mart-Special mixer and it lasted about three months. So did its first replacement. Ric concluded that I must need a Super Duper Stuff-Mart mixer. He was right. It was better. I think it lasted a whole year before I burned out the motor. After some quick math he decided that a Kitchen Aide (which “they” say lasts a lifetime) would pay for itself in about two years at the rate I was burning through Stuff-Mart Specials. So, He brought home a little white Kitchen Aid with an adorable red stripe that made it about 17 years before every part and hinge had begun to rattle and the finish was worn off of both the blade and the replacement blade. In mixer mileage it probably had about 300,000 on the odometer but it was still grating cheese and turning out good cookies. I loved that little mixer – much more than one should love a simple piece of equipment.


But, Ric saw the writing on the wall and for my birthday last year he seized upon a fortuitous coupon and bought me a new one.

Bom, bom, bom, ba, ba, bom,ba, ba, bom…
Meet Darth Mixer. I’m thinking of making him a cape.


Darth is much bigger and heavier than The Little Clone Trooper he replaced. They looked so cute together that I was entertaining notions of keeping them both but Ric looked  at me with furrowed eyebrows every time I joked about that. I got the hint, and now The Little Clone Trooper has gone to live in a kinder, gentler home with my friend Kara where less will be asked of him in his geriatric years. Darth and I are still bonding, which is hard with a machine called “Darth”, especially when you’re not much of a Star Wars fan. I keep trying to switch to “Darthy” but it’s not working.

Oh, my. In case the point got lost in my story, it is this:

serious cookie dough requires a serious mixer.

Next…

Baking Stone: I use a baking stone because it offers more forgiveness when you forget to set the timer. Metal pans turn out black bottoms at the slightest overheating because they conduct heat so much more readily than the air in the oven which is touching the rest of the cookie. The stone on the other hand, isn’t a great heat conductor, but it is a great heat holder which is what you want. My husband, the scientist, is cringing at my vocabulary I’m sure, but what I mean to say is that the whole process stays stable on stone. Funny, what’s built upon a rock…

Timer – If you’re as distractible as I am, then one loud enough to track you down in the laundry room and remind you that you have cookies in the oven is indispensible.

Oven Thermometer: You have to know your oven and it’s worth a minor investment in an oven thermometer if things don’t seem right. During the experimentation days at West Point I had a deranged government employee of an oven that would randomly heat to a different temperature from the dial – and not by predictable percentages. In a very aggravating way, this taught me the importance of temperature. I began to live with a thermometer on the middle rack and work with the moods of the appliance. What else can you do?

Scoops and Spoons Spatulas: For years I used a spoon and my fingers to shape the balls of dough. Now I use a scoop and my fingers, but honestly I don’t think it makes that much difference. You shouldn’t need a spatula very much if your butter is firm enough (see next post) but once in a while you have to shove around ingredients that are straying from the mixing area. A nice stiff, flat rubber spatula is what you want for this job.

Cooling rack – Probably just as essential as a real mixer, but doesn’t have to be fancy.

Cookie Philosophy 101


Before even discussing methods or ingredients I need to get a few things on the counter.

Cookies are not supposed to be health food. I’ve tried that deviant approach on my children and it just isn’t pretty.

Cookies ARE good for you – on a level that doesn’t necessarily relate to body
topography. Moderating the number eaten is the key to calorie control.  Compromising on the ingredients you dump into the mixing bowl to lower calorie count is the path to mediocrity and self-deception which leads to overeating of stuff that isn’t worth what it’s going to do to your waist line. So, take a deep breath, break out the butter and do it right. Think: excellence with self control…or just spend some extra time in the gym. Good cookies are worth it.

BIG cookies are better. They just are. Less scooping, fewer trips in and out of the
oven, better overall shape and texture. In a big cookie, there’s room for a soft center and crispy edges, not to mention that saying you ate two sounds a whole lot better than confessing to the consumption of six or eight.

BIG batches are better. If you’re going to all the trouble of mixing and measuring, why not have something to show for the effort, which leads me to the next critical truth about cookies.

Cookies are supposed to be shared. Nothing else that comes out of your kitchen is so easy to divide up and hand out! With a big batch you can feed crowds or take generous plates to your neighbors and still have a reasonable number for your own family. If you play it right, you only eat 2 or 3 out of each batch yourself –
hot and fresh, (with the possible addition of one eaten in the form of dough) and you don’t compromise the landscape of your own hips with leftover dozens.

Okay, with that out of the way, we’re ready to begin equipment
and methods…

My Black Apron in Ku-Ki-Do

Cookies are my thing.  So, blogging must start with Ku-Ki-Do.

First a little background…

The road to cookie mastery began last time we lived at West Point where I spent three years baking a batch every Tuesday afternoon for “our cadets”.  That kind of
repetition inspires either boredom or experimentation.  I opted for the later.  New strategies were initially born of poor planning and an aversion to last-minute grocery runs with toddlers who approached the aisles of the commissary like a pack of baby goats.  Eventually though, a few seriously sumptuous batches emerged from my cantankerous oven and the process of fine-tuning became a healthy obsession that continues to this day.

The first objective was to master “The Chocolate Chip” and after about twenty tweaking sessions with different combinations of equipment and ingredients I got to the point where I could consistently turn out blue-chip specimens.   From there, I
began the process with other varieties, all of which are my very favorite on whichever day I happen to bake them.   And, on rainy afternoons with aging dried cranberries or other equally odd ingredients staring me down, I still like to audition new ideas for the lineup.

I share my recipes without keeping any secrets.  I REALLY do, but I am often
accused of holding something back.  Crazy!  I would never sabotage the process of cookie creation!   Honestly, I’m not sure exactly what I do differently from others who bake from the same recipes, but I have come to the conclusion that method and ingredients are critical to results.  Not everything is easy to put on a recipe card but I believe anyone can turn out great cookies.  You too can award yourself a legendary black apron in this newly established order!

Thus, the blog begins. Stay tuned for philosophy, pictures, methodology,
and of course the recipes.